
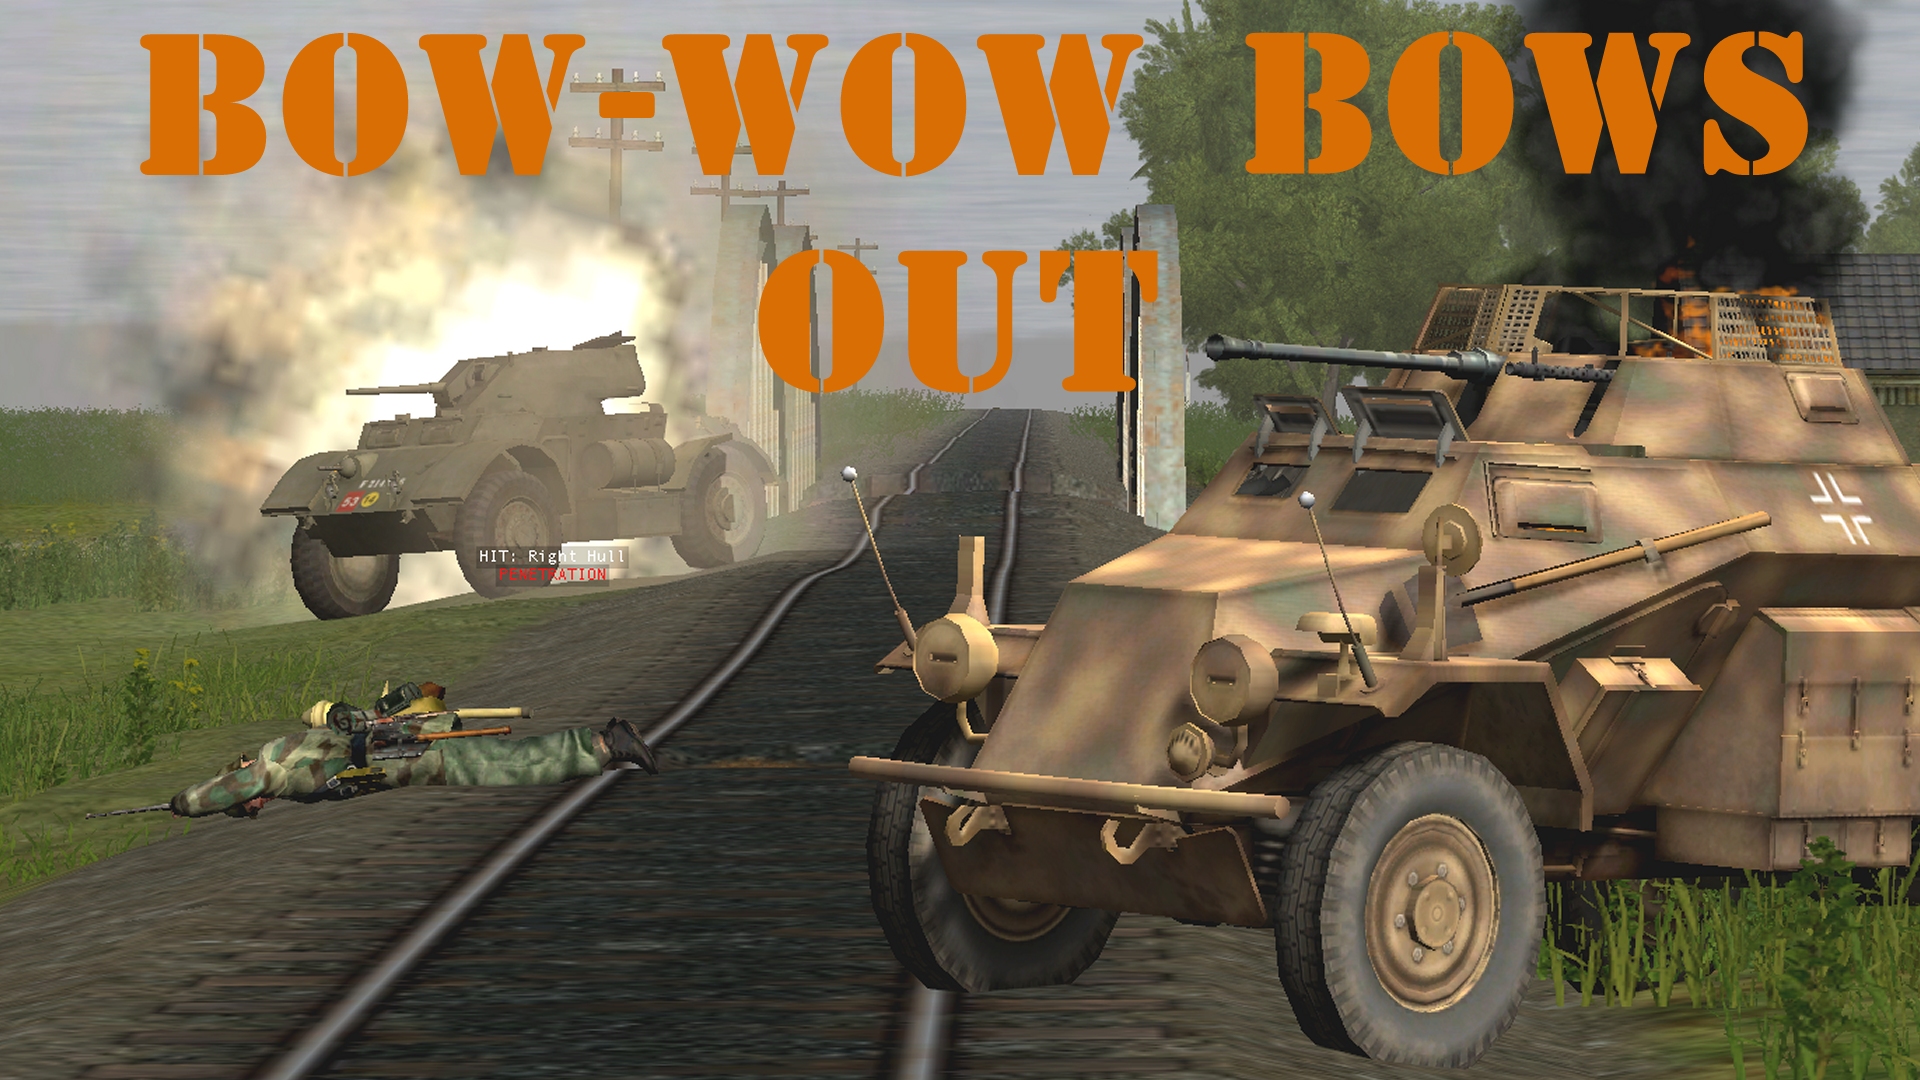
Amputated in the closing seconds of turn 23, the oak bough that stopped the Panther’s first shot at the Staghound, is literally in no position to stop the second, third, or fourth. Early in the penultimate turn our steel pillbox brews-up the Chevy on the levee with a nicely grouped trio of Panzergranate 40 hits.


(Brinkmann’s Bridge is an open-to-all game of Combat Mission: Battle for Normandy in which the commenter-controlled Axis forces are out to recapture a Dutch canal spanner recently snatched by Red Devils. Each turn covers one minute of WeGo action. For a scenario outline and summaries of earlier turns, click here).

Can our tracked howitzer upstage this feat of marksmanship by nailing or disabling the other Allied AFV with one of its four remaining shells?

Bah, it seems not. Not for the first time in the game the commander-less SPG refuses to fire. Its excuse on this occasion might be the swelling smoke clouds SE of the canal bridge.

Hidden by that smokescreen early in the sixty, the Cromwell reappears at T+50, close to the corpses of three of its victims. When the clock stops, the British support tank is stationary and buttoned.

Is it thinking about crossing the canal or simply eyeing the white house and its environs in search of targets? It’s impossible to tell.
Helped by the faux fogbanks seeded by the medium mortar and howitzer, the Easterners-turned-Westerners manage to go unnoticed this turn. Not so, Brinkmann.

The man who once reduced the Führer to speechless apoplexy by praising the Spitfire during a live radio broadcast, is still recovering from the explosion that killed one of his housemates when a Red Beret emerges from the swirling smoke to the west and points a Sten gun at him.

9mm lead fans his face and removes one of his tunic buttons, but Der Sperber’s luck holds.

By the time the air ace has raised his rifle, the attacker has vanished into the Koffiehuis de Onionmancer.

Withering fire from 6 Squad and the medium mortar team discourage the monastery foxholers from attempting any eleventh-hour heroics.

The British paratroopers dug-in in the monkarium grounds lose a man to 6 Squad’s static element midway through the sixty, and finish the turn pinned.

If push came to shove, I’m convinced the Panzer 35R would win a tussle with the monastery wall. Thylin, the tank’s commander, clearly thinks differently. Preferring a risky detour to a spot of low-gear masonry mashing, our Gallic trundler decides to longcut around the monastery’s southern edge rather than beeline to its black y50 destination!
The situation at the start of the final turn:


Turn 25 orders here, please. Commenters are cordially invited to suggest moves for the following units (A maximum of ONE unit per commenter. All units now available to all Comment Commanders. Embarked infantry and their taxis count as single units until separated. Split squads also count as single units.)
*Fusilier HQ (3 men) hiding/ambushing, foxholed, PF [red t37]
*Griess (2 men) hiding, rattled, upstairs [red p41]
*Fusilier squad 2 (4 men) hiding/ambushing, foxholed, PF [red r41]
*Panther Ausf G, immobilised, buttoned [black o39]
*StuH 42, buttoned [black l36]
*Self-propelled howitzer (2 HE, 2 HEAT, 1 SM) commander incapacitated [red i25]
*Panzer 35R (27HE, 22AP, 1CAN), buttoned [red e54]
*Kubelwagen [black b24]
*Truck, heading for red l41 (passengers = Platoon HQ + 1 straggler) [red g18]
*Brinkmann, hiding [red o41]
*Fusilier squad 6 (9 men) split into two teams, PF + AT grenade [black q44 & black w48]
*Medium mortar team (4 men) (NO AMMO) and ammo bearers (2 men) LoS to monastery [circa black m34]
Please start all order comments with ‘ORDER’ and any later revision comments with ‘REVISED ORDER’. This will help me distinguish firm instructions from suggestions and advice.
Hmm, should the truck persist with its hero run, or do the sensible thing and stop near the howitzer, disgorge its passengers and have them occupy the orchard?
@Tim
– am I right in thinking there were foxholes in the orchard, and if so, where are they located? [red n, 30] ?
– the truck has moved so its current location ought to be about [red g, 18]
It’s possible the truck will draw fire from Best and/or the monastery paras if it opts to continue (last time it was fired on, it chose to reverse). The orchard foxholes are indeed at red n30. It’s hard to tell whether they’re in LoS of the Cromwell (Platoon HQ has a PF):
//tallyhocorner.com/wp-content/uploads/2021/04/bridge24r.jpg
I think the truck’s cargo should take up a sensible firing position for providing end of game support.
The 2nd jeep on the other hand is doing nothing and poor Brinkman has seen rather too much blood and dirt for any self respecting pilot.
ORDER: second kubelwagon to Fast pathing via the road to red m 39, as the third taxi attempt.
ORDER: Truck (passengers = Platoon HQ + 1 straggler) [red g, 18]
– Move fast to [red i, 24] and disembark passengers
– return back to [red f, 18]
Straggler
– Target arc from [black q, 45] to [red t, 44]
– Move fast to [red l, 26]
– Move normally to [red l, 30]
Platoon HQ
– Target arc from [red c, 45] to [blue k, 47]
– Move fast to [red m, 26]
– Move normally to [red n, 29] and then crawl into the foxholes at [red n, 30]
CANCEL ORDER for the kubelwagon I’ll do something more productive!
Gosh, this turn was nerve-racking! My heart was in my throat for Brinkmann and our eastern fusiliers. I feel like Griess should head downstairs to back the ace up, but not sure if what’s left of his squad will accept commands in this state.
I’m here for that incredible forced headline-pun. If a Staghound is a Bow-Wow, would a Daimler Dingo be Li’l Bow Wow?
I haven’t been paying too much attention to the positioning or orders of the west coast commanders up until now, but this is our last hurrah, so let’s post some thoughts…
Since our Panzer 35R currently appears to be pootling its way around to the monastery entrance, which it won’t make by the end of this scenario, what do you all think of having it instead try to get a bead on the Cromwell, through the trees?
Do any units have commands to attack that plucky gun operator still floating around [red j, 41]?
Can anyone see a way to protect Brinkmann from the sten gunner now in the koffiehuis? Shooting artillery at the building might not be wise in case we hit Brinkmann or Griess in the white house, but perhaps we can aim some small arms fire around the front door?
I’m far from convinced the Panzer 35R could penetrate the Cromwell, particularly head on. The converse however involves the Cromwell crew painting a small black silhouette on their turret.
I’m far more interested in having the StuH stop hiding at the back unable to see anything and actually contribute. I don’t know if it can penetrate the Cromwell but a direct hit from 105mm HE makes penetration largely moot.
@alison,
Panzer 35R.-That was my initial thought, but we need to be aware it would be an unequal scrap even if we fired first (37mm v 95mm guns) . I very much doubt it has the fire power to penetrate the Cromwell’s armour. That said it may distract it from firing at the white house or our other infantry and as its the last turn it could be argued its worth the potential sacrifice. It wasn’t supposed to move there last turn so I’m struggling to suggest an alternative use for it in the time remaining.
Red J.41. -That’s Mr Best- there are no units currently targeting him.
Protecting Brinkmann- We should move Griess downstairs to guard him, and use the Howitzer to fire at the ground floor of the koffiehuis. It should be a straightforward shot, short range with a clear L.oS. I cant see another unit being able to intervene in time. Its possible there could be more than one para in the building- we only saw one cos he fired at Brinkmann.
All.
Is anyone else wondering what happened to the British infantry that was approaching from the east several turns ago? There were at least 3 units I think. Maybe they have stopped off for a quick brew, but what if they have crept up out of sight and are crouching behind the railway embankment planning a last turn dash for the bridge supported by an already conveniently placed Cromwell?
They may not necessarily attempt to cross it, they just need to occupy the foxholes at the east end to deny our victory condition of controlling the bridge.
If I understand our current bridge defenders “ambush” orders correctly the Brits could occupy said fox holes with barely a shot fired!
Can I respectively recommend our former eastern commanders increase their infantry engagement range out to something like Blue J as a precaution and hope I’m wrong.
Unfortunately with the smoke in the middle of the field there I’m not sure there’s much point extending the front line infantry’s target arc beyond column blue c, which was my suggestion a couple of turns back.
I don’t know much about WW2 armaments, but Wikipedia suggests the Panzerfaust effective range is between 60m and 150m depending on the model, so I figured 10-11 squares (if each square is 8m) is probably best, knowing that the moment we betray our position we are likely to get dealt with as quickly as the fuseliers in the hedgerow and the mortar team in the east bank foxholes. I think the first shot has to be enough to severely hurt the Cromwell, if we’re going to survive.
Are we sure that there are actually infantry out east, or were those just “ghost icons”? I don’t think we ever saw them fully colored-in. Perhaps there is some artillery that could fire from the other side of the map to suppress any charge? If there is still infantry out there, we just need to rattle them enough to think twice about making the dash.
Thanks for responding.
Any infantry out east? – I agree we haven’t had a definite confirmation but Turn 21 there was a report T+19 that a “tank plus two companions” were spotted circa BLUE J49, one infantry icon appeared. Turn 22 Griess’s squad came under heavy small arms fire from units located in south west woods, two infantry icons appeared circa BLUE Z41. This does suggest there are several infantry units to the east, but composition, whereabouts and intentions are unknown. Putting myself in their shoes I would be making a dash for the foxholes on the east bank of bridge. They probably only have to occupy one of them to deny us control of the bridge.
To be clear I wasn’t suggesting you area fire speculatively at railway or Cromwell at long range. I think you can word your order to something like target infantry in the open between x and y. If no target appears you don’t shoot/expose yourselves.
TLDR: Your suggestion to extend the target arc to BLUE C sounds like a very good compromise.
There are enemy crew members from the Sherman (and possibly the Staghound) out there somewhere. Not sure whether additional infantry are in place.
However, just in case, and risking reprisals from the Cromwell:
ORDER: Fusilier HQ (3 men) hiding/ambushing, foxholed, PF [red t37] to revert to ‘fire at will’.
We’ve kept those two machine guns available the whole battle for just this moment.
I think the HQ has a better opportuity to fire at will because the bridge probably blocks the line of fire from the Cromwell, so they can shoot clear down the main road.
For Fusilier Squad 2, I think their order was already to have a target arc ending at column blue c, so I will trust that hasn’t changed.
We still have four west coast artillery units without any new orders, so I will give the other commanders a couple more hours then pop up in after work (Pacific Time) and see which unit seems most advantageous to still get a command from me. If I stick with east coast units, it will be FS2 (maybe expanding the target arc after 30 seconds) or Griess (go downstairs).
ORDER: Howitzer to fire its remaining H.E rounds at ground floor of koffiehuis. Idea is to neutralise the sten para thereby preventing further attacks on Brinkmann.
Calling any free Commanders!
We are in the final hours of the last turn and victory hangs in the balance!
There are several of our units that would benefit from an order revision, they are;
Griess- a move downstairs should help guard Brinkmann from any further intruders.
Panther and StuH 42-their present orders are to target armour only, they should now also include infantry to help prevent a potential last minute rush on the bridge from either east or western Brits.
Fusilier squad 6.- Together with the med mortar team they have pinned the remaining monastery paras. If the northern section (Black Q44) were to quick move to Black W44 they may finally eliminate the units and secure the grounds.
Pz35- movement orders went awry last turn, we now need a cunning plan which avoids the baleful gaze of Cromwell.
Please feel free to improvise and improve upon these suggestions.
Charge something silly you say? Having cancelled my order for the taxi I’ll do that.
Fusilier squad 6 section at black q44 to quick to black W 44 preferably shouting “god save the king” in Japanese. The other team to provide covering fire.
ORDER, ORDER… I must have ORDER ?
Alright, I’m going to try cheat the system and put in a double-order, depending on what is doable.
ORDER: Griess’ team currently upstairs at [red p, 41] to move downstairs and face west or north (depending which windows provide the most useful angle) with a goal of protecting Brinkmann.
However, since they are rattled they might not accept the order. If they can’t accept orders right now, my ALTERNATIVE ORDER: is for Fusilier Squad 2 at [red r, 41] to stay in ambush mode (Panzerfaust range) waiting for the Cromwell to drive a little closer. If we still have no contact at T+30, then open up to blue c (assuming that’s not where they already were set) to ensure any infantry making a rush will have to wade through some machine gun fire.
I do think it would be worth giving some targeting advice to our artillery on the west coast, but I’m not familiar enough with the capabilities to be confident picking the ammo or a target area, so instead I will just wish them good vibes and hope they all have their eyes peeled for movement on the east bank.
Turn execution underway.