
To be honest, ‘BRENS’ or ‘BAPTISM OF FIRE’ would sum up this turn equally well. Before Lehrer’s platoon arrive in the closing seconds of the sixty, effectively doubling the size of the Comment Commanders’ austerity Kampfgruppe, LMGs of Czech design hail two advancing German units on the eastern side of the canal.
(Brinkmann’s Bridge is an open-to-all game of Combat Mission: Battle for Normandy in which the commenter-controlled Axis forces are out to recapture a Dutch canal spanner recently snatched by Red Devils. Each turn covers one minute of WeGo action. For a scenario outline, click here).

The lone (?) Bren gunner that opens up after spotting movement close to the green house hits nothing but turf and ballast.

The accompanied one on the edge of the L-shaped wood by the railway sees one of his targets stumble and fall.

3 Squad’s trailblazers arrive at their first waypoint a man down and understandably alarmed. Fortunately, the chap toting the MG 42 isn’t slow to prostrate himself, plant his bipod, and return fire.

The burst from the drum-fed Schnellespritze scars smooth beech bark and bespatters it. A Lee-Enfield falls to the ground with an audible thud, its owner mortally wounded.

Invisible to other German units, the two (?) remaining Paras respond with a fusillade of their own. Briefly, both parties in the close-range firefight are cowed into silence.

An exchange of hand grenades seems inevitable, but when hostilities recommence its machine guns and rifles that remove another two combatants (the Bren gunner and a German rifleman) from the fray.

The situation at T+60:

The two survivors of our mauled half-squad in the south will need to deal with this fellow if they are to make further progress westward.

The half-squad on the embankment near the green house is receiving Bren gun fire from the vicinity of the canal bridge.

Someone in the the NW corner of the monastery grounds took a potshot at the scouts as they headed north. The Aufklärer are now on their bellies and stationary in consequence.

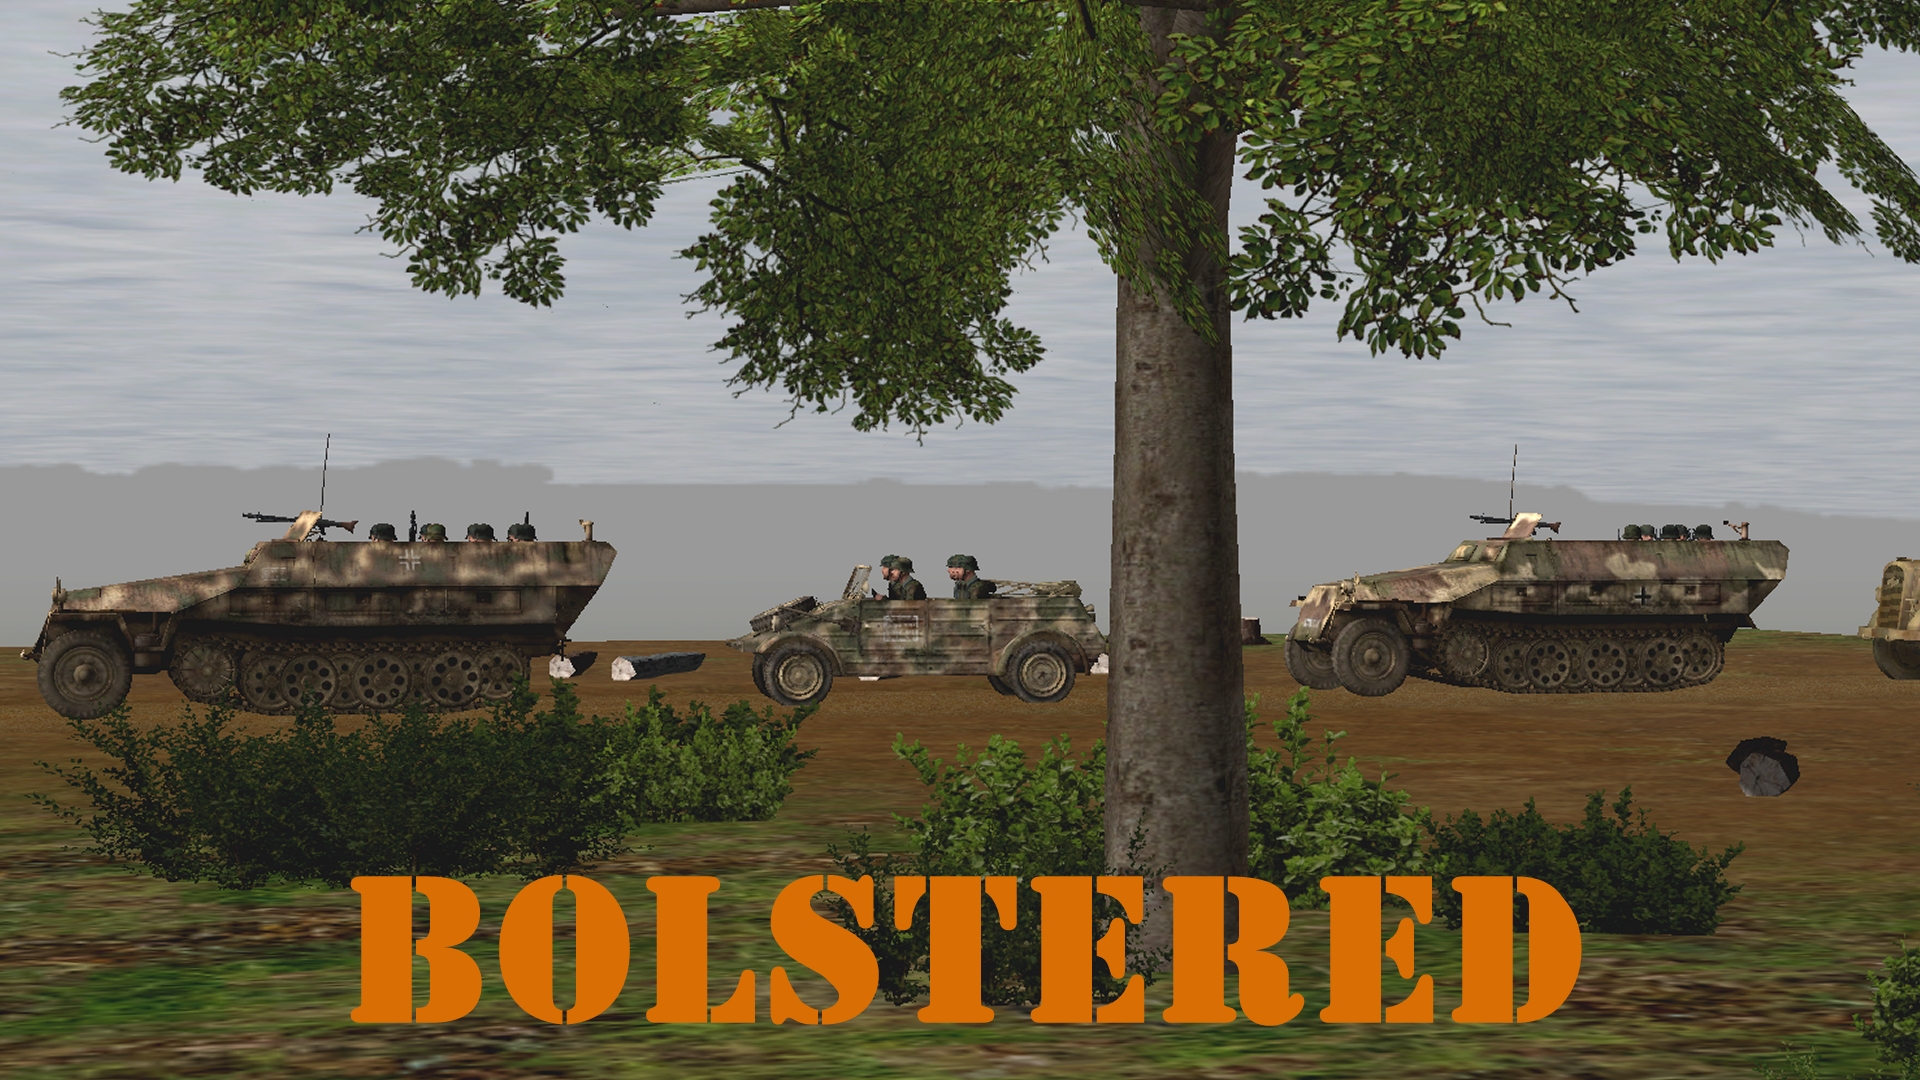
The SPW U304(f)-10 halftrack has just arrived at the embankment. From its present position it can see some landmarks on the western side of the canal (the pumphouse for example) but its view of the canal bridge, cafe and monastery is blocked by trees.

Newly arrived in the NW corner of the map, these reinforcements await orders from commenters with brown names.


Turn 6 orders here, please. Commenters are cordially invited to suggest moves for the following nine units (A maximum of one unit per commenter. Embarked infantry and their taxis count as single units until separated. Split squads also count as single units.)
(anyone)
– NE group –
*SPW U304(f)-10 halftrack (65HE, 45AP) unbuttoned, [blue l8]
*Fusilier squad 1 (9 men) split into two teams – Bulau’s team (5 men) [blue l17] and Griess’ team (4 men) [blue o17]
*Light mortar team (45 HE) weapon deployed [blue u9]
– E group –
*Fusilier squad 2 (9 men) split into two teams – Meister’s team (5 men) [blue x25] and Woikin’s team (4 men) [blue x30]
– SE group –
*Fusilier HQ (4 men) [blue y42]
*Fusilier squad 3 (7 men) split into two teams – Hirsch’s team (5 men) [blue y47] and Elm’s team (2 men) [blue t48]
*Light mortar team (43 HE) weapon deployed [circa green a42]
(subscribers only)
*Panzer 35t (32HE, 22AP, 2CAN), buttoned, [black j42]
*Scout team (3 men, MP 40s) [black o49]
*SPW 251/1 halftrack + 1 Squad (9 men) [black c4]
*Kubelwagen + medium mortar team (4 men) [black c3]
*SPW 251/1 halftrack + platoon HQ (4 men) + mortar ammo bearers (2 men) [black c2]
*Opel Blitz + 2 Squad (9 men) + 3 Squad (9 men) [black c1]
Please start all order comments with ‘ORDER’ and any later revision comments with ‘REVISED ORDER’. This will help me distinguish firm instructions from suggestions and advice.
Why is the 4-man team in the NE Group at blue l18? I ordered them to PAUSE for one minute and then to go to blue n18. My guess is that they started taking fire and did what any rational person would do in the situation: run towards the enemy to a location with no cover. Would have been better if I ordered them next to the building.
Anyways, please implement the following orders:
ORDER: NE Group – Squad 1 – 4-man team – FAST to blue n19 (beside the green house), then TARGET LIGHT the rail line at blue k19 for 15 seconds to celebrate yesterday’s announcement of Combat Mission: Cold War
ORDER: NE Group – Squad 1 – 5-man team (HQ) – QUICK to blue n19 (beside the green house), PAUSE 1:00 minute, SLOW into green house
The half-squad taking Bren fire on the embankment near the green house is the five-man portion of 1 Squad. The four-man portion spent the turn pausing. This pic illustrates the current situation:
//tallyhocorner.com/wp-content/uploads/2021/02/bridge05p.jpg
I think I need to start IDing the infantry squads and half-squads by leader name only (name will remain even if leader is killed) as using numbers and unit sizes is pretty confusing.
An amended version of the order comment should be ready in about 30 minutes’ time.
Why is the 5-man team (HQ) in the NE Group at blue l18 on the embankment near the green house? I ordered them to blue o17 (where the 4-man team is pausing).
Sorry, put that down to Clausewitzian friction. In the heat of battle I misread a hedge-obscured ‘l’ on the grid map as an ‘o’.
Carl von Clausewitz? Never heard of him but I like the cut of his jib and the set of his sail.
“…he argued that war could not be quantified or reduced to mapwork, geometry, and graphs.”
https://en.wikipedia.org/wiki/Carl_von_Clausewitz
Huh?
And there was me imagining that Tim has the map printed out dinner table-size and pushes hand-carved figurines around on it. (Craft supplies delivered “c/o Mr Callan”).
von Clausewitz? It’s a long book so an abridged version may be a better option but ‘On War’ remains valid two hundred years after he wrote it.
He’s mostly famous for (paraphrasing) “War is the continuation of politics by other means” but he also put in writing that the purpose of a military action, or a battle, or even a war is not to win. It’s to impose your will on the opposition.
That shift in focus was a good learning for the younger me.
Tim, are the fusilier squads carrying any smoke grenades? Alternatively, can we ask the mortar team to fire a smoke?
Yes, mortar should have smoke. Might be best use for them this turn (short of repositioning) as their use is limited with, er, limited LOS.
I’m thinking it would be useful to lay down some smoke close to the already-smoking PSW 222, so we can advance fusilier squad 2 across the open field. I think it might be best to do it now, so the smoke has time to clear by the time enemy reinforcements come in from the east.
I’m not sure about the SE mortar squad’s visibility, but a couple turns ago the NE squad seemed to have visibility all the way out to the bridge, so perhaps they could even take a pop shot at the house at [blue a, 37], although that’d probably be more useful to hit with an HE bomb than a smoke.
The newly arrived 8cm medium mortar can fire smoke (32 x HE + 6 x smoke) . The two light mortars can’t.
I believe each of the fusilier squads carries a single smoke grenade. In split squads this is assigned to the five-man team.
Hmm, I’m not sure it’s worth FS2 using up their sole smoke grenade from the position in the hedgerow, since I doubt they can toss it all the way to the rail embankment and throwing it short will just let the enemy know there’s something happening.
ORDER: FS2 Meister’s team [blue x, 25] to steel themselves and rush toward the PSW 222 [blue l, 33], via waypoint [blue t, 30]. The goal of this minor zig-zag is to keep the smoke column between them and the attic window of the house at [blue a, 37].
My assumption here is that if anyone was holed up in the second L-shaped wood, they would’ve opened fire on the teams in the first L-shaped wood by now, and ditto if there was anyone in the green house by the rail bridge. So, it seems likely that most of the remaining east side enemies are deployed behind the rail embankment, closer to the bridge. It’s a gamble, but I feel like the team will be more useful closer to the embankment where they can at least lob some grenades in the direction of enemies we already spotted. I dunno, willing to belay this order if the collective wisdom disagrees.
ORDER: FS2 Woikin’s team to remain in hedgerow at [blue x, 30], targeting house at [blue a, 37], hopefully with enough of a vision cone to hit anyone peeping over the embankment between rows 30 and 40.
ORDER: Half track and 1 squad at Black C4 FAST to road at C19, then fast along road until M26. If there’s time, then disembark the squad and have them move into the woods to the east of the road.
Do the mortars have the range to cover the whole map?
Don’t think so and it’s sort of a moot question – they can only target (accurately – Tim might be able to confirm if they can fire blind) what they see. We’re getting the mechanics of Combat Mission here but the mortars have no spotting unit that can relay targets to them from a safe firing position, although this may not be true for the newly arrived reinforcements – or if an infantry HQ unit were to move into command range.
The two light mortars east of the canal have a range of roughly 500 metres. The one in the NE could fire on the monastery – 480m away from its current position – *if* it had LoS (It doesn’t but can see small areas each side of the canal bridge). The SE one has LoS to the central stretch of the railway embankment and little else.
The newly arrived medium mortar has a range of 2.4km and, once set-up, can, with help from radio-equipped units acting as spotters, engage out-of-LoS targets.
Doesnt the 8cm mortar and the HQ squad have radio contact?
I believe both of the HQs (the one in the L-shaped wood and the one that has just arrived with the convoy) will be able to task the mortar once it has set-up.
The “small areas each side of the canal bridge” that the NE light mortar squad can see – does that include the area around [red z, 41] where we heard the machine gunner shoot from? And, if yes, can they aim a single round over there just to keep him rattled, even if we don’t hit him?
The area in question is in LoS and a ‘TARGET BRIEFLY’ order will, I believe, minimise ammo expenditure.
Im a bit unsure if we have the command-staff available here to move all those new units? Is it ok to order 2 units instead of one?
If any units are without orders this time tomorrow then Comment Commanders who’ve already participated this turn are welcome to take on a second unit. I would like to maintain the “west = supporters, east = anyone” distinction for the time being though.
I think we need to help out Elm’s team (2 men) [blue t48] by bringing in Hirsch’s team (5 men) [blue y47] to flank the British ambusher. Unless someone has a better idea…
ORDER: Hirsch’s team quick to blue q46, then assault or hunt (i forget if you can assault with a split squad) to blue q49.
I concur. I’m not convinced though that the HQ should sprint across that open ground just yet (especially now we’ve just found out they can call in medium mortar strikes).
Instead we need to get the light mortars moving again. They’ve had a nice rest but they’re not contributing and with the half track in place it’s unlikely they’ll find any targets that others can’t engage quicker.
However, given I’m not sure it’s safe for the HQ to move the SE mortar team would be at just as much risk trying to move West themselves so I’ll leave them be for the moment.
Instead since Alison’s already given an order this turn I shall implement her suggestion for the NE mortar team.
ORDER: NE Light mortar team [blue u9] to open fire as soon as possible targeting the ground at the East end of the canal bridge. They should fire no more than 10 rounds (although I doubt they’ll fire that many, or maybe even any this turn).
I’d prefer them to walk mortar rounds along the canal bank for 10-15 yards either side of the bridge but suspect that’s beyond the game mechanics (or their accuracy).
Yeah, I wouldn’t move the HQ over until those two teams can clear the L shaped woods of any other surprises.
Order: SPW 251/1 halftrack + 1 Squad (9 men) [black c4] move [black Golf 22]. Dismount at arrival.
The lead halftrack already has orders (see cardboard’s message). Fancy directing the other one instead?
Sorry, didnt mean to poach on Cardboards command.
Not participated in Brinkmann’s Bridge yet? Now would be an excellent time to take the plunge. Units that will twiddle their thumbs this turn unless given an order in the next 12 hours include the newly arrived truck (transporting two fusilier squads) and Kubelwagen (transporting a medium mortar team).
To ensure they don’t get left orderless, I’d venture to suggest the rest of the column moves witht eh 2 half tracks
ORDER: Kubelwagen and Truck move to c19 and g19, following the track and road, with appropriate spacing/speed so as not to cause a road block (up to your discreation Tim, it’s easy to get vehicles in each others way in CC!).
Let’s see if SE mortar team can give alison some more covering fire as asked for. Not knowing how Target Briefly and the setting of tasks for a period of time work, would something like the following be possible:
ORDER: SE Light mortar team [circa green a, 42]
Target Briefly [blue k, 34] (radius 20m if that has any input) for 20 seconds.
Target Briefly [blue k, 26] (same radius) for 20 seconds
Target Briefly [blue a, 37] (radius 25m)
If they’re unable to make the last two targets (S of railway bridge & the house) work, then aim their fire at the northern- and southern-most points of the railway embankment that they can hit.
Order: *SPW 251/1 halftrack + platoon HQ (4 men) + mortar ammo bearers (2 men) [black c2]; Mortar ammo bearers Dismount (the 8 cm mortar should also dismount here and setup, it should have the range for the map)
*SPW 251/1 halftrack + platoon HQ (4 men) Fast to [black lima 24] Dismount on arrival, HQ platoon move into forest West.