
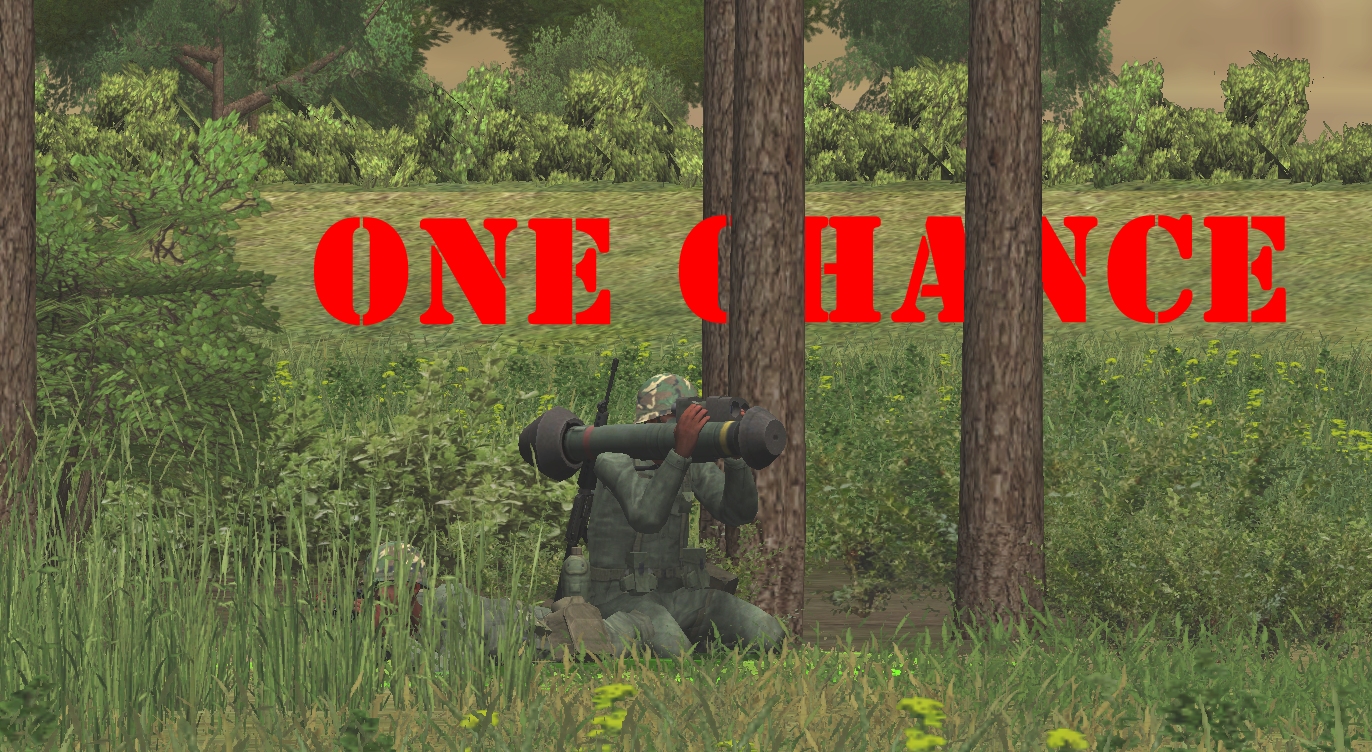
Finally! In response to his comrade’s excited “Enemy armour approaching!”, our patient Dragon tamer kneels, shoulders his drainpipe, and centres the approaching Podrabian tank in his sight.
(Operation Oryx is an open-to-all game of Combat Mission: Cold War set in 1981. The commenter-controlled Zendoran forces are attempting to ambush a column of Podrabian vehicles bound for Zečin, the Zendoran capital. Each turn covers one minute of WeGo action. For a scenario outline and summaries of earlier turns, click here).

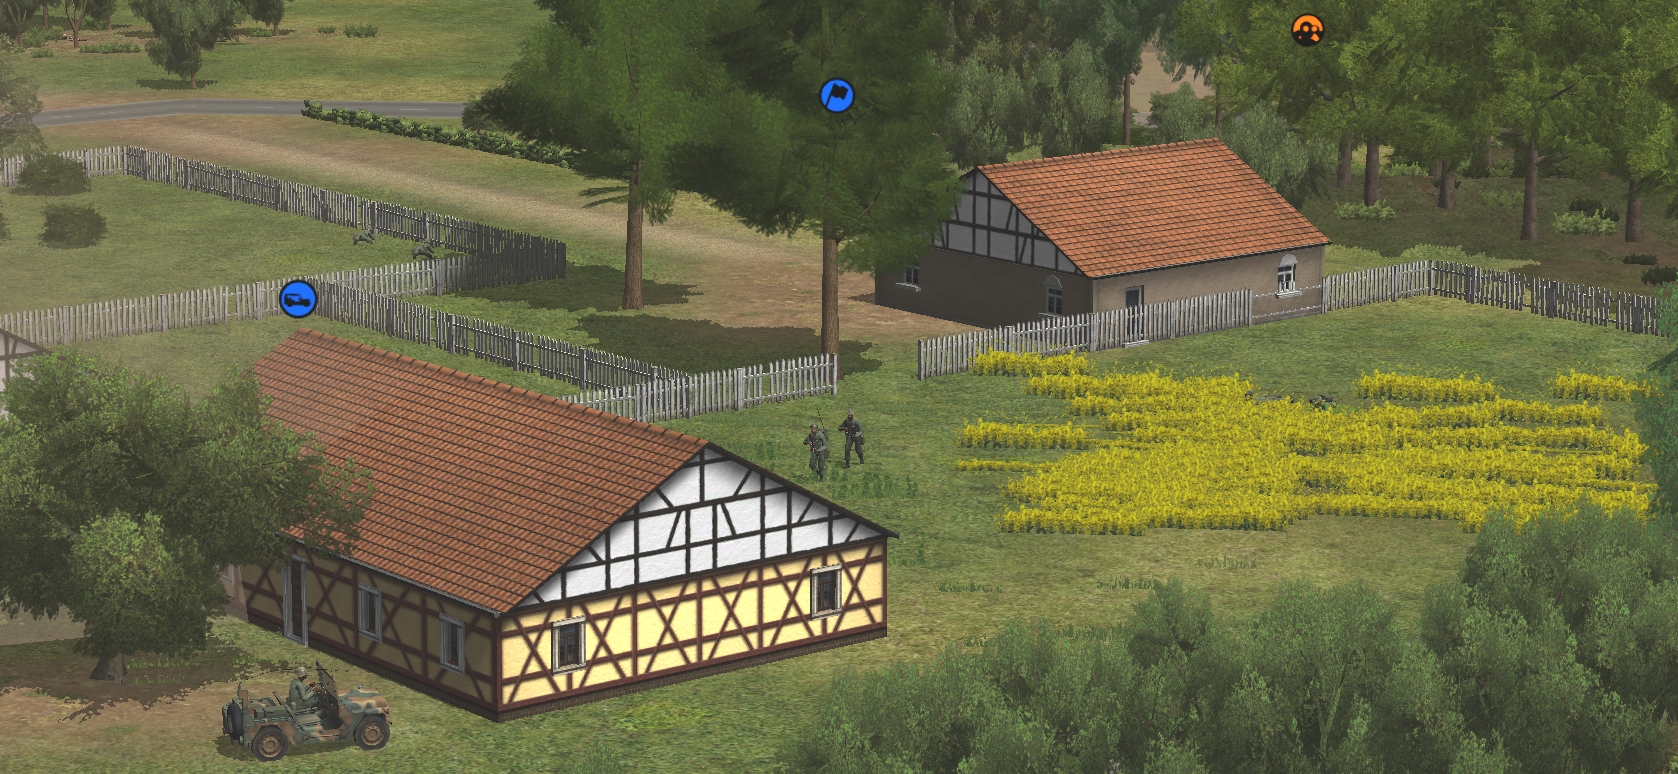
The T-55 that did for Otto Pinkas and Branko Somlac, and pruned Recon Team Charlie, is on the move. Disappearing from view after quitting its position beside the garage, it transforms into a red sound contact icon. The scarlet square sidles past the silent hotel, then lycanthropises back into a tank on entering the LoS of the Dragon men. A moment later the threat lurches left, coming to a halt amongst trees close to our hidden LMG team.
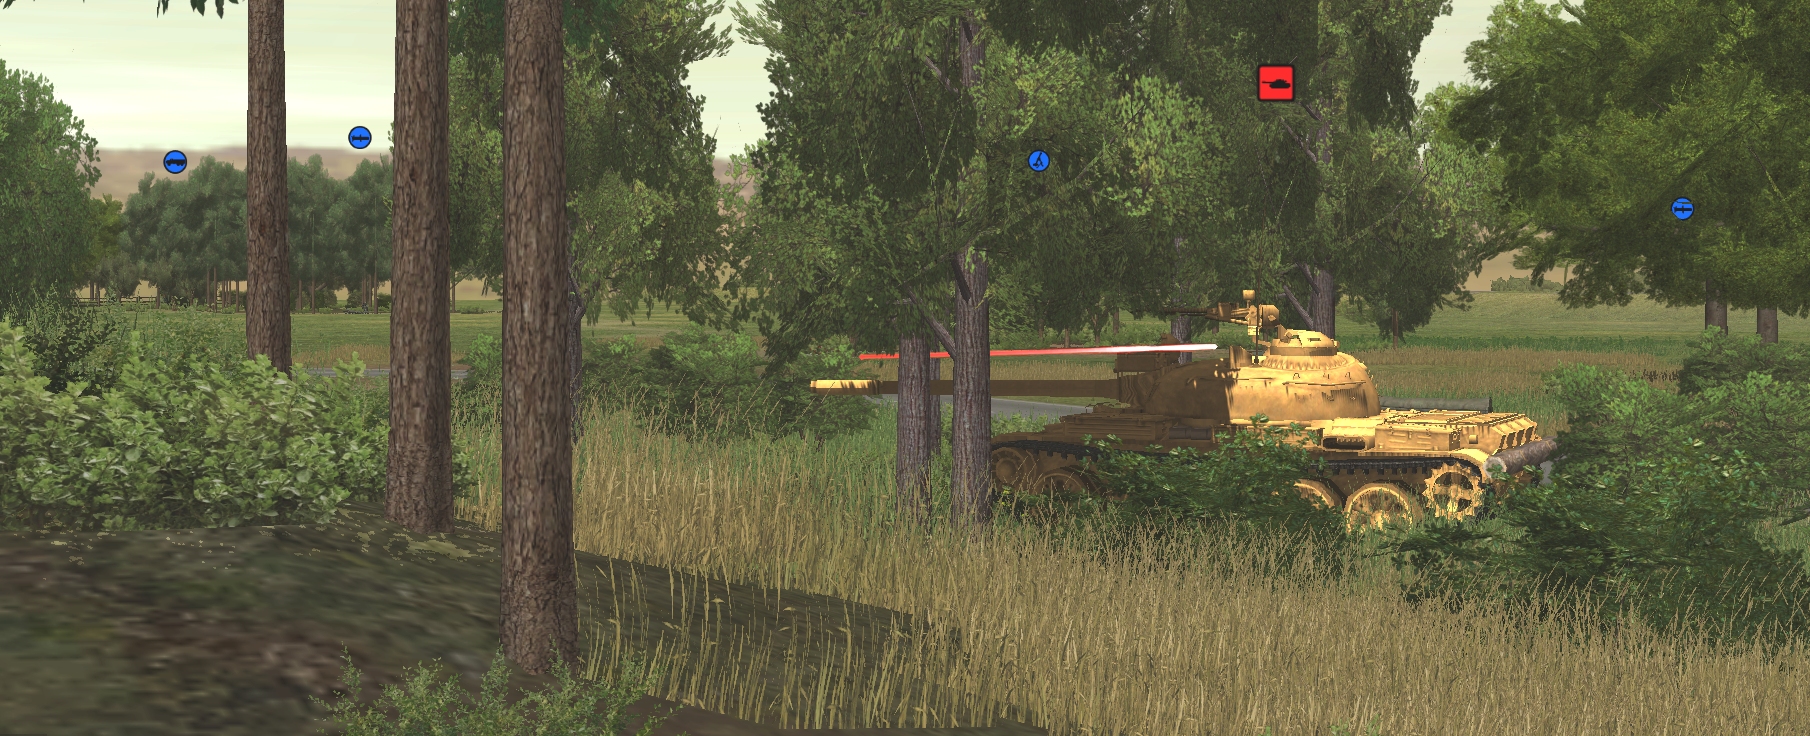
Dragon eyes dinosaur for a few seconds, the Pod AT specialist aware that a miss could prove fatal. He’s surely on the verge of squeezing his trigger when tracer begins to fountain from the T-55’s turret and that turret starts turning to port.
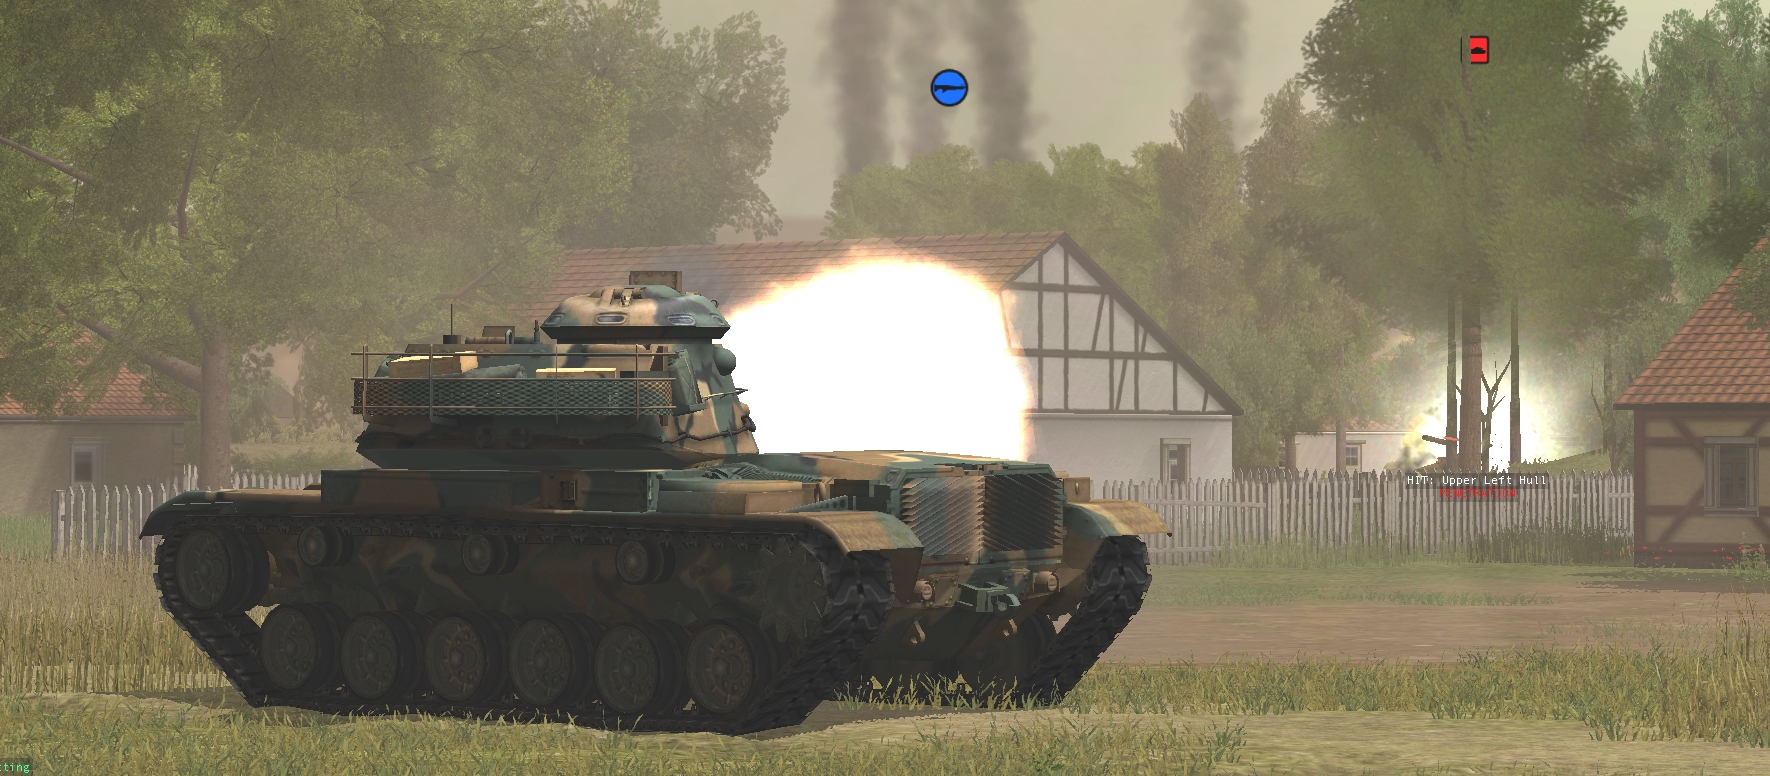
The firework display is brief. It begins at T+39 ending a second or two later with a pane-rattling clap of thunder. Although the T-55 and the Patton noticed one another at roughly the same moment, the Zen MBT is faster on the draw. Opening hatches confirm a one-shot kill. Our Johnny-come-lately M60A1 has opened its account.
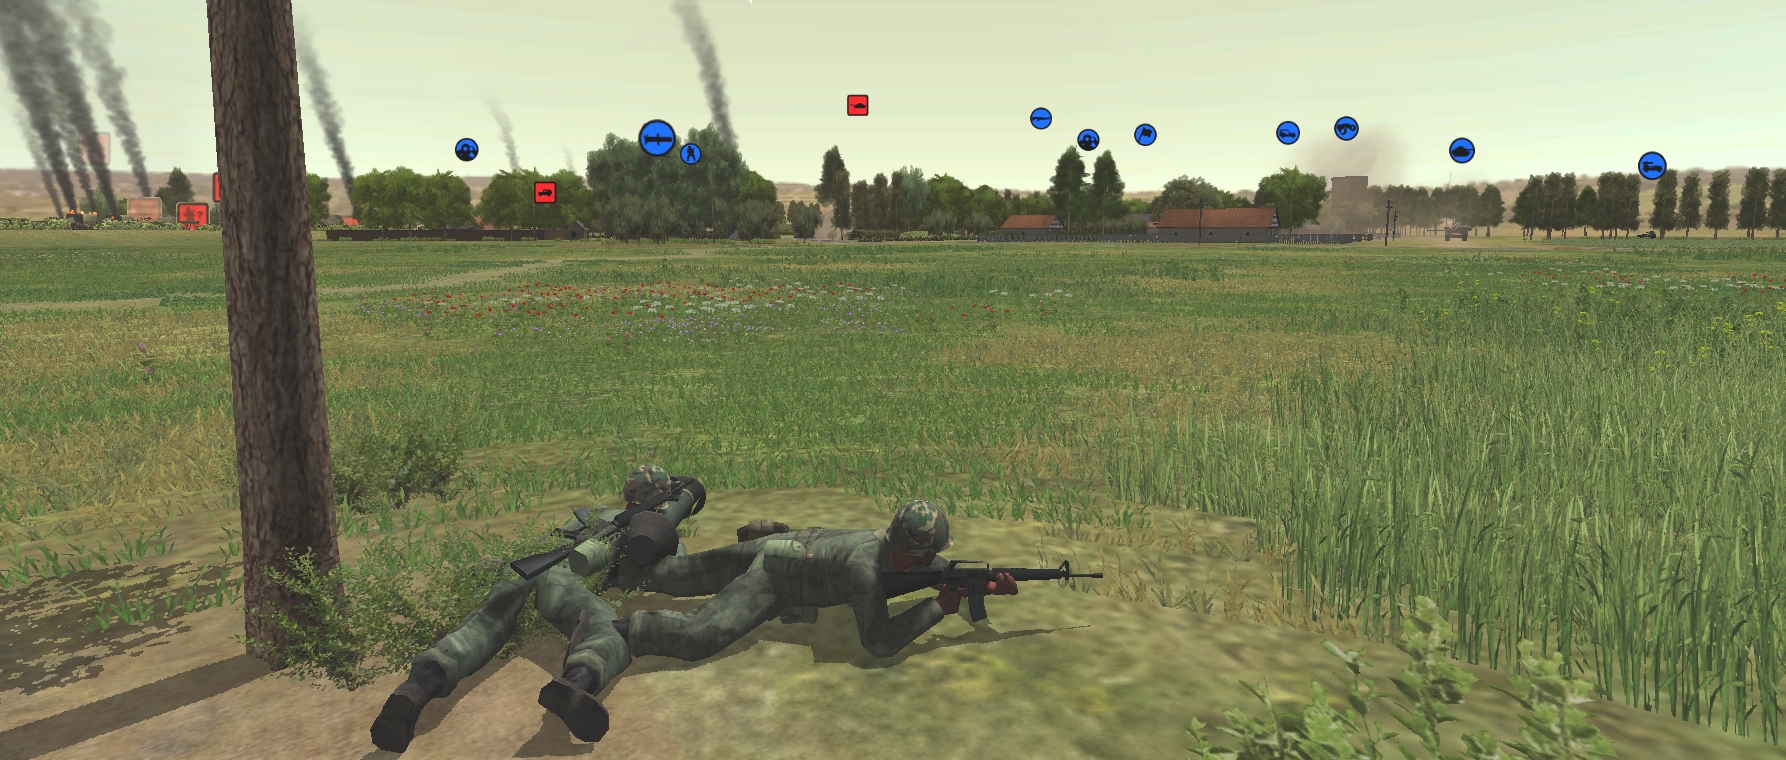
Feeling somewhat cheated, the Dragoneers sink back into the herbage and resume their vigil.
Elsewhere…

There are no signs of movement from the PT-76 and T-80, and both the northern T-55 (last seen in the vicinity of New Farm) and the ‘overwatch’ T-55 (last seen heading for the Lesovs’ house) vanish during the course of the turn.
Rattled and a man down, Team Droopy make a meal of packing up. They are still fumbling with equipment when the clock stops.
The M113 retreats without incident. Trees and fencing complicate the truck’s westward perambulation.
Scrappy and Trajanov pass the panting Recon Team Charlie as they pull back.
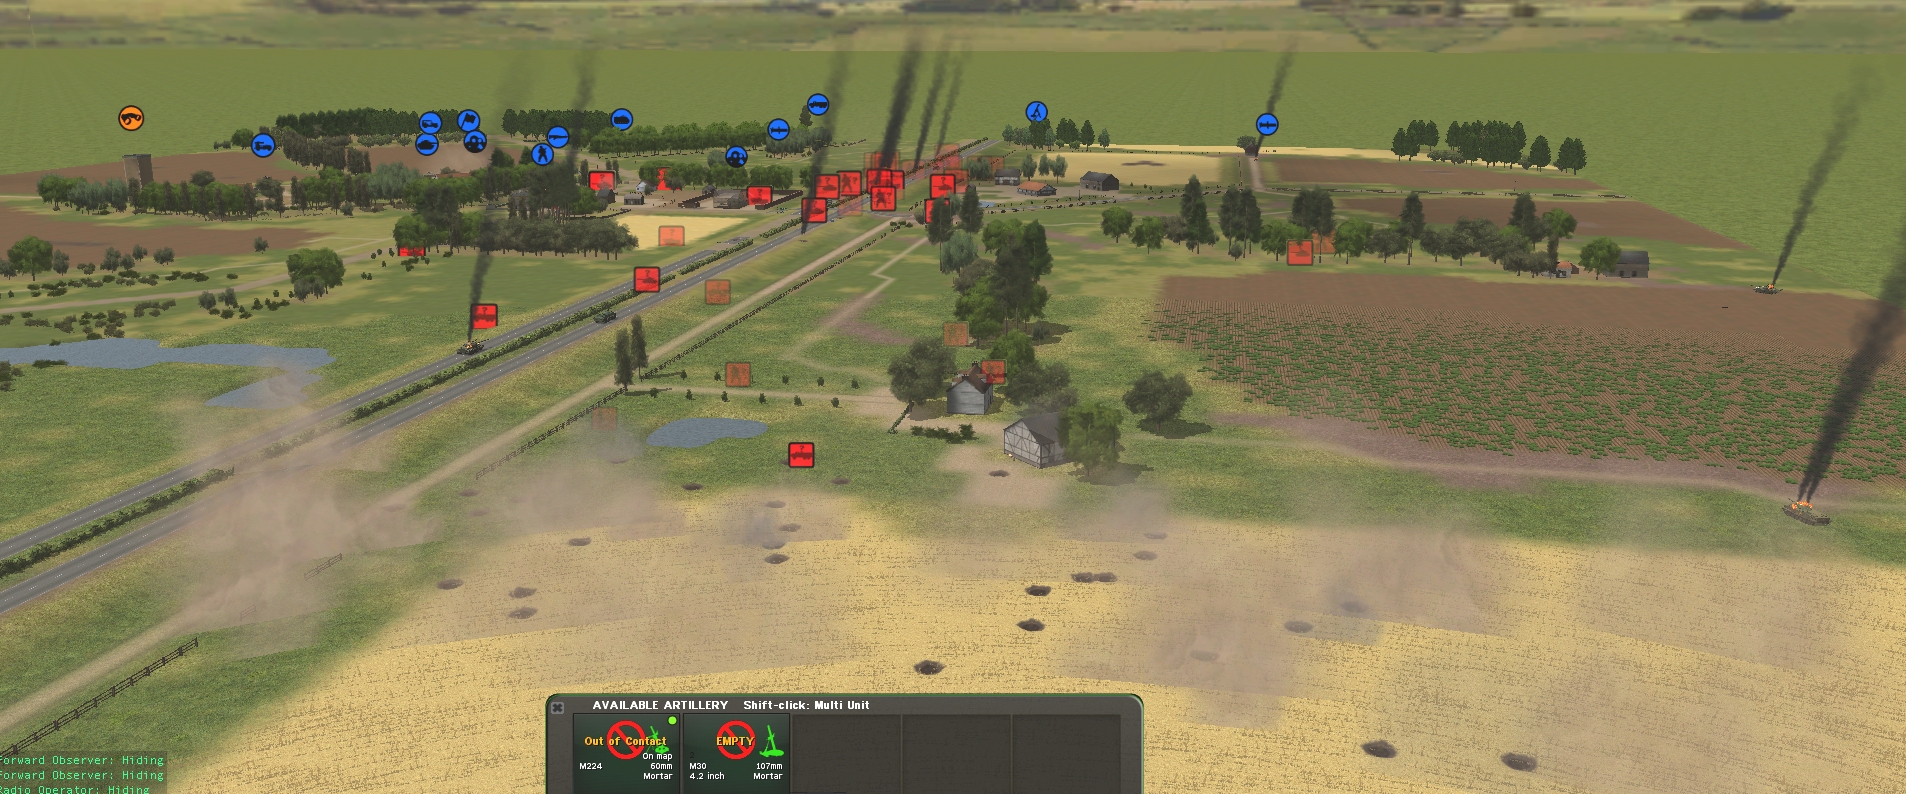
The off-map mortar battery lobs the last of its 107mm rounds.
Turn 28 orders here, please. Commenters are cordially invited to suggest moves for the following units. (A maximum of one unit per commenter. Subscribers can move two if they like). Turn execution: probably Monday morning.
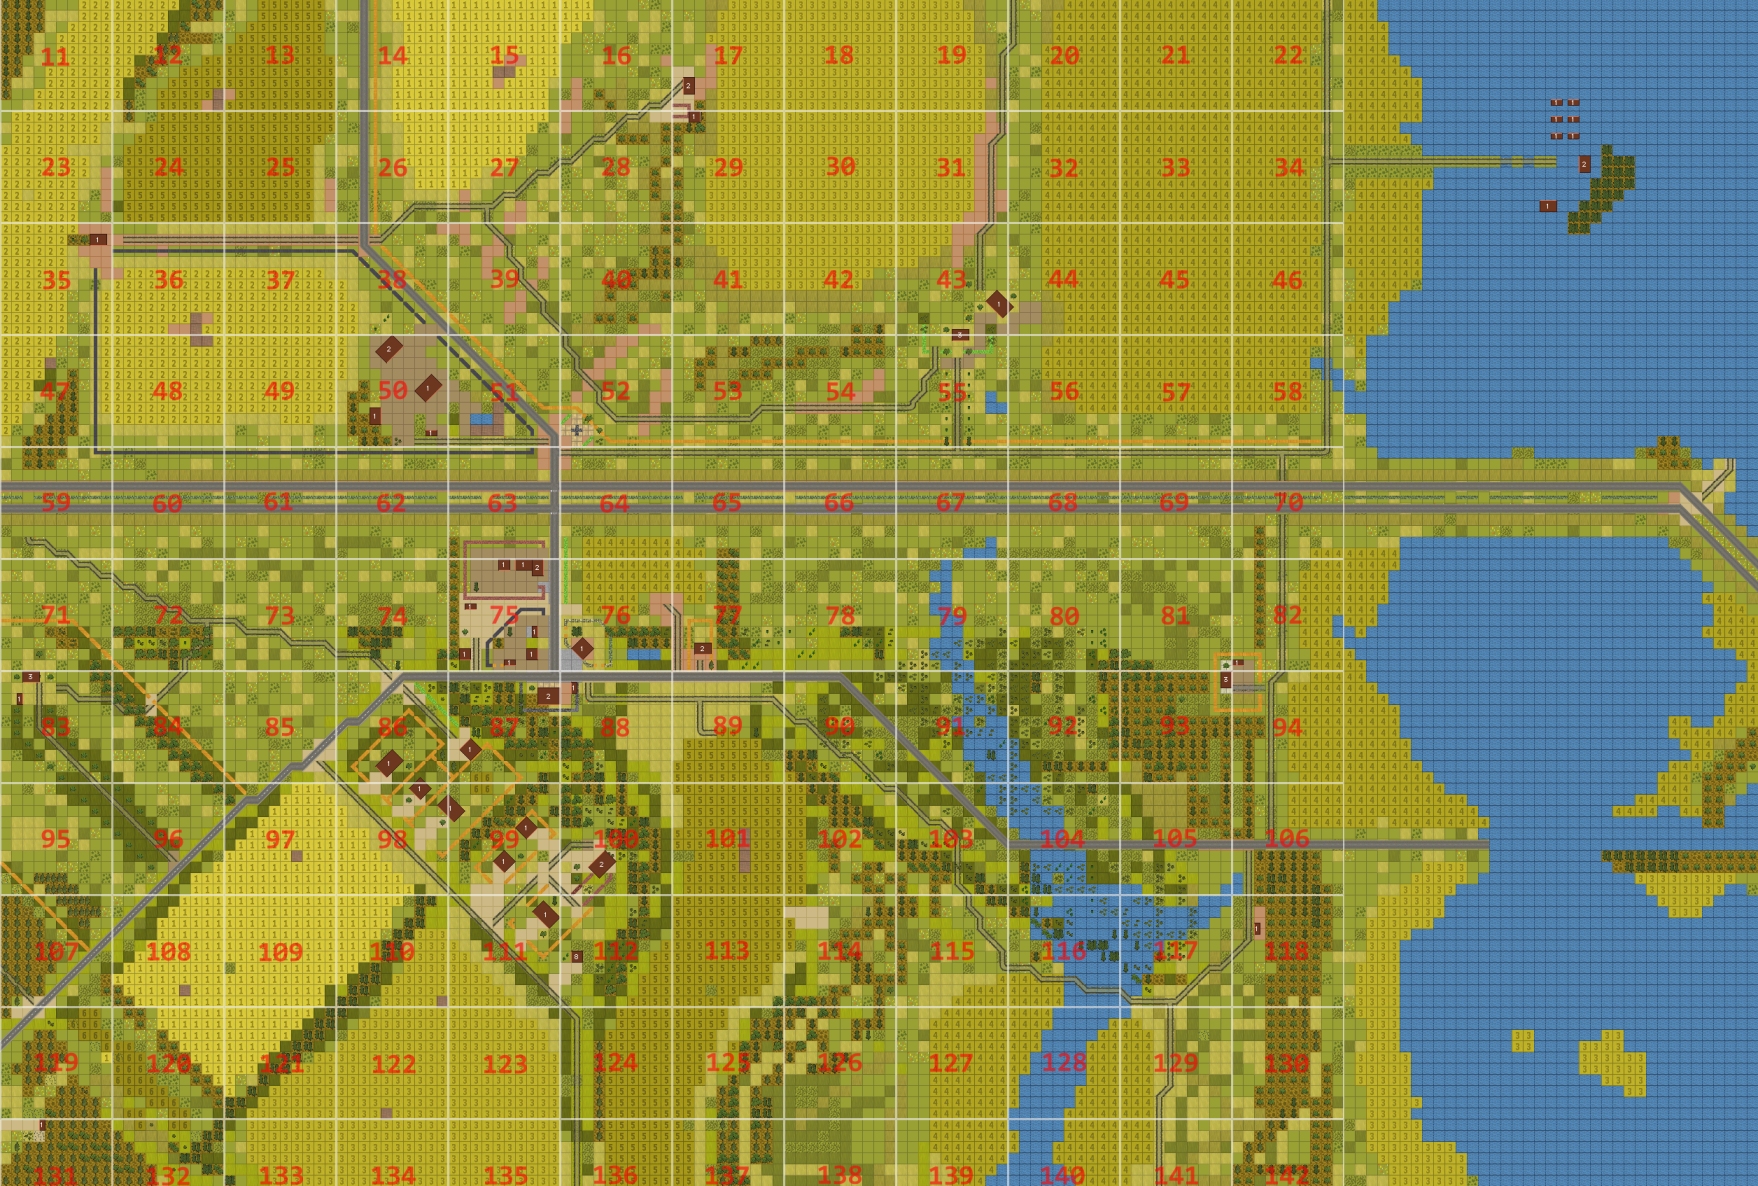
Light mortar team (2HE, 4WP) [BOX 47]
MG team (hiding) [BOX 86]
Dragon team [BOX 72]
Recon team B (1 man, upstairs) [BOX 75]
Recon team C (2 men, tired) [BOX 87]
Forward Observer Team [BOX 112]
TOW Mutt ‘Muttley’ (5 x ATGM) [BOX 110]
Team ‘Droopy’ (no ammo, dismounted, 1 man incapacitated, packing up v. slowly) [BOX 23]
Mutt ‘Scrappy’ [BOX 98/99]
Trajanov [BOX 98/99]
Truck (heading for box 83)[BOX 71]
BRDM commander (hiding) [BOX 76]
M113 (unbuttoned) [BOX 96]
M60A1 (hunting NW) [BOX 98]
ORDER:
Tired or not, Recon team C is going to move. They are heading into the lee of the building between box 98 and 99 by a route that exposes them as little as possible. Probably through the garden of said building. Destination point is 98 X10 Y7.
(Meta: Please don’t miss Alison’s order about the UAZ)
ORDER 1: Mortar to fire a screening line of WP, going from SE corner of 49 to NW corner. I don’t want to risk hitting any structures, so the goal is to put a line of smoke blocking LoS for the buildings of New Farm and the (hopefully) distant threat of the PT-76.
Thoughts: This fire mission must complete this turn so they can be ordered to run south in the next turn. I have no idea how realistic the order is, so please modify to suit the intent if possible.
ORDER 2a (I don’t think this is necessary, but wanted to make sure in case the HUNT _has_ stopped): Resume g948ng’s HUNT order to 86,0,0 – turret facing towards where we expect the T-80 to be.
Order 2b (If 2a is unnecessary): M113 to move NW to 95,4,9, then briefly north through the gap and continue NW along the road to 83,0,9 – ready for a run north to pick up those units next turn. We can decide if the M113 will cross the road tomorrow!
I struggled with this, as I also think Muttley needs to move NE to engage that second T-55, thus freeing up the BRDM commander and Recon B for withdrawal. However, I have no idea how to give that order reliably.
Tim, do we know what that jeep-looking red icon is at the north end of box 77 or south end of 65?
I’m wondering if it might be time to let Recon B try head back to the hedgerow from whence he came, many turns ago.
It appears to be an empty (except for the driver) UAZ. Bravo has eyes on it.
Well, in that case, let’s see if Bravo can lay down enough covering fire to allow our BRDM Commander to dash into the hotel.
ORDER: Bravo to target the UAZ and open fire.
Finally the M60 gets a chance to contribute. Excellent!
But I am somewhat baffled by the complete absence of any sign of the T-80 this turn. He was last seen at 75 X0 Y3, was he not? Is he still sitting there? I guess so?
Should we send the M60 to hunt him down, then? If the M60 advances slowly to, say, 98 X5 Y7 we should be able to peek between the two houses to our quarry´s last known position, if I got my lines of sight right.
Excellent indeed, and I’m sure it’s only a matter of time before the Dragon team get to make a shot.
I’ve not had much luck guessing sight lines, but do we need to be careful with that T-55 in case he rolls straight on into the mix?
Regarding the T-80, maybe Lesov Jr’s shot did cause some reluctance to continue advancing…
Do you think we need the MG team to unhide to address the crew coming out of those T-55 hatches?
ORDER: Muttley waits, hoping a keyhole to the north will help take out the t-55.
He can drive west to the rear of any tanks that break past our Dragon, or alternatively, any that advance along the highway, should the need arise in the future.
ORDER 2: One unit of troops moving back to the south (maybe our commander) decides to enter scrappy at earliest convenience.
I feel like we need to ask Muttley to be a little proactive about that overwatch T-55 – any thoughts about how that might be best achieved?
If we can clear that, then that hopefully frees up the BRDM commander and probably Recon B too (if the M60 does well with the T-80).
I’ve just noticed the mortar team has got WP rounds – should we be using them for a smokescreen to allow Droopy and the mortar team to retreat?
Speaking of Droopy – why is he bothering to pack up? First aid for his partner seems more urgent, then heading south and leaving the empty kit behind surely?
>> Speaking of Droopy – why is he bothering to pack up? First aid for his partner seems more urgent, then heading south and leaving the empty kit behind surely?
I’ve run some tests, and there seems to be no way to persuade Team Droopy to abandon its ToW. As this is patently unrealistic, for post-game assessment purposes let’s assume the two survivors have patched up their comrade, and are attempting to withdraw in the direction of the Light Mortar Team.
If the mortar team wants to pop smoke, they should do it right away! I think we only have 3 turns left, and they’re not going to have much chance to get over the road if they spend one of those firing another salvo. My thought is that perhaps the truck (or, really, the APC) should head over the road to fetch them, but that might be a bit too risky given there are still at least two enemy tanks rolling around and someone in the new farm who may or may not have anti-tank weapons.
I’m hoping some of the comment commanders still get online this Sunday and issue further evac orders for Recon C. Might as well just put them in Scrappy at this point, I think. Assuming we want to keep our CO in town to keep an eye on Recon B, the BRDM commander and the MG team. I suppose either the truck or APC could swing round to pick up whoever survives these last couple turns in the village.
Sure would be nice if Muttley could get another shot off…
Thanks for this, totally agree – I’ve ordered the smoke, and asked the APC to move north in preparation for a pickup as I don’t think the truck (which I previously wasted an order on) will survive if any infantry is paying attention. If we can “resolve” these two remaining tanks the truck should still have time to get on it’s way to collect the townsfolk, if not complete the order before we run out of time.
Any ideas on how to get Muttley into a good place to shoot? I think they need to go for the new T-55, but going the long round round (E, then N) seems like it’ll take too long. There’s a diagonal road going NE, but are they likely to get hit by the T-55 before they can get off a shot? Lots of complicated terrain around there…