
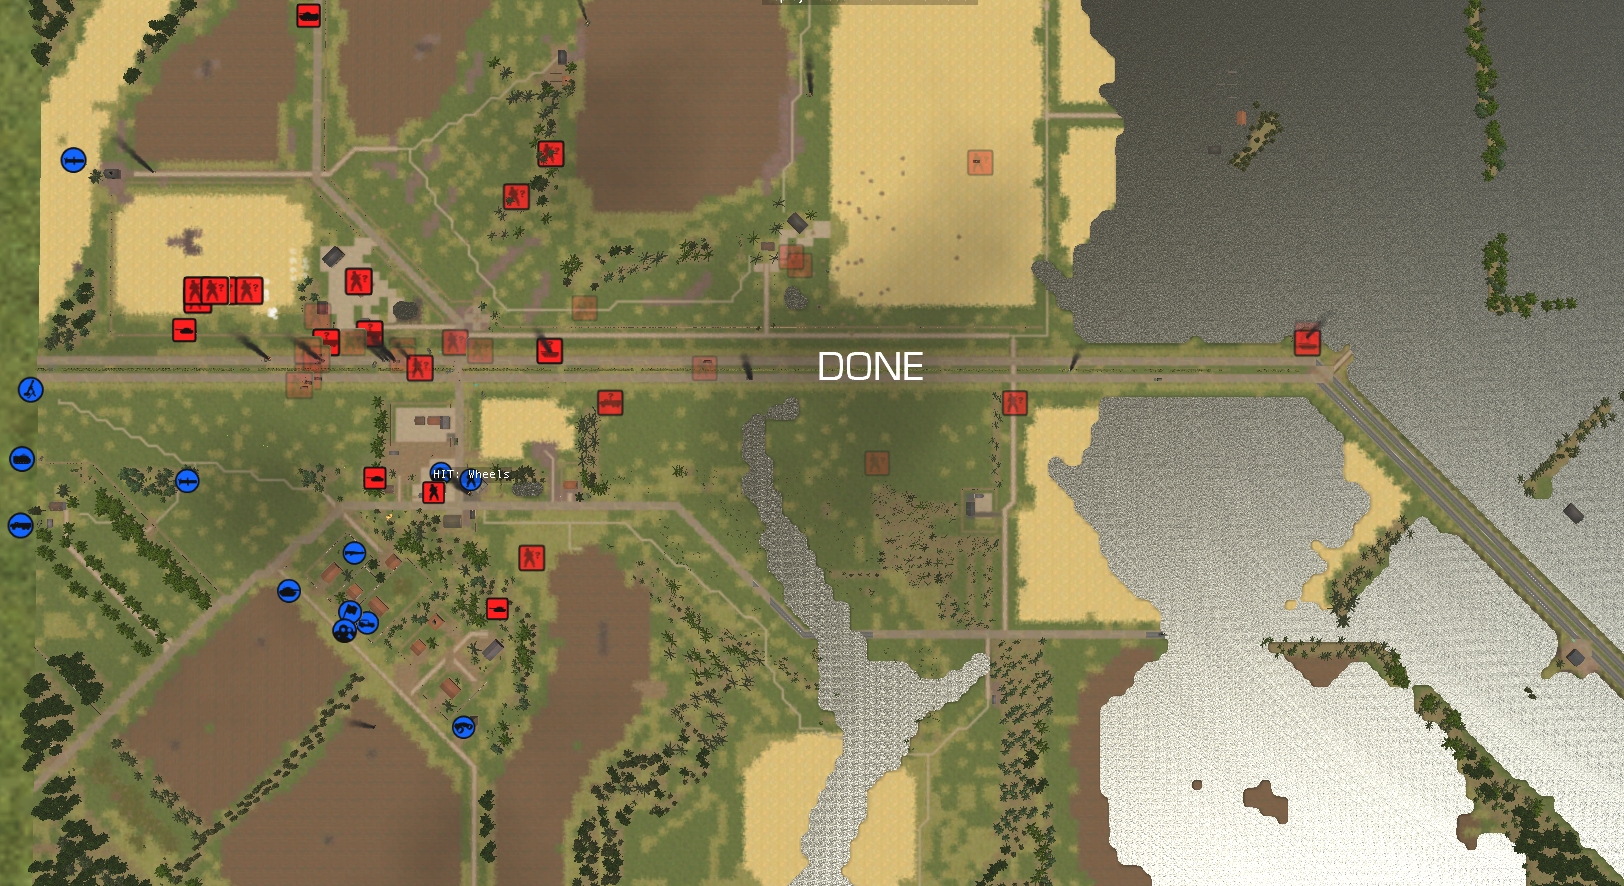
A TOW missile requires a second or two to warm up its battery and spin its gyroscope prior to launch. That delay plus an additional few seconds of operator indecision or inefficiency (we’ll never know which) proves disastrous for Muttley in the opening moments of Op Oryx’s penultimate turn.
(Operation Oryx is an open-to-all game of Combat Mission: Cold War set in 1981. The commenter-controlled Zendoran forces are attempting to ambush a column of Podrabian vehicles bound for Zečin, the Zendoran capital. Each turn covers one minute of WeGo action. For a scenario outline and summaries of earlier turns, click here).
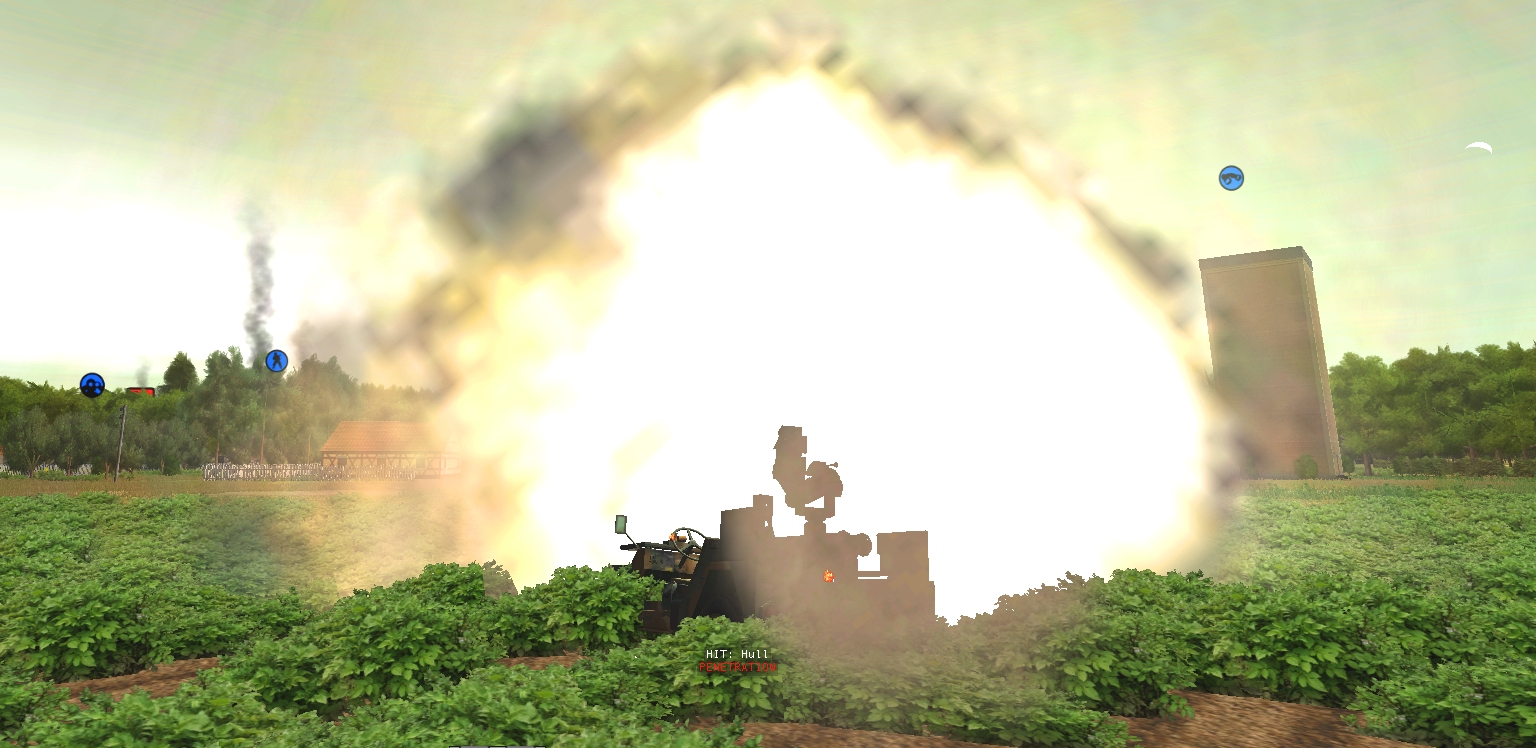
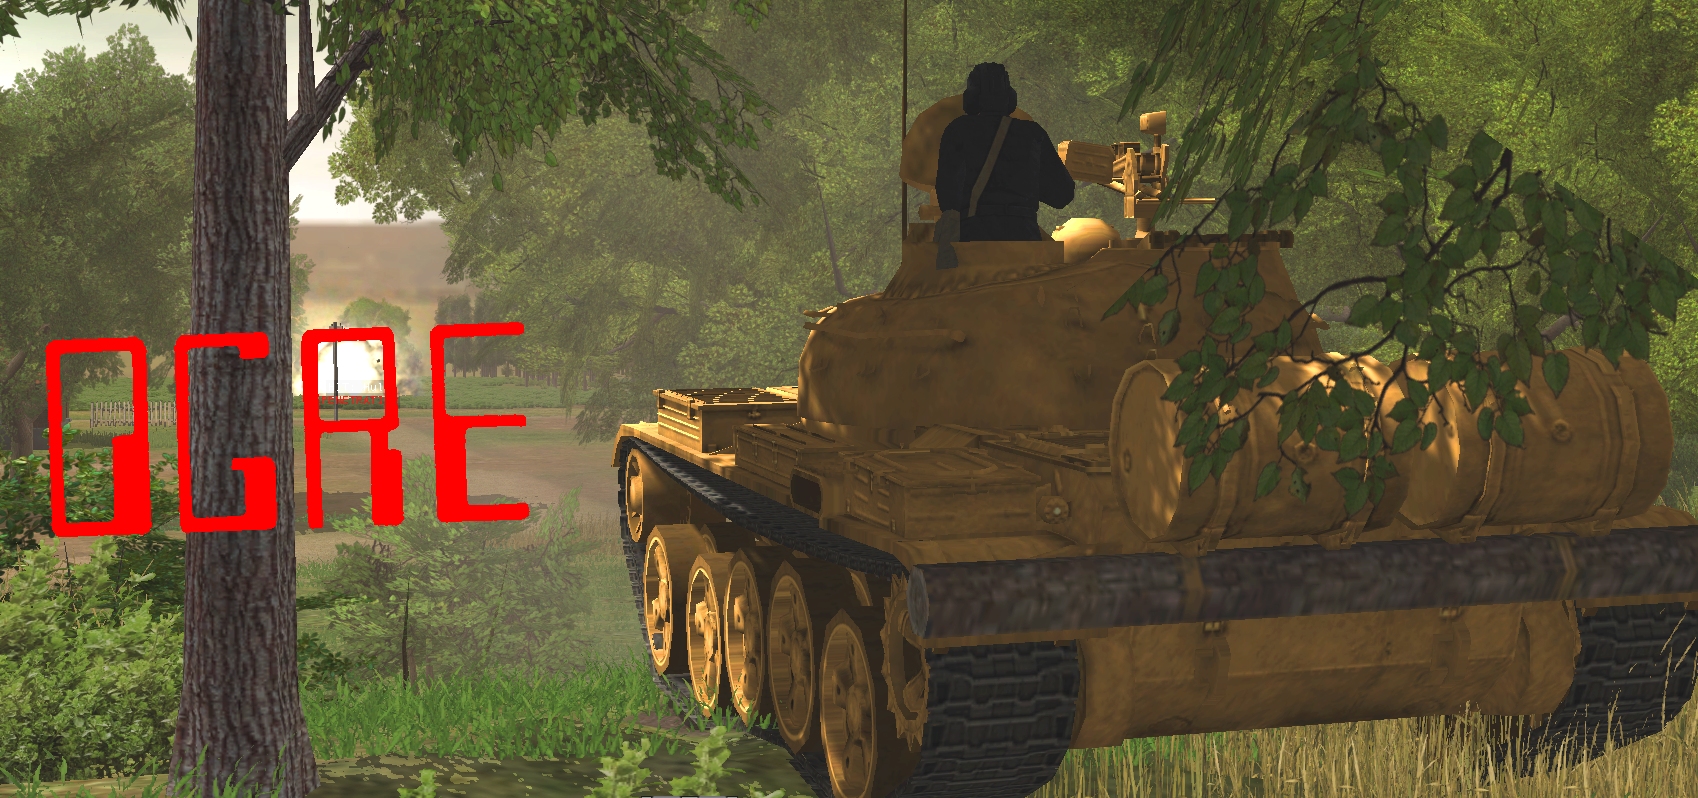
Espied early by the al fresco Oblomov, our 4×4 TOW Mutt and crew is blown to kingdom come by a 100mm HE round five seconds into turn 29.
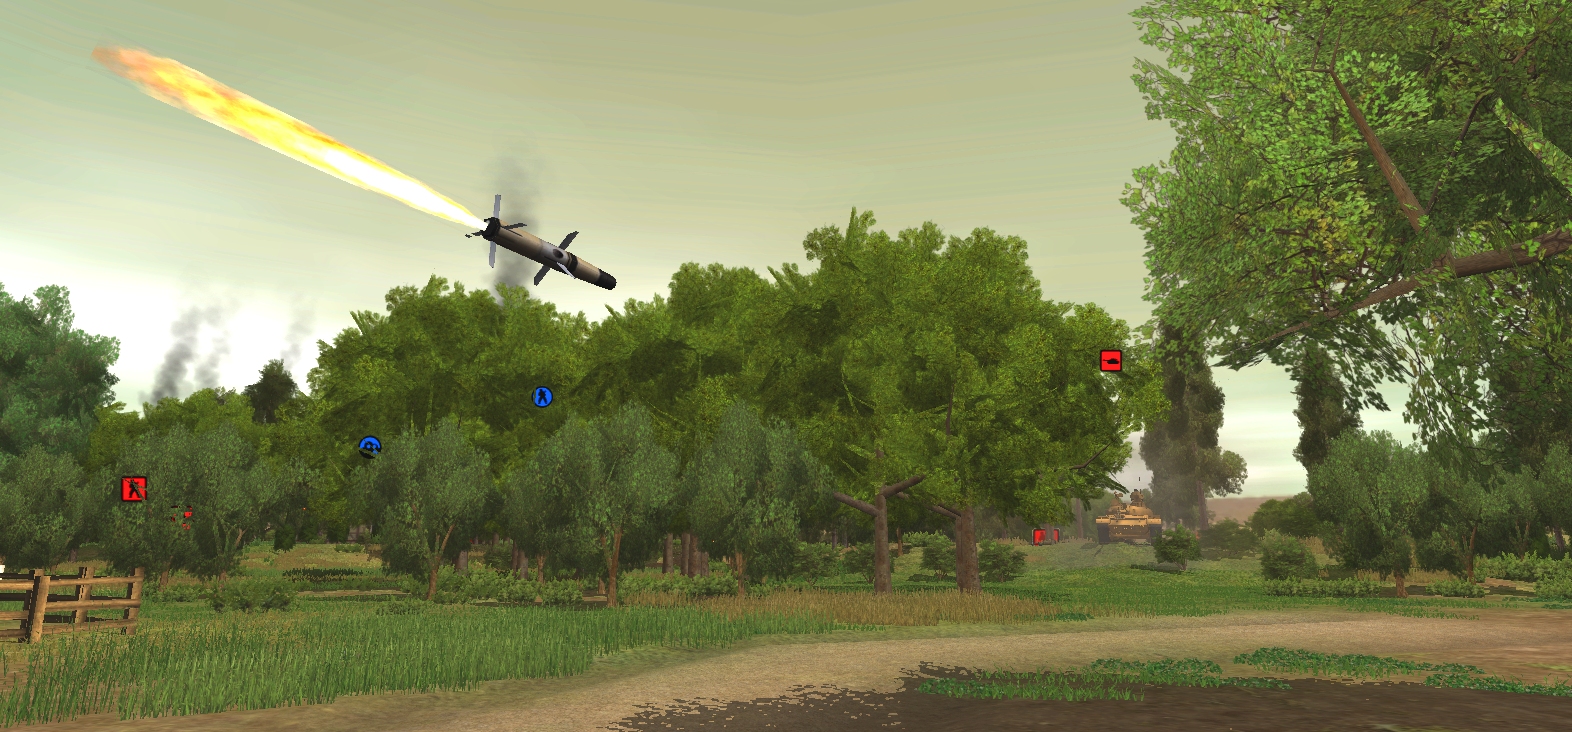
The blast leaves the missile that emerged from Muttley’s drainpipe o’ death at T+4.75, trailing a comical pig’s tail of severed guidance wire. However the fact that the TOW is now just a T, doesn’t seem to bother it unduly. It bustles along the road next to Viktor’s place losing a little altitude, yes, but otherwise apparently on target.
Next there’s an explosion in the vicinity of Oblomov’s T-55 which bodes well, but satisfaction quickly turns to disappointment when no hit text materialises.
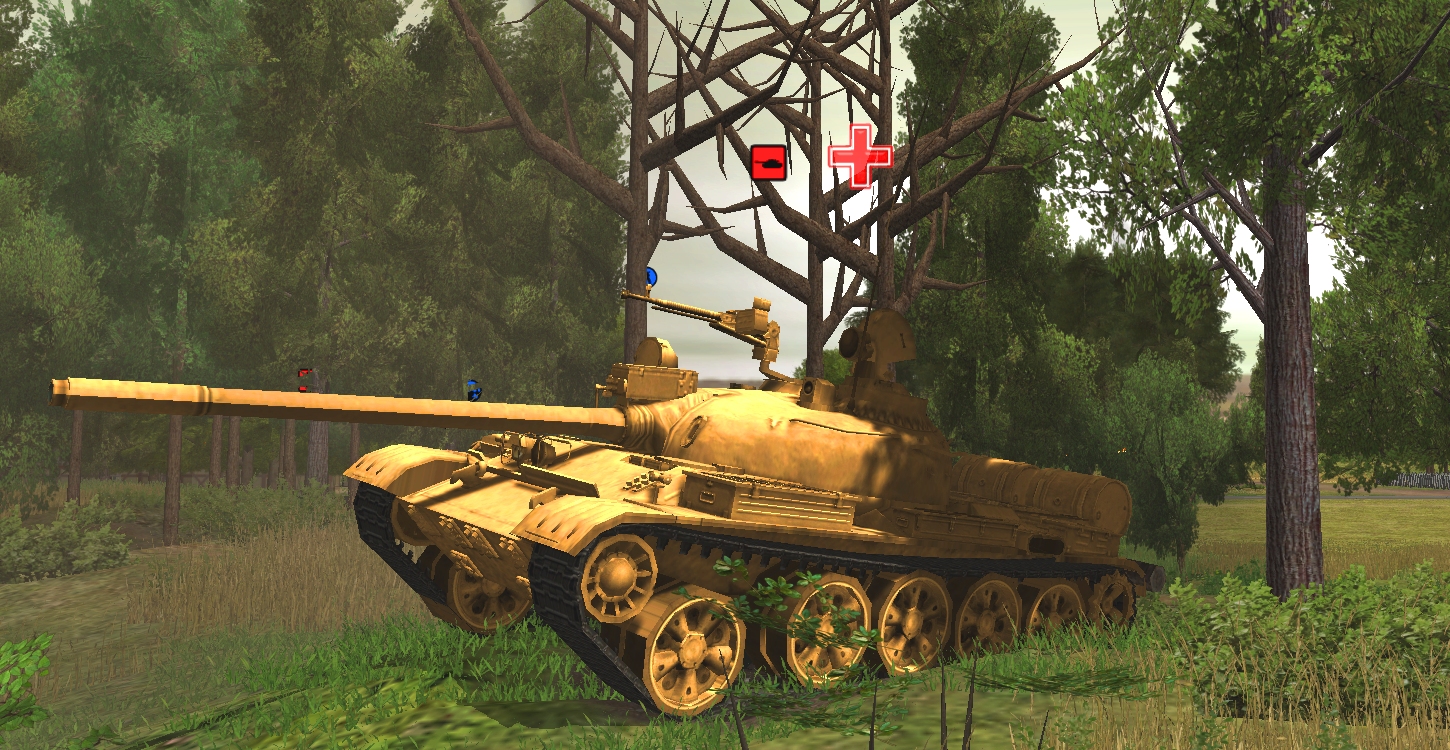
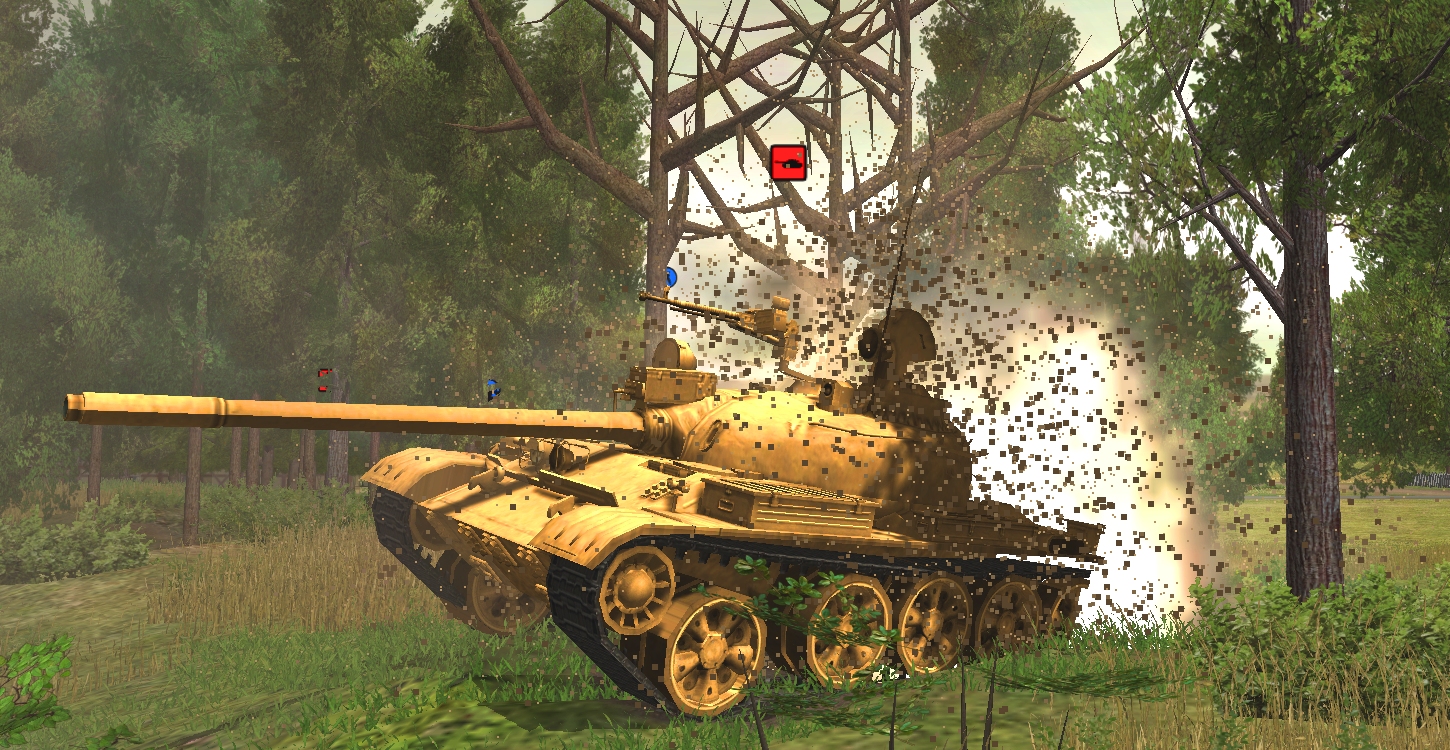
Hang on a minute though. We do get a red cross at least. Evidently, unbuttoned Oblomov has stopped some shrapnel. The T-55’s TC will play no further part in the action.
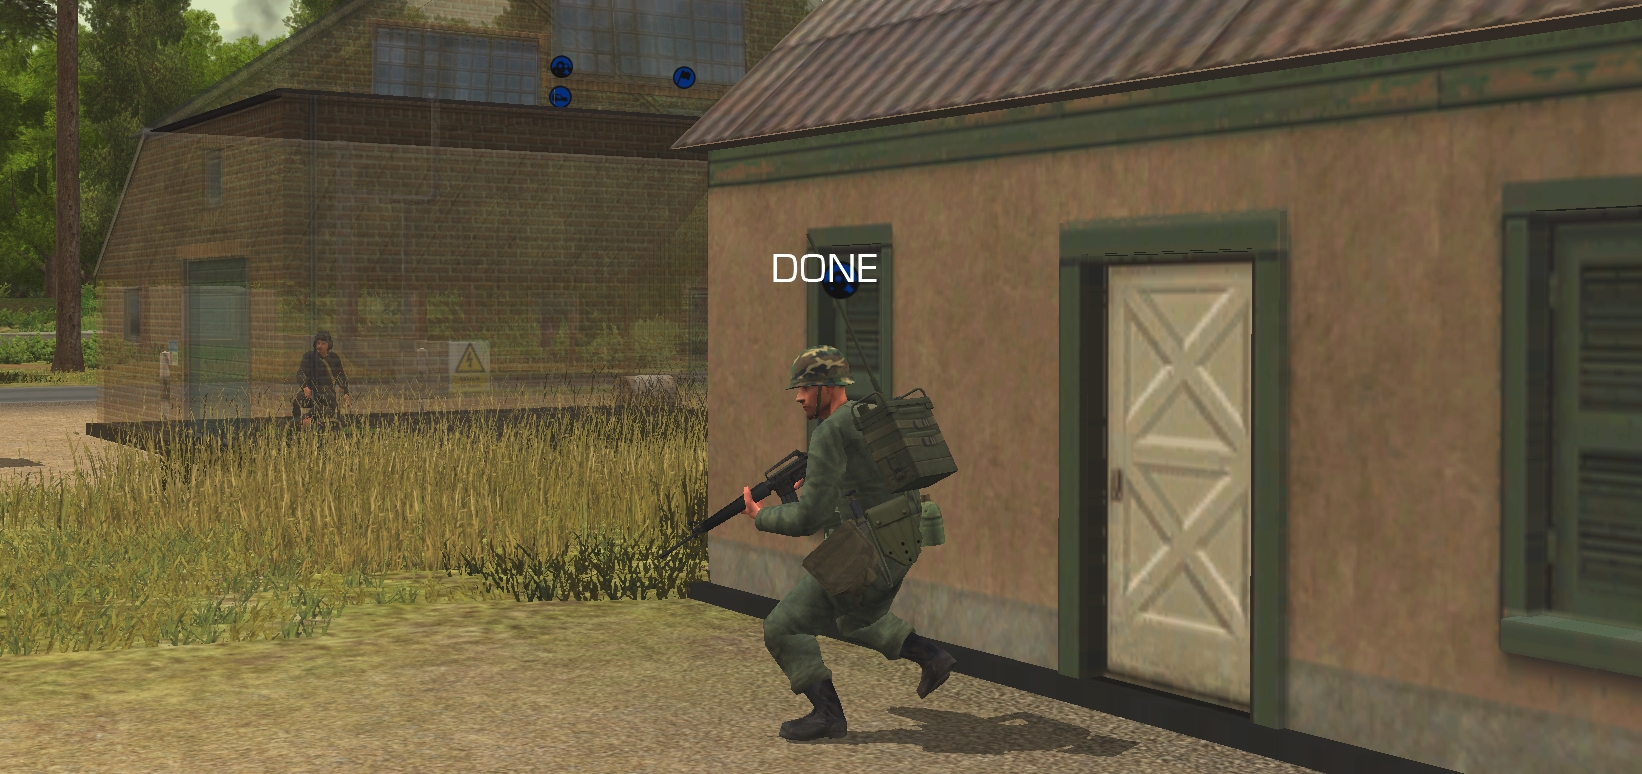
Two other situations prompt mousewheel rotations this turn. In central Strupnic, what’s left of Recon Team Bravo commences a risky but vital dash south.
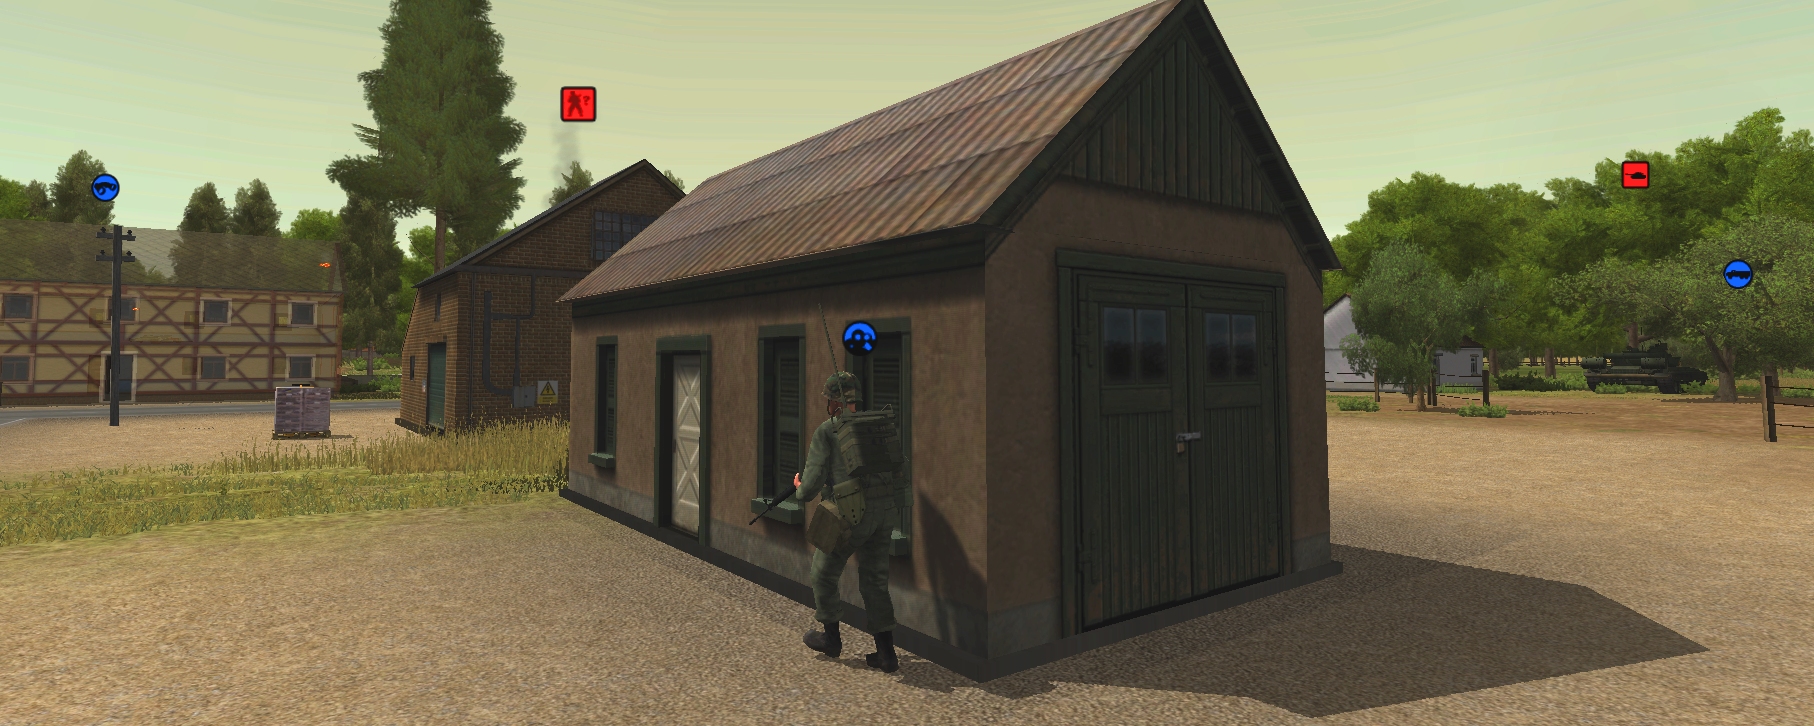
As he nears his goal, the building opposite the garage, our scout slows…
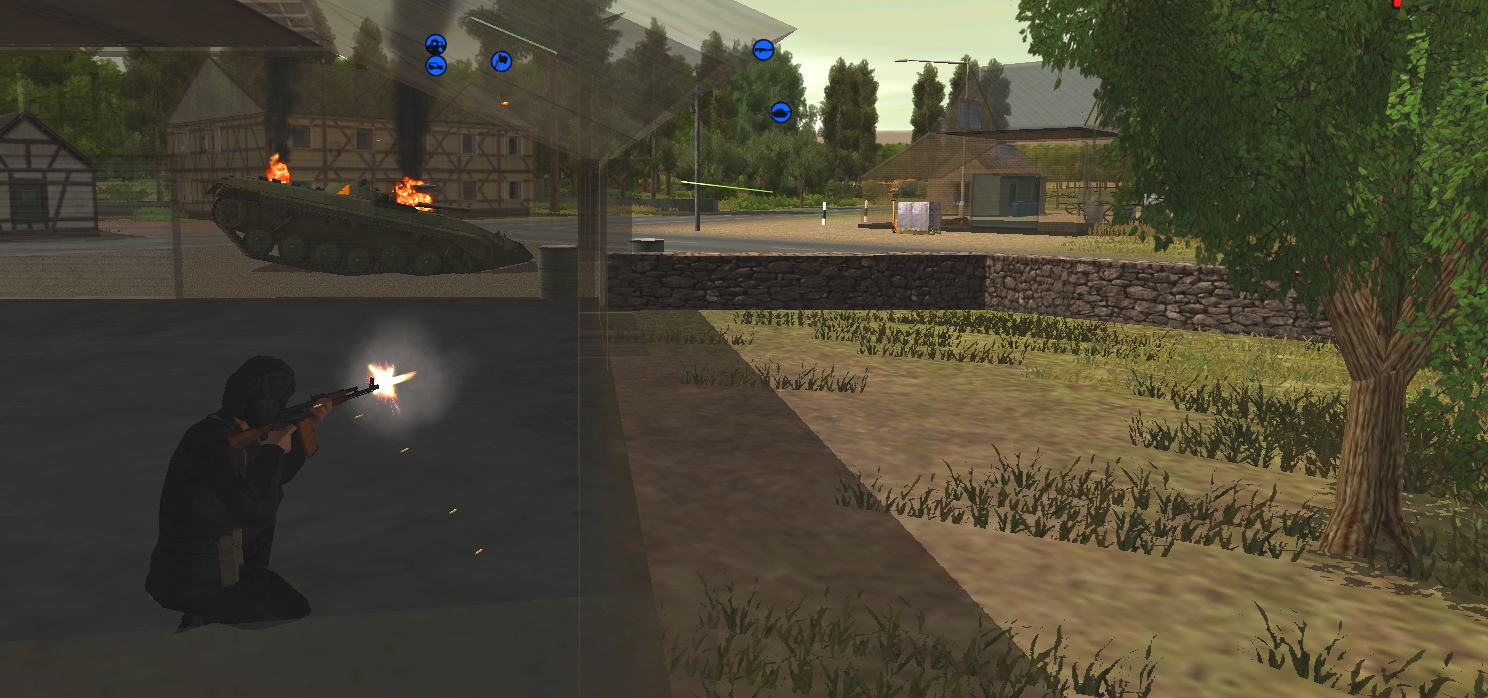
…and is spotted by the BRDM commander who provides covering fire. One of the two Pod tankers who might have stopped Bravo seems to be busy tending the wounds of the other, so the assistance may not have been necessary.
Then again… By the time turn ends, the medic has finished his wound dressing and is fingering his sidearm menacingly.
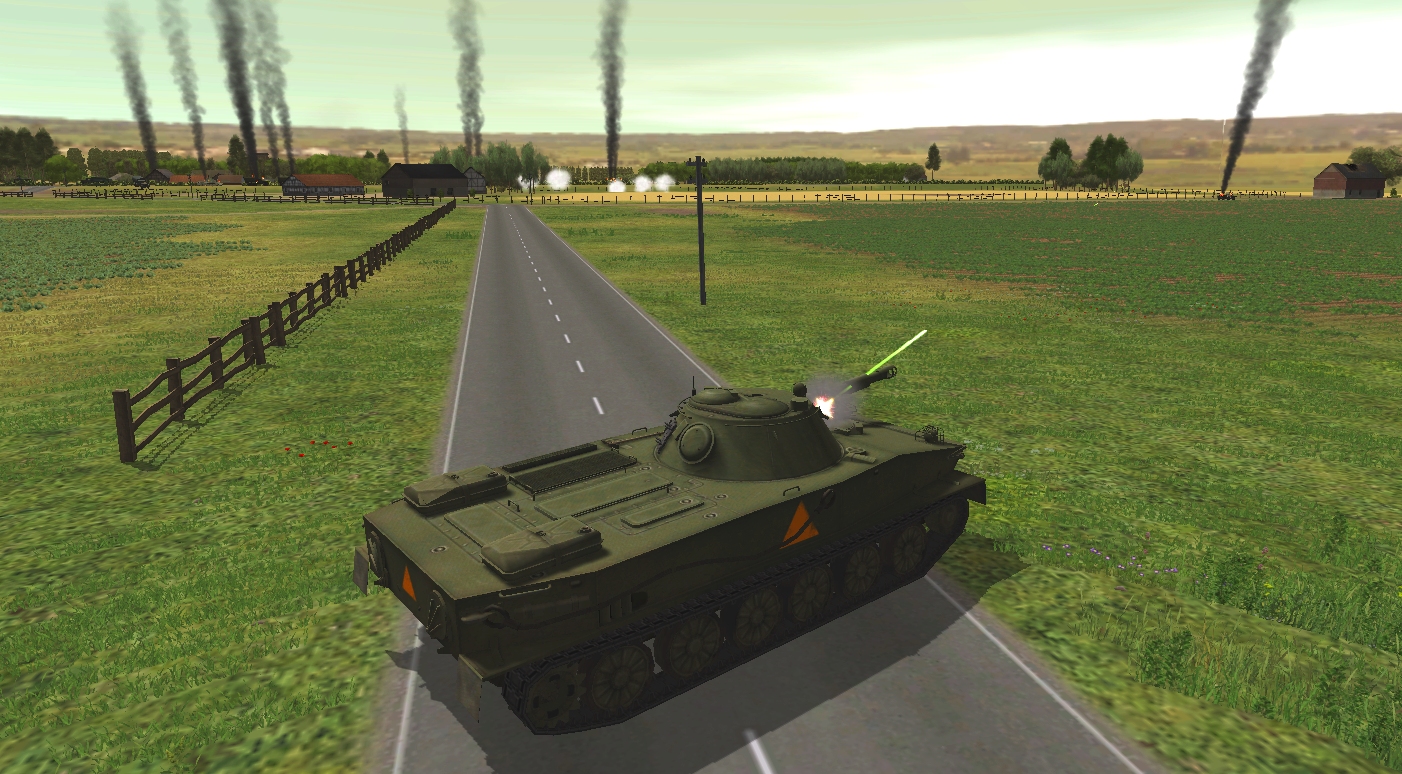
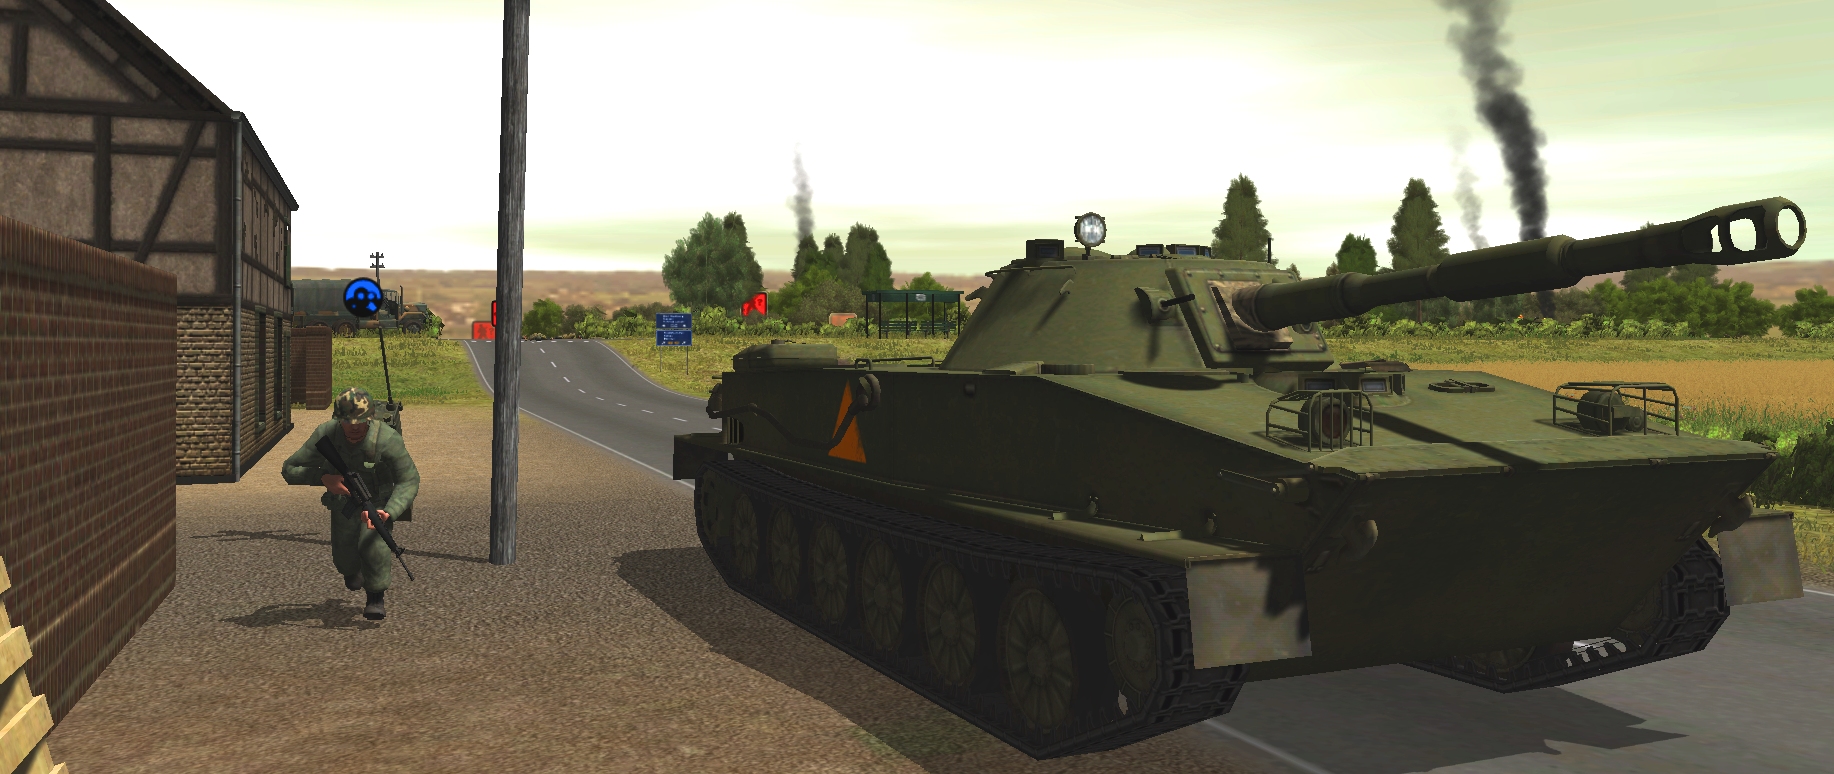
The other drama involves three Pod AFVs and three Zen mortarmen. Realising they’re in imminent danger of being overrun, our Light Mortar Team abandons their tube, and scampers south-westward towards the highway embankment. The retreat is spotted by the PT-76 first. MG rounds fizz past the fleeing friendlies. Thankfully, no-one falls.
The T-55 near New Farm continues the harassment as the mortarmen hare across the hedged central reservation. Again, luck is with the retreaters.
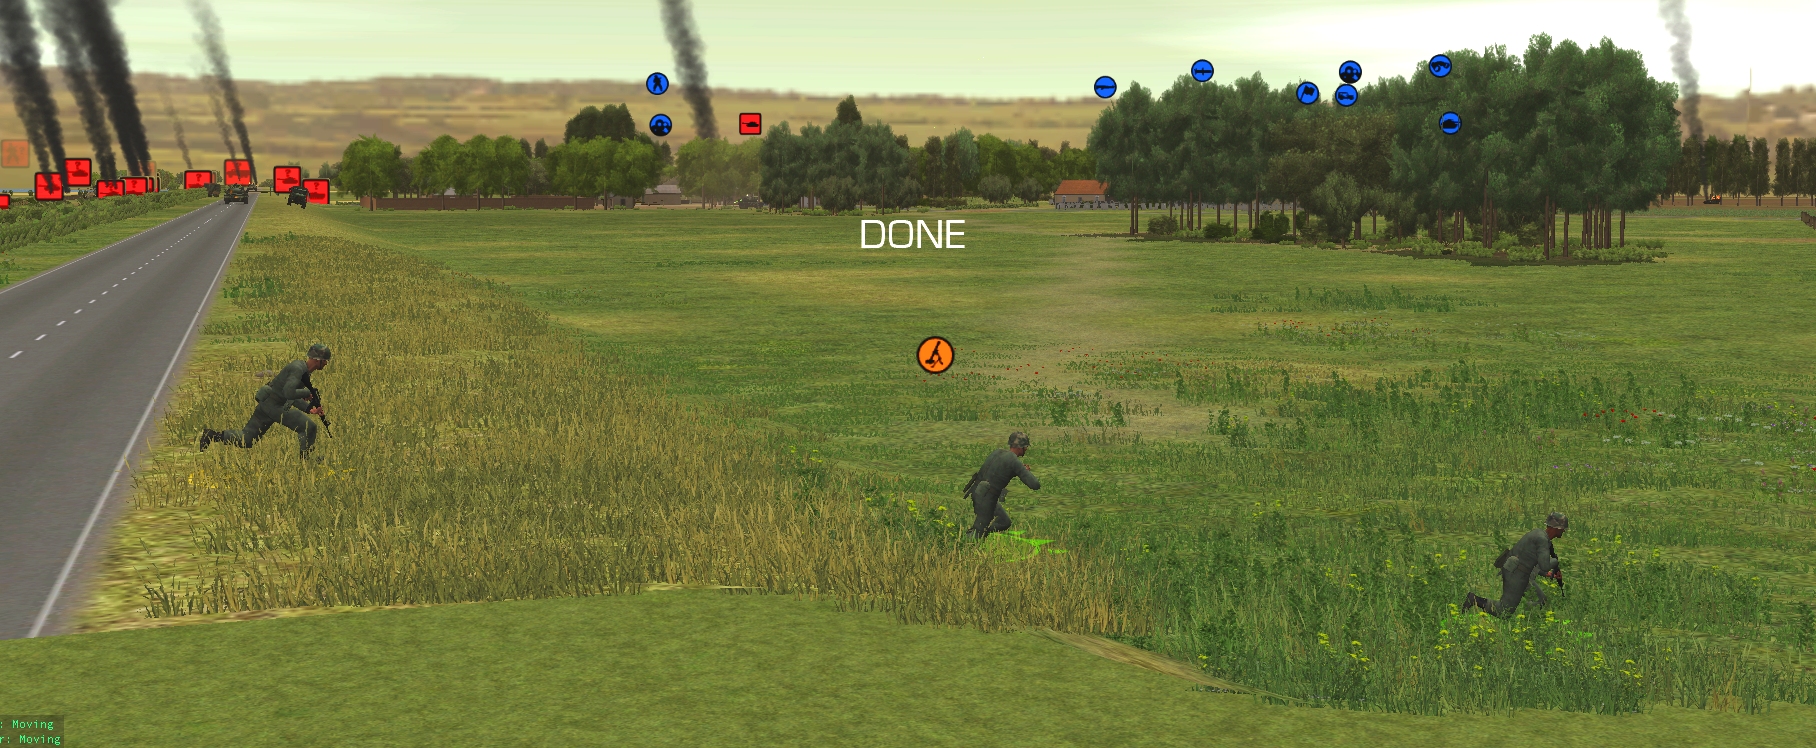
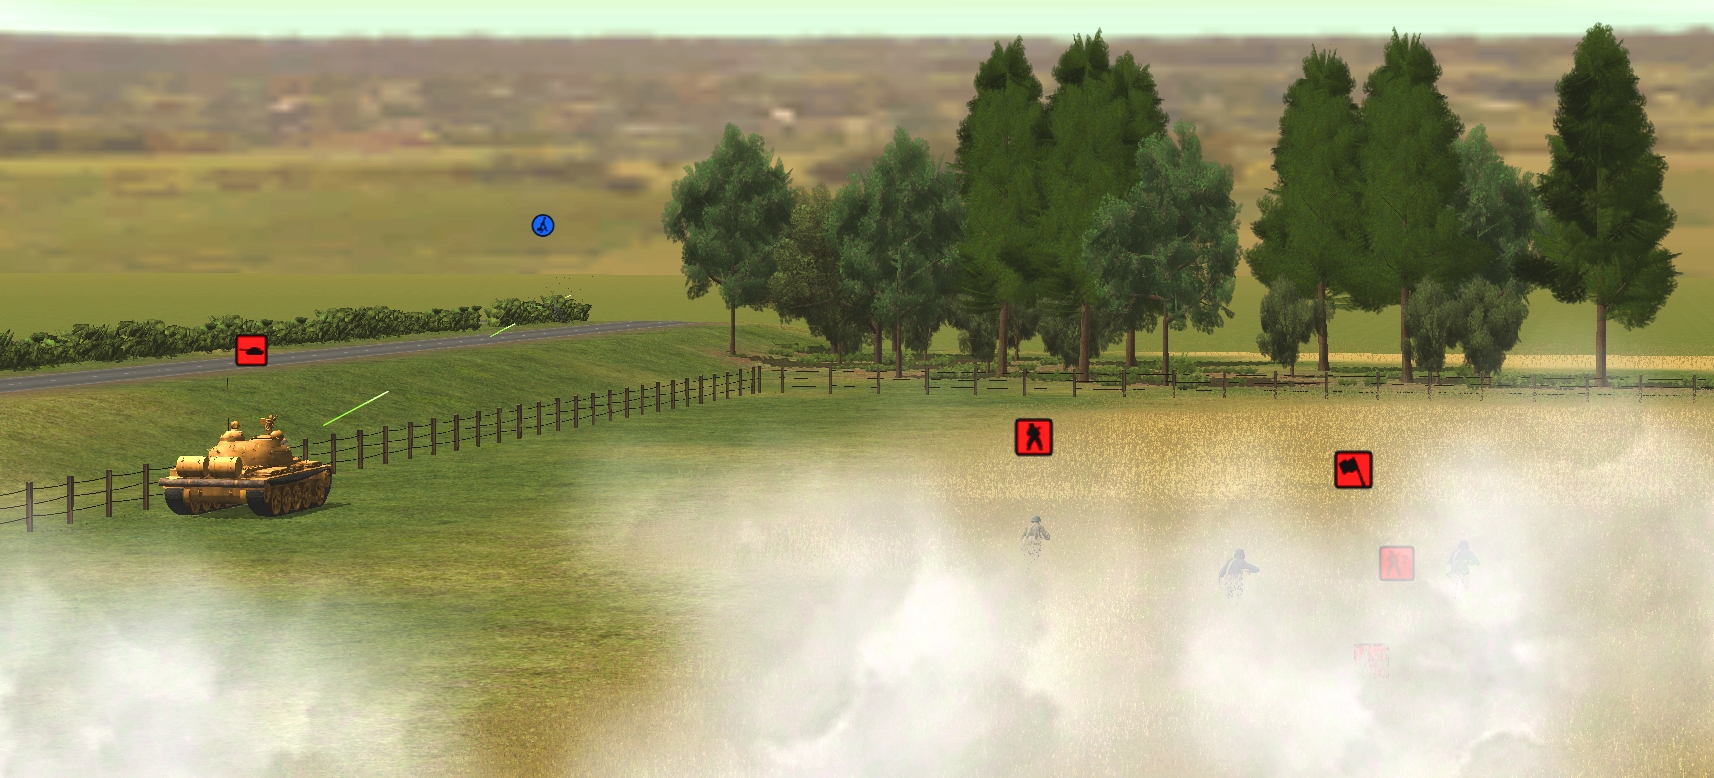
Their lungs are bursting and their salvation (the M113) is in sight when, circa T+55, the T-80 interjects. Shortly before the the clock stops, a 125mm HE round with numerous 12.7mm outriders streaks past the sprinting Light Mortar Team and disappears across the western map edge.
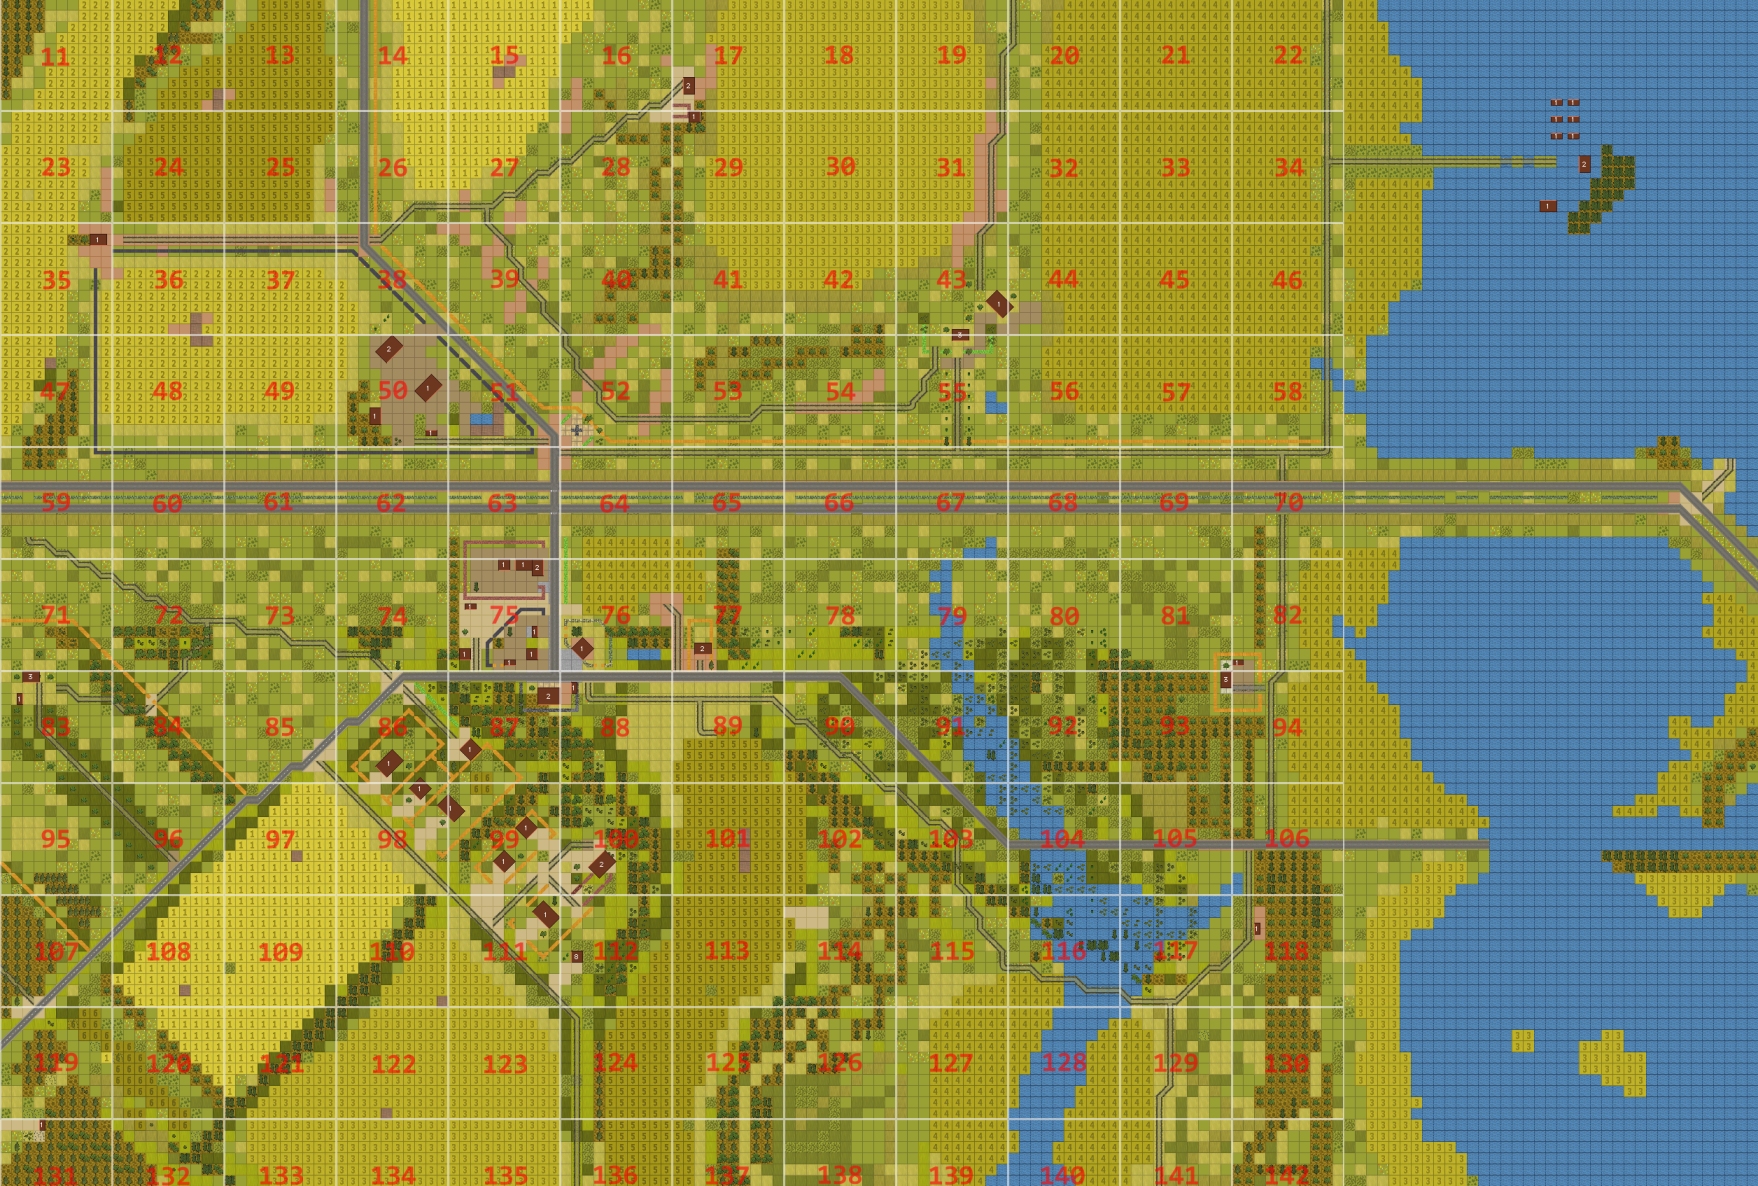
Turn 30 orders here, please. You are cordially invited to suggest moves for the following units. (Each commenter can move up to four units). Turn execution: probably Monday morning.
Light mortar team [BOX 59]
MG team (hiding) [BOX 86]
Dragon team [BOX 72]
Recon team B (1 man) [BOX 75]
Forward Observer Team [BOX 112]
Mutt ‘Scrappy’ + Recon Team C [BOX 98/99]
Trajanov (in house) [BOX 98/99]
Truck [BOX 83]
BRDM commander [BOX 76]
M113 (unbuttoned) [BOX 71]
M60A1 [BOX 86]
ORDER:
M60 HUNT to straight towards the enemy T80
ORDER 1:
M113 to wait until the mortar team are onboard, then head south for the evac point. If that’s not a possible order, then I guess wait until 59 seconds and then get going. I can’t judge what a reasonable amount of time to wait is (given the team are likely tired, but also very motivated).
@Tim – would the Dragon team be able to target the New Farm T-55 if it decides to cross the highway? I can’t tell if they’re blocked by the copse they’re in.
LoS is patchy from 10 o’clock to 12 (north), and good from 12 onwards. If the T-55 loitered on the southern carriageway of highway then I reckon the Dragoneers would have a good chance of bagging it.
Alright, since I can move two units this time, let’s try to get our infantry out of town with some optimistic micro-management.
ORDER: Recon B to spend the first 30 seconds targeting the tank crew, which I presume he can see in the gap around box 75, 8, 3. (If he can’t see them, nudge him forward a bit.) After 30 seconds move quickly south towards the woods behind the building (hotel?) in box 87.
ORDER: BRDM Commander, on the other hand, to move quick from his spot in Box 76 to the T junction around Box 87, maybe column 8 where he has an angle northwest to the other side of where the tank crew appear to be, then spend 15 seconds targeting them. If he still has time left at the end of the turn, continue south to the woods.
With a bit of luck each of these guys will provide cover to the other one while they’re moving.
I’ll take a third order on an unpopular unit. I hope somebody still has a look at Scrappy…
ORDER: truck to move slowly to a position behind the treeline but within a stone throw of our Dragon team. Just follow the lane around into the northwest corner of box 84 and stop before heading east through the trees.
RIP Muttly. I hope KOing Oblomov will dissuade his tank from advancing any further. I doubt we have time to reposition the M60 this late in the day. I hope he spots the T80, now its opened fire on our mortar team.
It’s pretty frustrating that T-80 is able to get shots off on our guys but somehow none of our guys seem to be able to see it!
Since it appears to be the last turn, I’m not sure our remaining infantry in town will even be able to make it to the hotel, much less the woods. I’m trying to think about who could get some covering fire in place but sadly I think they’re on their own. The Dragon team could potentially use their sidearms to dislodge some pebbles along the main road, but that doesn’t seem especially useful. They might be better off packing up and heading west to the M113 or truck.
I’m thinking Recon B and the BRDM commander should just steel themselves and try take out the tank crew themselves. We know there’s at least a UAZ, PT-76 and some infantry hanging around the new farm and highway, so they need to exfiltrate south. Even if the game ends at turn 30, I think it’s fair to assume that the T80 is on a western path, so if our guys can take care of those last two enemies in town, they should have a clear route out.
This was a hard turn to watch/read. We hardly knew ye, Muttley.
The T-80´s insistance on staying put and terrorizing our whole line is off-putting as well. I am so tempted to advance towards it with the M60, but I can´t bring myself to risk it. It doesn´t look like a favourable engagement, yet we really have to make it move. It is threatening our designated retreat route. I had hoped sitting tight would help the M60 to make the spot, but no luck so far. And we have no reason to assume the last turn would change anything about it. So, shall we give it a try?
Well, I’m glad that Muttley wasn’t totally useless this entire fight, but still, ugh.
I really don’t know how much else there is to do here. Normally I’d be having all the troops crawl to safety rather than run and risk being spotted and receiving gunfire, but that’s not really relevant with this last turn.
I’d love to see our M60 knock out that T-80, but with the T-55 still alive it’s too risky to go for either. That being said, I would have to imagine the enemy tanks will converge on us post-game and so our M60 would be a write-off anyway. So YOLO?
I think getting the M60 hunting is a good idea now that we know the T-80 is focused on the fearless mortar team (and imaginary/bugged ATGM team retreating with them). The sooner we can draw/end its attention the greater the team’s chance of surviving the next minute!
The MG team is still hiding, but might be able to help out the Recon BRDM duo, or perhaps get the T-80 to button up? Otherwise they might wait a bit and be given a retreat order (that they won’t finish in the next turn, but hopefully eventually!)
Recon C and Scrappy, guess they should really be retreating south along the diagonal bush line with everyone else. Perhaps they can set up a covering position for the infantry that will be following them along?
And what about the forward observer team?
Do we have any military buffs on hand who could advise if one shot from an M60 would be enough to take out a T-80? Assuming the T-80 is pointed west?
I’m certainly no expert, but I would expect a one shot kill at point blank range. We’ed be extremely unlucky to get a deflection at this range.
It all kind of depends on whether it has Kontact ERA, and whether our driver uses HEAT or sabot at this range. The T-80B (1978 model) is probably what we’re facing, and it is equipped with ERA.
As long as we fire sabot and don’t glance the top of the turret we should be fine for a one-hit kill.
However, the opposite is also true. If the T-80 fires first we’re in deep trouble, and we’ve got a 2nd gen tank going up against a 3rd gen.
I’m just gonna go ahead and send our tank out hunting, hopefully in a position that doesn’t expose it to the T-55.
I hope everyone has noted they can move up to 4 units this turn!
And having noted this, I still don’t know what I could give as a second order!
Scrappy and Recon C are in cover but could possibly go for the extraction point. If they go south and along the tree(?) line SW then NW they might be OK, but also Muttley’s T-55 might still be able to get them. Going W to the main road is only good if the M60 is successful, and we don’t have time to find out. Better to drop of Recon C into a building?
I think the hiding MG team can move into their nearest building. Trajanov, them, and the forward observers can hide until the wave passes and extract overnight. However, might they be useful this turn by assisting the Recon BRDM? Or could they just tip off the T-80 before the M60 can do it’s work?
The Dragon team are still effective AT, so IMO don’t need to extract, though I wish we’d moved them slightly in an earlier turn. I can see that New Farm T-55 coming over the hill and ruining things for us.
The truck could extract I suppose, just feels wrong to be going empty!
I’m giving the European and American commanders time to place their final orders today/tonight, otherwise I’ll probably pop in tomorrow morning.
Good summary of the current state. I was planning to move the truck a bit closer to the Dragon team, though not past the tree line where it would be at risk from the T-80. Basically just set them up to do the evac hypothetical turn after next.
I think it should be safe to move Scrappy and Recon C, as long as they take the scenic route along the tree line and don’t get into LoS of the T-80 till we are sure the M60 has it taken care of (i.e. hypothetical turn after next). I’m not sure that T-55 still poses a threat? Can it still rotate its turret? I imagine if Scrappy really floors it on the initial southern sprint across the road, should be fine. But, as you know, I have a lot harder time visualizing the movements of vehicles than infantry, so I’m not sure how exposed they would be.
Dragon team and MG team are stuck, they’ll probably take the better part of a turn to pack up so I’m not sure it’s worth doing anything. Best we can do is hope some random enemy wanders into their line of sight but doesn’t drop a shell on their heads. Our commander should probably stick around till we know the men in the village are safe.
My hypothetical turn after next might include the truck picking up the Dragon team then heading over to the houses to collect whatever infantry we have left. Our transport vehicles weren’t really positioned optimally for a quick exit, but hey, it’s war, they panicked.