
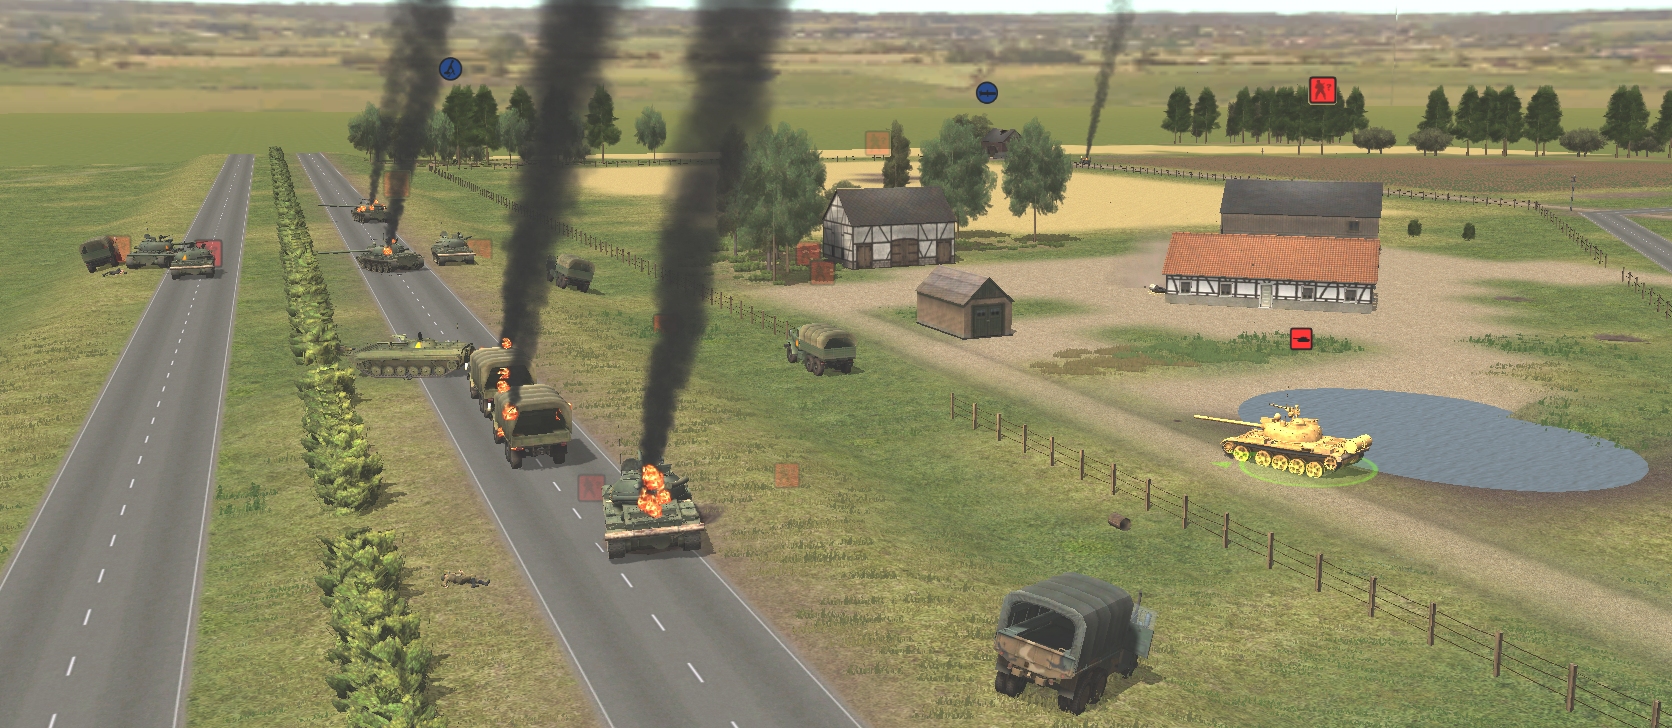
How many of the motorists that hurtle along the M2 highway today, understand the significance of Strupnic’s plinthed T-62? How many stop to read the names engraved on the monument’s plaque? Viktor Somlac… Branko Somlac… Otto Pinkas… Milan Lesov Snr… Milan Lesov Jnr…
(Operation Oryx is an open-to-all game of Combat Mission: Cold War set in 1981. The commenter-controlled Zendoran forces are attempting to ambush a column of Podrabian vehicles bound for Zečin, the Zendoran capital. Each turn covers one minute of WeGo action. For a scenario outline and summaries of earlier turns, click here).
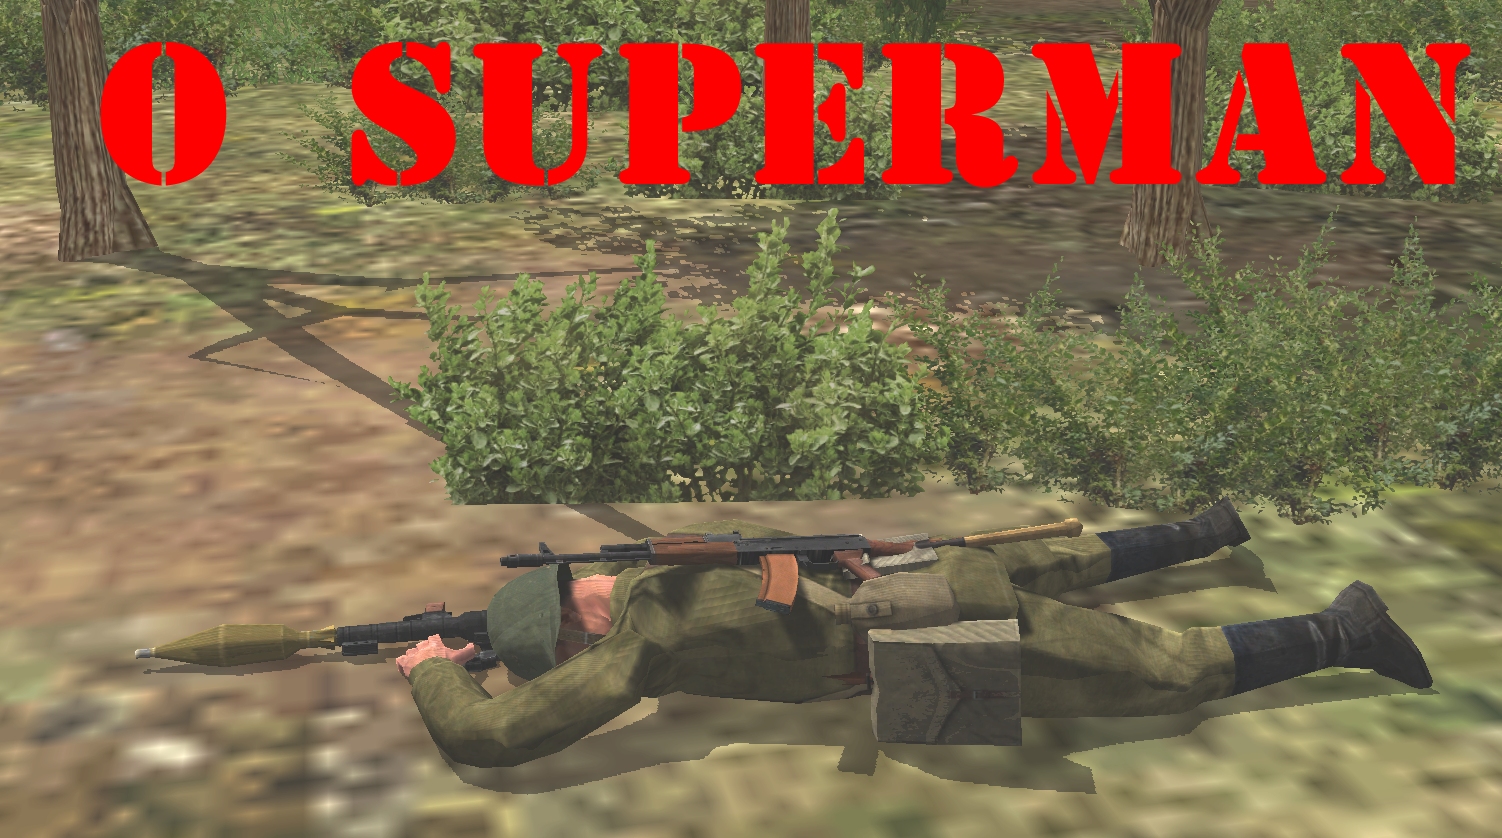
At the moment he becomes a muddle of memories… a rib-cage throb… a name on a war memorial, the younger Lesov is reloading his RPG-7.
The HEAT rocket in his blood-greased hands is a replacement for one that, seconds earlier, struck a T-80 but failed to penetrate.
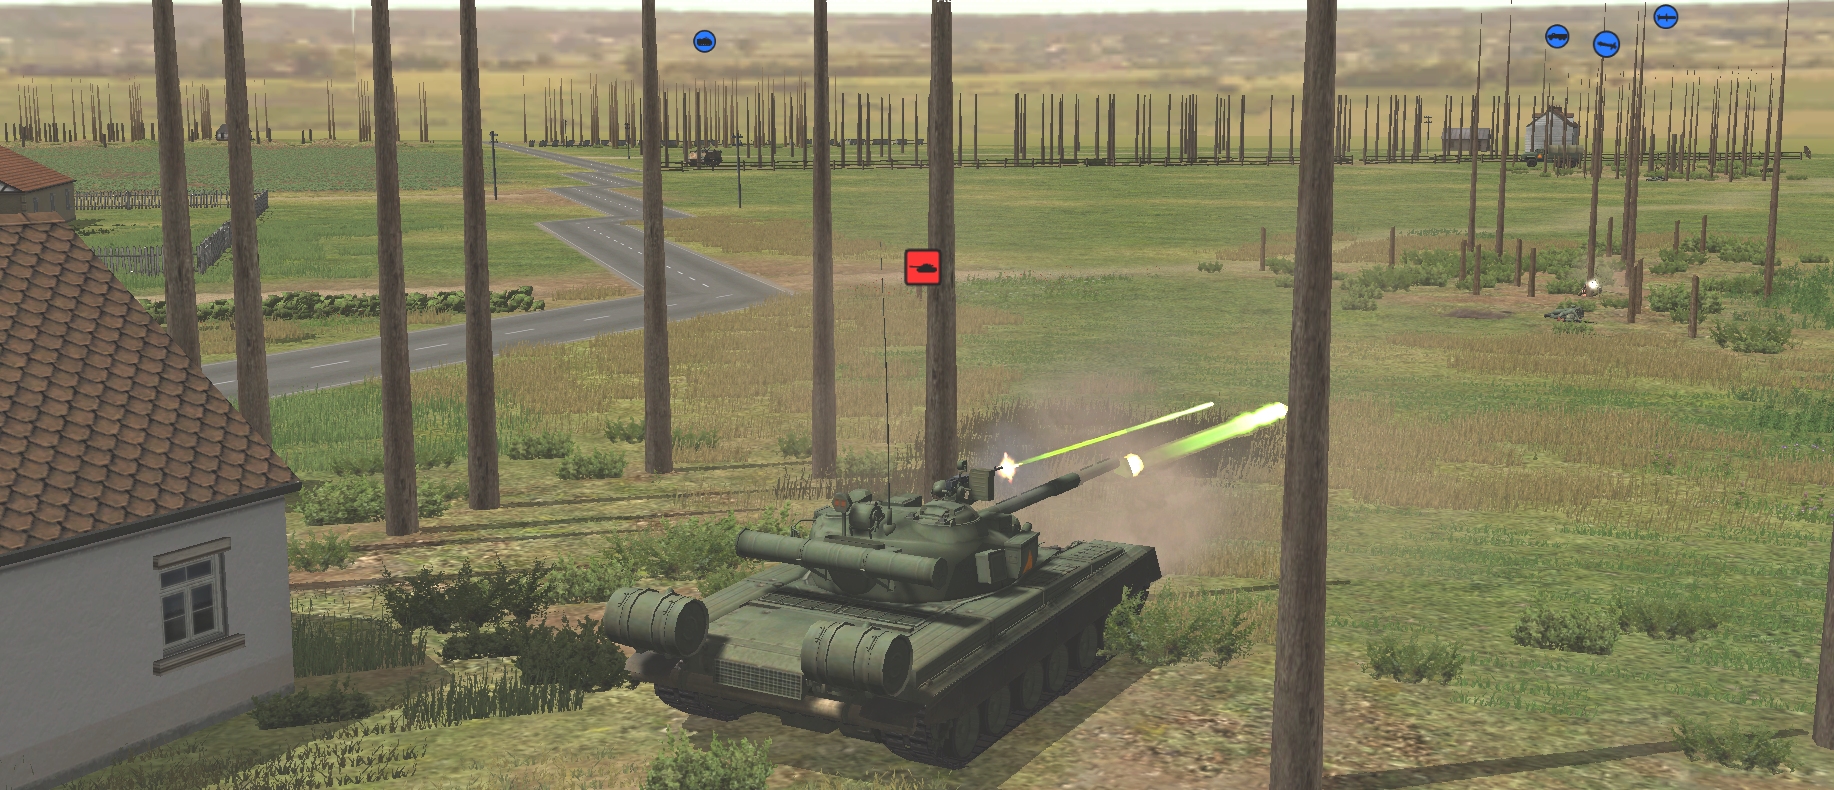
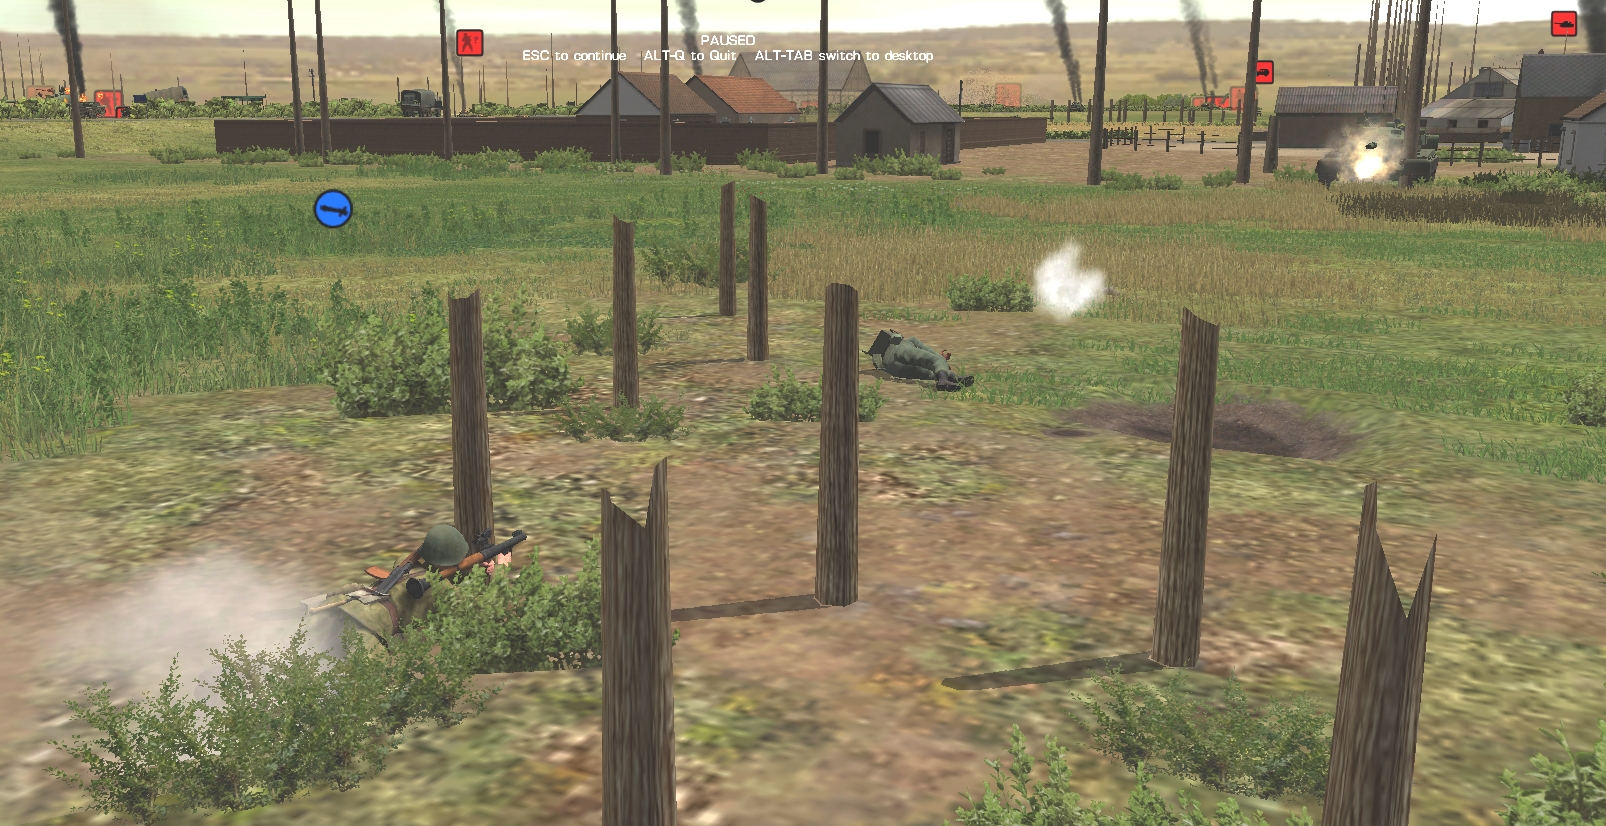
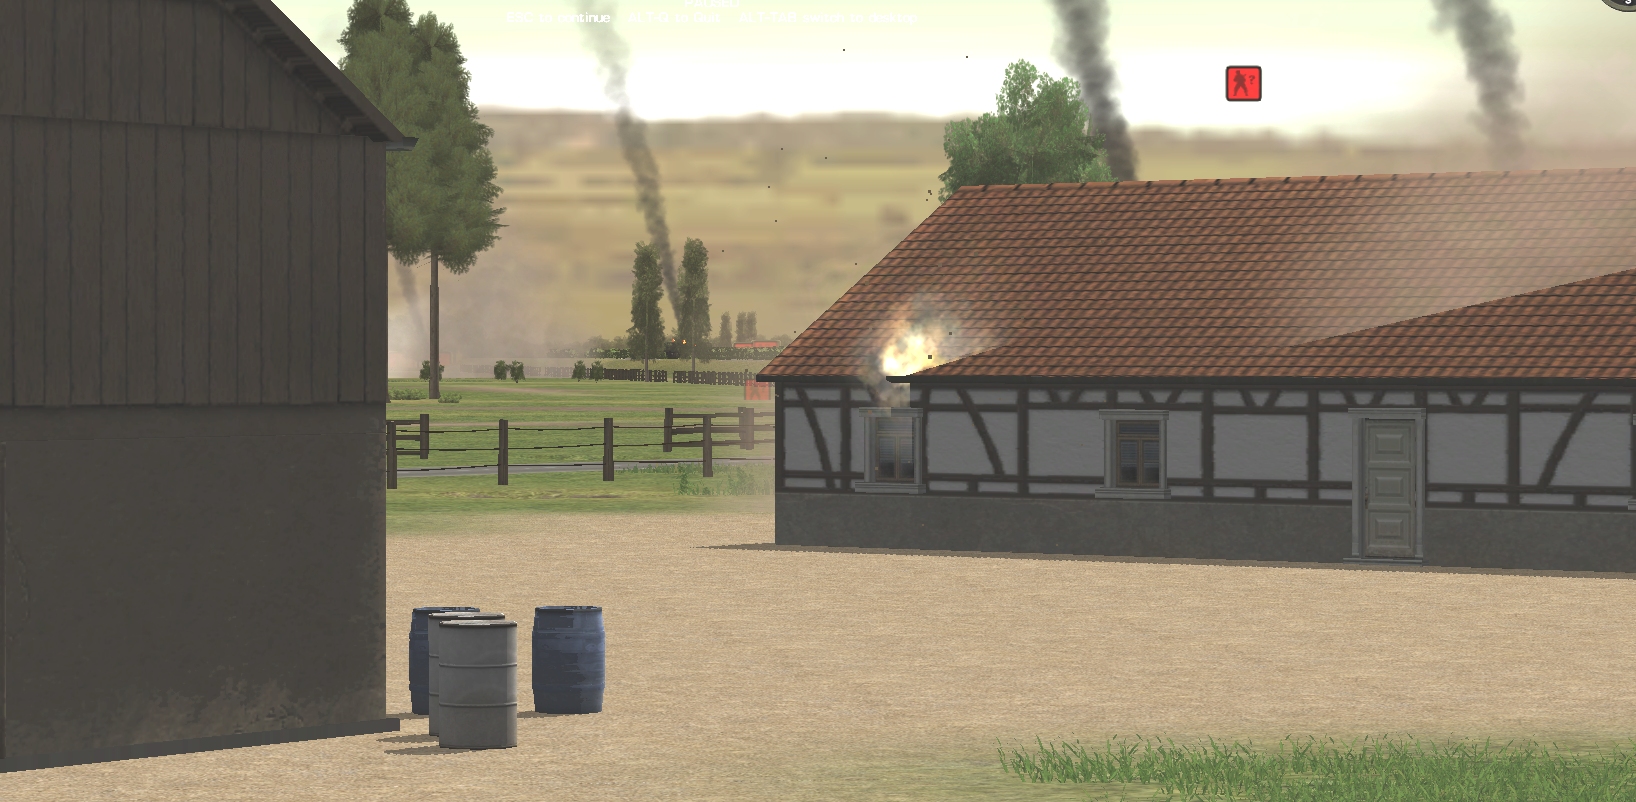
In the fourteen seconds prior to Milanek’s demise, two other Zen warriors meet their makers. Otto Pinkas is attempting to drag his wounded buddy, Branko, to safety, when the garage T-55 puts an end to his efforts.

Earlier, MG fire from the same tank reduced retreating Recon Team Charlie by a third. Unfortunately, the hurrying scouts failed to notice that one of their number was missing when they checked-out of the hotel.
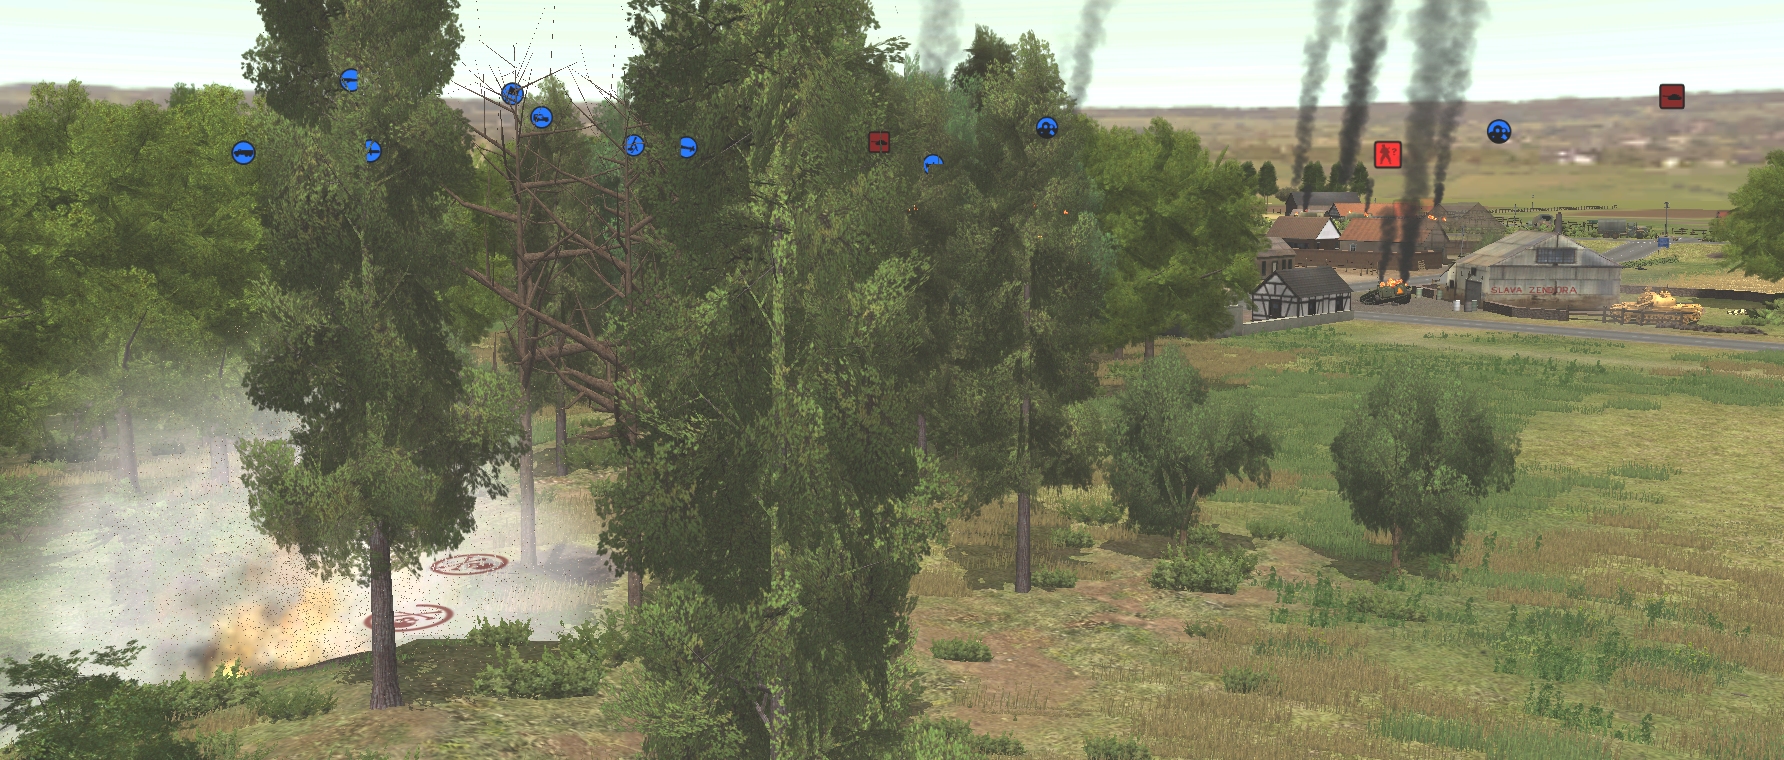
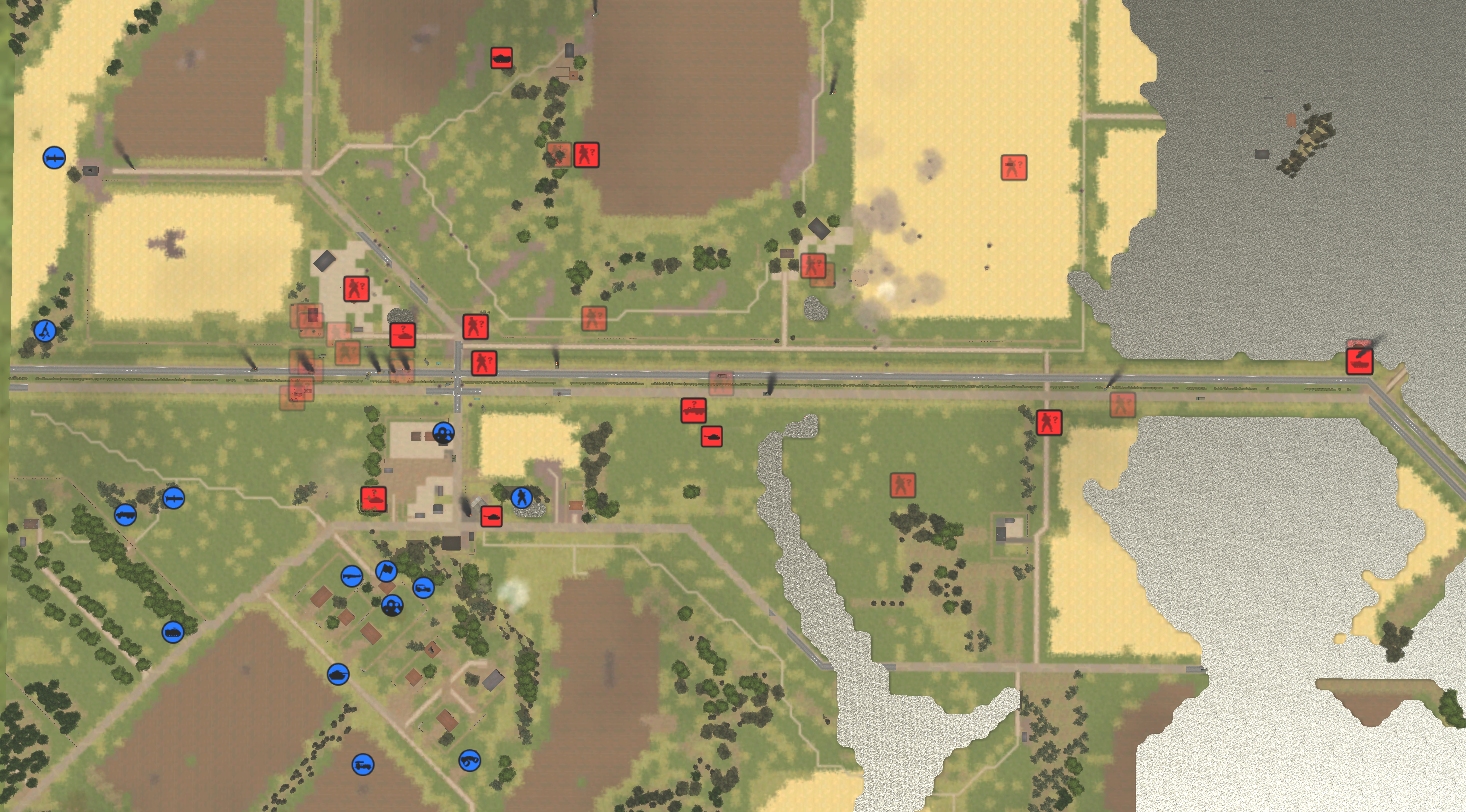
Scouting the map for good news to counterweight the bad, the most positive event I can find involves our Light Mortar Team. While keeping a wary eye on an advancing PT-76 near Tereza’s barn, they set about plastering/deplastering Box 50’s occupied farmhouse. Their bombardment is spot on and AK fire from that quarter quickly ceases.
Unfortunately, while one New Farm threat wanes, another waxes. Mid-way through the sixty, our observer team atop of the dovecot spots the Vostok Memorial T-55 skirting the New Farm duck pond.
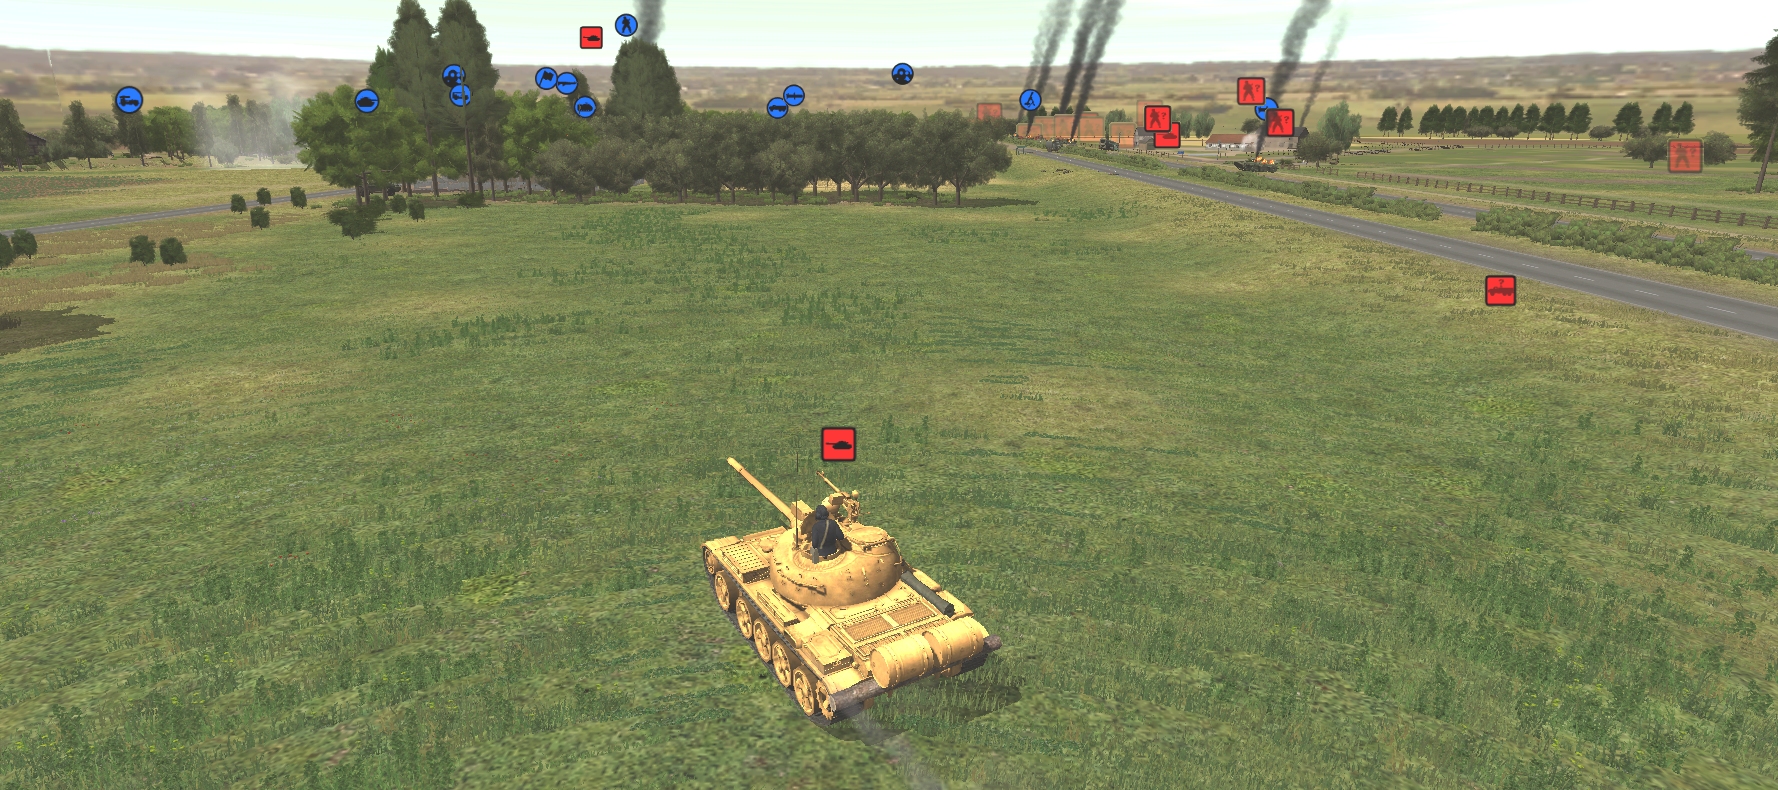
Another T-55 on the move this turn, is the one that has spent the last few turns patiently overwatching in the east. When the clock stops, this unbuttoned MBT is in Box 78, heading in the direction of the Lesov’s house.
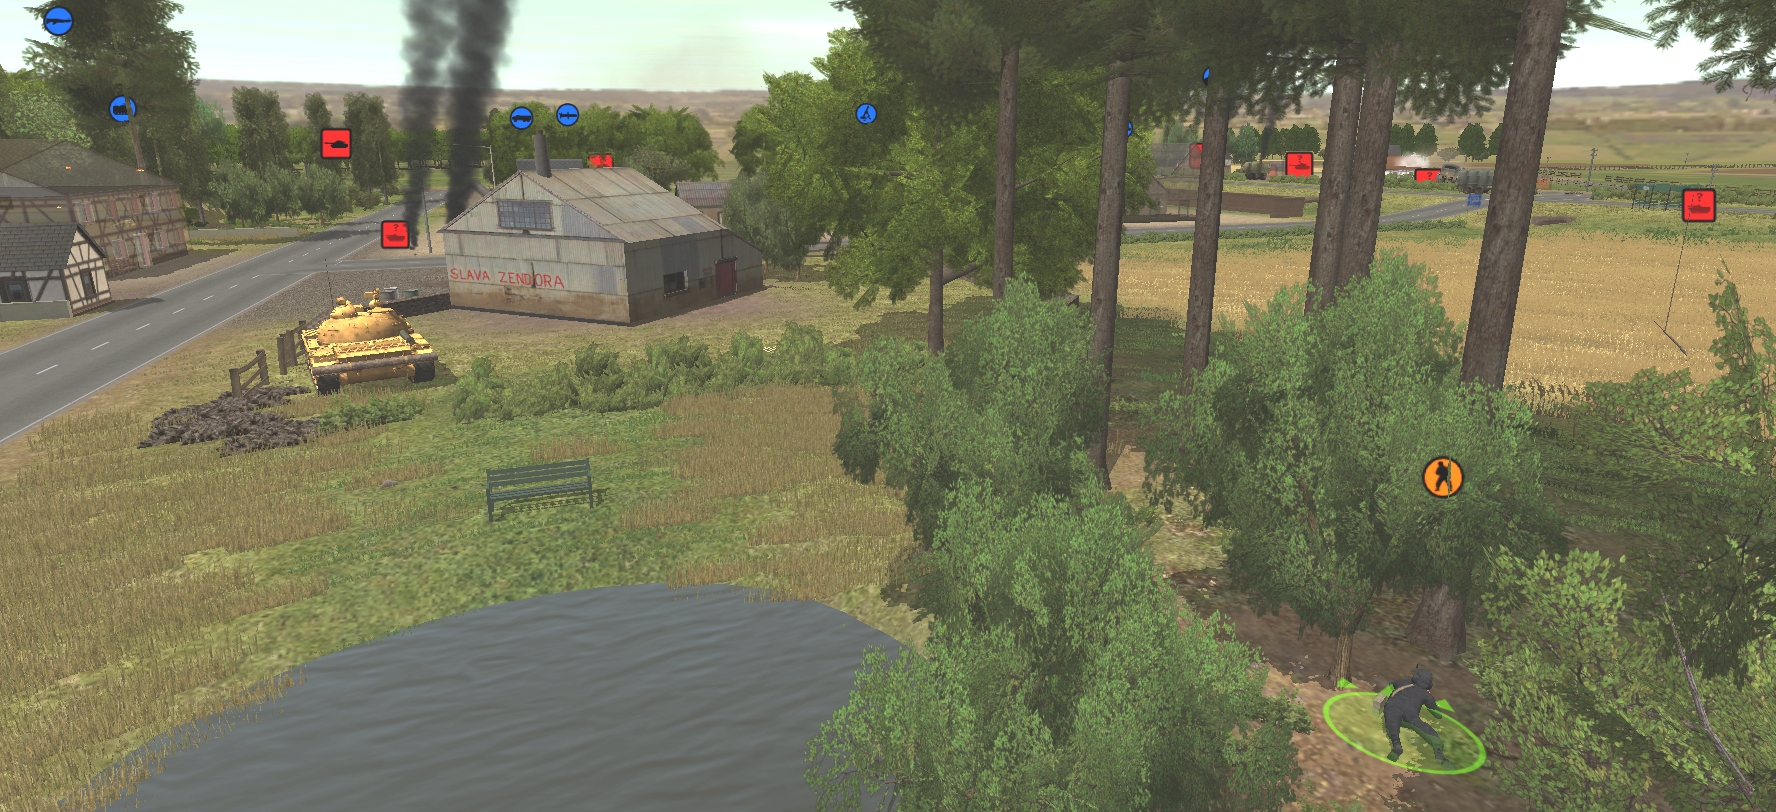
If that is indeed its destination, the BRDM commander (currently concealed in the tree clump east of the garage) may have a tough few turns ahead of him.
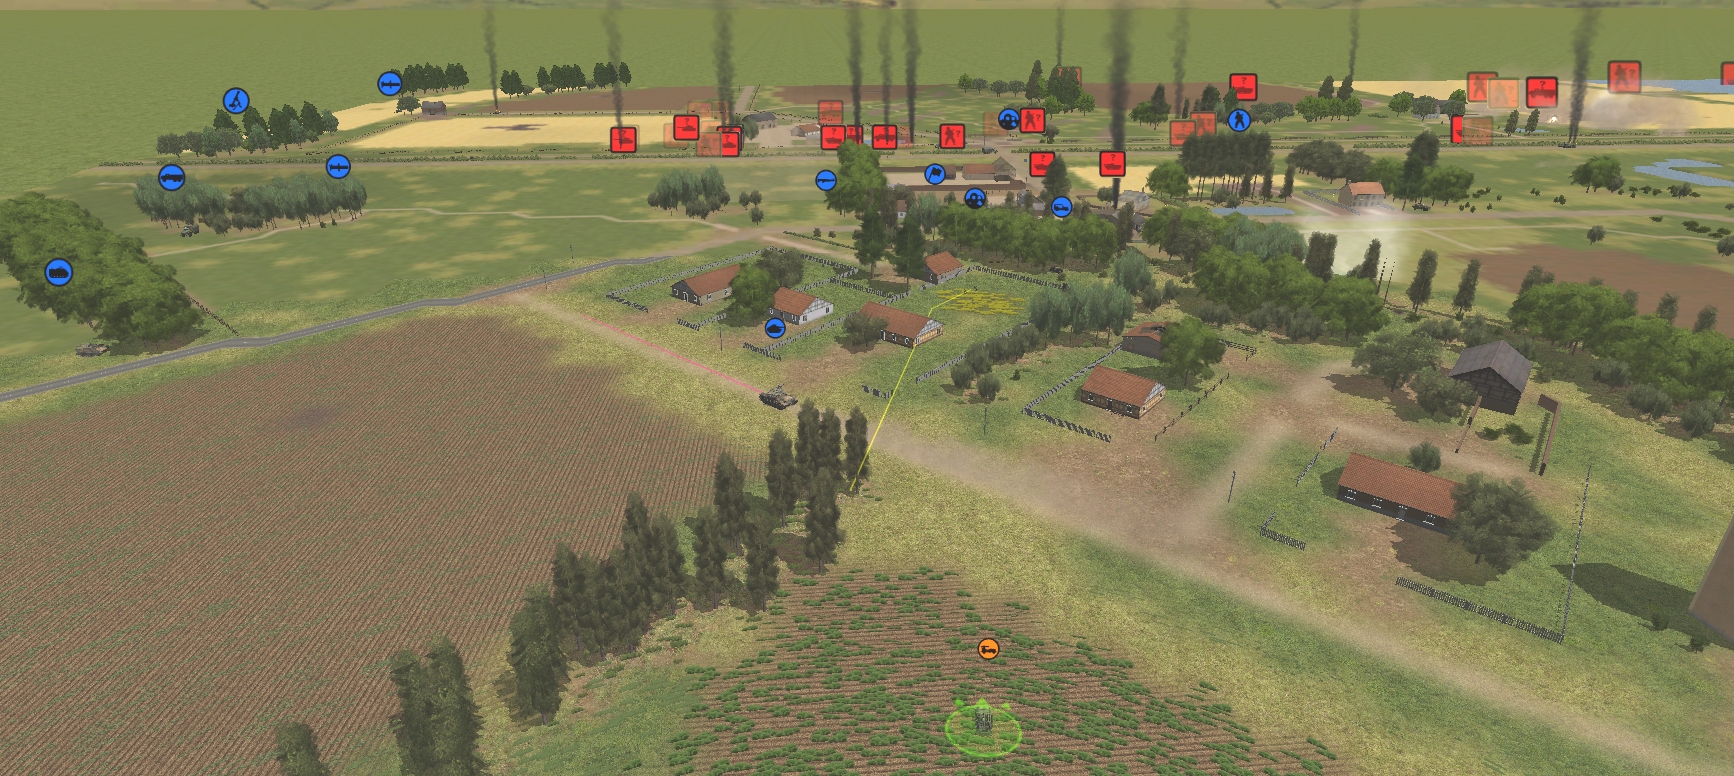
When the action freezes, Team Droopy is still in the process of packing up, our Patton is nearing its final waypoint (86,0,0), and newly repositioned Muttley is eyeing, through a very narrow keyhole, the patch of open ground the T-80 must cross if it wishes to advance further.
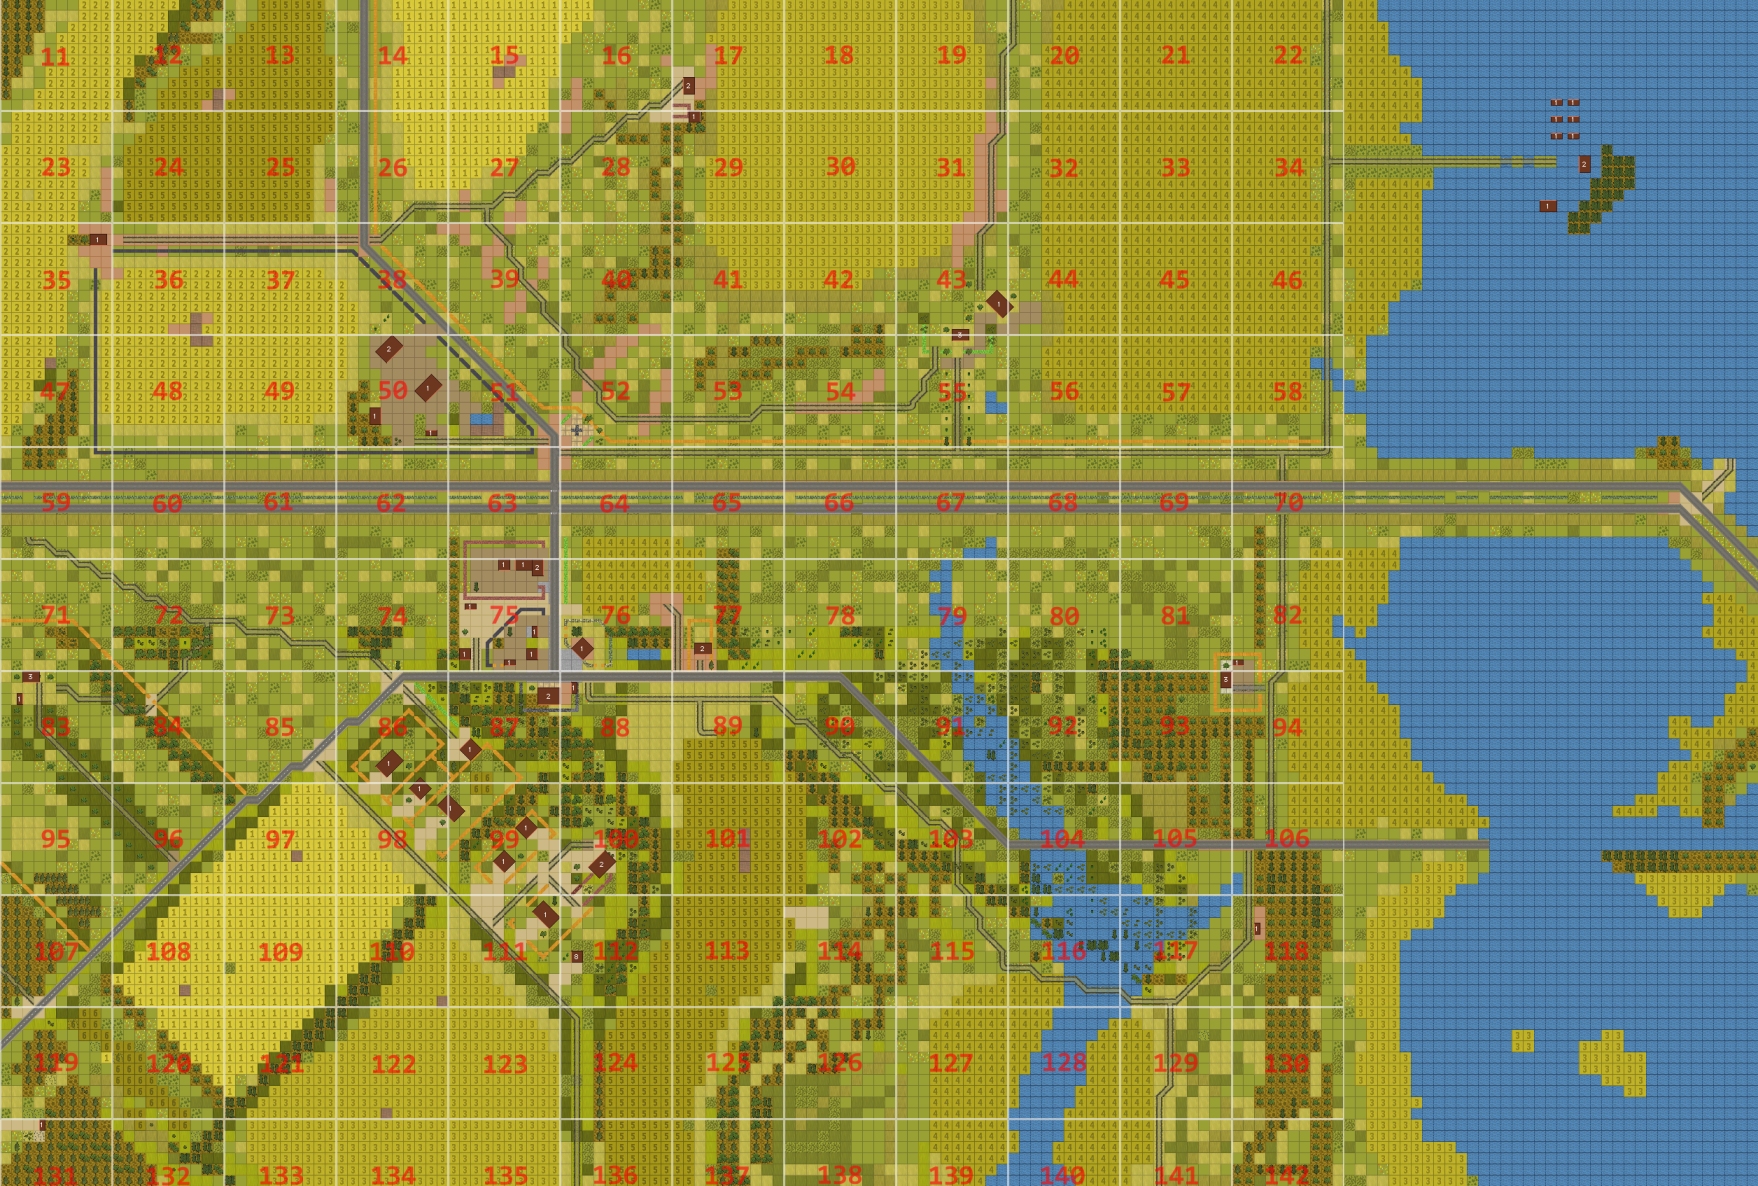
Turn 27 orders here, please. Commenters are cordially invited to suggest moves for the following units. (A maximum of one unit per commenter. Subscribers can move two if they like). Turn execution: probably Monday morning.
Light mortar team (bombarding, 2HE, 4WP) [BOX 47]
MG team [BOX 86]
Dragon team [BOX 72]
Recon team B (1 man, upstairs) [BOX 75]
Recon team C (2 men, retreating) [BOX 87]
Forward Observer Team (calling in bombardment) [BOX 112]
TOW Mutt ‘Muttley’ (5 x ATGM) [BOX 110]
Team ‘Droopy’ (no ammo, dismounted, 1 man incapacitated, packing up) [BOX 23]
Mutt ‘Scrappy’ [BOX 87]
Trajanov [BOX 87]
Truck [BOX 72]
BRDM commander [BOX 76]
M113 (unbuttoned) [BOX 96]
M60A1 (hunting NW) [BOX 98]
ORDER:
The truck to move to 83,1,9 (on the western side of that small building, facing south) – this should get it slightly closer for either of the northern units, and perhaps more urgently, out of view of the T-80 if it comes any further SW.
Order
M113, REVERSE to Box 96, x1, y4
ORDER 2:
Trajanov to slowly move into the house at 99,0,7 and hide please
ORDER
MG team ceases fire, the boys drop on their bellies and hide.
ORDER: BRDM Commander to hide where he is.
If he is already hiding, I’ll give a backup order: Team Droopy to wait till their last guy is patched up, then move carefully south-west deeper into the fields and toward the edge of the map. Idea is to try keep the box 35 house in between them and the PT-76. Once at the edge of the map I think there should be a tiny bit of cover from the new farm fence, so they can zag back south east toward the woods where the mortar team are.
These are always such fun to read – keep it up Tim & The Commanders. Reminds me of newspaper serials.
Thanks Tim for another great write-up, despite the outcomes. Thanks also to captaincabinets for making sure those mortars fired on target.
Do you reckon it’s time to get the mortar team moving south, or can they help with Droopy’s extraction for one more turn by firing towards the PT-76? It seems like they’ve been pushing their luck for some time already…
I also thought that T-55 that hit Otto and Branko had already switched targets to Charlie, so it’s pretty galling to see one of them down but also losing our ace sniper team. Maybe the BRDM commander can go in and check for an injured survivor if he makes it across the road!
@Tim: How close are the enemy tanks to the LoS of the Dragon team? Can we count on the Dragon hitting the T-80 if it passes by Muttley’s arc? Also, how is the keyhole of our tank looking? Are we likely to get a shot at the T-55 or T-80 as it advances?
It’s very quiet here, so I imagine folks are waiting for some initiative. While it’s tempting to go for more kills, I feel like a reasonable commander would be trying to preserve their forces at this point, so I’m going to focus on saving these dozen soldiers.
If anyone wants to ORDER these so we get them all done that’d be peachy.
1. DROOPY survivors SLOW towards our mortar team. If I were micromanaging I’d do about 100m, then a 30s pause, repeat, all the way there. As it stands, I don’t think they’ll get there before the end of the game.
2. M113 REVERSE directly west to get it away from the T-80 LoS. Also, button it in case it comes under MG fire from the tank.
3. MG move SLOW to the building at [98, 8 , 9] and HIDE
4. Recon B move SLOW to the house at [99, 0, 7] and HIDE
5. Trajanov move SLOW to the house at [99, 0, 7] via the house just south of him, and HIDE
6. Scrappy REVERSE to [98, 8, 8]
The thing I’m worried about moving both Recon B and the BRDM commander is that there’s currently a tank right in the middle of the village potentially with views both to the north and east/west. It feels like they are both pinned down unless they want to really make a hail Mary go for it. I’d prefer to wait till the tank rolls out before moving them. On the other hand, from the “computer game” point of view, we know the mission is over in 4 turns, so if we don’t move them now, then they probably won’t make the points-earning evac. In real life I’d probably just have them hide where they are until the tanks left town.
I do think it might be worth getting our southern teams out, since they are out of sight of the tank and most of them don’t have the firepower to take it on anyway.
Team Droopy, I’m still scared because of that huge expanse of flat fields between their sorta-cover near the house and the trees where the mortar team are. They could move into the nearby house and hide, or make a run for it… I’m not sure what would be better. I’ll be pondering the situation over the weekend before tossing an order out!
EDIT: Oops. I meant Recon C. Totally agree about the two north of the tanks.
Thanks for this list. I’m not sure we should move Droopy with an incapacitated man? Is the able-bodied survivor going to provide first aid so they can both move? I’m not clear on the mechanics of this. Recon C already left one man behind, I don’t want to risk that again unless it can’t be helped. @Tim?
I’m going to get Trajanov on the move, just in case we need the MG team to mop up a ex-tank crew…
I made the MG team hide where they are. While I´d rather have them in a building, too, I think they are more likely to attract the T-80´s attention if they moved right now. And if it notices them, the little house won´t save them from the 125mm smoothbore anyways. We have to hope our M60 arrives in time to save the day. It has the right order carrying over from last turn and is not far away from gaining LOS. Keep your fingers crossed.