
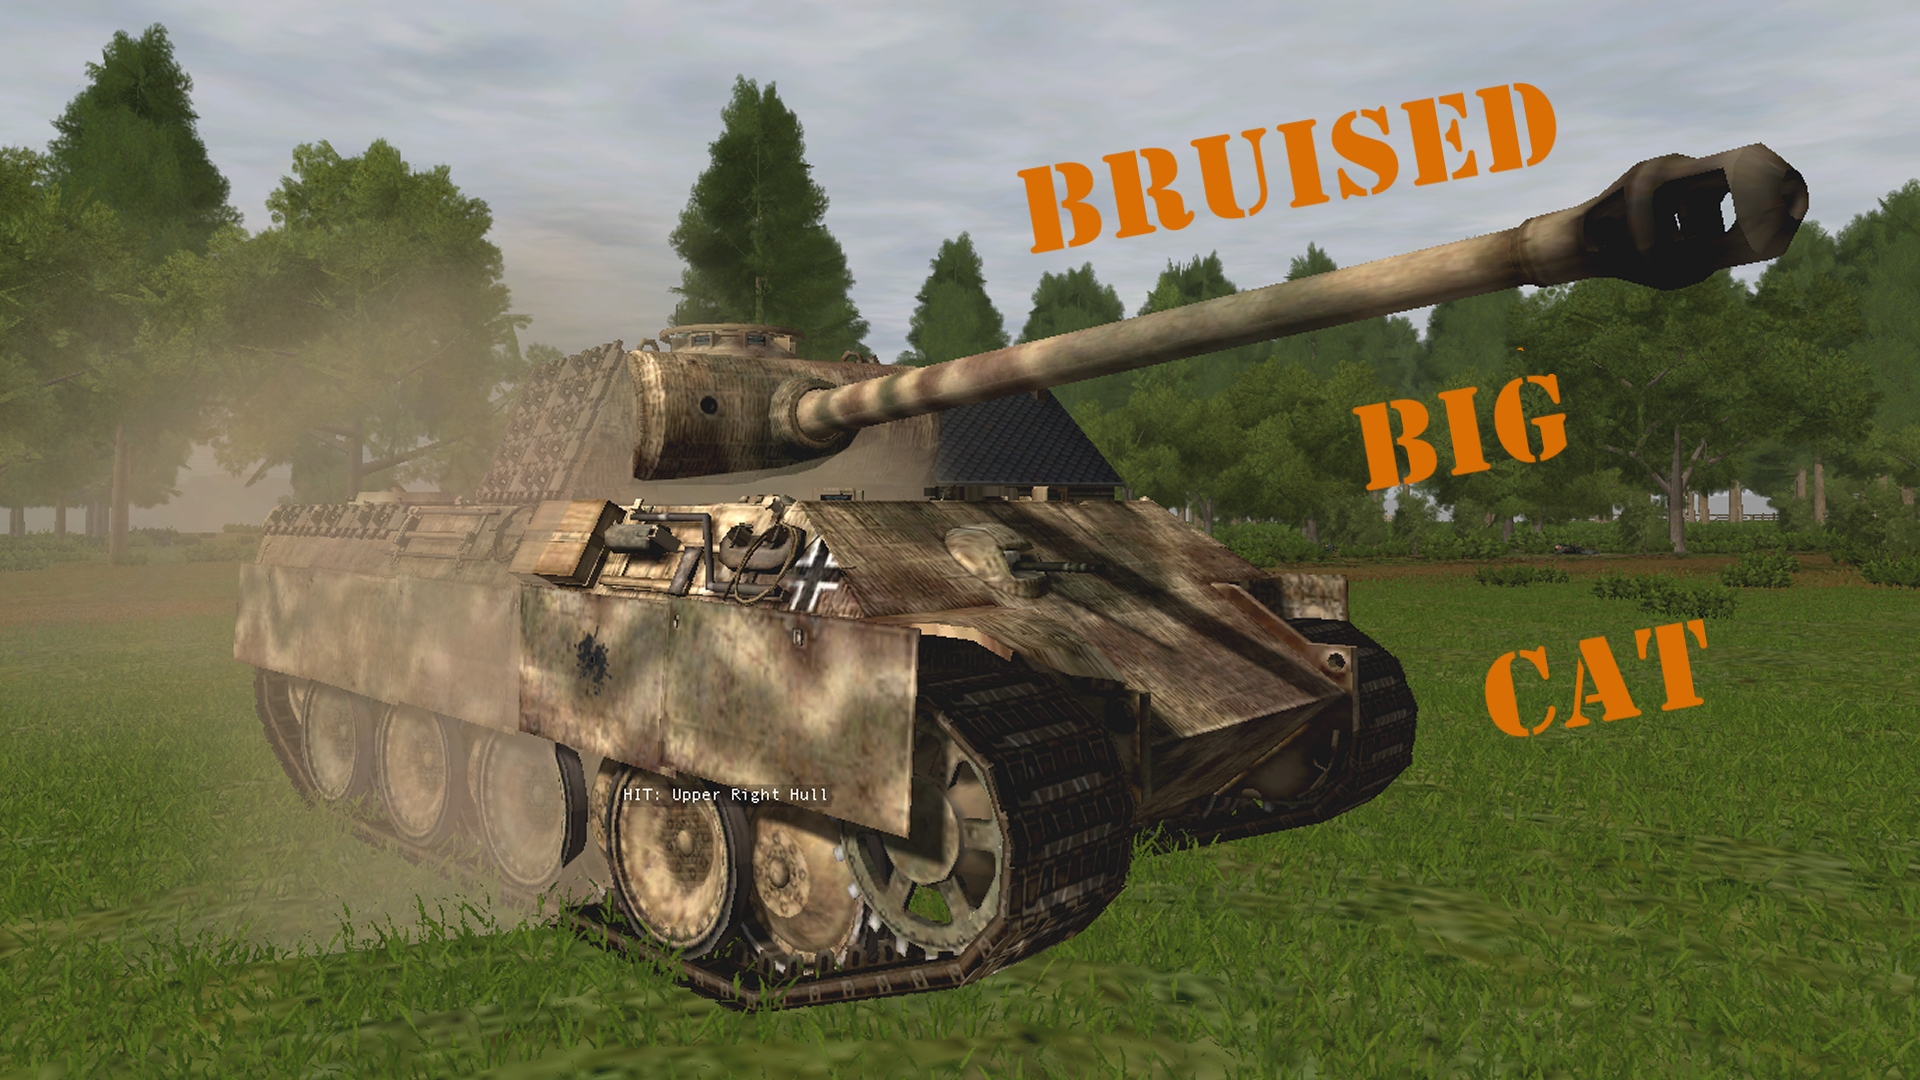
The titular bridge is in German hands at last. If the Comment Commanders are to hang on to it for the next five turns, recent arrivals such as this ferocious feline will need to be both forthright and fortunate.
(Brinkmann’s Bridge is an open-to-all game of Combat Mission: Battle for Normandy in which the commenter-controlled Axis forces are out to recapture a Dutch canal spanner recently snatched by Red Devils. Each turn covers one minute of WeGo action. For a scenario outline and summaries of earlier turns, click here).

T+3 A vague sound contact icon emblazoned with the silhouette of a tank appears in the SE corner of the battlefield.

T+5 Bustle at the bridge. While Griess makes for the upper floor of the white house and the remains of 2 Squad bee-line for the foxholes behind the low hedge, on the other side of the water the HQ and NE mortar hurry towards waypoints placed amongst the canal-bank poplars.

T+10 Determined to disrupt the 3-inch mortar team in the courtyard, the Panzer R35 heads south.

T+16 One of the sharpshooting Stenographers in the monastery gardens is silenced by impressive SMG fire from the pumphouse.

T+17 As Griess & Co. pile into the white house, Brinkmann opens fire on a Bren gunner he’s spotted near the monastery entrance. A firefight develops.

T+19 The British tank in the SE seems to be bound for the railway embankment, and looks to have two companions.

T+29 A rifle round chips paint off the lower front hull of our exasperatingly-reluctant-to-fire SPG. You have to admire Best’s optimism.

T+32 Arriving at its destination, the Panther begins a turf ruffling turn to the east.

T+37 A mortar bomb strikes the bridge deck a few feet from a panting Granatwerfer crewman. He dies instantly.

T+38 The Panther is still pivoting when the projectile fired by this patient/sly PIATist detonates against its starboard Schürzen.

T+40 Phew. It looks like the spaced armour did its job. According to the GUI, the Pz VG has got away with light damage to tracks and radio only.

T+43 Retaliation isn’t slow in coming…

T+44 …but like the Panzer 35R’s HE efforts, appears to do more damage to the monastery wall than the men in the foxholes.

T+50 Perhaps a burst of coaxial MG fire will be more effective? As the Panther hoses its tormentor, the plucky PIATman pops up and takes a second shot.

T+51 Clambering up the corpse-strewn railway embankment near the culvert, a Cromwell close support tank comes into view for the first time.

T+52 Himmel, another PIAT hit!
T+53. No penetration but the detonation against the upper front hull turns the little green GUI squares next to “Optics” and “Nahverteidigungswaffe” yellow.

T+54 The Panther’s second shot manages to clear the wall. It craters the lawn behind the foxholes.

T+56 Halting a few feet from the rails, the Cromwell quickly spots and engages both the SE mortar team near the bridge and 3 Squad in the bocage ‘T’. With grim efficiency its coaxial MG neutralises one mortarman and two of the three fusiliers in the thick hedge. Naturally, one-man army Wilberg is the 3 Squad survivor.

T+57 They might be under fire, but the SE mortar team is sufficiently composed to spot this armoured car trundling towards the railway bridge.

T+58 Assailed from the west, a member of the 3-inch mortar team looks over his shoulder and sees the lead looser is a Pz 35R.


T+59 This turn’s final casualty is British. The combined firepower of Brinkmann and Griess ultimately proves too much for the Bren gunner at red j46.


Turn 22 orders here, please. Commenters are cordially invited to suggest moves for the following units (A maximum of TWO units per commenter. Embarked infantry and their taxis count as single units until separated. Split squads also count as single units. Units that started the game on the west side of the canal answer to subscribers only.)
****anyone****
*Fusilier HQ (4 men) tiring, foxholed, PF [red t37]
*Griess (3 men) tiring, upstairs [red p41]
*Fusilier squad 2 (4 men) tiring, foxholed, PF [red r41]
*Fusilier squad 3 (1 man) tiring, pinned [blue c47]
*Light mortar team (29 HE) (2 men) tired, moving north [blue e38]
*Light mortar team (NO MORTAR AMMO LEFT) (2 men) tiring, foxholed, pinned [red t39]
****subscribers only****
*Panther Ausf G [black o39]
*StuH 42 [black o40]
*Self-propelled howitzer (3 HE, 2 HEAT, 2 SM) commander incapacitated, no LoS to monastery foxholes [red i25]
*Panzer 35R (27HE, 22AP, 1CAN), buttoned [black s48]
*Belin’s Kubelwagen, heading for white house [red i26]
*Other Kubelwagen [black b24]
*Truck near conifer plantation (passengers = Platoon HQ + 1 straggler) [black g22]
*Brinkmann [red o41]
*Fusilier squad 5 (2 men) downstairs at pumphouse [black y27]
*Fusilier squad 6 (9 men) split into two teams, PF + 2 x AT grenades [circa black o45]
*Medium mortar team (4 men) (6 SM) and ammo bearers (2 men) LoS to monastery [black l34]
Please start all order comments with ‘ORDER’ and any later revision comments with ‘REVISED ORDER’. This will help me distinguish firm instructions from suggestions and advice.
Balls! Well, that’s on me, then.
I didn’t expect enemy tank forces to make contact so soon, and had my squads facing west. It was all to easy for the Cromwell to shoot them up the backside, and it’s three men dead.
I’m not sure what the orange unit icons indicate: for Wilberg, I hope it means his ‘rage meter’ is full; I suspect the SE mortar team is not going to be taking instructions.
The good news is that the armored car can be thwarted by our Panzer 35 given the right position.
The bad is that the Cromwell might as well be a battlecruiser for how likely we are to penetrate its hull.
I recommend we leave the pz 35 to hose down the mortar team as long as possible.
I’m risking one of our few panzerfausts in Squad 6, but doing that to save the Panther seems more than reasonable.
ORDER: QUICK both sides of Squad six to the edge of the woods [black q], and target the monastery PIAT team at [black z42]. If they can’t target those troops directly, then Cover Arc in a way that covers them and won’t extend past the end of the monastery grounds.
The Cromwell is vulnerable to both our recent arrivals, especially if they get a side shot.
It’s unlikely to hurt the Panther much head on, so careful management of that should keep it safe. The crew may panic but that applies to the Brits too.
Best thing to do with the Cromwell will probably be splattering it with small arms to get them to close up and lose a lot of their view range.
I’ll pop back tomorrow in case orders are needed in time for Saturday’s movements. Current thoughts are getting the NE mortar crew into the trees and telling the HQ not to open fire prematurely, giving away their position and presence.
The rest of the East bank survivors don’t really feel sensible to move at the moment.
Agreed, I’m not sure there’s much we can do with the units who crossed the bridge right now. FHQ and FS2 will probably need another turn till the enemy comes into range, the mortar team already has orders, and FS1 (Griess) seems to have a useful position.
I really want someone to take out that mortar in the monastery. The past few turns it seems they’re just randomly targeting the vicinity of the bridge, and that puts all of us who are guarding it at risk. Any ideas?
If Tim reads this – can FS1 see the enemy mortar team from their window? And do we have an idea of FS2’s visibility to the east over the low hedge?
FS1 can see the courtyard mortar and may well have fired on it last turn. At least two of the crew are dead and the rest are close to ‘pinned’. If the Panzer 35R keeps targeting it I’d be amazed if it sent any bombs bridgeward in turn 22.
Assuming they don’t draw attention to themselves too early, FS2 should have a good chance of stopping anything that approaches the bridge or attempts to cross it. They have good LoS to the bridge, approach road and open area opposite.
As I won’t be able to execute a turn and post a report on Sunday morning this week, I’d like to do it on Saturday morning instead. Post your orders by 6 AM Saturday, please.
A couple of noteworthy things I only noticed when preparing the unit list:
– Counter-intuitively, the howitzer can’t see the monastery foxholes from its current position (This explains why it refused to fire this turn). It does however have keyhole LoS to the northern end of the railway bridge and spots on the embankment close to the Cromwell.
//tallyhocorner.com/wp-content/uploads/2021/04/bridge21x.jpg
– Someone potted our pumphouse ‘sniper’ in the closing seconds of the turn.
Ok, I’ll continue as the commander of the new armor unless someone chimes in with good reasons.
ORDER: Panther Ausf G [black o39] – area target light the foxholes where the piat team is – pause 15 seconds – reverse to black l39 – cover arc armor to the east to cover the entire LoS of relevance to the two British tanks (perhaps bounded by green l24 and green l47)
ORDER: StuH 42 [black o40] – reverse to black i39 (being careful not to get stuck anywhere) – If conditions warrant (i.e. it won’t get stuck in the trees), move to north side of nearby building [black l36] to cover bridge with eyes for tanks – If conditions do not warrant, continue reversing to black c39 – then turn northwest – then follow the path black a31 – black a25 – black h20 to get on the road in the northwest – then in subsequent turns position to fire on British tanks
Hmm I feel that with a tank approaching now is not the time for Brinkmann to make a break for his taxi…
Agreed. On the other hand, the enemy HQ in the monastery must know there are people in the white house by now, so if they radio the tank to unload some shots into the building, we might lose Brinkmann anyway. It probably doesn’t hurt to get the Kubelwagen in position as a getaway vehicle, just in case.
To west coast commanders: is there anything going on with the howitzer this turn?
ORDER: Fusilier HQ (4 men) [red t37] to only return fire for the turn, not initiate any action themselves (if that’s possible).
ORDER: Fusilier Squad 2 [red r, 41] is the same. I suspect the best way to do this would be a very tight target arc that ends around column blue c.
ORDER: Fusilier Squad 1 [red p, 41] to continue causing trouble for the infantry in and around the monastery.
Leaving the door open for another commander to try give Wilberg and the mortarless mortar team orders, but I suspect they will both be doing their best to hit the spotter out of the top of the Cromwell.
If this scenario doesn’t end with Wilberg driving the Cromwell while Brinkmann uses its main armament to destroy the other Allied reinforcements I shall feel we’ve failed.
@Tim
– Sorry to observe this so late, but I think somethings off with your map coordinates for the light mortar teams – they’re almost the wrong way round. You’ve got:
“Light mortar team (29 HE) (2 men) tired, moving north [blue e38]”
– I’d reckon it at about [red t, 39]
And
“Light mortar team (NO MORTAR AMMO LEFT) (2 men) tiring, foxholed, pinned [red t39]”
– ought to be around [red z, 41]
ORDER: Fusilier squad 3 [blue c, 47]
– cancel any target arcs.
– Occupy the bocage (if not already), facing ESE.
– I don’t know under what circumstances he might take a pop at the Cromwell commander, but he’s authorized to have a go.
ORDER: Light mortar team [red z, 41]
– cancel any target arcs.
– Hide in the foxholes (as if it hasn’t occured to them already), facing SE.
Hi everyone.
Apologies for the lateness of this post and my untimely arrival. I’m unfamiliar with playing the CM game franchise but as a long time lurker/fan of the previous Comment Commander sessions I thought it was time to take the plunge. Apologies in advance for the inevitable mistakes and daft suggestions.
And so begins Operation Bring Back Brinkmann!
ORDER: Bellman’s Kubel max speed to Café, cutting the corner along the orchard say RED J.31 to RED M.35. Aim to park up immediately west of Bellman’s blazing half track (hopefully this provides a modicum of cover) at circa RED N.39 with an expertly executed hand brake turn. I will leave it to Brinkmann’s own judgement, this turn at least, as to whether he swoops the coop. If time allows and he decides to go then Kubel back on the reciprocal course and speed.
It’s possible Best will become bored with plinking and take the opportunity to try his not inconsiderable luck on the Kubel so…
ORDER: Howitzer to send one round H.E ideally by recorded delivery directly to his position, then expend the remaining smoke rounds at RED K41 and RED L41. This is to try and block LoS from any remaining paras still hanging around in the woods near the monastery entrance.
Turn execution underway.