
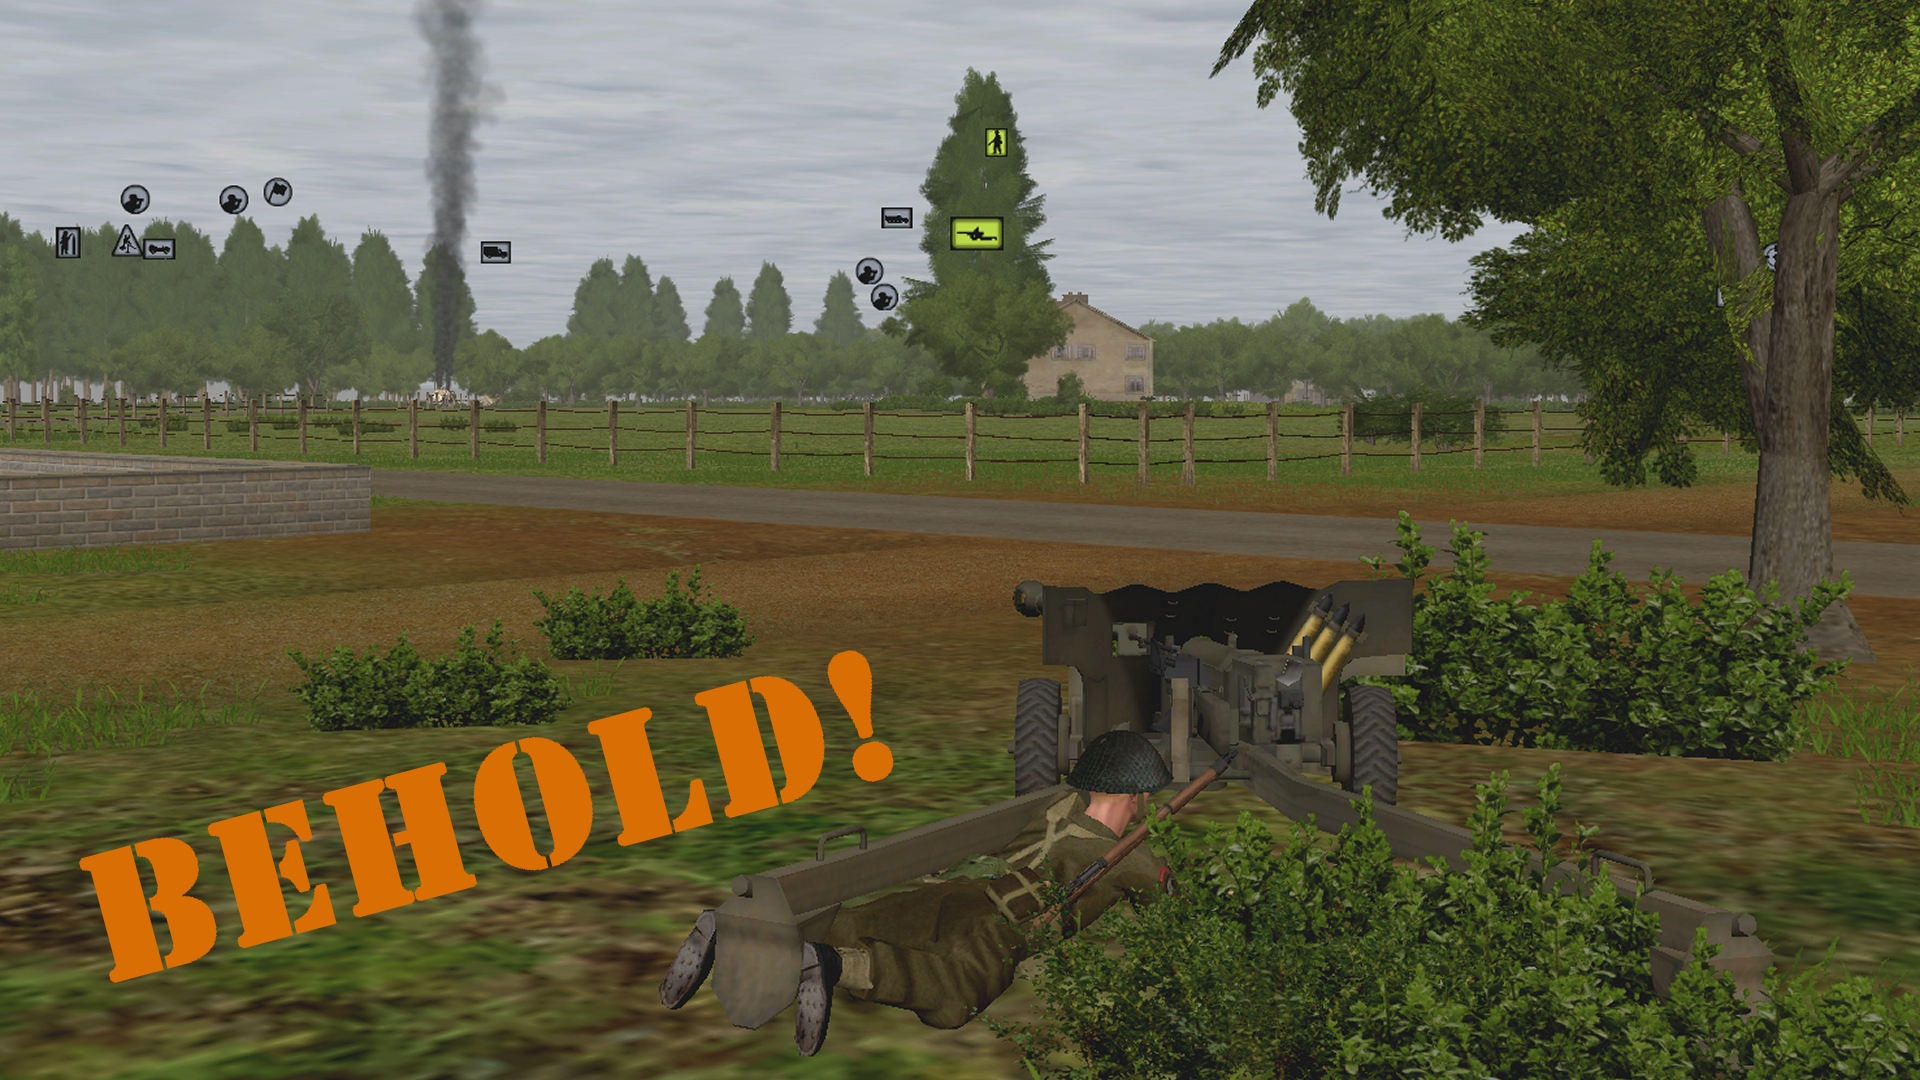
Keen birdwatcher Bulau has a knack for spotting things that would rather remain unspotted. Five seconds before sprinting grenadiers stiffen into statues and flying lead pauses in mid-air, the sergeant by the railway bridge binoculars a British AT gun artfully – but not artfully enough – wreathed in foliage between the monastery and cafe. The 6-pounder’s position and barrel alignment give it a guilty air. If it isn’t the piece that plugged the halftrack in turn 7, I’ll eat my GM’s homburg.
(Brinkmann’s Bridge is an open-to-all game of Combat Mission: Battle for Normandy in which the commenter-controlled Axis forces are out to recapture a Dutch canal spanner recently snatched by Red Devils. Each turn covers one minute of WeGo action. For a scenario outline, click here).
Turn 11’s losers:

1) The jeep on the receiving end of this 105mm emission.

Clobbered on its way to the canal bank, the British 4WD starts the turn in grid square red o8 and ends it in squares red p6, red q6, red o7, red p7, red q7, red r7, red q8, and red r8.
2) The three scouts west of the monastery.

Midway through the turn our three pumphouse-fixated pathfinders find themselves under fierce small arms fire from the SW. Caught unawares by unnoticed foes, they quickly suffer two casualties.
Turn 11’s jammy dodger?

This Bren gunner. He’s bracketed by 50mm mortar bombs fired from the railway, yet stubbornly refuses to bleed or cower.

The situation at the start of turn 12:

The surviving scout and, potentially, the Pz 35R are in trouble in the SW.

6 squad may be able to assist. Split into two teams, they are currently in the conifer plantation, heading in the direction of our tank. Stationary nearby, aspiring mortar spotters, Lehrer’s HQ, will need to crawl a little further in order to establish LoS to the monastery.

With a watchful HT on their left, the two halves of 5 squad are investigating the finger of woodland behind the pumphouse. One pinned Sten gunner is all that remains of the British unit on the other side of the building.

From their new position on the upper floor of the abode at black v4, the newly arrived sniper team can see the white balconied house by the bridge, but trees block their view of the monastery and pumphouse.

Apart from Hirsch’s team (about to burst into the cottage at blue d55), Wilberg (crawling onto the tracks at blue k47) the NE mortar team (hunting southward towards the rail bridge), there’s no movement east of the canal. Ensconced in the windmill Grill’s scouts enjoy commanding views of the canal bridge and its eastern approaches, but can see very little of the western portion of the map.


Turn 12 orders here, please. Commenters are cordially invited to suggest moves for the following units (A maximum of TWO units per commenter. Embarked infantry and their taxis count as single units until separated. Split squads also count as single units. Units on the west side of the canal answer to subscribers only.)
(anyone)
– NE group –
*SPW U304(f)-10 halftrack (63HE, 45AP) unbuttoned, [blue k14/15]
*Fusilier squad 1 (8 men) split into two teams – Bulau’s team (6 men) tired [blue l25] and Grill’s scouts (2 men) [red z8]
*Light mortar team (31 HE) [blue l10/11]
– E group –
*Fusilier squad 2 (6 men) split into two teams – Meister’s team (3 men) [blue l32] and Woikin’s team (3 men) tiring [blue l36]
– SE group –
*Fusilier HQ (4 men) [blue l/m42]
*Fusilier squad 3 (4 men) split into two teams – Hirsch’s team (3 men) tired [blue d55] and Wilberg (1 man) [blue k47]
*Light mortar team (35 HE) tired [blue k54]
(subscribers only)
*Panzer 35R (32HE, 22AP, 2CAN), buttoned, [black m42]
*Scout team (1 man, MP 40s) [black p44]
*Platoon HQ (4 men) [circa black k27]
*Fusilier squad 5 (9 men) split into two teams [circa black r21]
*Fusilier squad 6 (9 men) split into two teams [circa black j28]
*medium mortar team (4 men) deployed [circa black b25]
*Kubelwagen(black b24)
*SPW 251/1 halftrack (black n18)
*Truck (black e19)
(latest reinforcements)
*Major Belin (4-man battalion HQ) in Kubelwagen [black v3]
*Sniper team (2 men) [black v4]
*Self-propelled howitzer (18 HE, 2 HEAT, 2 SM) [black x3]
Please start all order comments with ‘ORDER’ and any later revision comments with ‘REVISED ORDER’. This will help me distinguish firm instructions from suggestions and advice.
@Tim
– is there any position on the railway embankment that would allow Wilberg to shoot at the 6-pounder, or at British infantry NW of the bridge?
– if Hirsch’s team were to move back to Hirsch’s corpse, would they scavenge the rifle grenades and ammo?
– regarding the woods south of the cafe, how far into them can SE mortar team fire as area targets?
– I don’t suppose the 6-pounder is a possible target for SE mortar team either?
@cederic
Quote: “Poor tired boys. They must have been very naughty, no rest for them at all.”
Hirsch’s team had a pause of 30 seconds in the last-but-one round, and a whole 15 seconds this turn. Shortly, they’ll be able to pull up armchairs to the windows and observe what’s going on.
They were “tired” and are currently “tired”.
It doesn’t stop them acting but does reduce their effectiveness, which jeopardises their safety. However since they’re about to enter the building either its occupied and they’re all dead or its empty and they can sit down for a bit. One way or the other they’ll get a rest.
> is there any position on the railway embankment that would allow Wilberg to shoot at the 6-pounder, or at British infantry NW of the bridge?
The bridge parapet prevents him from targeting the foxholes NW of the bridge, but it looks like, once he’s spotted it, he may be able to spot/engage the 6-pounder from his current position.
//tallyhocorner.com/wp-content/uploads/2021/03/bridge11s.jpg
> if Hirsch’s team were to move back to Hirsch’s corpse, would they scavenge the rifle grenades and ammo?
Not sure. Obviously, with that Bren still active, such an attempt would be very risky.
> regarding the woods south of the cafe, how far into them can SE mortar team fire as area targets?
It can target almost all of the woodland squares on the pillbox side of the red o50 track
> I don’t suppose the 6-pounder is a possible target for SE mortar team either?
Not quite. If it moved slightly south it might be possible.
Nearly fell off my chair when the first pic under “losers” was our SPG! Thank god it was the sender rather than receiver of the (full metal jacket?) hate mail.
Now, which of our spotters is going to be best for calling in mortar fire on that AT gun? My guess is the HQ at black K, 27. Based on Tim’s informative LoS depiction, the Major would need to schlep all the way to the pump house woods to do the job.
Second question, can we deal with the gun before moving the PZ35R? Probably not. The mortar fire will take likely 2 turns from now to take effect (minimum) I imagine. Any bright ideas of what to do with our angry house in the mean time?
Lastly, Tim, is there a way to show all existing moves in this version of CM? As i dip in and out of the turns (sorry for inconsistency but RL has a habit of intruding) I find it hard to know where the loose ends and orderless units are. I could read through past comment orders but… I’m lazy 😛
I smelled that 6 pounder! I knew it! What I would suggest is turning the Pz35r and surviving scout south, until squad 6 catches up or the 6 pounder is dealt with.
Tim: What is the situation with LOS between that 6-pounder and the Pz35r?
The trees in the NE corner of the monastery gardens prevent LoS:
//tallyhocorner.com/wp-content/uploads/2021/03/bridge11r.jpg
That Renault is in real trouble. If it stays put then rifle grenades or even MG fire into its rear could cause a lot of damage. If it drives forward that AT gun will make short work of it. If it unbuttons it might lose its gunner/commander to small arms fire. Worst of all, if the paras have a PIAT at that short a range it’s not going to matter if we’re facing front or rear. So rather than turn and try to fight, we’re going to put as much distance between us and wait for the Squad 6 cavalry.
ORDER: Pz 35 REVERSE to [black d41]
Tim, can a tank can slowly move through those light woods?
Meanwhile Squad 6 might need to forgo its approach towards the monastery to handle whatever force has targeted the scouts. Time is of the essence and if [black l38] is occupied it’s going to get rough real fast. But that building has been under the watchful eyes of our tank for a while, so it seems unlikely an ambush is waiting there.
ORDER: Squad 6 FAST to [black e36] and [black j36]
Happy to revise if we determine those moves are too risky.
Our tank will happily roam through all the woods except the conifer plantation (dark block near centre-left map edge).
>>is there a way to show all existing moves in this version of CM?
Yes but, sadly, the lines are so thin and faint they are often invisible in high-altitude screenshots. In future if a unit has an incomplete order I’ll try to show that in the closing sitrep pics.
That could be a pain to draw in by hand!
ORDER: Grill’s scouts exit windmill, run across rail bridge (along a “safe” path from windmill to bridge), and rejoin Bulau
Question: Why would you pull our best eyes over the North West sector of the map from the windmill the isntant they get there, to race back down to rejoin Bulau, so they are tired when they get there?
It would seem a better move would be to move the mortars up next to the windmill so that the scout team could direct fire across the canal.
No criticism, Just wondering what your thoughts are with this?
Scout teams can’t direct mortar fire in Combat Mission – in fact, no one can direct small mortar fire except for the small mortar teams themselves. Therefore, the two scouts serve little purpose staying in the windmill – they got in there, killed the sniper, had a glance through the window to see that there was nothing else to target, and decided to return to their squad to better assist in the battle (and the impending arrival of more British units from the east side of the map). Entirely plausible.
ORDER: Fusilier squad 3 (4 men) split into two teams:
Hirsch’s team (3 men) [blue d, 55]
– Complete moves from last turn.
Wilberg (1 man) [blue k, 47]
(The bridge parapet that blocks his line of fire to the foxholes NW of the bridge should also, hopefully, shield him).
– Do what he can to spot and fire upon the 6-pounder. Preferably without needing to standing up.
ORDER: Light mortar team [blue k, 54]
– Blow the Bren gunner to smithereens.
ORDER *Fusilier squad 5 (9 men) split into two teams [circa black r21]
– The heavier-armed half of the squad to QUICK to around Black P 23 (at the treeline edge, will leave the exact position up to you Tim) to act as a base of fire, going SLOW for the last half dozen metres to force them to crawl.
– Other half to PAUSE 20s then MOVE to Black W22, keeping to cover, aiming to push up to the Pumphouse itself in a later turn, in order to clear it.
ORDER *Platoon HQ (4 men) [circa black k27]
to do what they need to to MOVE up to the treeline-edge, such that they can get LoS on the 6-pounder, and call in a Quick Anti-Personnel mortar stonk on it.
My thinking: will use 5th Squad to suppress and take the pumphouse, hopefully flanking the defenders over there. Platoon HQ is prioritising the main threat to our soon-to-arrive heavier armour, though if someone can take out the 6-pounder earlier the fire mission can be cancelled or redirected.
Glad to see Woikin’s team is recovering. Let’s inch them a little closer to the action.
ORDER: FS2 Woikin’s team [blue l, 36] to move south one square to [blue l, 37], then slowly/carefully onto the railroad at [blue k, 37]. Hopefully the house will block line of sight from the sandbags. If our mortars wipe out the bren gunner, next turn I think we can make run for it.
ORDER: FS2 Meister’s team, I think we should reposition them to the south. They have the panzerfaust, so I’d like them to be either in the L-shaped woods or the T-shaped hedgerow by turn 20, assuming they don’t get killed before then. Hunt from [blue l, 32] to [blue l, 34], still with target arc focused tight around the sandbags over at [red t, 36]. Pause 15 seconds to let Woikin move along, then if we didn’t engage continue down to [blue l, 36] (Woikin’s old position). If that order is difficult, maybe just pause at the beginning of the turn instead.
Is there a reason why the NE mortar team are plodding so slowly down to the railroad bridge? Is the problem that they are in “hunt” mode, which presumably means they’ll try shoot guys with their sidearms? It’d be nice to get some bombs raining down on those [red t, 36] sandbags, so from my perspective the mortar team would be better off moving swiftly to their destination so they can set up to provide covering fire.
They’re moving more slowly than anticipated – perhaps they had a delay packing up the mortar.
They’re in no great rush because there aren’t really any safe spots for them to set up south of the bridge that have LoS to targets. The other mortar is taking on the Bren Gunner, it feels greedy to give him all our high trajectory explosives.
I have however had an idea.
ORDER: NE Light mortar team [blue l10/11] sprint to the half track and climb in the back.
(Once they’re on board, the half track will be driving at top speed across the rail bridge, down the embankment to the field to the East of the rail line, then south to the row 39 road. I’m assuming that will have to wait until next turn though. The theory is that it’ll be in sight of the AT gun then hidden behind buildings before the gun can be turned to shoot, and also gives the mortars some low-effort mobility.)
I like this plan! I know there was some reluctance to move that halftrack in the last few turns, but with the arrival of Major Belin’s reinforcements in the north, it seems our NE guys will be more useful south of the railroad bridge.
Ah, we tried this back in the earlier turns: the NE halftrack isn’t a troop carrier, unfortunately. The mortar team is going to have to walk
Moving the halftrack isn’t a bad idea though: it looks like that house masks it from the AT gun
Turn execution underway.