
I reckon there are few more evocative sound effects in computer wargaming than the wave files in CMBO’s audio folder numbered 900 to 904. Used to communicate close quarters violence largely ignored by Big Time Software’s no-frills graphics engine, these chilling melee noises play several times this turn as British troops close to the rail bridge launch local assaults and fend off counterattacks.
If Lieutenant Merry hadn’t received timely assistance from his boss (Captain Hood) and an advancing halftrack (Corporal Fletcher) it’s quite possible this sixty-second burst of WEGO action would have been his last.
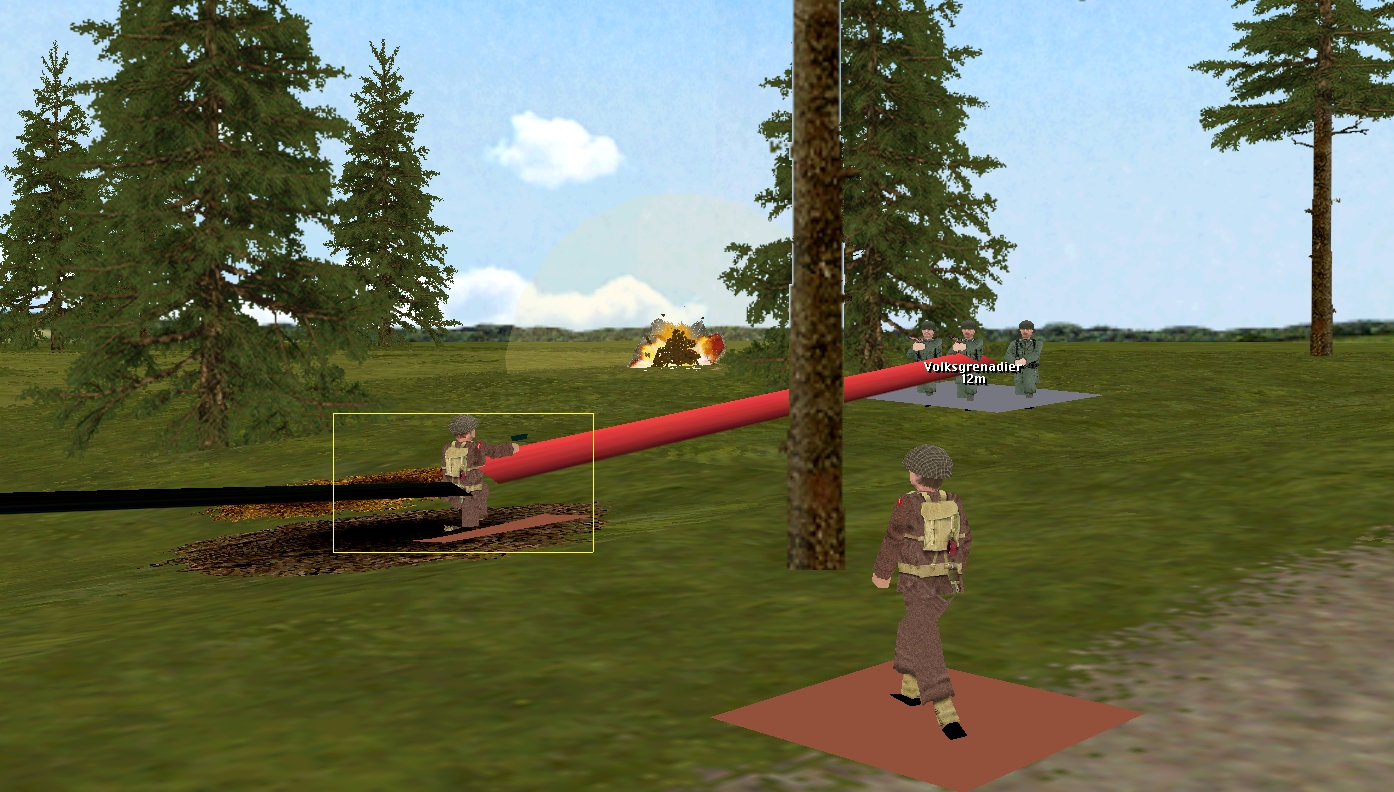
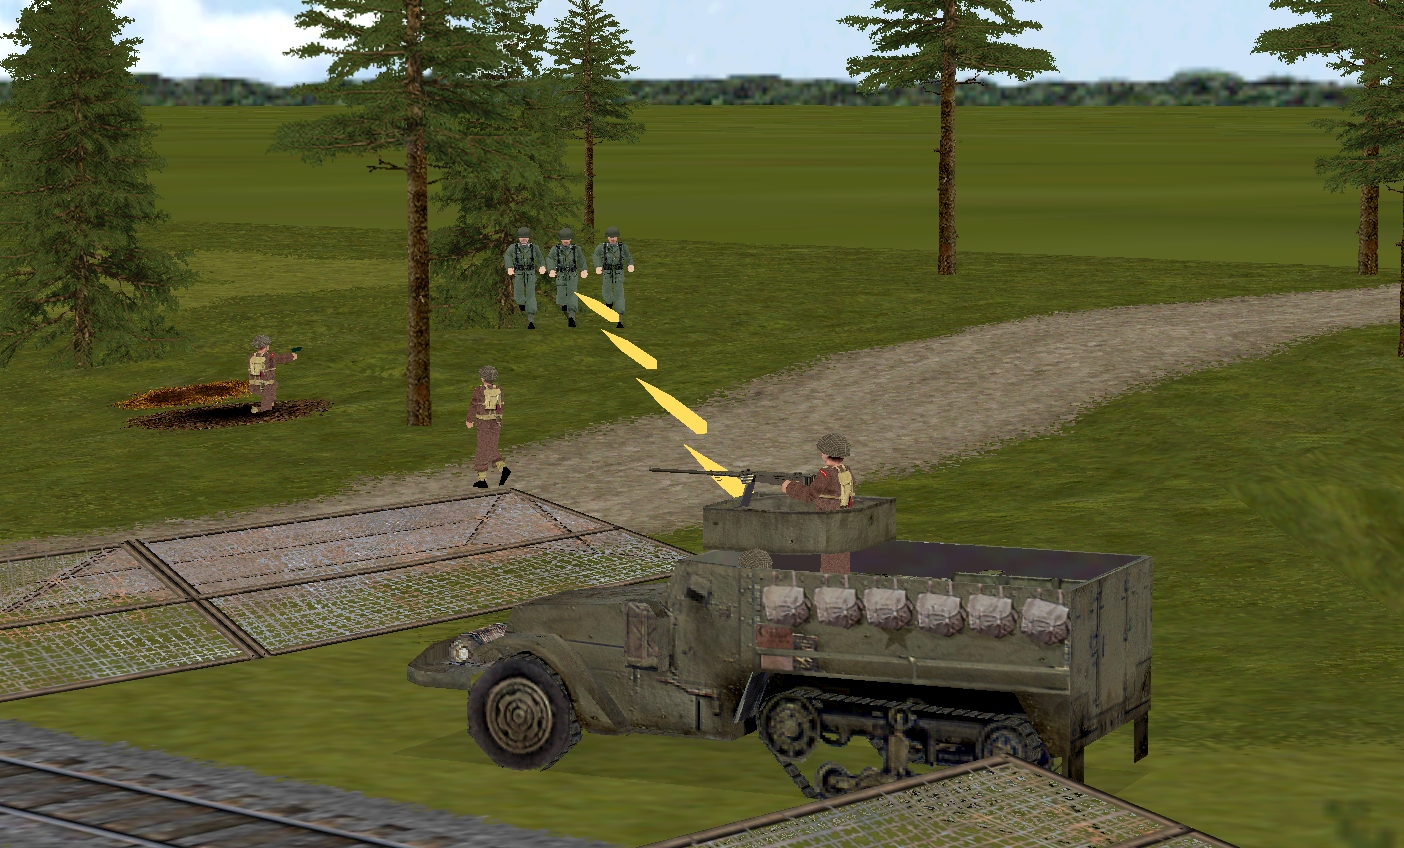
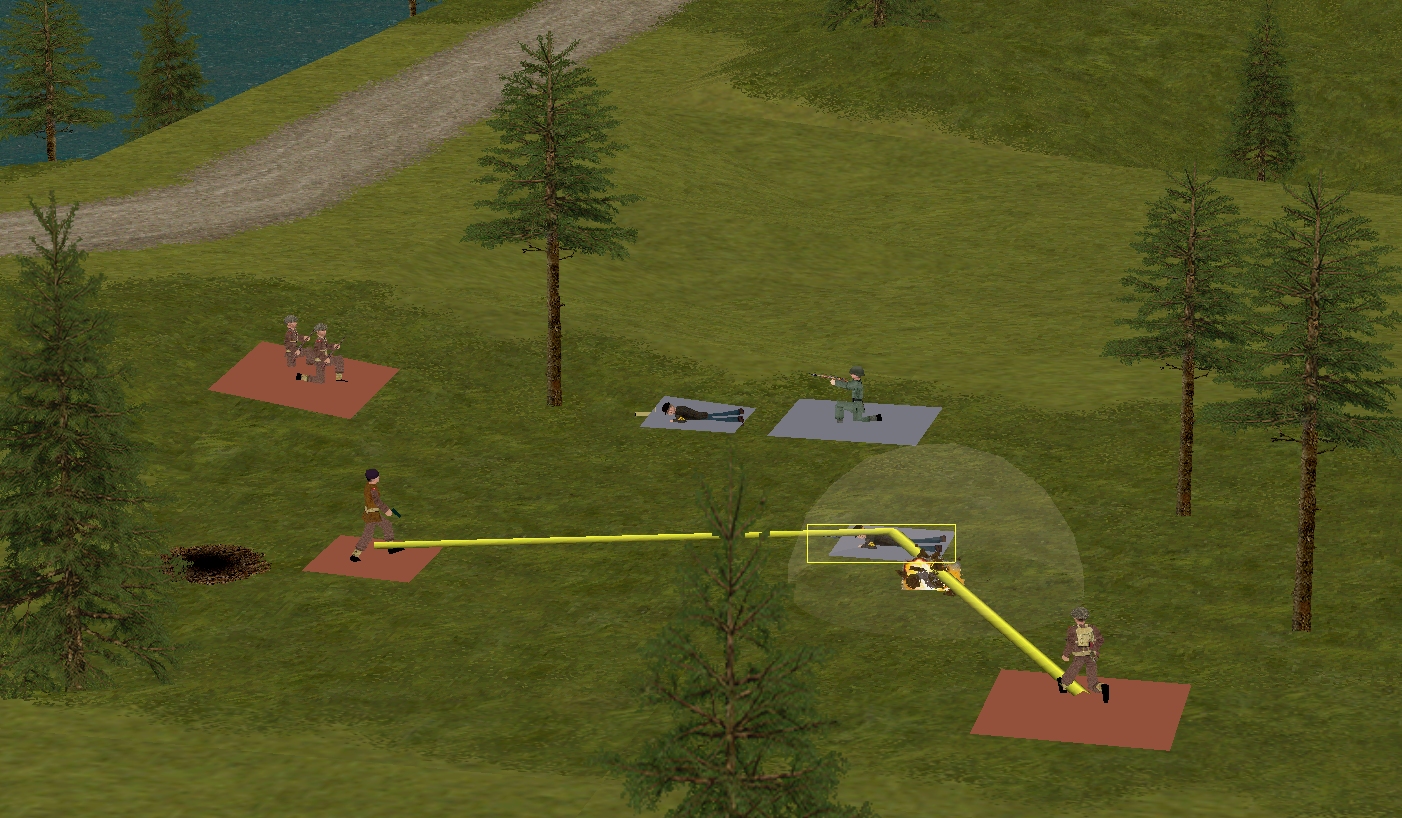
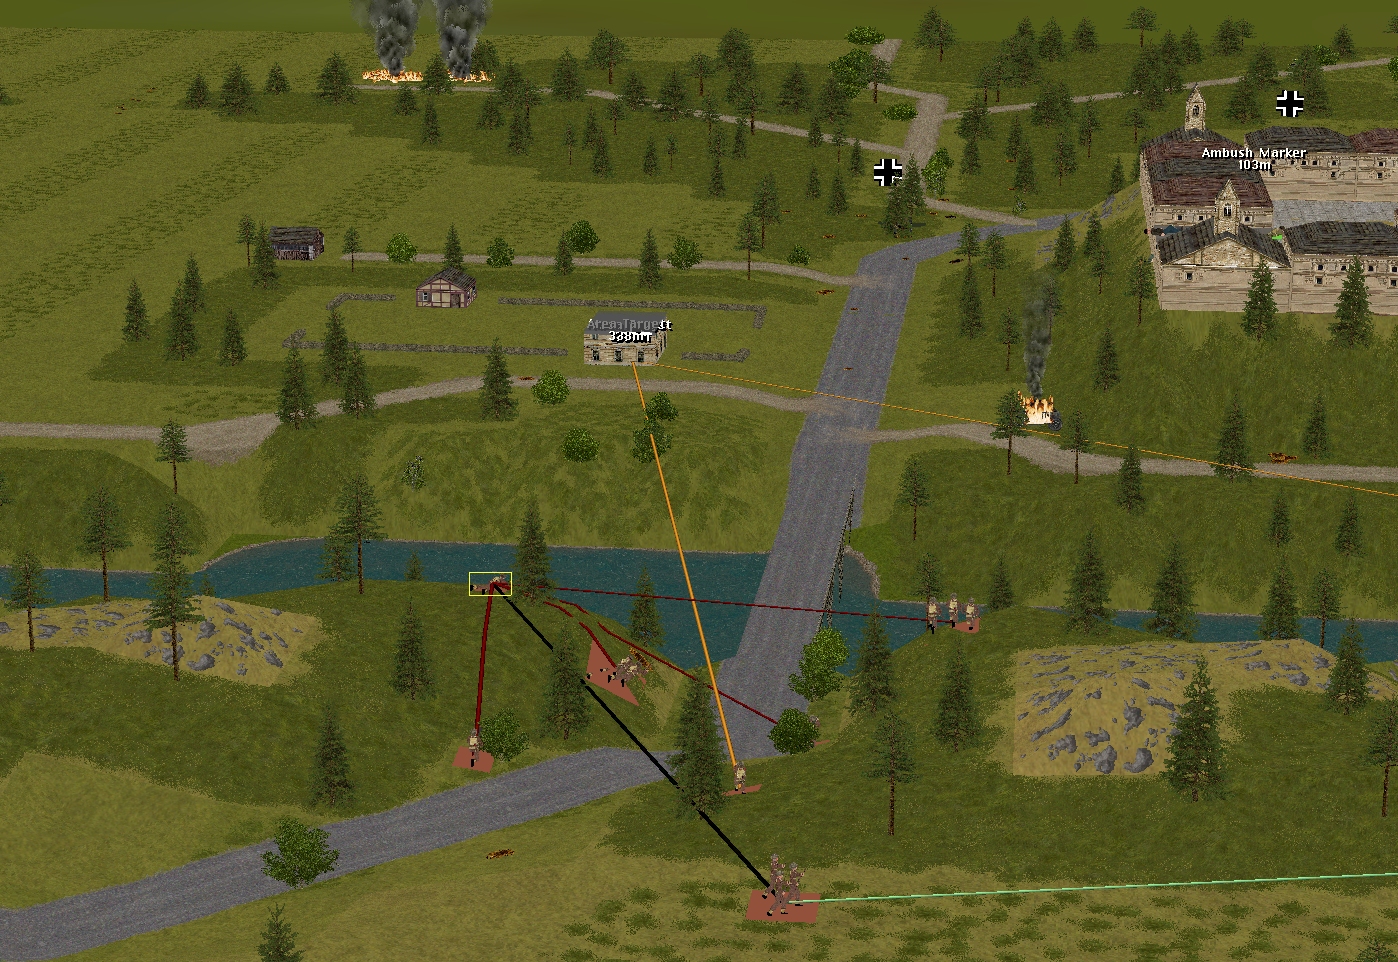
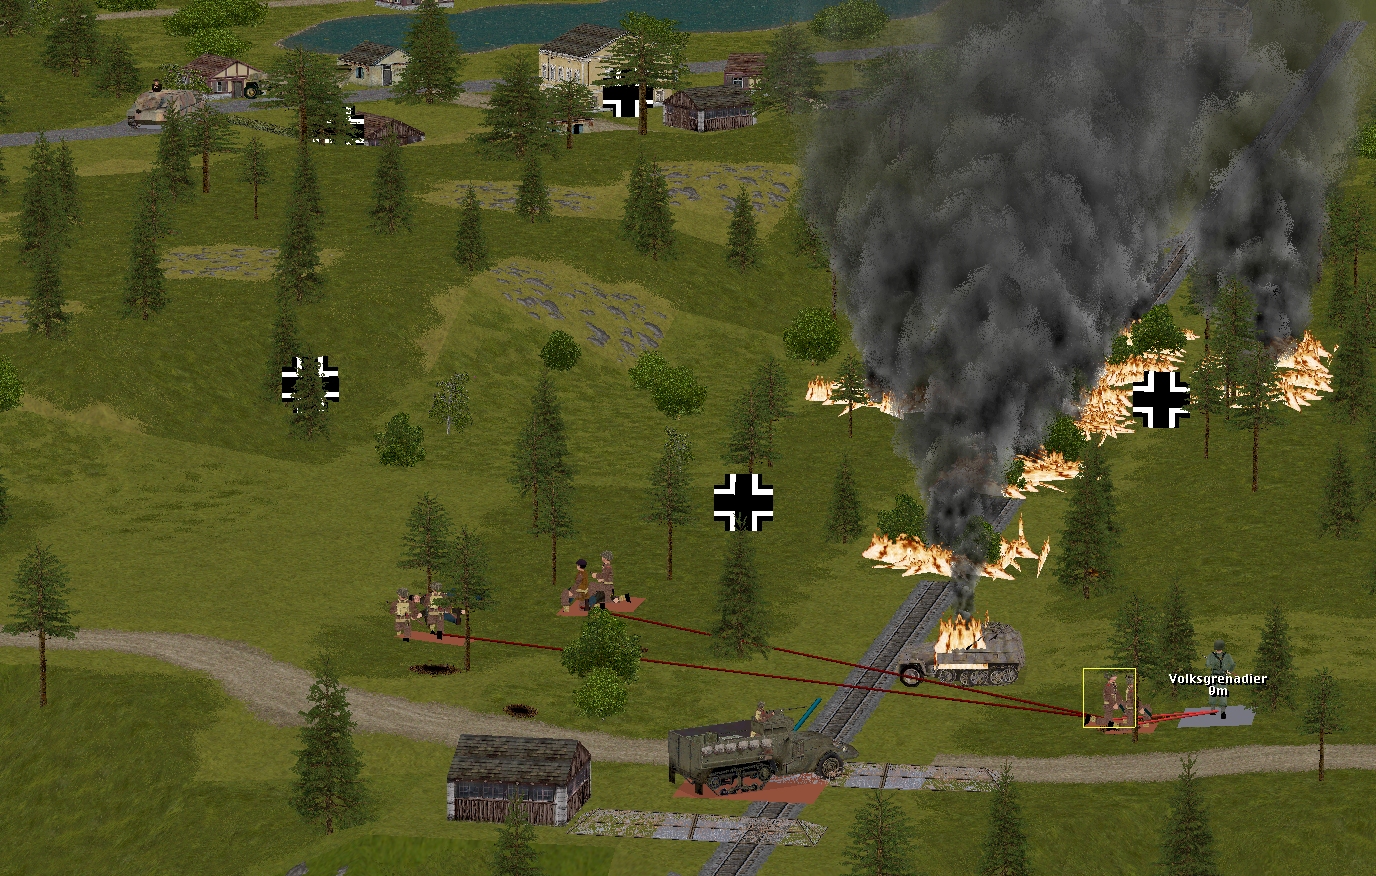
Rushed by an eight-man Volksgrenadier squad, the four-man platoon HQ in the forest south of the railway line spends much of the turn trading lead, grenades, and melee blows with the attackers.
Things look dicey when the foxholed British unit loses half of its strength in the blink of an eye, but with the support of the HT and the arriving captain, the Volksgrenadiers are eventually driven off severely (six casualties) depleted.
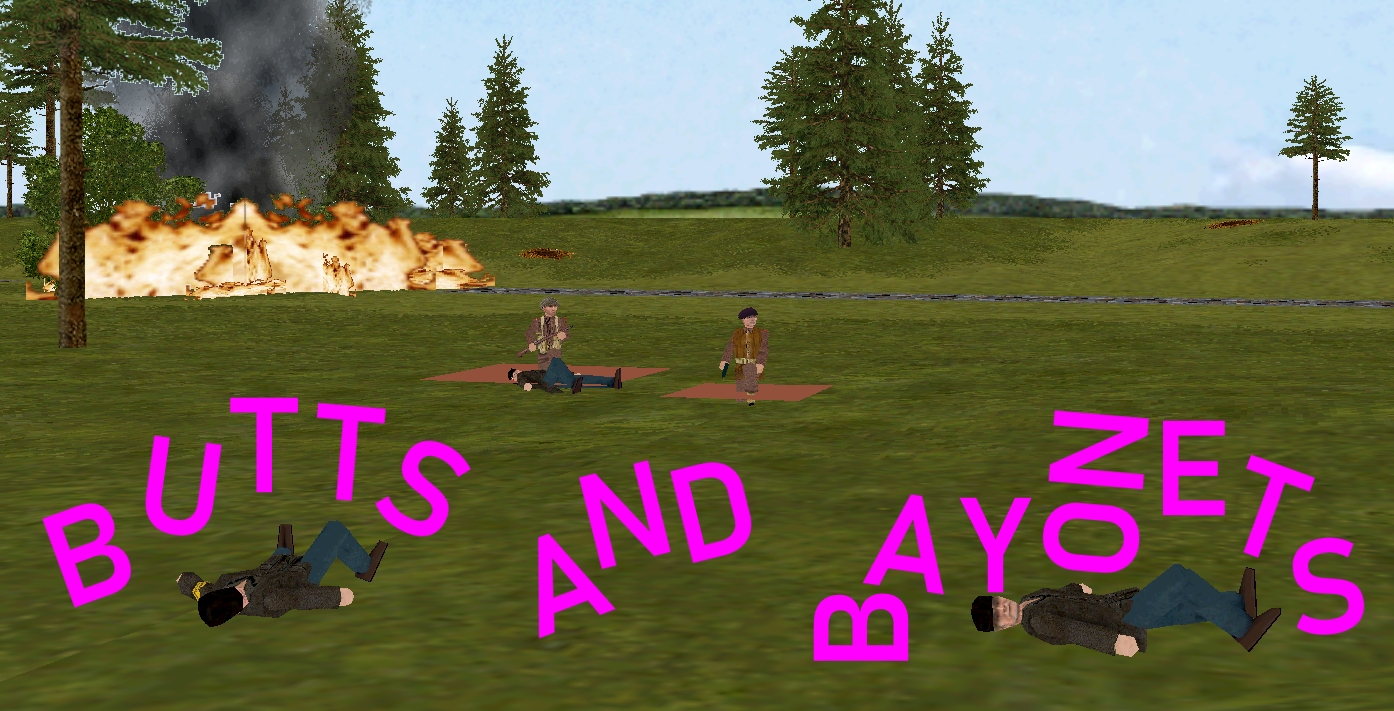
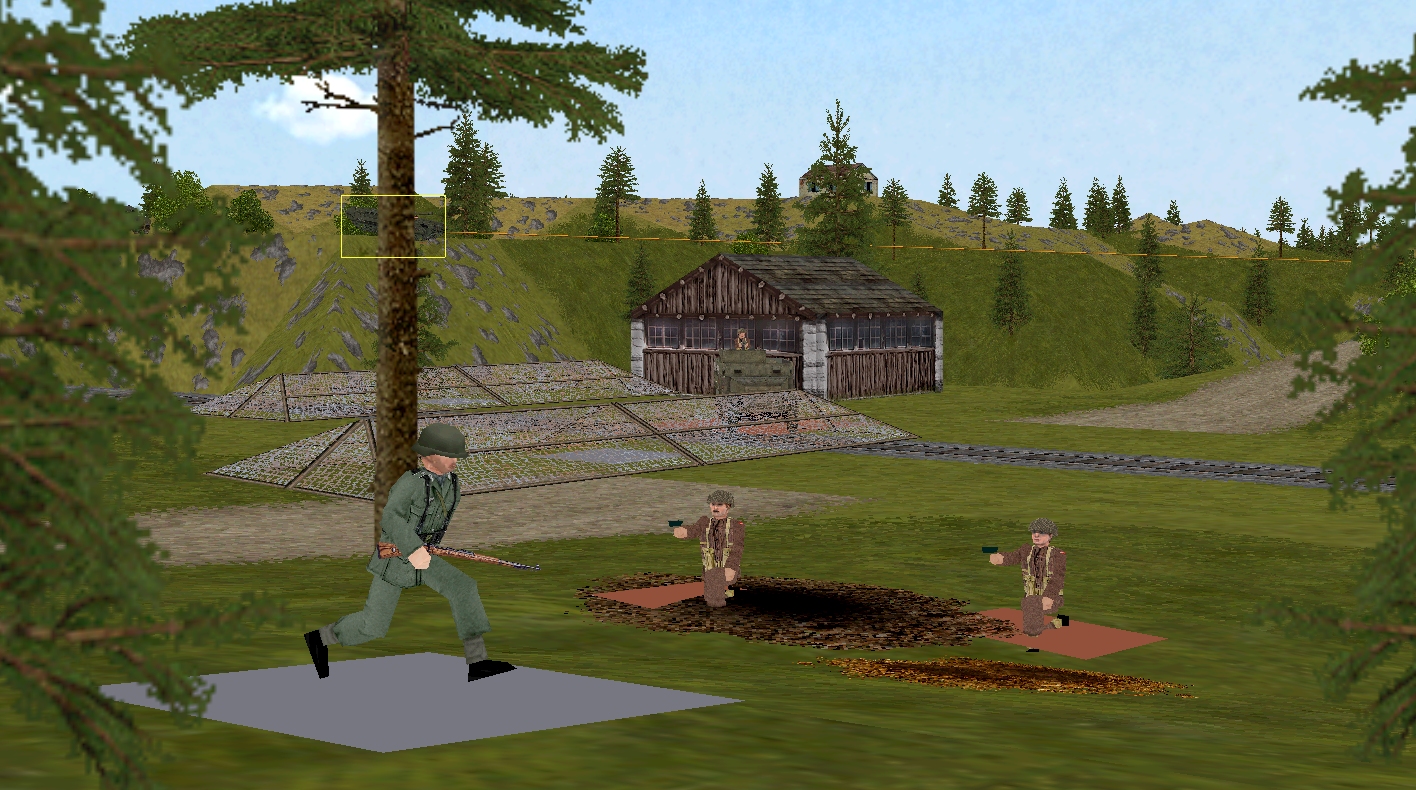
On the other side of the tracks it’s the Brits that are on the offensive. Aggressive advances by Venison (two riflemen) and Scarlet (three pistol-armed survivors of the KOed Daimler), supported by Praed’s team (three riflemen and a Bren gunner) produce gratifying results.
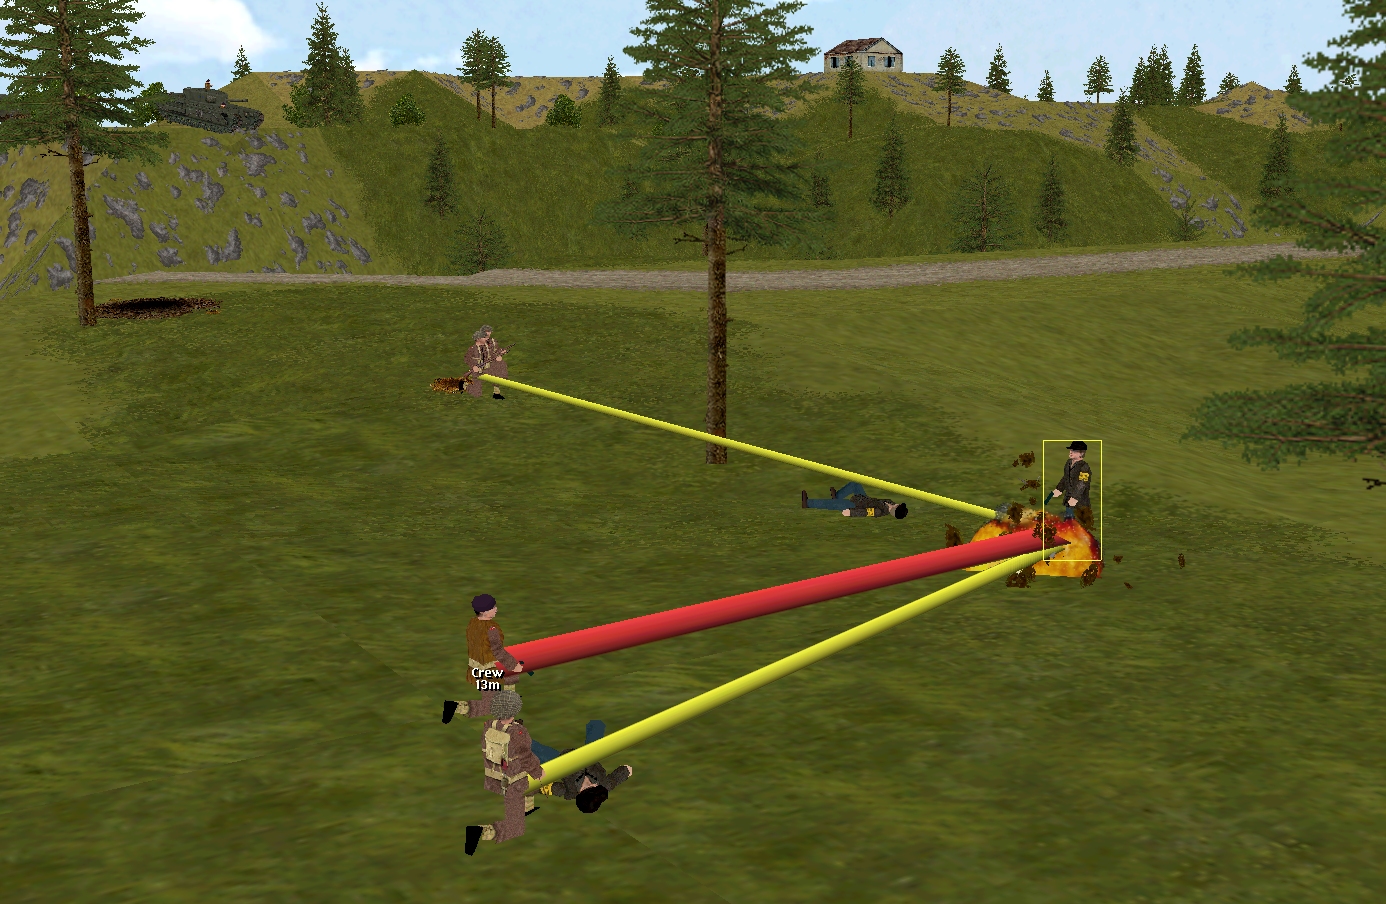
A Volkssturm LMG, Panzerschreck, and HQ unit succumb to Tommy bullets, bombs, bayonets, and rifle butts.
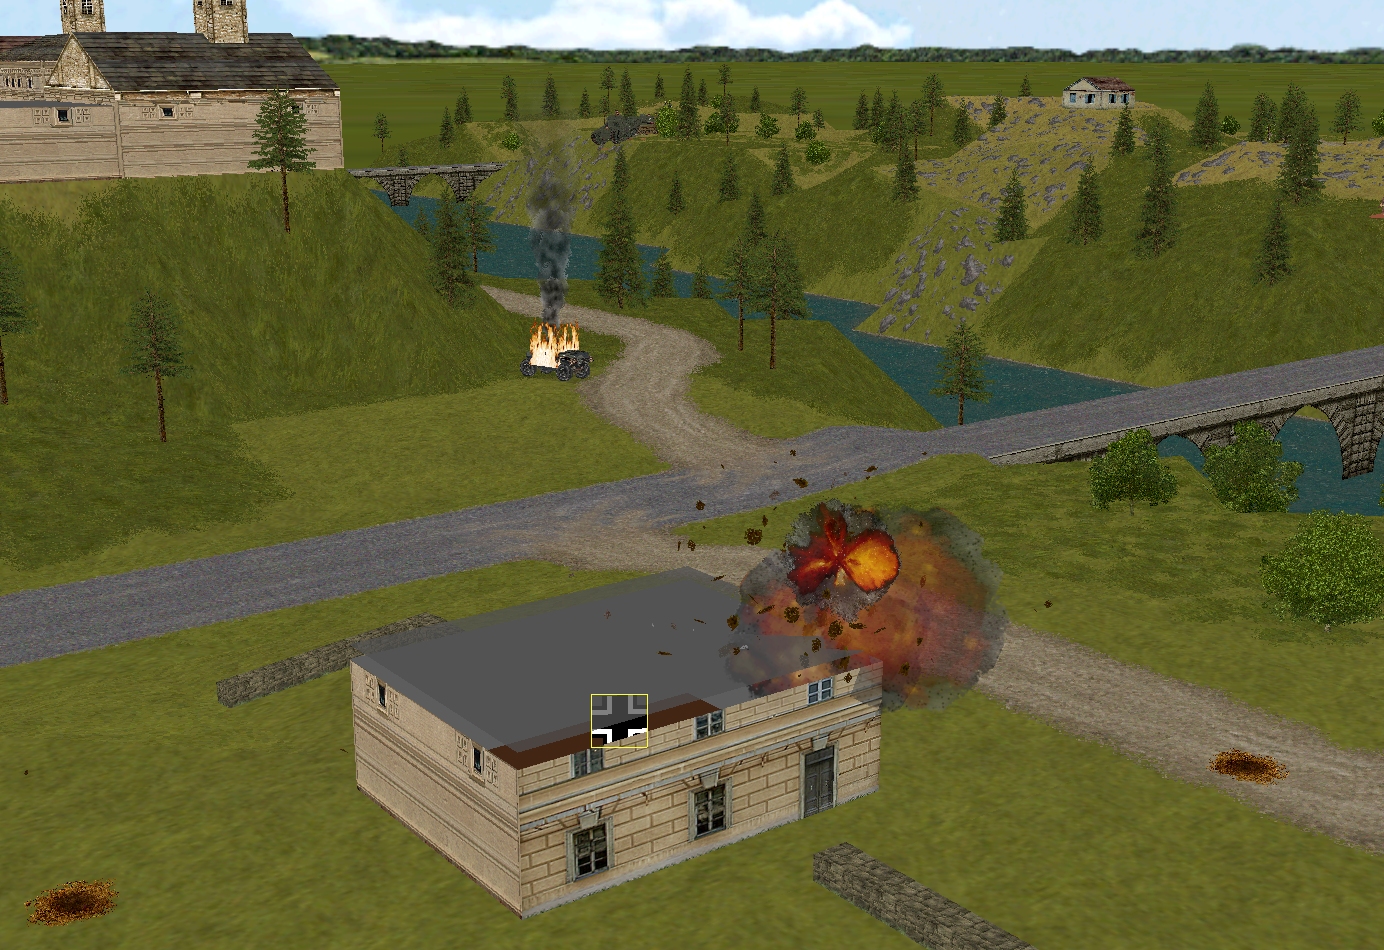
It’s possible the enemy also suffered casualties near the road bridge this turn, as the house at 36, 3, 2 took several 95mm (Churchill VIII) and 25-pounder (Tuck’s battery) hits. One more direct hit should bring the building crashing down – bad news for the unidentified foes still lurking within its rubble-strewn interior.
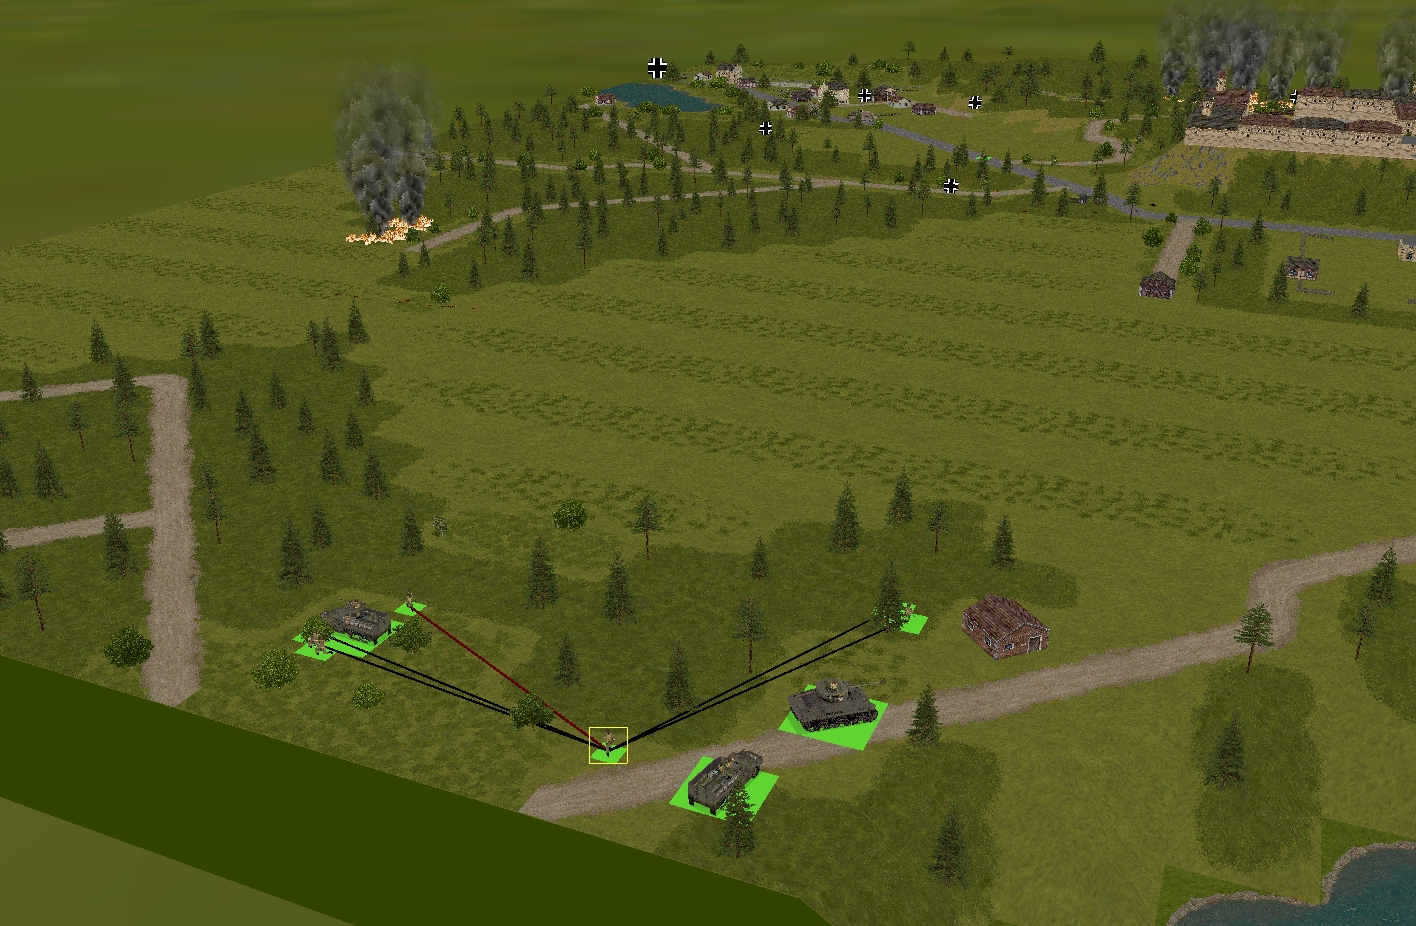
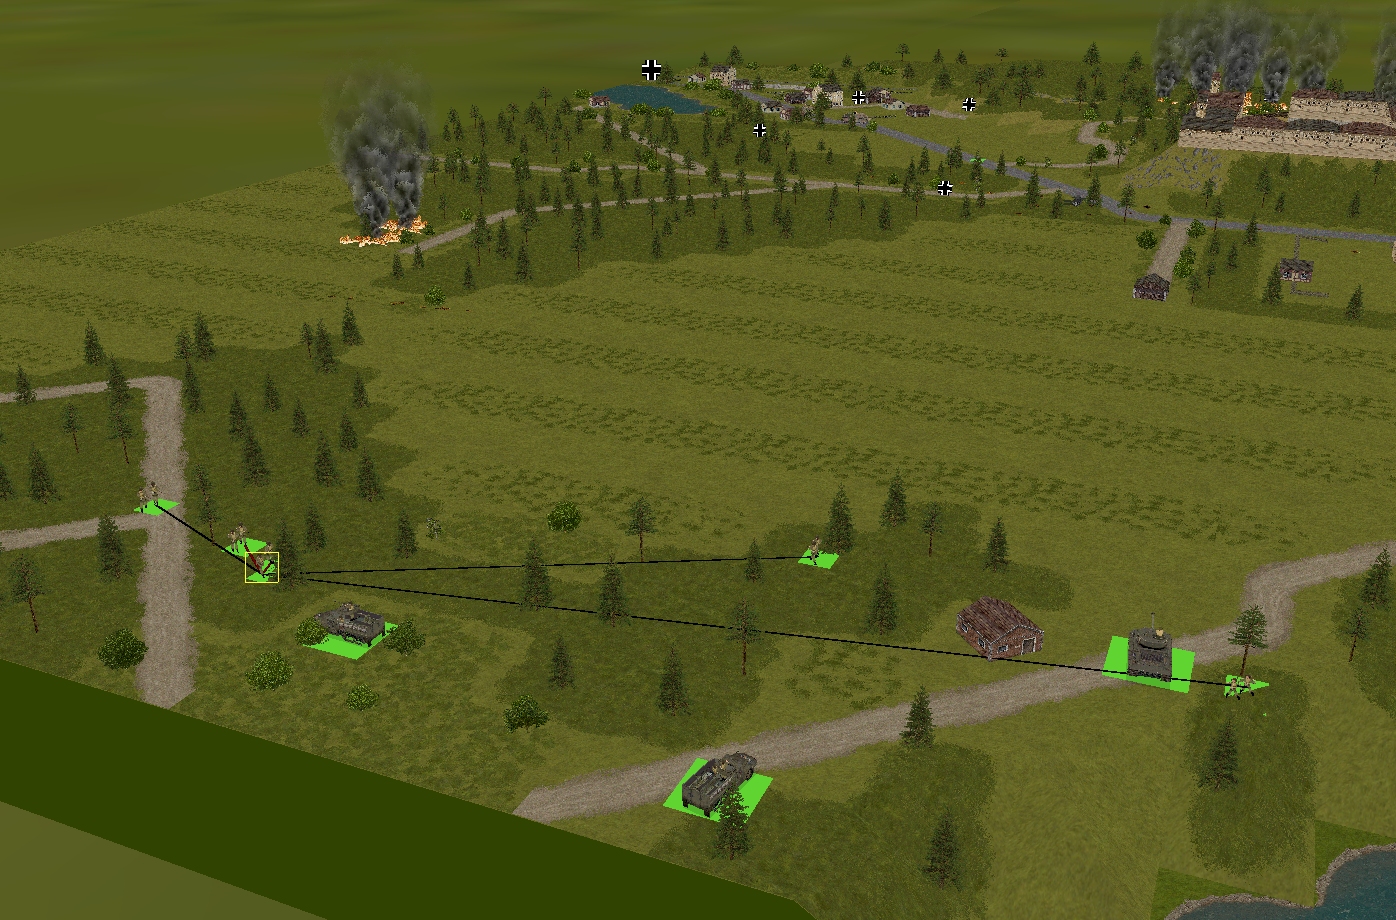
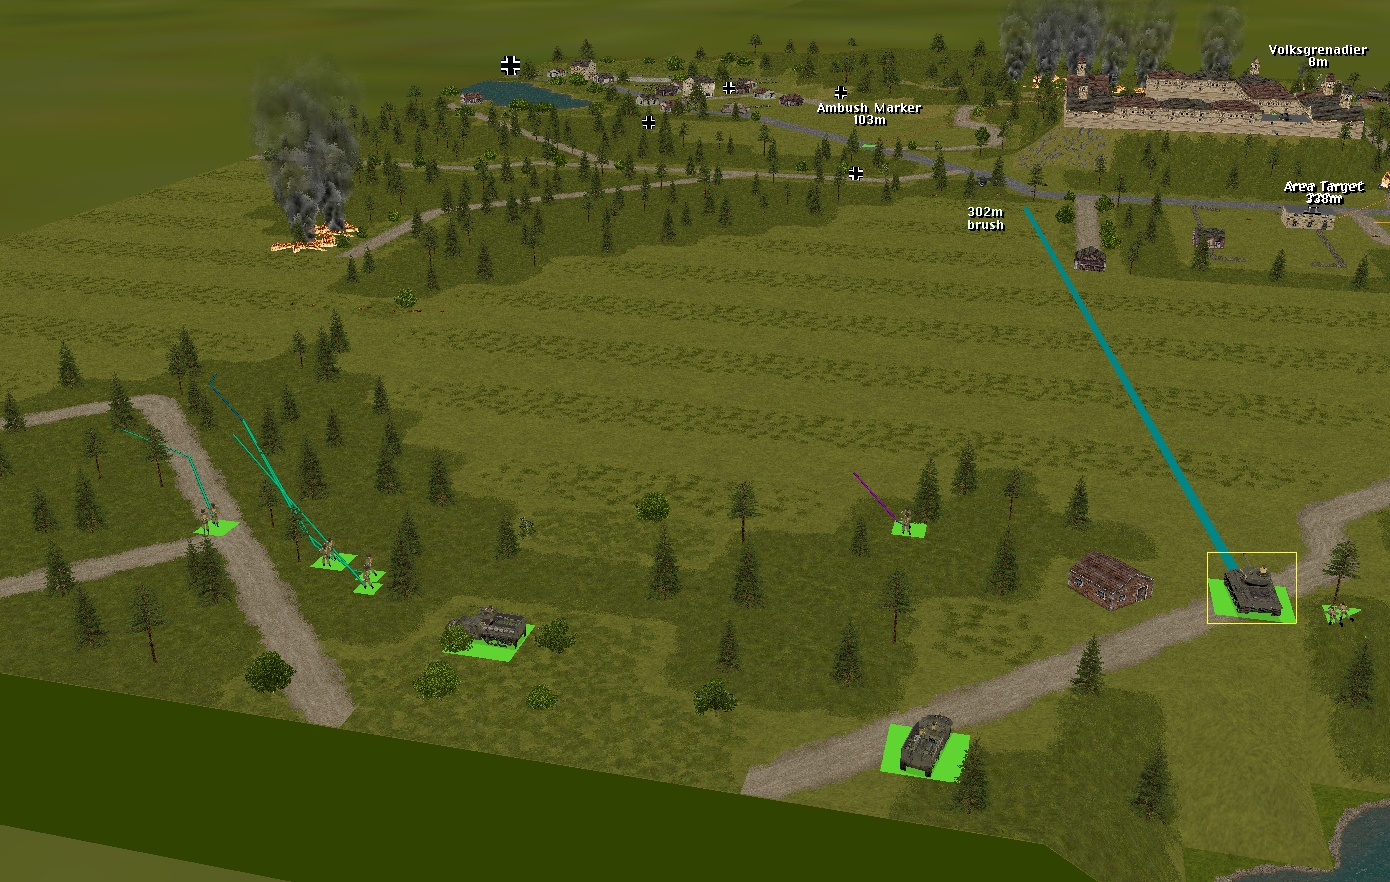
Elsewhere on the map, the Yanks begin moving towards the elusive ‘dug-in tank’ and try to locate the halftrack supposedly lurking in the vicinity of 37, 2, 5.
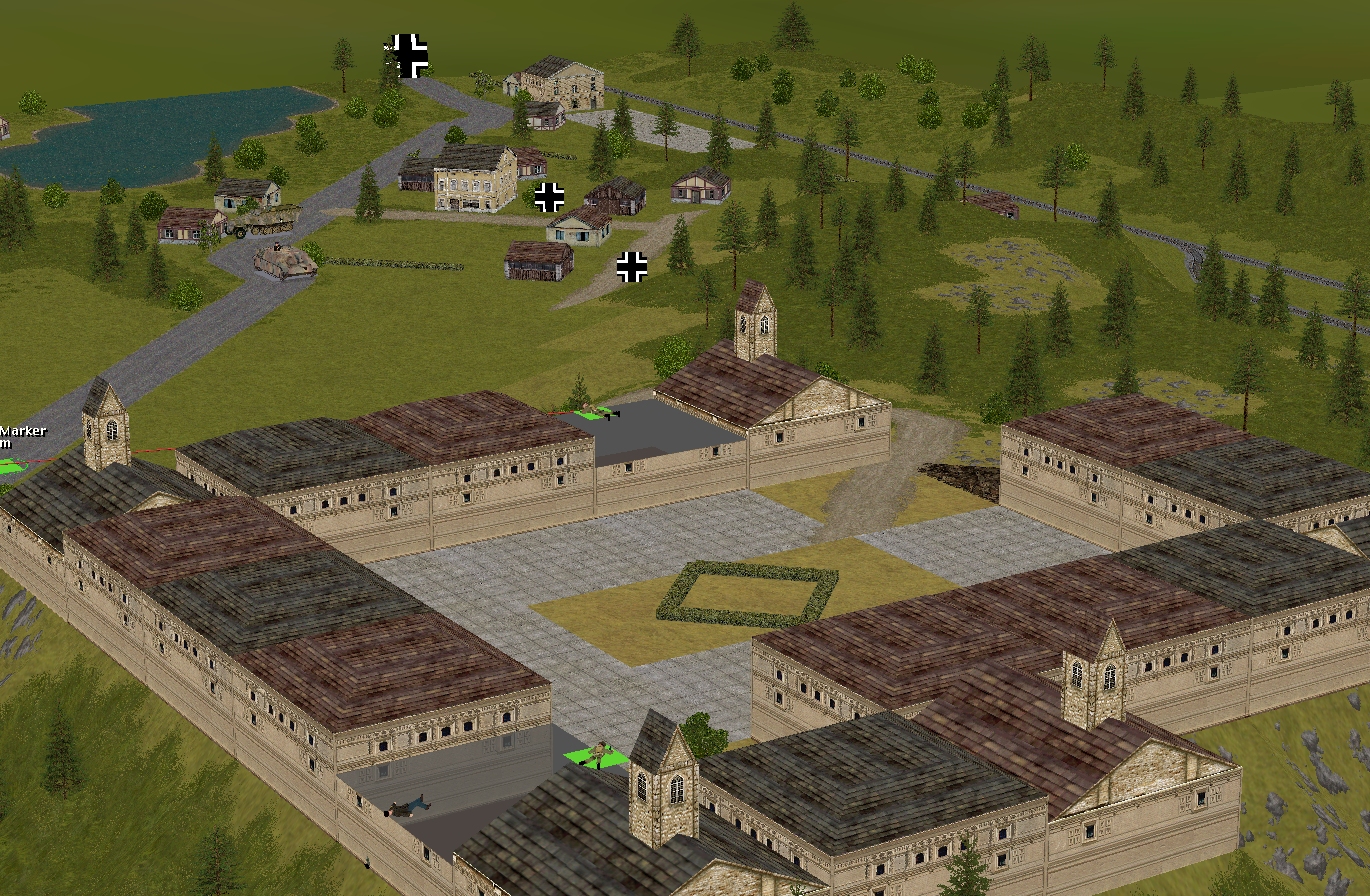
In the castle and village, all is suspiciously quiet.
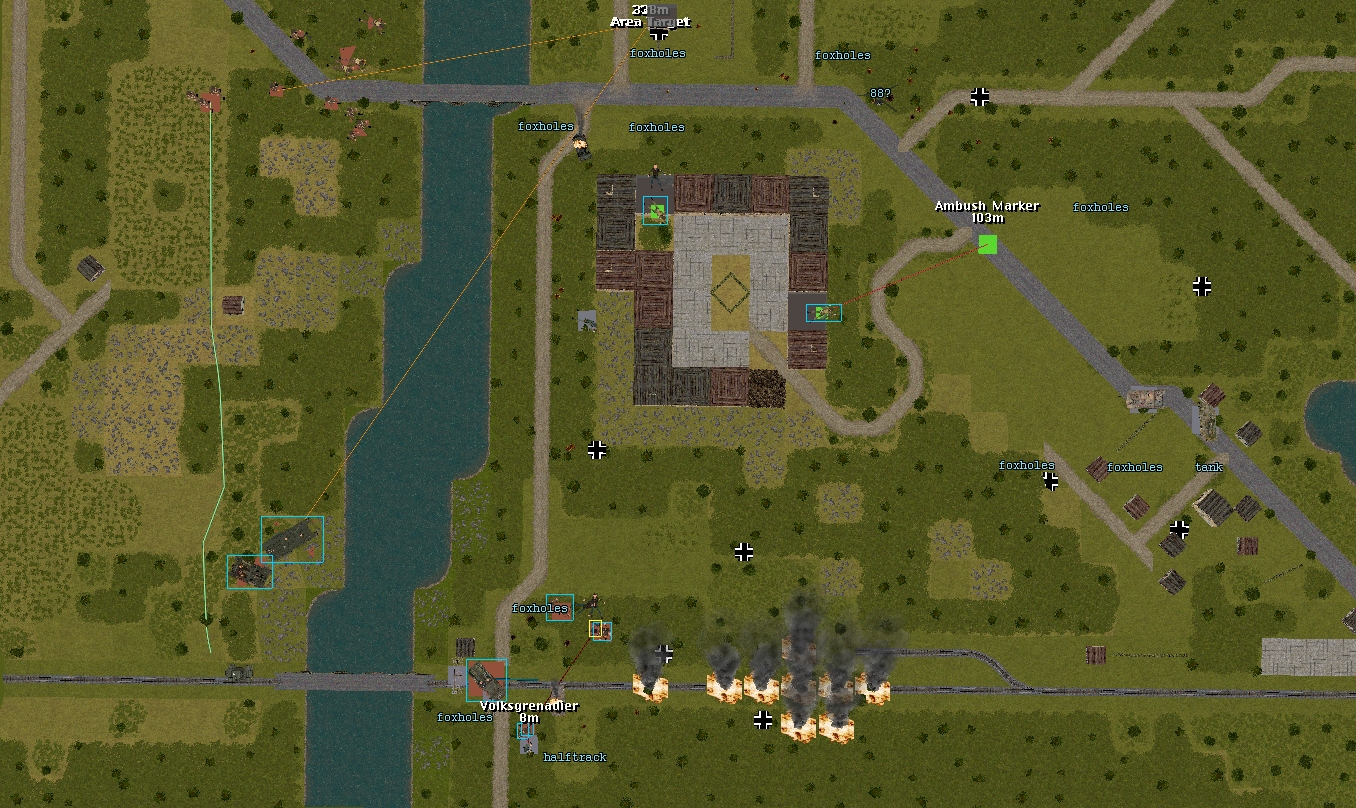
The situation at the end of the turn:
Tuck has 88 rounds remaining.
The Churchill has 26 HE rounds remaining.

Turn 16 orders here, please. Commenters are cordially invited to suggest moves for the following eight unit groups (First come, first served. A maximum of one unit group per commenter. I’ll try to execute the turn as quickly as possible after all orders are in.)
(See screenshots for unit locations)
****anyone****
– Merry’s men (Lieutenant Merry + Sergeant Venison’s rifle squad + Corporal Fletcher’s M5A1 halftrack)
– Marian’s men (Lieutenant Marian + 3 x rifle squads + PIAT team + 3 inch mortar team)
– Sergeant Bowman’s Archer TD
– Sergeant Pyle’s Sherman
****subscribers only****
– Captain Hood (Six-man company HQ + arty spotter Lieutenant Tuck)
– Sergeant Johns’ Churchill VIII
– Captain Dale’s party (Six POWs armed with pilfered rifles and pistols) + Corporal Whitehand’s team (Two POWs armed with a pilfered Panzerschreck)
– Lieutenant Costner’s platoon (2 inf squads + bazooka team + 2 HTs)
Please start all order comments with ‘ORDER’ and any later revision comments with ‘REVISED ORDER’. This will help me distinguish firm instructions from suggestions and advice.
Evidently, Venison and his boys start their day with a hot cup of Boot’s Fluid Beef.
ORDER: Sgt. Venison’s squad
(I’ll defer to Tim on the sensible order to do things in: reunite then move, or move then reunite)
Form up as a single unit on the northern edge of the woods [12, 3-4, 1]
ORDER: Cpl. Fletcher’s halftrack
MOVE to the first bend on the road north, but keep concealment to the east [11, 4-5, 1]
Attempt to target enemies at [12, 2, 5]
ORDER: Sgt. Scarlet
MOVE CAUTIOUSLY to the north-east corner of the woods [12, 4, 1] with view to the north-east.
HIDE.
ORDER – Sgt John’s Churchill – FAST MOVE to Road bridge 27,1,5.
ORDER – Marian’s Piat team – RUN to 26,1,4 then move to Rail bridge signal box.
ORDER – Sgt Pyle’s Sherman – TARGET bldg 45,2,1.
ORDER – Lt Costner’s HT – MOVE from 61,3,4 to 61,1,2.