
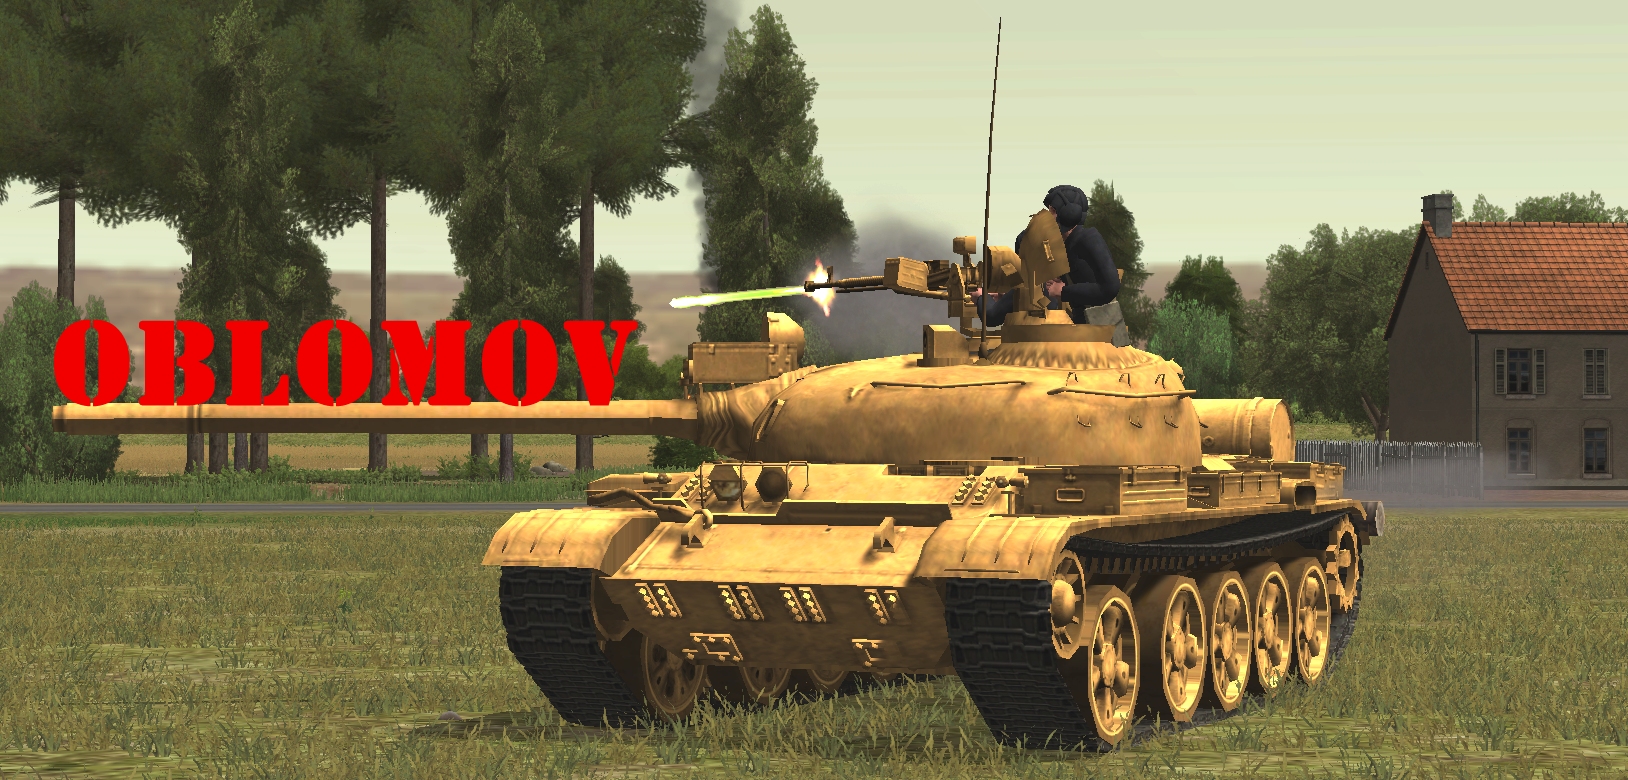
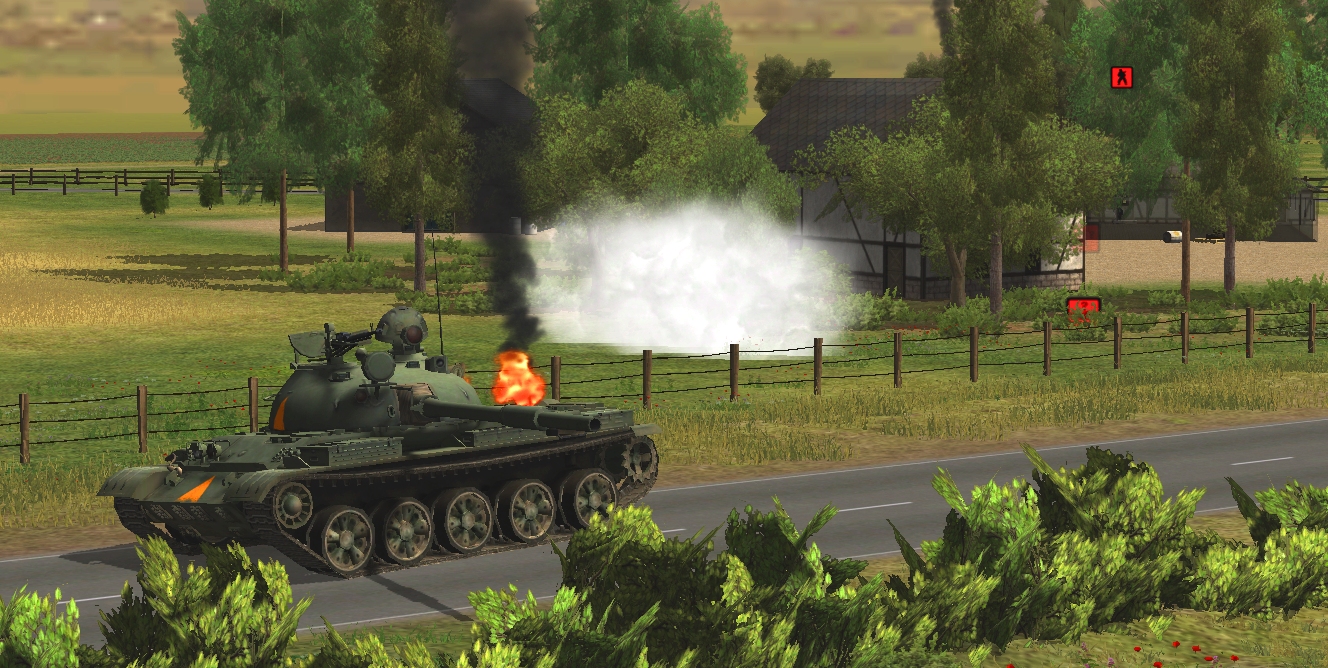
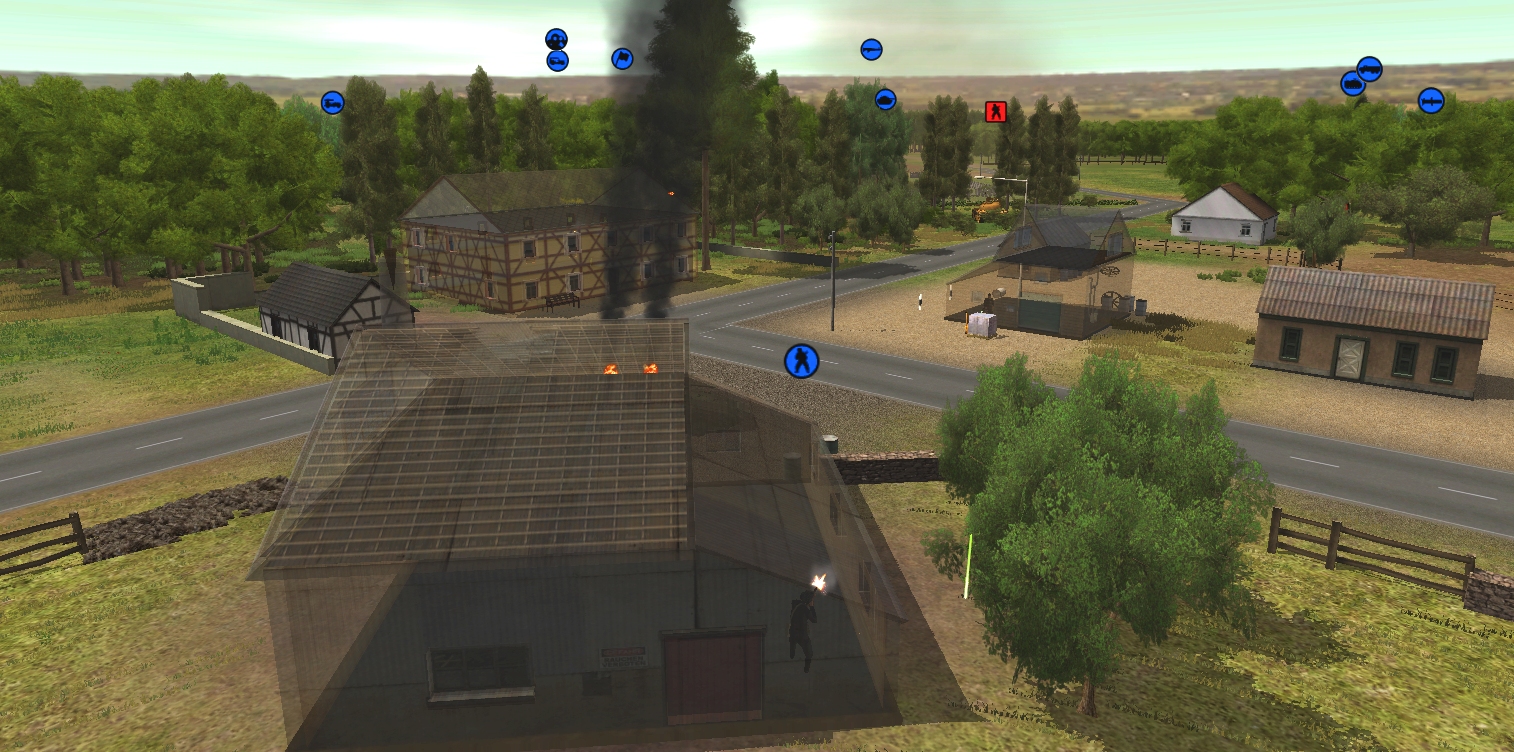
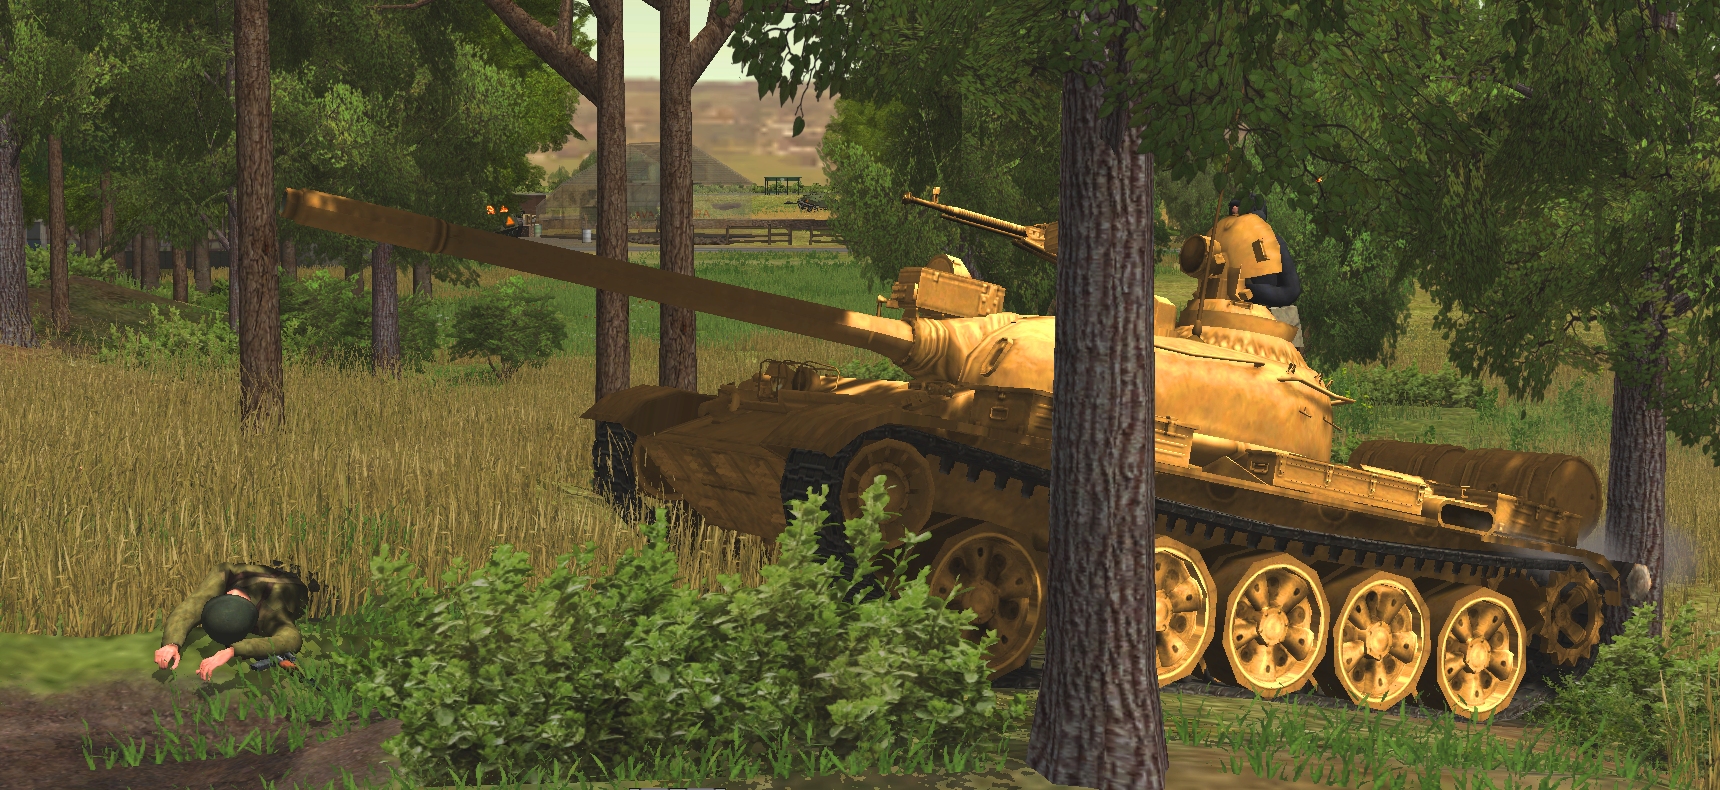
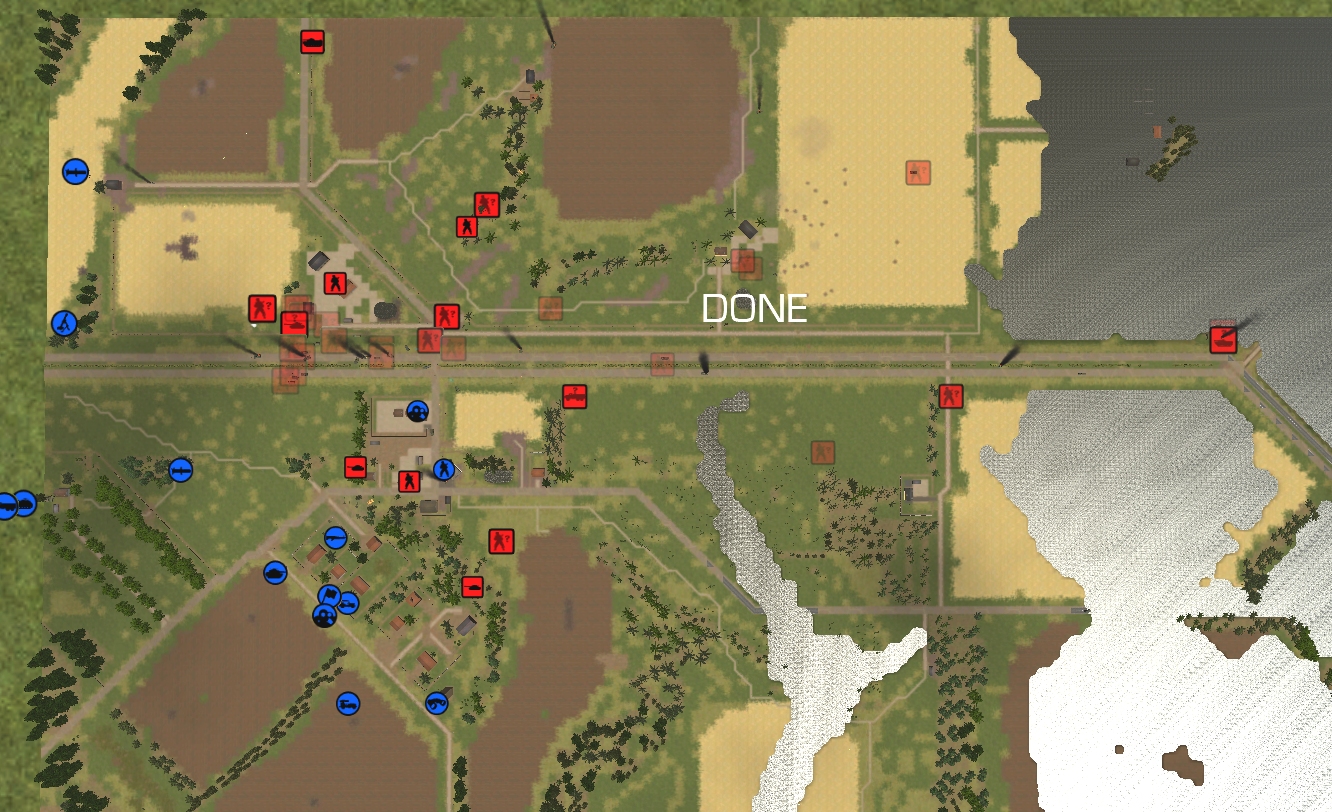
Ilya Ilyich Oblomov is nothing like his literary namesake. For the past fifteen minutes the turret tsar of the Podrabian T-55 pictured above has been itching to push forward… to get stuck in. When our M60A1 unwittingly promotes him to platoon commander (see last turn), he abandons all thoughts of overwatch and excitedly orders his driver to make for Strupnic’s dovecot.
(Operation Oryx is an open-to-all game of Combat Mission: Cold War set in 1981. The commenter-controlled Zendoran forces are attempting to ambush a column of Podrabian vehicles bound for Zečin, the Zendoran capital. Each turn covers one minute of WeGo action. For a scenario outline and summaries of earlier turns, click here).
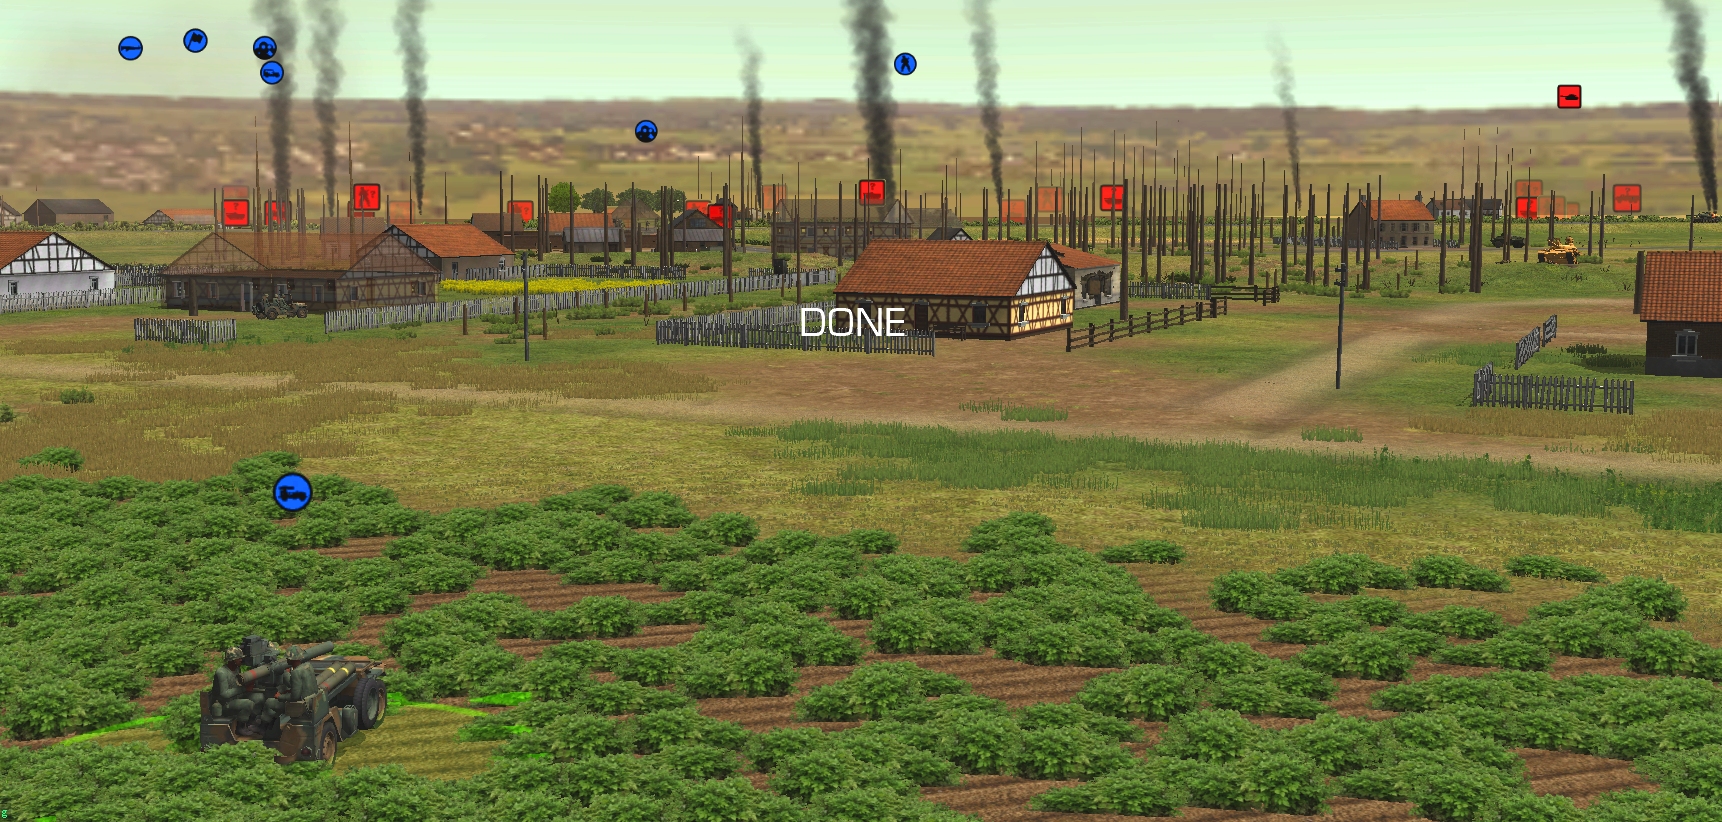
But first things first. During the opening seconds of the sixty, there are notable developments in several areas of the map.
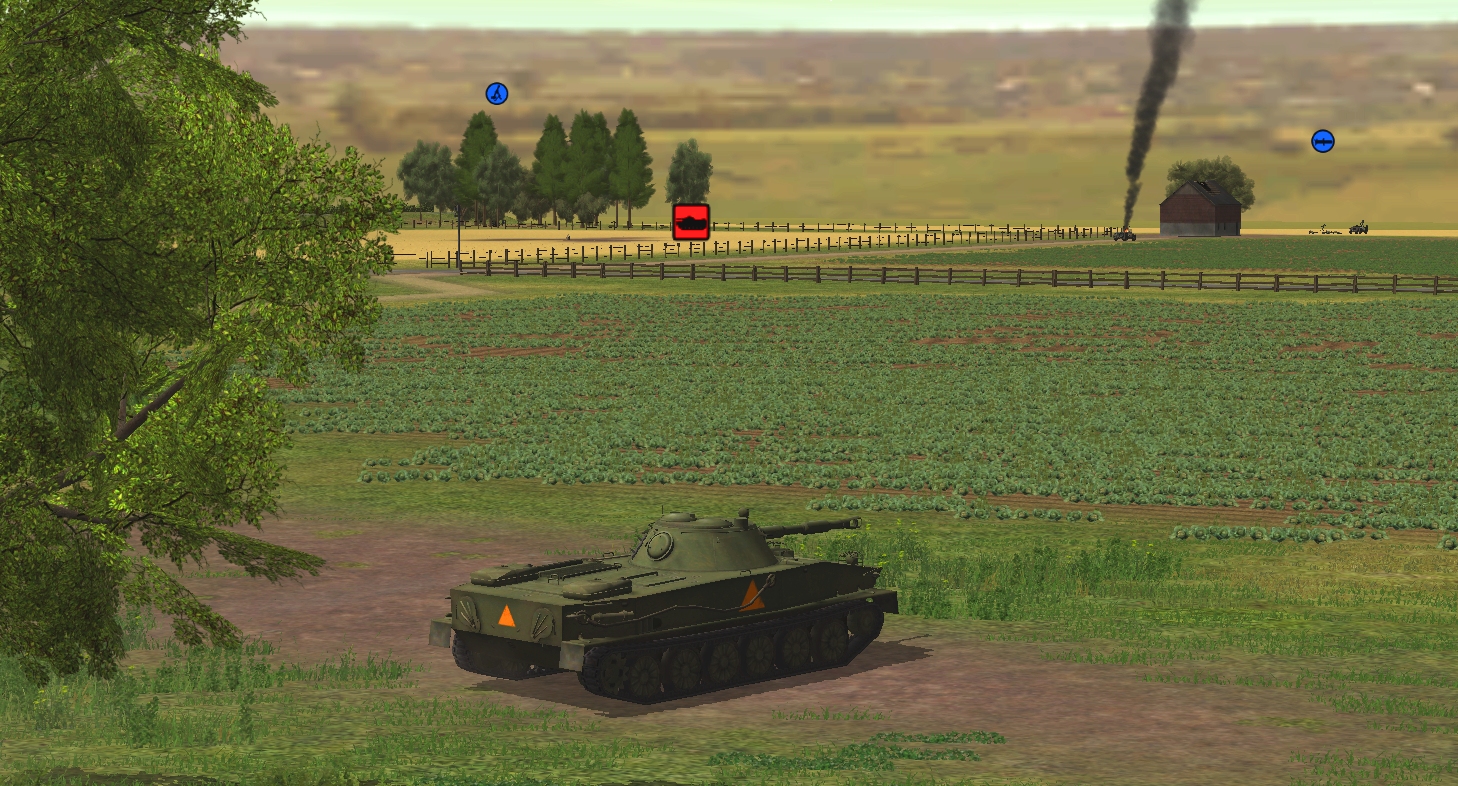
^ Stationary for the past turn or two, the surviving PT-76 decides it’s safe to proceed.
^ Recon ‘Team’ Bravo bodkins the bodywork of a mysterious UAZ.
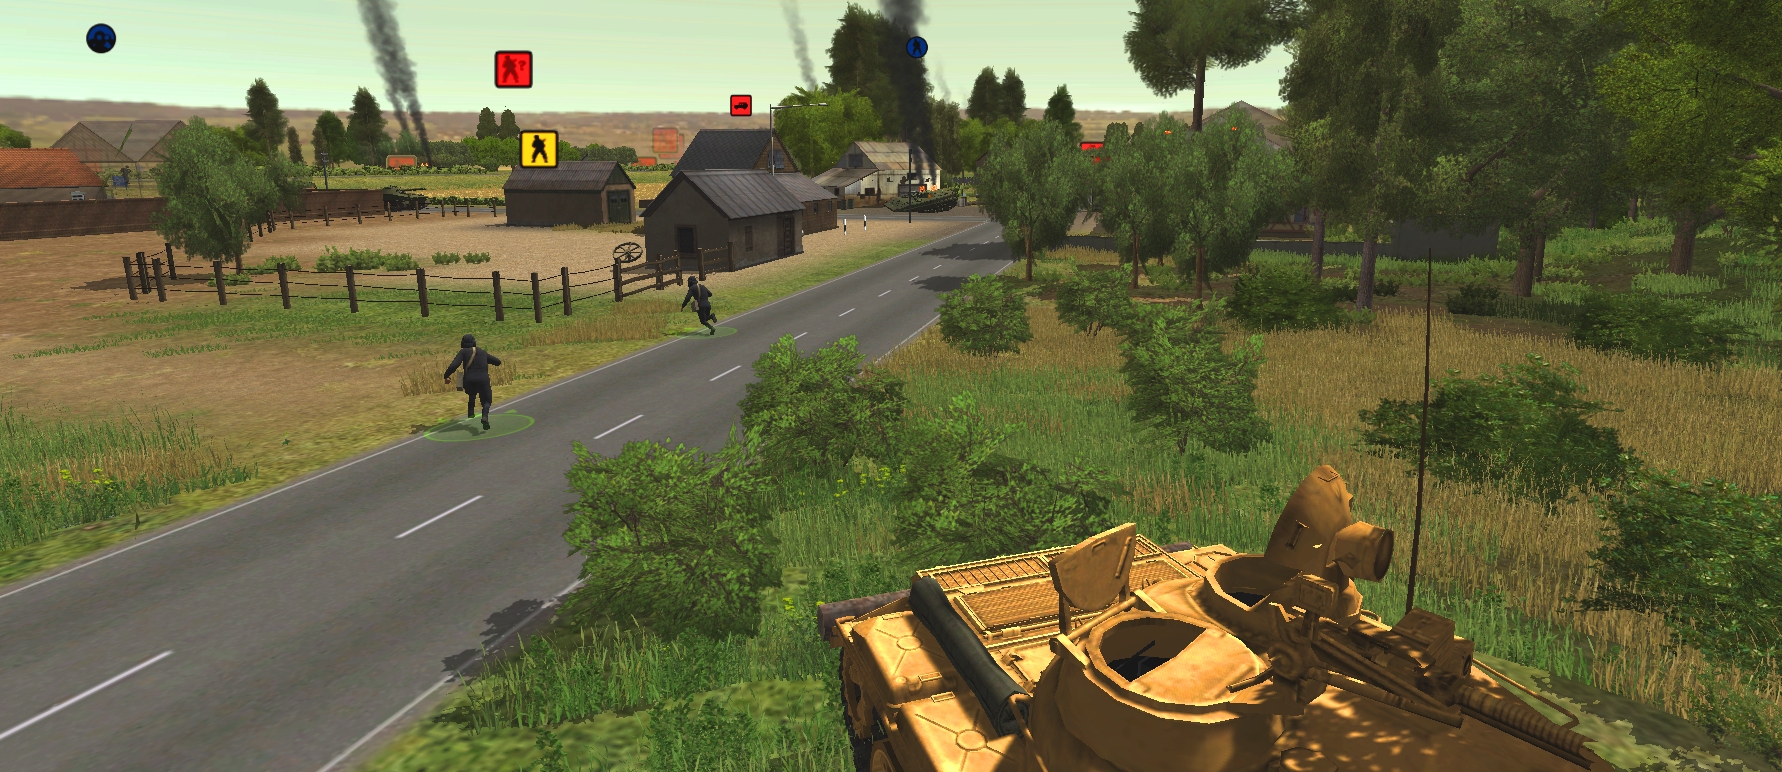
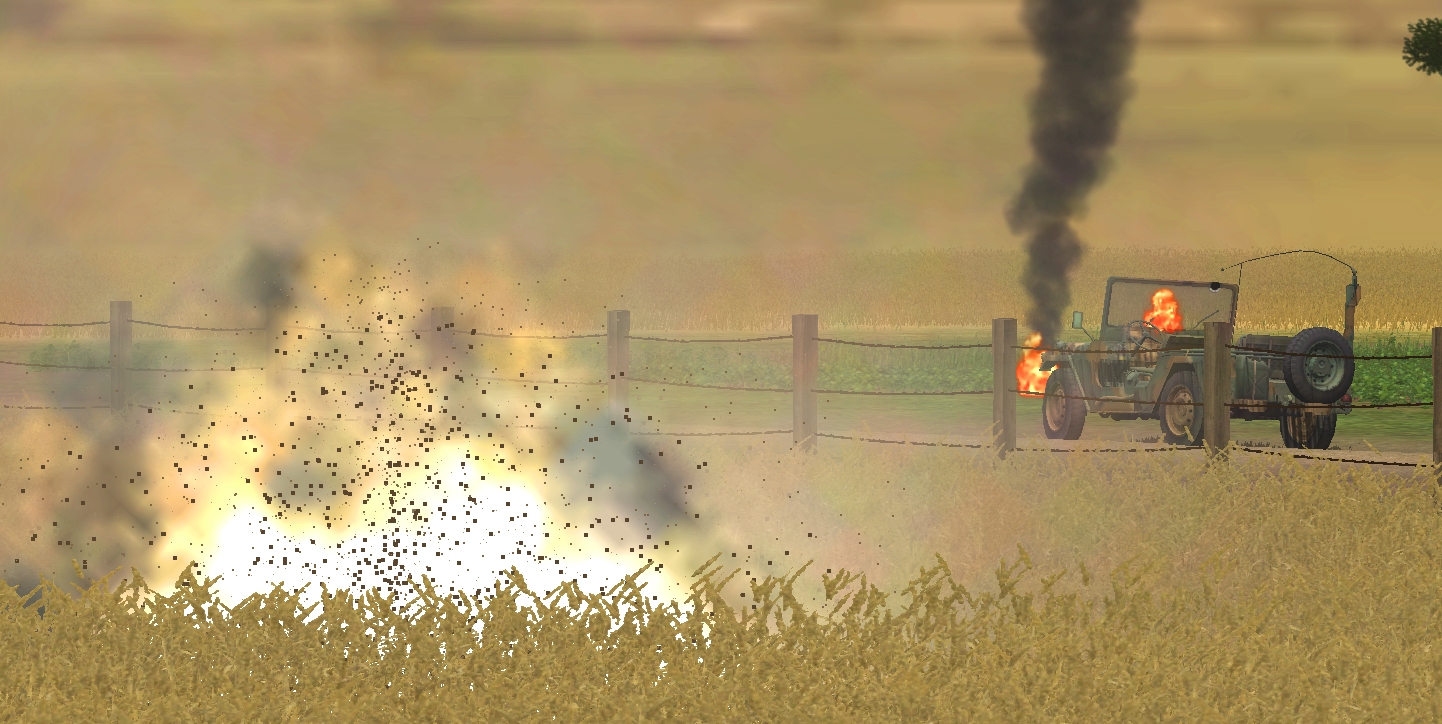
^ Our Dragoneers look on as two recently pedestrianised Pod tankers leg it in the direction of the garage.
^ 60mm WP mortar bombs begin dropping betwixt our Light Mortar Team and New Farm.

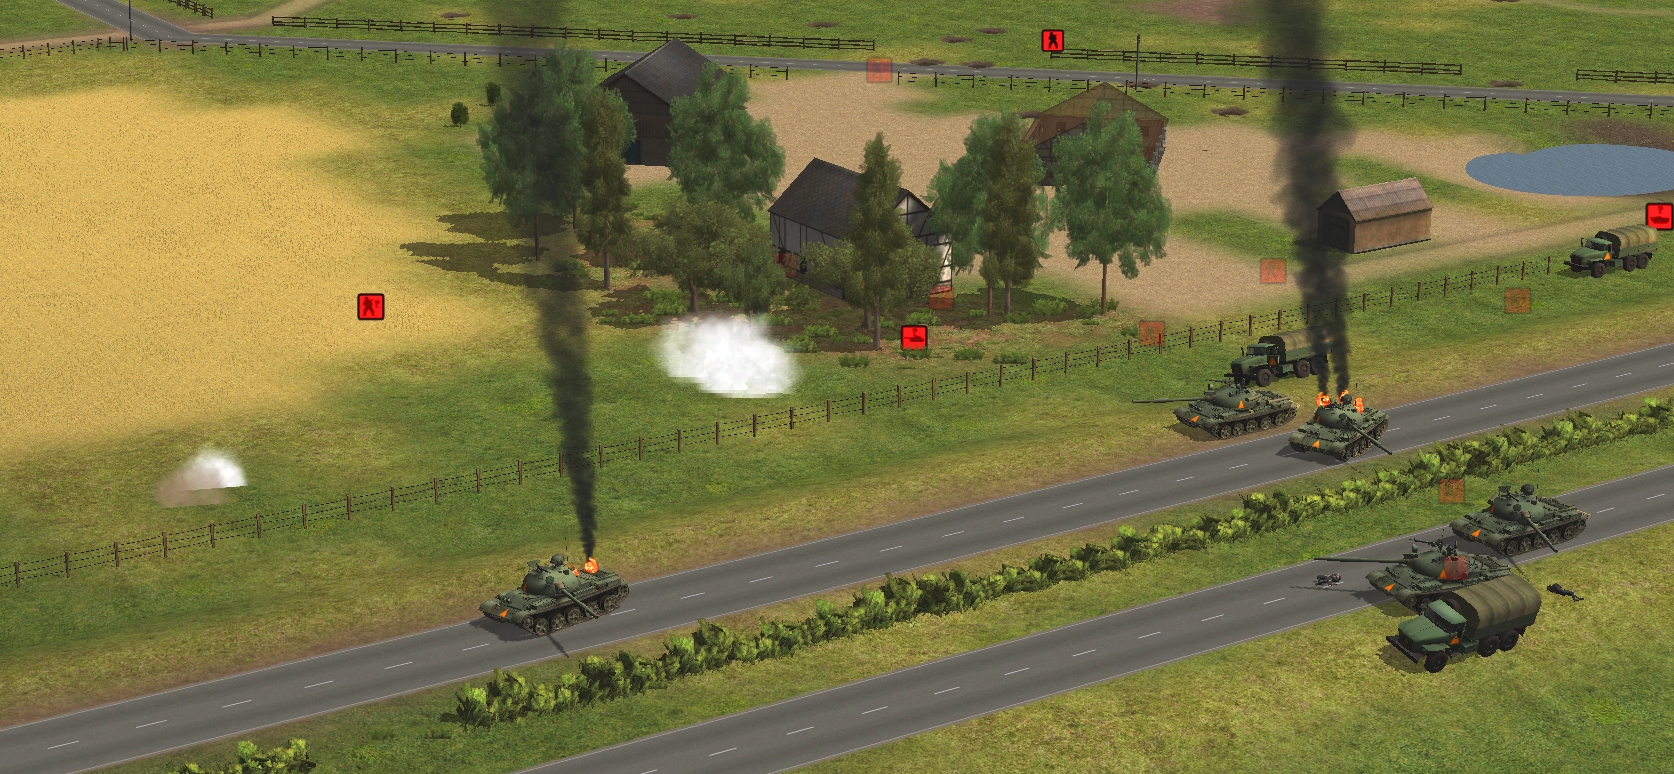
^ And, flushed with success, the Patton continues its T-80 hunt.
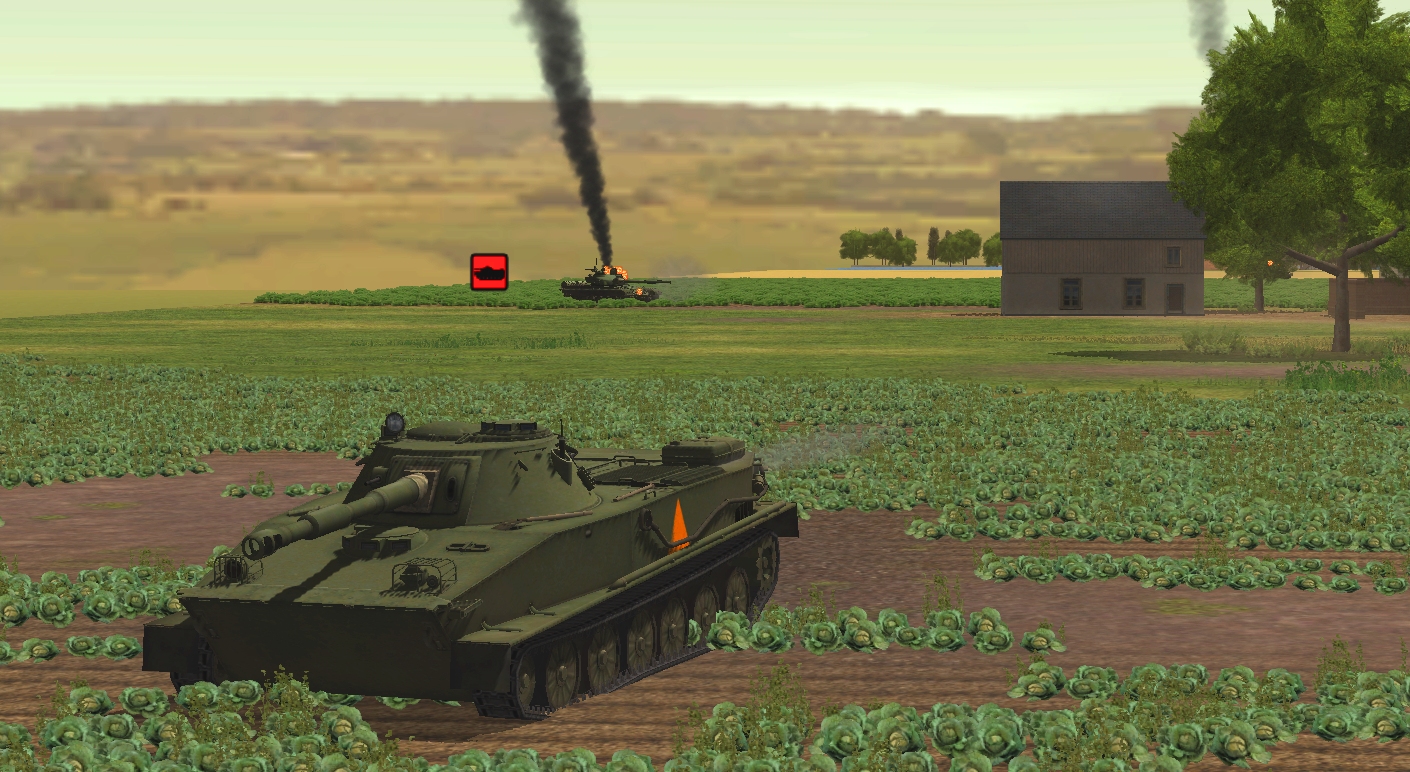
For a time it looks like the PT-76’s advance will be frustrated by a patch of soft ground. The light tank’s caterpillars churn fruitlessly for around fifteen seconds before gaining purchase.
Perhaps if the PT-76 had bogged, the round it fires at our Light Mortar Team late in the turn wouldn’t have been so wayward.
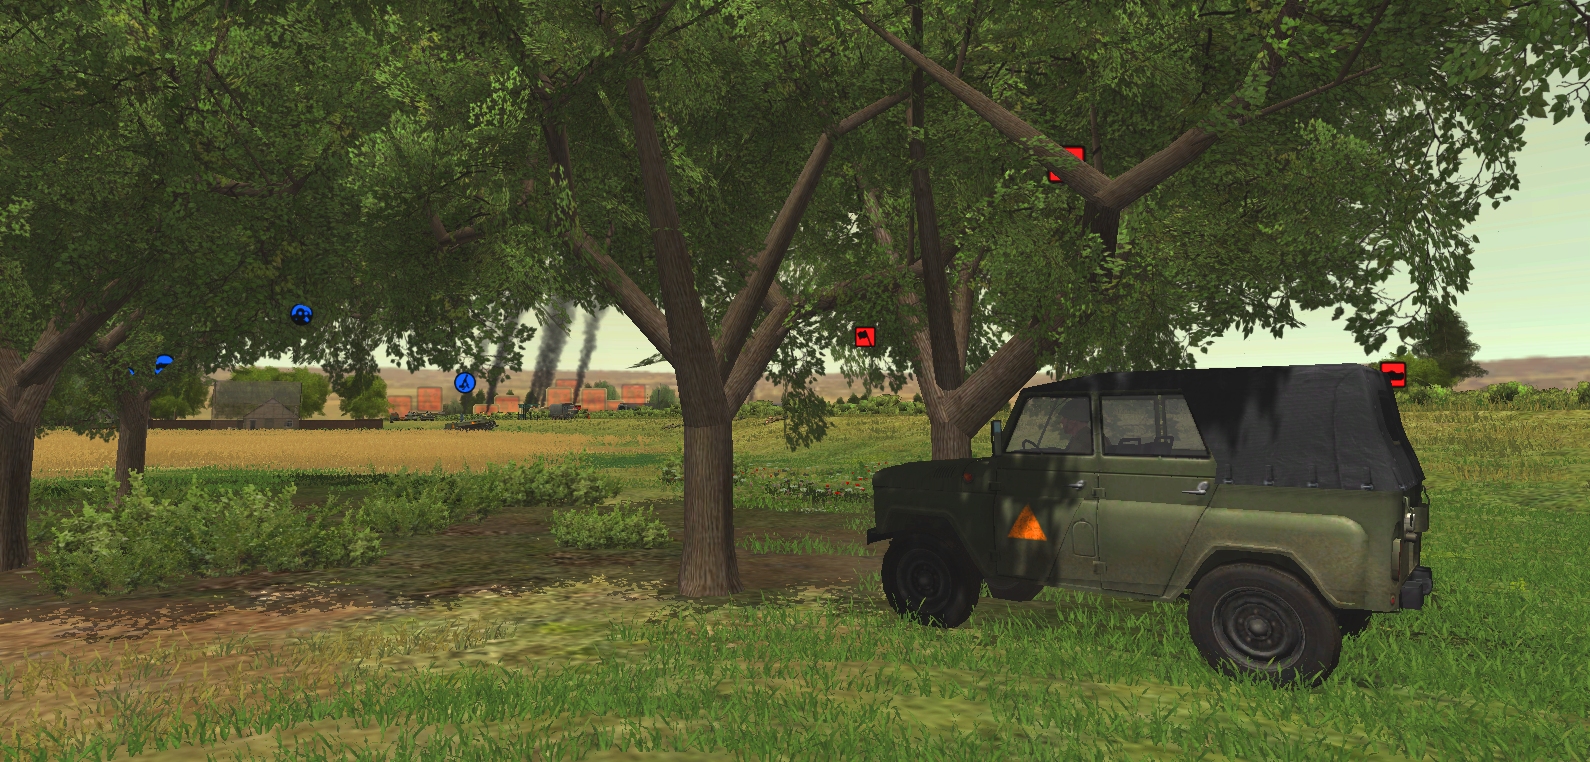
Bravo’s intervention has an instant effect on the UAZ in the treeline. The enemy driver responds by reversing out of sight and harm’s way.
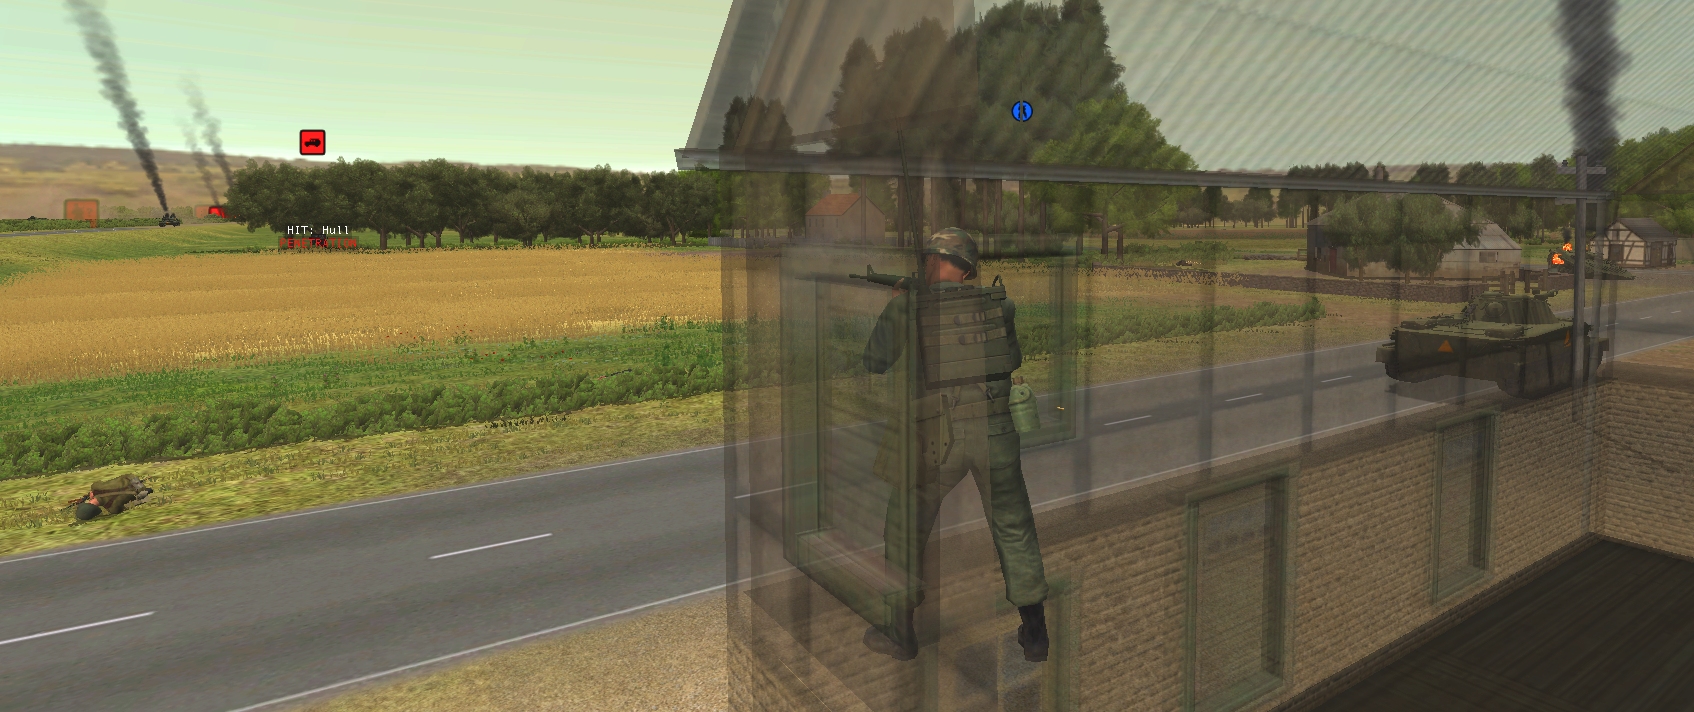
If the pair of fleeing Pod tankers think they’re heading to safety, they are mistaken. Shortly after arriving in the building opposite the garage, one of them comes under fire from our hotel-bound BRDM commander.
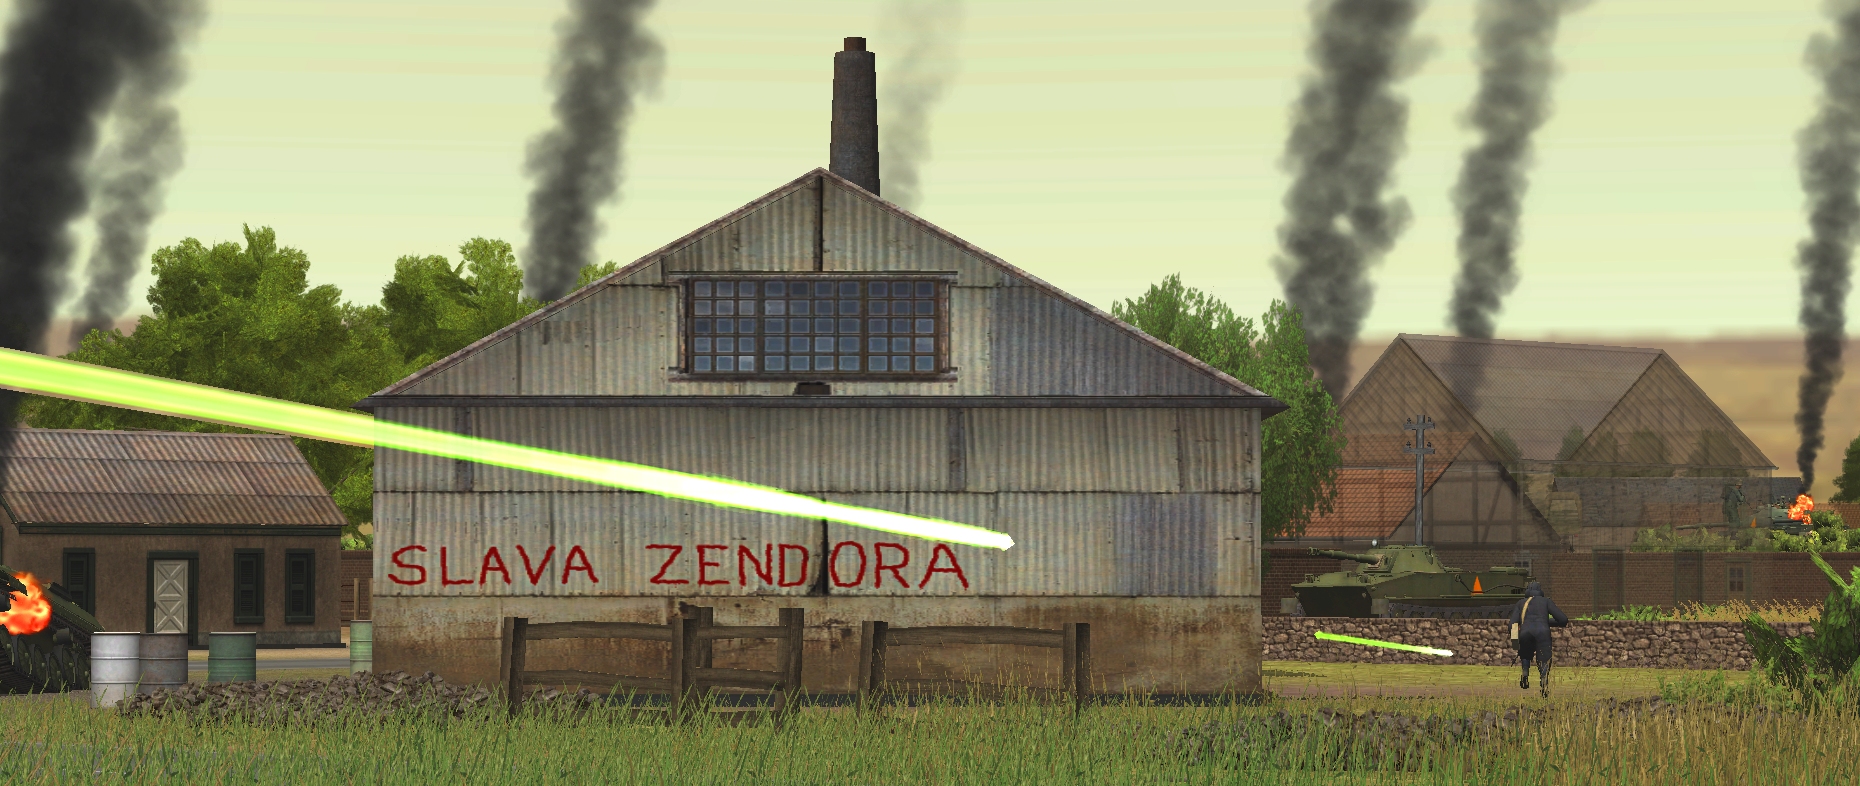
Considering the perilous journey our AC survivor undertook to reach the garage, it’s remarkable he’s still up for a scrap. While working his way westward he came under withering MG fire from Oblomov’s T-55.
Somehow the DshK deluge did no damage.
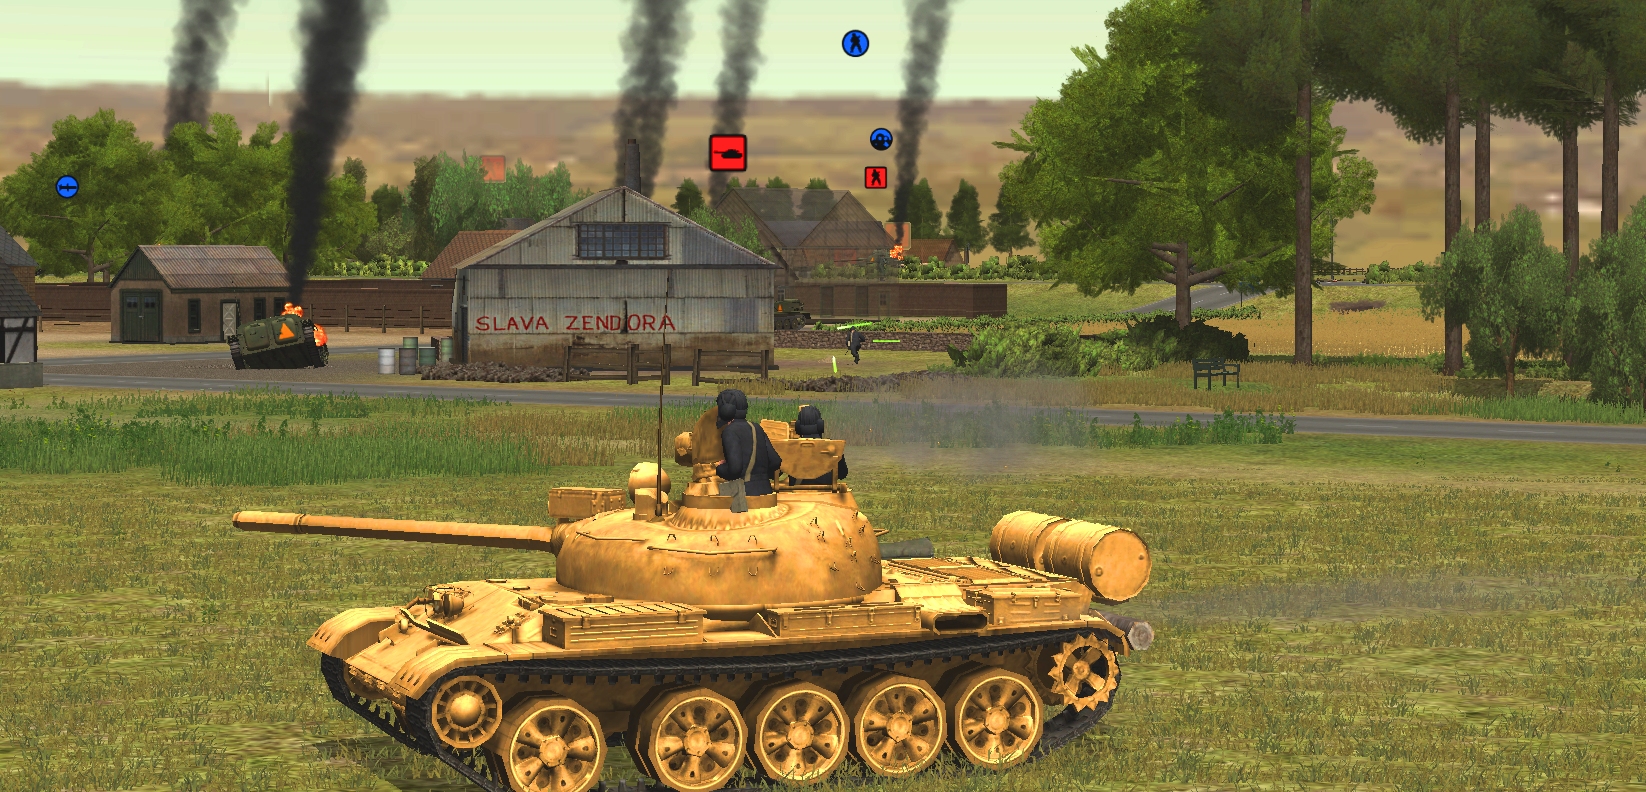
Our Patton reaches its final waypoint without spotting the T-80. However, because the garage is now in Zen hands, we do now know where the pride of the Podrabian tank arm is lurking. Screened by foliage from the M60A1, it sits circa 75,1,3, possibly surveying the NE-SW road our units must travel when they eventually withdraw.
Unless Muttley’s gunner is on the ball, the bodies of brave Otto and Branko may be in a horribly mangled state when, after the battle, their neighbours come to recover them. Seconds before the clock stops, Oblomov’s MBT begins ascending the berm close to the spot where our sharpshooters fell.
Patient Muttley sees the sandy muzzle appear above the lip and immediately prepares to fire. Tune into turn 29’s AAR to find out whether their imminent TOW hits T-55 or timber.
Elsewhere this turn…
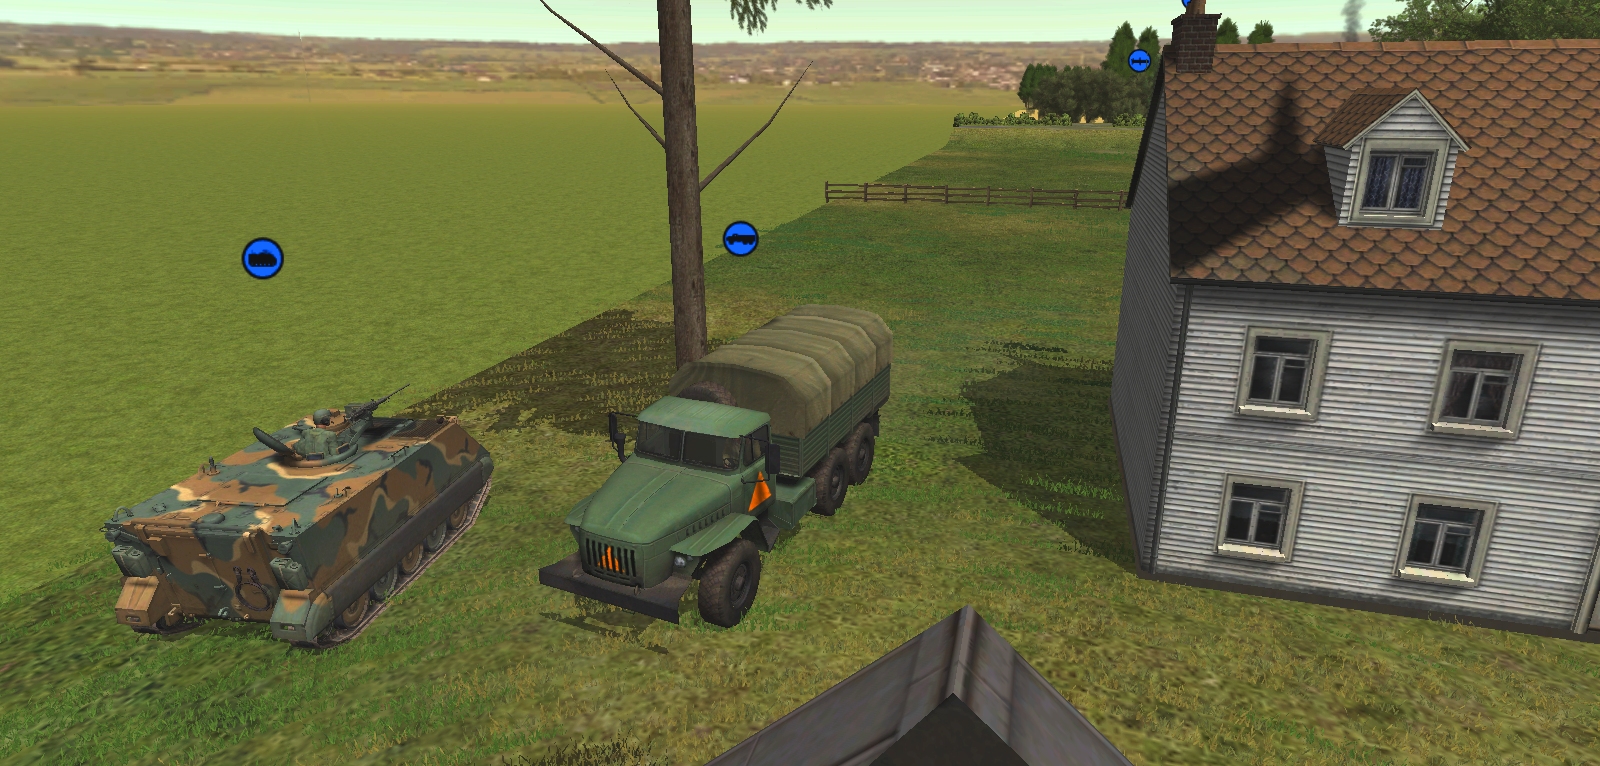
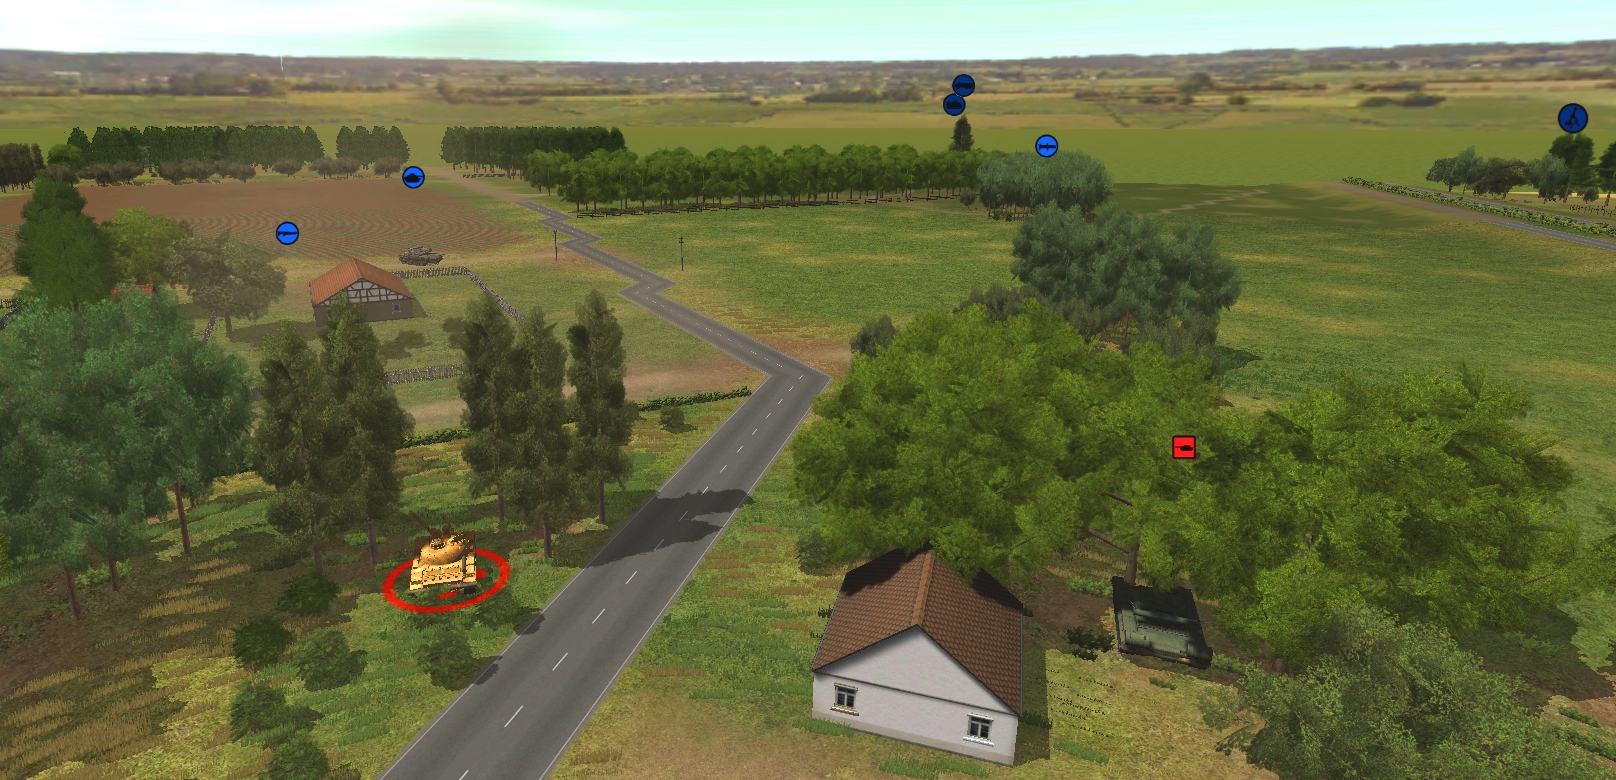
The M113 relocated in preparation for its mercy dash.

Trapped by one of CMCW’s simulatory idiosyncrasies, Team Droopy continued to “pack up”.
Judging by icon shifts, the Pods may have commenced an armour-supported push from New Farm.
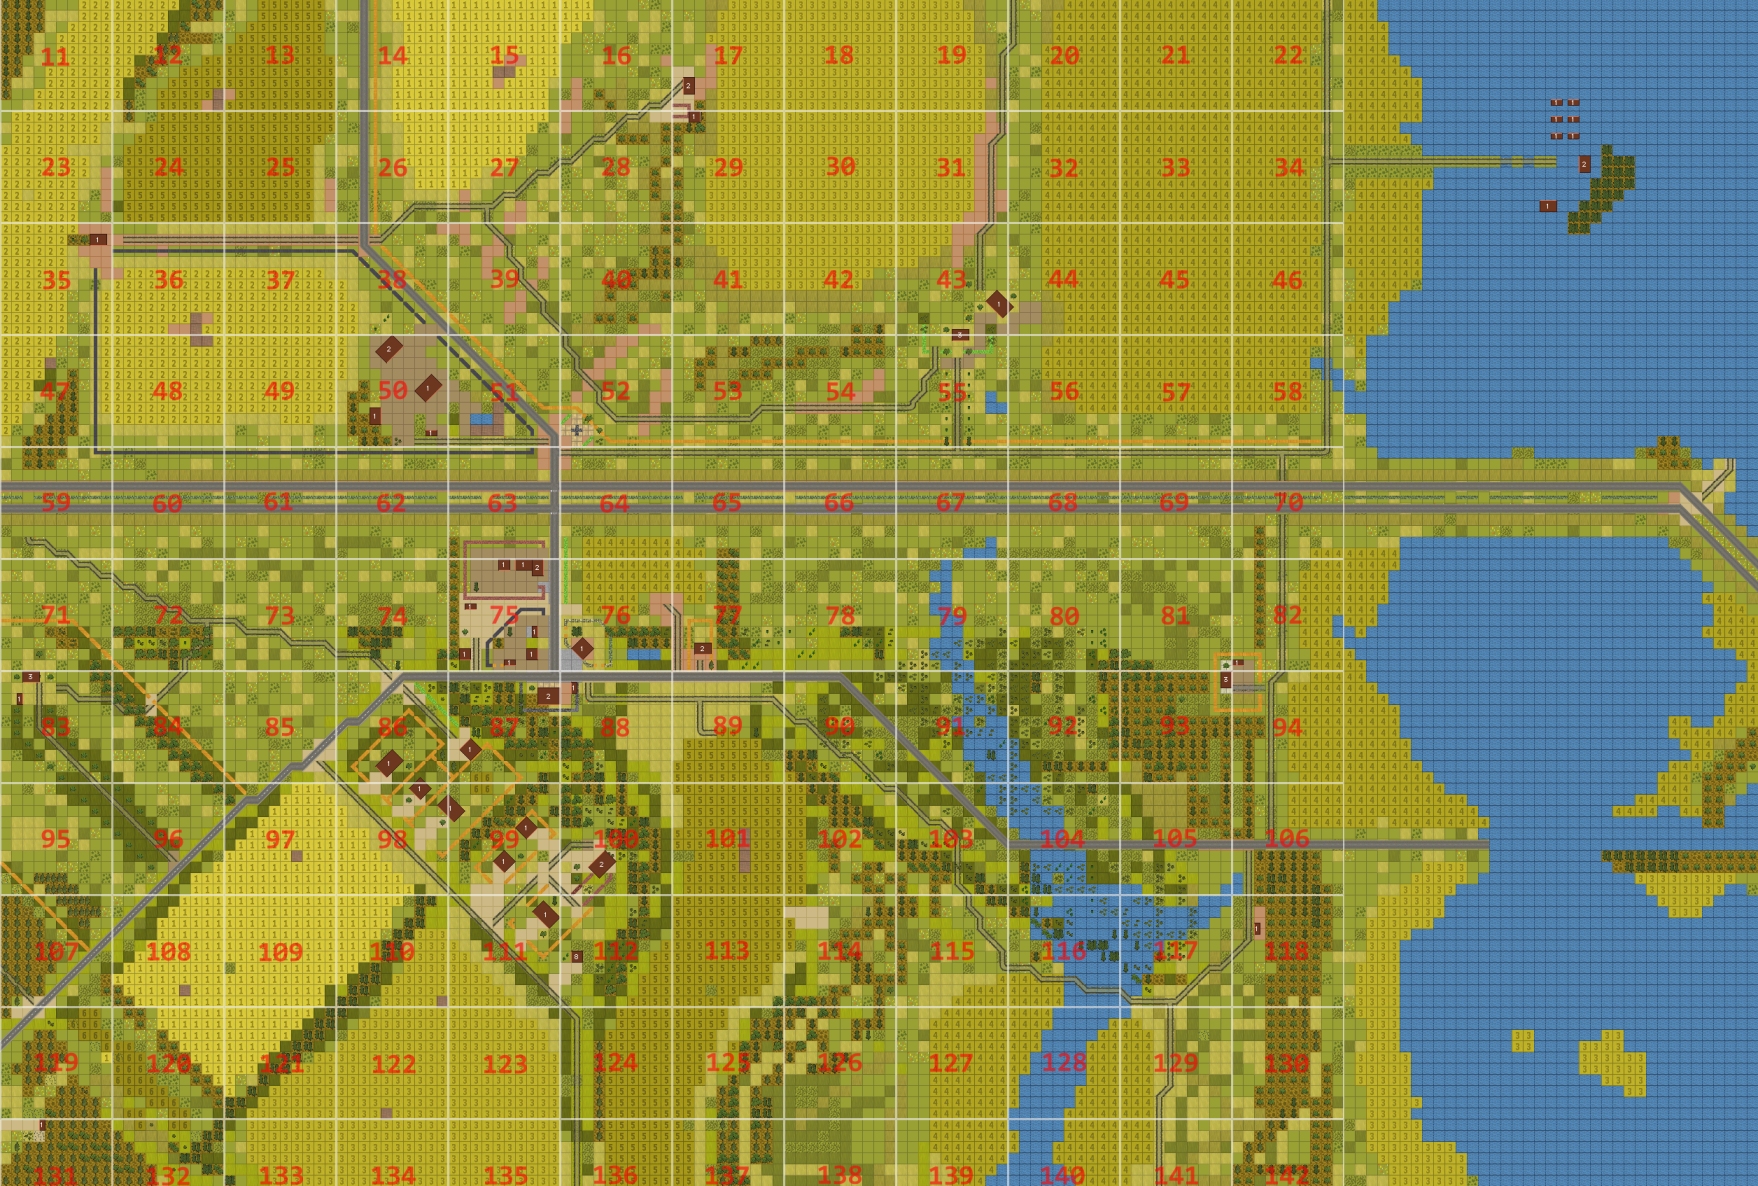
Turn 29 orders here, please. Commenters are cordially invited to suggest moves for the following units. (A maximum of one unit per commenter. Subscribers can move two if they like). Turn execution: probably Monday morning.
Light mortar team (2HE, 1WP) [BOX 47]
MG team (hiding) [BOX 86]
Dragon team [BOX 72]
Recon team B (1 man, upstairs) [BOX 75]
Forward Observer Team [BOX 112]
TOW Mutt ‘Muttley’ (about to fire, 5 x ATGM) [BOX 110]
Team ‘Droopy’ (no ammo, dismounted, 1 man incapacitated, packing up v. slowly) [BOX 23]
Mutt ‘Scrappy’ + Recon Team C [BOX 98/99]
Trajanov (in house) [BOX 98/99]
Truck [BOX 83]
BRDM commander [BOX 76]
M113 (unbuttoned) [BOX 83]
M60A1 [BOX 86]
Getting them in early this week for feedback – very open to modifying!
ORDER 1: M113 to move north to 71,0,6
ORDER 2: Light mortar team to immediately move SW to the edge of the map and then directly south to 71,0,7 then board the waiting M113
Exciting turn, and another great write up.
ORDER: Recon B to go downstairs quickly and head south to join the BRDM commander. Switch to a slower pace at the point of passing the gap between the two fences around row 7 and stay ready to engage. Goal should be the house around row 2, then on the last turn we can hopefully cross the road and melt into the trees.
I hesitate to get proactive in the M60 vs T-80 stand-off. If the T-80 really can look down the escape road we would be rolling straight into their crosshairs.
There aren´t many turns left, otherwise I would have advised to just sit tight, let our TOW Mutt deal with the T-55 and then let it flank the T-80.
But I would guess time is running out and having our escape route covered by the enemy cannot be good for our end of game evaluation. I am open for suggestions.
How about running the M113 north to draw the T-80’s attention, while the M60 rolls around the corner to face it, then hunts directly at it? Timing is probably impossible, and I’m guessing they can’t trade shots at that range – is it one and done?
How about the Dragon team: Can they hunt SE and fire, or do they need teardown/setup time?
The Dragon team has a setup time. Actively moving into a fire position, setting up and engaging an active target is probably not going to work.
Thank you!
Thanks Tim, lots going on!
So the T-55 seems keen to resolve itself, very handy. I can’t see how the M60 and T-80 can’t see each other, but I think we’re going to have to force the issue (blind fire? drive right at the T-80? Move the Dragon team?). If the M113 goes north to the highway it’ll be right into the T-80’s line of sight.
The mortar team are down to one WP round, so I think there’s no choice but to get them running south now (or maybe after a small delay to get that last WP round off?). Perhaps the M113 can meet them at 71,0,5 and still be out of LoS with the T-80? If there’s any unseen armour that’s somehow moved up then it’ll be toast though.
I have no idea what’s going on with the BRDM commander vs the tank crew, but he’s clearly still got a score to settle. I hope he’s not planning to stop at the hotel now!
What about having Muttley drive up behind the t-80? We could pause 20 seconds, then fast move it up. Only worry would be bailing out crewmen. Of course if we miss the t-55 that won’t happen.
I’m very loathe to move the dragon. Our tank has a gun stabilizer, good optics, and could get somewhat of a flank position.
Having seen g948ng’s comment I agree about not moving the Dragon team – they’re probably our best defence against anything chunky coming over the highway from New Farm anyway.
I like the idea of Muttley cleaning up! I think our previous ATGM toter got three missiles off in a single turn before, so maybe a longer pause can be allowed before manoeuvring to the T-80 (in case one hits the trees like last time, a lucky second might not) – unless you think we can hit both tanks in one turn? That would be very cool.