
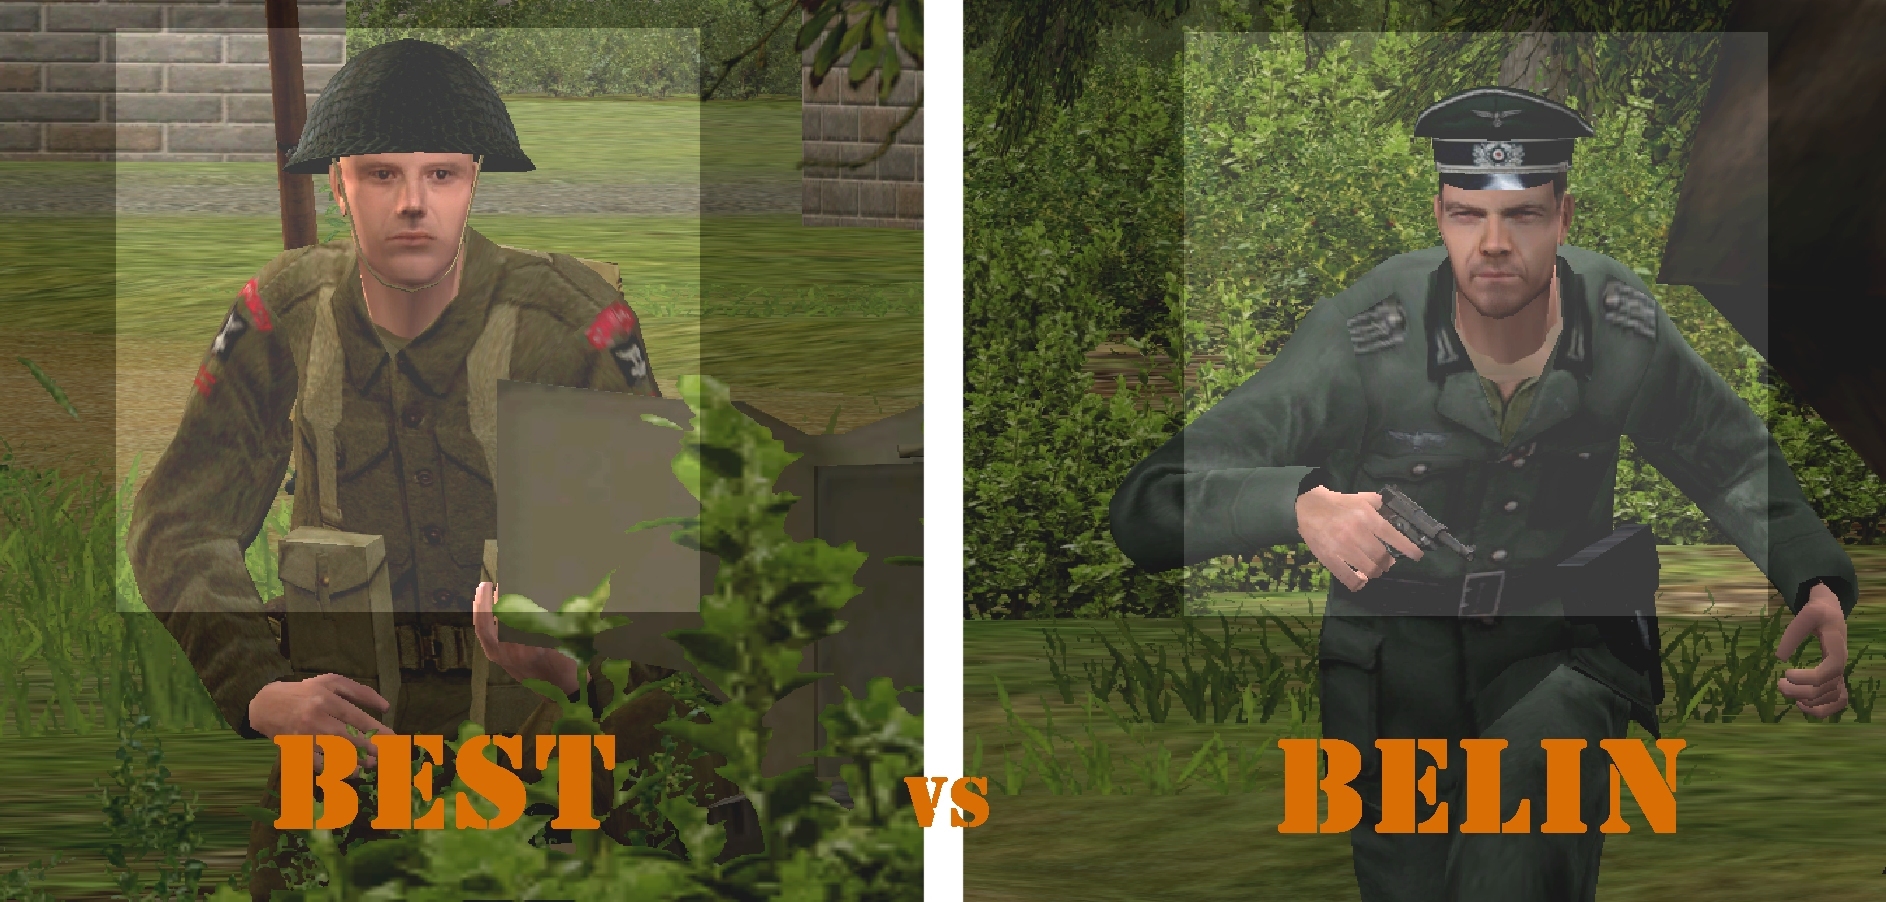
Standing between impetuous Major Belin and a shiny Ritterkreuz is petuous Sergeant Best and a shrapnel-scarred 6-pounder AT gun. The chance that both men will survive turn 18 is infinitesimally small.
(Brinkmann’s Bridge is an open-to-all game of Combat Mission: Battle for Normandy in which the commenter-controlled Axis forces are out to recapture a Dutch canal spanner recently snatched by Red Devils. Each turn covers one minute of WeGo action. For a scenario outline and previous turn reports, click here).
Grid square red j41 does a passable impersonation of Hell on earth this turn. During the sixty the little British anti-tank gun by the Koffiehuis de Onionmancer is brutalised by…

The self-propelled howitzer.

The Panzer 35R.

The sniper team.

The pumphouse posse.

And the 6 Squad cottagers.

Don’t ask me how it survives this tooth/bowel-loosening onslaught, but survive it it does.

Although the ire inundation spawns no red crosses, it undoubtedly saves Belin’s bacon. Improbably, the beetling SPW 251/1 (Ausf. D) passes the pinned 6-pounder without drawing or firing a shot.

The unlikely escape doesn’t go unnoticed. Realising that their moment has come, a previously unseen PIAT team in the ground floor of the balconied house by the bridge, prepares to do what Best failed to do. I’m lowering the camera in preparation for a frozen-in-flight HEAT projectile and a fiery impact, when a masonry-shaking near miss persuades the PIATist that discretion is the better part of valour.

Our galloping major really does have the luck of the devil. The shot came from across the canal. Pulling up next to the garage, the eastern halftrack spotted suspicious movement at red p40 and made a timely intervention.
Turn 18 delivers its final twist a few seconds later.

The British mortar team that splashes the garage with canal water at T+36, strikes paydirt with its second shot of the turn.


The SPW U304 is no more!
Also this turn…

6 Squad’s roaming portion Schmeisser another scout slayer.

Meister’s team take unsuccessful potshots at various shy, stationary enemies between the column red i and column red o roads.

Bulau reaches the garage and Baumeister approaches the bridge.

Hirsch occupies the foxholes at blue a48.

And a truck and Kubelwagen march motor to the sound of the guns.


Turn 19 orders here, please. Commenters are cordially invited to suggest moves for the following units (A maximum of TWO units per commenter. Embarked infantry and their taxis count as single units until separated. Split squads also count as single units. Units on the west side of the canal answer to subscribers only.)
****anyone****
*Fusilier HQ (4 men) moving [blue d42]
*Fusilier squad 1, Bulau (6 men) split into two teams – Bulau (3 men) tired [blue a37] and Griess (3 men) [blue a37]
*Fusilier squad 2 (5 men) split into two teams – Meister’s team (3 men) [red z41] and Woikin’s team (2 men) [blue a37]
*Fusilier squad 3 (3 men) tiring [blue a48/49]
*Light mortar team (29 HE) deployed [blue k30]
*Light mortar team (NO MORTAR AMMO LEFT) [blue k44]
****subscribers only****
*Major Belin (4-man battalion HQ) + halftrack, [red m/n39]
*Sniper team (2 men) ground floor of pumphouse [black y27]
*Platoon HQ (4 men) [circa black l28]
*Fusilier squad 5 (5 men) split into two teams, 1 man at [black q21] and 4 still ‘rattled’ [red a30]
*Fusilier squad 6 (9 men) split into two teams [black l44 and black l37]
*medium mortar team (4 men) (6S) [circa black b25]
*Panzer 35R (32HE, 22AP, 1CAN), buttoned [black r37]
*Self-propelled howitzer (8 HE, 2 HEAT, 2 SM) commander incapacitated [circa red h18]
*Truck (black n26)
*Kubelwagen (red h18)
Please start all order comments with ‘ORDER’ and any later revision comments with ‘REVISED ORDER’. This will help me distinguish firm instructions from suggestions and advice.
That’s our Belin! Park so close to the enemy that their AT fuses don’t have time to arm in flight. It makes one wonder whether the onionmancer the coffehouse is named after saw this in one of his soothsaying visions.
I’m feeling a bit down about that. Put the half track in a mostly protected position to add some proper fire support and.. the British mortar does more for them in a single shell than our three mortar teams combined have achieved all battle.
Can Meister’s three men (supported by Woikin and/or some of Squad 1) cross the bridge this turn? The HQ will arrive at Meister’s foxholes, could get cosy in there.
ORDER: Light mortar team [blue k30] to pack up and hunt to Blue A38.
I’ve had enough of their refusal to actually add value, time for them to get so close they shoot or die.
I agree, given the straight up bedlam in the west, the half track was not what i’d have expected to cark it this turn…
The gods of war were weirdly capricious this turn. I can’t believe all our eastern vehicles are still intact.
The light mortar team has 29 rounds of HE and is deployed! Maybe they ought to be area targeting the vicinity of the two British mortar teams. If anything, move them forward with haste – a hunt command is entirely inappropriate given the current situation. Major Belin’s actions speak louder than any orders he could have given – We are to cross the bridge ASAP.
Blithering Belin’s blundering bombast betrays sensible strategy safely securing success.
Following fellow friendlies fiercely trumps tippy-toeing
While it’s tempting to ‘select all’ and press the ‘Charge!’ button the issue we’ve had with these guys is that they keep failing to get line of sight on targets, and that’s why they keep failing to shoot. Nobody’s told them to save ammunition.
A hunt command increases the chances of them actually spotting the enemy and using some of that ammunition, instead of running straight towards their deaths and leaving a stack of rusting mortar shells for some tractor to accidentally set off in the 1970s.
(There’s a fun add-on for Farming Simulator)
@Oneknown, if you’re still around and not too annoyed, you can have the Pz35R back now!
Thank you for your careful husbandry of our only roofed armour. Apologies for my reckless impulse!
Is there room for Brinkmann in that half track?
That PIAT team is in Brinkmann’s house if I’m not wrong, in the living room downstairs.
I don’t think we can evacuate our flustered flier just yet.
This pic shows the Brinkmann-Belin dilemma pretty clearly:
//tallyhocorner.com/wp-content/uploads/2021/04/bridge18w.jpg
A) is the PIAT team (possibly pinned/suppressed at present)
B) is Brinkmann upstairs in the cafe
C) is the AT gun (pinned)
There’s plenty of room for our air ace in the halftrack.
Good grief, Belin is parked practically next to that AT gun! He can’t use that luger he’s lugging around?
I knew it, that AT gun IS immortal.
Couple of questions:
1) Can the howitzer fire on the move?
2) Belin is still in LoS of that PIAT team isn’t he?
3) Do PIAT teams have a minimum range? My understanding is that it’s just a spring-loaded HEAT round, suggesting not…
In any case:
ORDER: *Self-propelled howitzer [circa red h18] to MOVE forward to Red I27, keeping a TARGET command on the AT position (assuming it can fire on the move). Otherwise to stay in place with a TARGET command.
ORDER: *medium mortar team (4 men) (6S) [circa black b25] to QUICK to Black L34 on the edge of the treeline, either to lend direct fire support or prep those smoke shells for allied reinforcements.
Where’s that (presumably now entirely deaf, judging from the screenshot) Kubelwagen driver next to the howitzer going?
I doubt the howitzer will be willing to fire on the hoof.
The halftrack appears to be PIATable in its current position.
The Kubelwagen was sent to red i18 last turn.
It’s time to follow the leader across the bridge – Belin is a Major after all and we are under his command.
I will order two squads this turn (if that is ok with whoever has been commanding Meister-Woikin).
The Bulau-Griess squad and Meister-Woikin squad will bound forward across the bridge in a series of pause-quick maneuvers to support Belin. They do so mindful of the imminent arrival of more British forces from the east.
ORDER: Griess’ team quick to beginning of bridge (red y39) – pause 30 seconds – quick to middle of bridge (red w39) – pause 20 seconds – quick to red s40 (east side of small hedge row)
ORDER: Woikin’s team pause 15 seconds – quick to middle of bridge (red w39) – pause 15 seconds – quick to red s40 (east side of small hedge row)
ORDER: Bulau’s team quick into garage to cover Griess and Woikin – pause 45 seconds – quick to beginning of bridge (red x39) – pause 20 seconds – quick to red s40 (east side of small hedge row)
ORDER: Meister’s team pause 1:30 mins – quick to red s40 (east side of small hedge row)
One thing to keep in mind with Meister’s team (Fusilier Squad 2) is that I believe they are holding one of our two remaining Panzerfausts, so we need to make sure they don’t get killed and are positioned sensibly to take out any vehicles that might be arriving on turn 20. The other Panzerfaust-wielder is on Baumeister’s team (Fusilier HQ) who is currently heading to the same square that Meister’s trio is already occupying. Hopefully a mortar doesn’t land on their heads and take out all of our anti-tank kit!
I think our light mortar team with no ammo only has sidearms, right? In that case I doubt they are going to hit anything from up there on the rail line. I don’t want to jam up Sky_Wolf’s bridge assault, but perhaps they can advance to the hedge this turn to prepare for a sprint over the bridge next turn.
ORDER: Light mortar team at [blue k, 44] to move fast to the top end of the T-shaped hedgerow [blue c, 46]. If they see and shoot at anything in the woods across the canal, bonus!
Probably no-one but Tim will read this, but I was thinking that one or both eastern mortar teams could be sent back to locate/identify enemy forces when then arrive in two turns time, and potentially act as small speed bumps (NE to [blue o, 21], SE to [blue t, 48]). Apart from providing bodies, I’m not sure what they’re going to contribute near the bridge.
ORDER: Fusilier squad 3 [blue a, 48/49]
– Target arc from [red e, 52] to [red n, 32]. The area swept by that should contain most enemy unit icons.
Yeah it’s too bad the mortarless mortar team didn’t advance quickly enough to be the first ones across the bridge. They would’ve been a nice choice to send blindly ahead, because if they did get shot we wouldn’t lose any of our “special” gear like Meister’s Panzerfaust or Woikin’s MG. I’d be fine to move them back to the L-shaped woods to get early eyes on the armor, but I suspect they will just be eyes and nothing else. My thinking with pushing them to the west bank was that over there at least we know there is still a bunch of infantry milling about which they might prove useful against.
Then again, I seem to recall a British mortar team shooting one of our drivers through the neck with a pistol a few turns back, so perhaps there is still an opportunity for the mortarless lot to get revenge in the east.
For the NE mortar team I am less sure. I personally would have liked to have kept some heavy hitters (mortars and Panzerfausts) on the east, since the angles will probably be better than any of the safe spots we can find on the west, but we’ll see how it pans out.
ORDER The half of Squad 6 in the house: QUICK to [black L43]. The half in the woods: PAUSE 30, HUNT to [black o46]
ORDER Platoon HQ at [black l28] to board the truck via QUICK, preferably with the truck stopping its move in place or just in front of the halftrack (as previously ordered)
And Tim, if you’ll indulge me one extra unit
ORDER “Half” Squad 5 (single trooper) at [black p20] QUICK to the truck as well.
Maquisard, after last turn’s great success (and no incoming heavy fire from the monastery) I leave the Panzer in your capable hands.
Turn execution underway.