
THC’s first play-by-comment Combat Mission marathon has just sixty seconds left to run. Annoyed that the bloodletting is about to come to an abrupt halt, heartless hope-dasher Mars decides to cull five combatants during the final turn. The majority of his victims are, I’m sorry to say, friendlies.
(Brinkmann’s Bridge is an open-to-all game of Combat Mission: Battle for Normandy in which the commenter-controlled Axis forces are out to recapture a Dutch canal spanner recently snatched by Red Devils. Each turn covers one minute of WeGo action. For a scenario outline and summaries of earlier turns, click here).

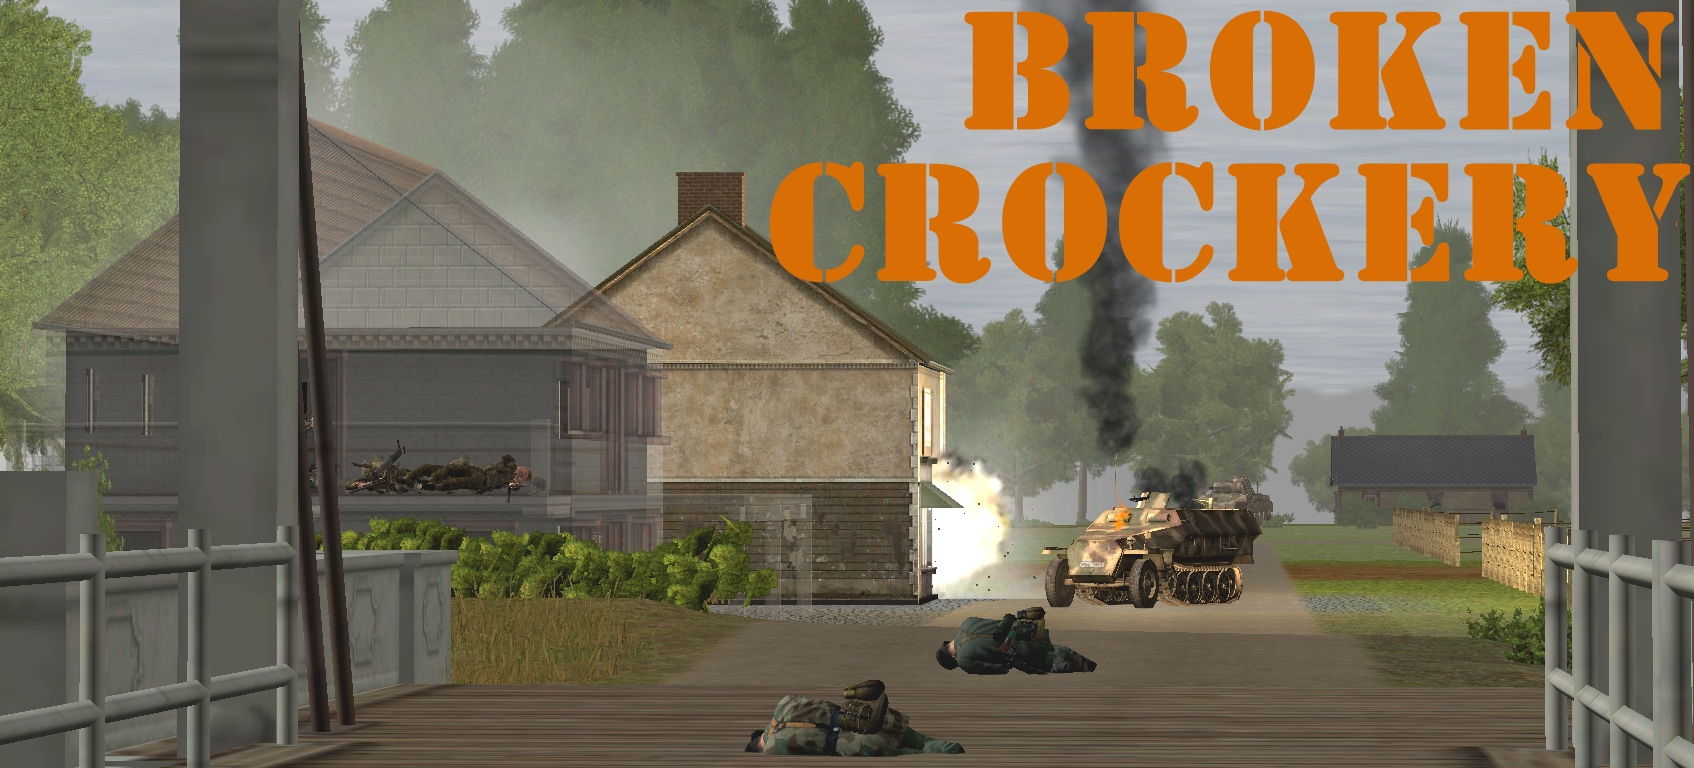
Five seconds after the clock restarts, a camera-jostling explosion destroys 78% of the Koffiehuis de Onionmancer’s china. Ten seconds later, a second howitzer round smashes the remaining 22%. Surely, the Stenographer who darted into the cafe last turn, can’t have survived?

Gosh, it appears he has! Joining Brinkmann on the ground floor, Griess’s team peep from the western windows of the white house and spot the Britisher on their very doorstep.

Preparing, no doubt, to charge into the occupied abode, the wounded foe is in the process of reloading his SMG. His timing couldn’t have been much worse. A single round from a hurriedly aimed Kar. 98K stills busy, blood-badged hands.

It will take more than a rifle to stop the Allied unit approaching the VL from the east. After the briefest of pauses beside the bocage ‘T’, the Cromwell makes for the bridge. With two Panzerfaustists, a Panther and a StuH watching the eastern end of the canal spanner, the rambling Roundhead may have just signed its own death warrant.

The British heavyweight seems intent on lifting the spirits of the Comment Commanders right up until the moment it halts in a spot circa blue a40 that a) can’t be seen by the Panther or StuH, and b) is outside the range of our rather feeble Panzerfaust 30s.

Rubbing salt into the wound, the caterpillared cad then begins hosing a fusilier at red t37 who, ignoring a ‘hide’ order, is giving first-aid to a wounded comrade.

Chattering Besa MGs quickly reduce the foxholed HQ to two men. Complete annihilation looks to be on the cards. However, the Cromwell glimpses our Opel Blitz between fruit-laden boughs and starts spraying that instead. CM’s TacAI routines save the life of the truck’s driver. Two of his passengers are not so lucky.

If you’re an attentive arithmetician you’ll realise we’re still one death short of the turn bodycount mentioned in the intro. The last man to perish during the Battle of Brinkmann’s Bridge is a Brit and suffers death by Panzerfaust.

Unlike the fusiliers near the bridge, 6 Squad seem to realise that the time for ammo frugality has passed. As one half of the unit sprints for the angle in the monastery wall, everything that can be hurled at the foes in the nearby foxholes is hurled.

Bullets, grenades, and rifle grenades deluge the British positions without drawing blood, before a direct hit from a ‘tank fist’ spawns the game’s last red cross.

Does the Cromwell parked next to the VL mean I should declare the Battle of Brinkmann’s Bridge a draw? Should the Unit of the Unpleasantness award go to a German or a Brit? I’d be interested to hear your thoughts on these subjects ahead of Friday’s results/epilogue article.
That wasn’t as bad as I feared it might have been a few turns ago. I think I might have to pick this one up off of battlefront, don’t think I’ve played one since 3 on the very first engine, this plays much more intricately.
Just to flag there’s a new CM announced and it’s coming to Steam: https://www.battlefront.com/cold-war/cmcw-base-game/
Panzerfaust 30? That’d barely reach across the canal! Goodness me. I’ll sure give our fusiliers points for bravery, trying to hold the front line armed with those anti-tank slingshots.
I have to concede that holding the bridge is a bit of a draw, at least with the Cromwell still lurking. Even if he cleaned up our infantry, he probably wouldn’t have much luck crossing the bridge with our immobilized Panther and cautious StuH pointing straight down its throat. The remaining infantry from the enemy Sherman could eventually show up and try to occupy the east side fox-holes, but we still have infantry of our own to match them – everything from the newly-mortarless west side mortars to Fusilier Squad 6, who seem inspired by the fighting spirit of our fallen comrade, Wilberg!
So long Wilberg, Meister and Woikin, you tough SOBs! I hope they don’t have to put up with Belin in the afterlife.
If I have one regret, I wish we had left a Panzerfaust team on the east bank. I wonder if a team had stayed just on the west side of the inverted T bocage at [blue b, 47] (instead of occupying the T), they might have escaped the eye of the Cromwell commander and given him a nasty surprise when his machine rounded the bend. Ah well.
Looking forward to the AAR.
Hmmmm. Did we win or did we draw?
On the one hand I think it’s safe to say that we cannot safely cross or even approach the bridge, so it’s hard to argue that we hold it. On the other hand, our enemy also can’t cross due to our overwatching armor. Is it enough to deny the enemy the bridge to call it a win? I think the answer is probably no.
Our failure to save Brinkmann, combined with our huge loss of life (we have Squad 6 and maybe a dozen other troops left out of two full platoons) means I think we probably have a tactical defeat on our hands. If I had to attribute it to something, it would be the lethality of the 3in mortar team, overly-accurate SMG fire, and an unkillable anti-tank gunner.
Despite this, I think we had both fantastic heroics and calm, sensible tactical maneuvers on our side, and it was a delight to watch how those played out. A great job by all.
Edit: Apparently we managed to save Brinkmann. I missed that. Well, perhaps a draw is in order then.
Brinkmann is alive with a jeep hanging around to taxi him back to the mess.
I suppose you need to consider whether the Paras had to keep the bridge open for future resupply to win and that by merely cutting it we have achieved a strategic victory. The problem is that operationally that has chewed up most of our forces which makes it feel a little bitter. I guess a draw is probably in order.
It might depend if the Brits have any unspotted forces to the east of the monastery. If their sole option to attempt recapture of the bridge was the Sten gunner who wanted a personal duel with Brinkmann, then it’s fair to say that we denied the bridge to the enemy.
If they had enough infantry to match our forces
(Greiss 2 + HQ 2 + foxholes 3? + Brinkmann = ~8) plus the Cromwell on the opposite bank
then we’d have to acknowledge that losing the bridge was the most probable outcome.
Despite not knowing how Tim plans to administer the next CCM, I’d like to suggest a tweak to the rules (particularly for the early turns); something along the lines of:
one unit per comment commander; if there are units without orders in the 24 hours before a turn is run, then a second unit may be moved.
I think my take-away was: just give units the one task for a turn. I thought a number of times that units should be able to eliminate single enemies in tens of seconds (and consequently that they could be told to fire on something else as well), only to have them fail to take out the first target, and as a result, make little progress.
Most Abominable Unit award probably goes to the Cromwell: at least 11 infantry units killed and I’m not aware of it receiving so much as a scratch in return.
Thank you Tim for carefully moderating this battle and providing splendid turn by turn commentary.
Failing to clear the monastery, severe losses and an enemy tank almost parked on the objective makes it hard to see this as anything other than a humiliating loss. However we don’t know just how many of the enemy survived; it may be that the tank has a mere handful of allies and that the field is effectively ours.
Unit of unpleasantness? Although a good hit to announce itself and impressive resilience means Best’s best gun had a rather good battle the real damage was done by the British mortar. It took all the momentum and firepower out of the East flank, and since the West flank was surprisingly ineffective if the Brits win the battle it’s primary due to that mortar and its crew.
As it would be cruel to nominate the squad ambushed in their half track by a hidden AT gun as ‘Unit most likely to get court martialled for being so blisteringly bad we’d have been better leaving them at home’ I’m tempted to nominate the StuH which hid at the back without taking part. However, one unit started the battle, was given every opportunity to make a difference, had multiple commanders encourage them to deliver death on the enemy and, well, there’ll be no medals for the NE mortar crew.
Overall a challenging fight, devised and delivered with skill and care, and tremendous entertainment for a few weeks. Thank you again Tim!
Thanks Tim, for a very entertaining game!
I’d chalk it up to a draw if not for our eye-watering casualty count. So many what-ifs: British marksmanship seemed to be outstanding in this game, whilst unlucky casualties rendered much of the Western bank ineffective quite quickly.
If I had to award prizes maybe Belin would get one for ‘most motivated’. We could probably staple it to his headstone.
I would love to see what happens for Communal Cold War combat mission. ATGMs would change the game substantially.
Phew, that was tough and no doubt quite the marathon for you Tim. Did it help making the turns less frequent than on FP CCMs, or did it prolong the epic?
I had great fun reading and commenting, although my order frequency dropped off over time.
As well as stalling our infantry advance from the get go, the AT gun effectively kept a lid on our west flank, such that the pz35r did little at all.
I learned a lot about CM though this and am v keen to purchase one of the latest engine versions. I hope you get some recognition from battlefront for showing off their game!
The outcome is quite clear to me: we control the objective area and we have armor superiority. Therefore we win.
I’ve just got off the phone from my imaginary lawyer- his advice is to advocate for a victory albeit of the Pyrrhic variety based on:
Our orders- “Your task, Comment Commanders, is to retake it within 25 turns without accidentally killing one of Germany’s most famous and highly decorated fighter pilots in the process”. The Brits started with it, we took it from them and they haven’t taken it back, nor are they remotely in a position to do so.
“Ah but what about the Cromwell stopping our units crossing the bridge”
Whilst true, keeping the bridge open to our units was NOT our mission. Our remaining armour, StuH 42 (regarded as one of the best tank destroyers of the war), a HEAT packing S.P.G and Pz35 should be able to overcome an infantry support tank with limited anti-tank capability the very next turn if necessary.
Whatever the final verdict -a massive thanks to Tim for concocting an entertaining, suspenseful and finely balanced scenario-it must take a heck of a lot of effort. Also I would like to raise a virtual glass of schnapps to my fellow commanders for their many patient and insightful comments with a particular nod to those whom fought the entire campaign from January!-maybe a virtual campaign medal is in order?
Finally I hope Brinkmann went on to survive the war after all that effort. My one hope is that Sgt Best returned safely back to blighty where he was able to encourage his only son George to take up football.
Thank you for an excellent game, was very happy to lurk my way through it all watching talented grognards in action. Would you consider making the scenario available for download for those of us who may wish to try it retrospectively?
It’s not fit for public consumption at the moment (no victory locations/conditions, no briefings, no Axis AI, and only one British plan). I’d like to add some polish and a few surprises before making it available.