
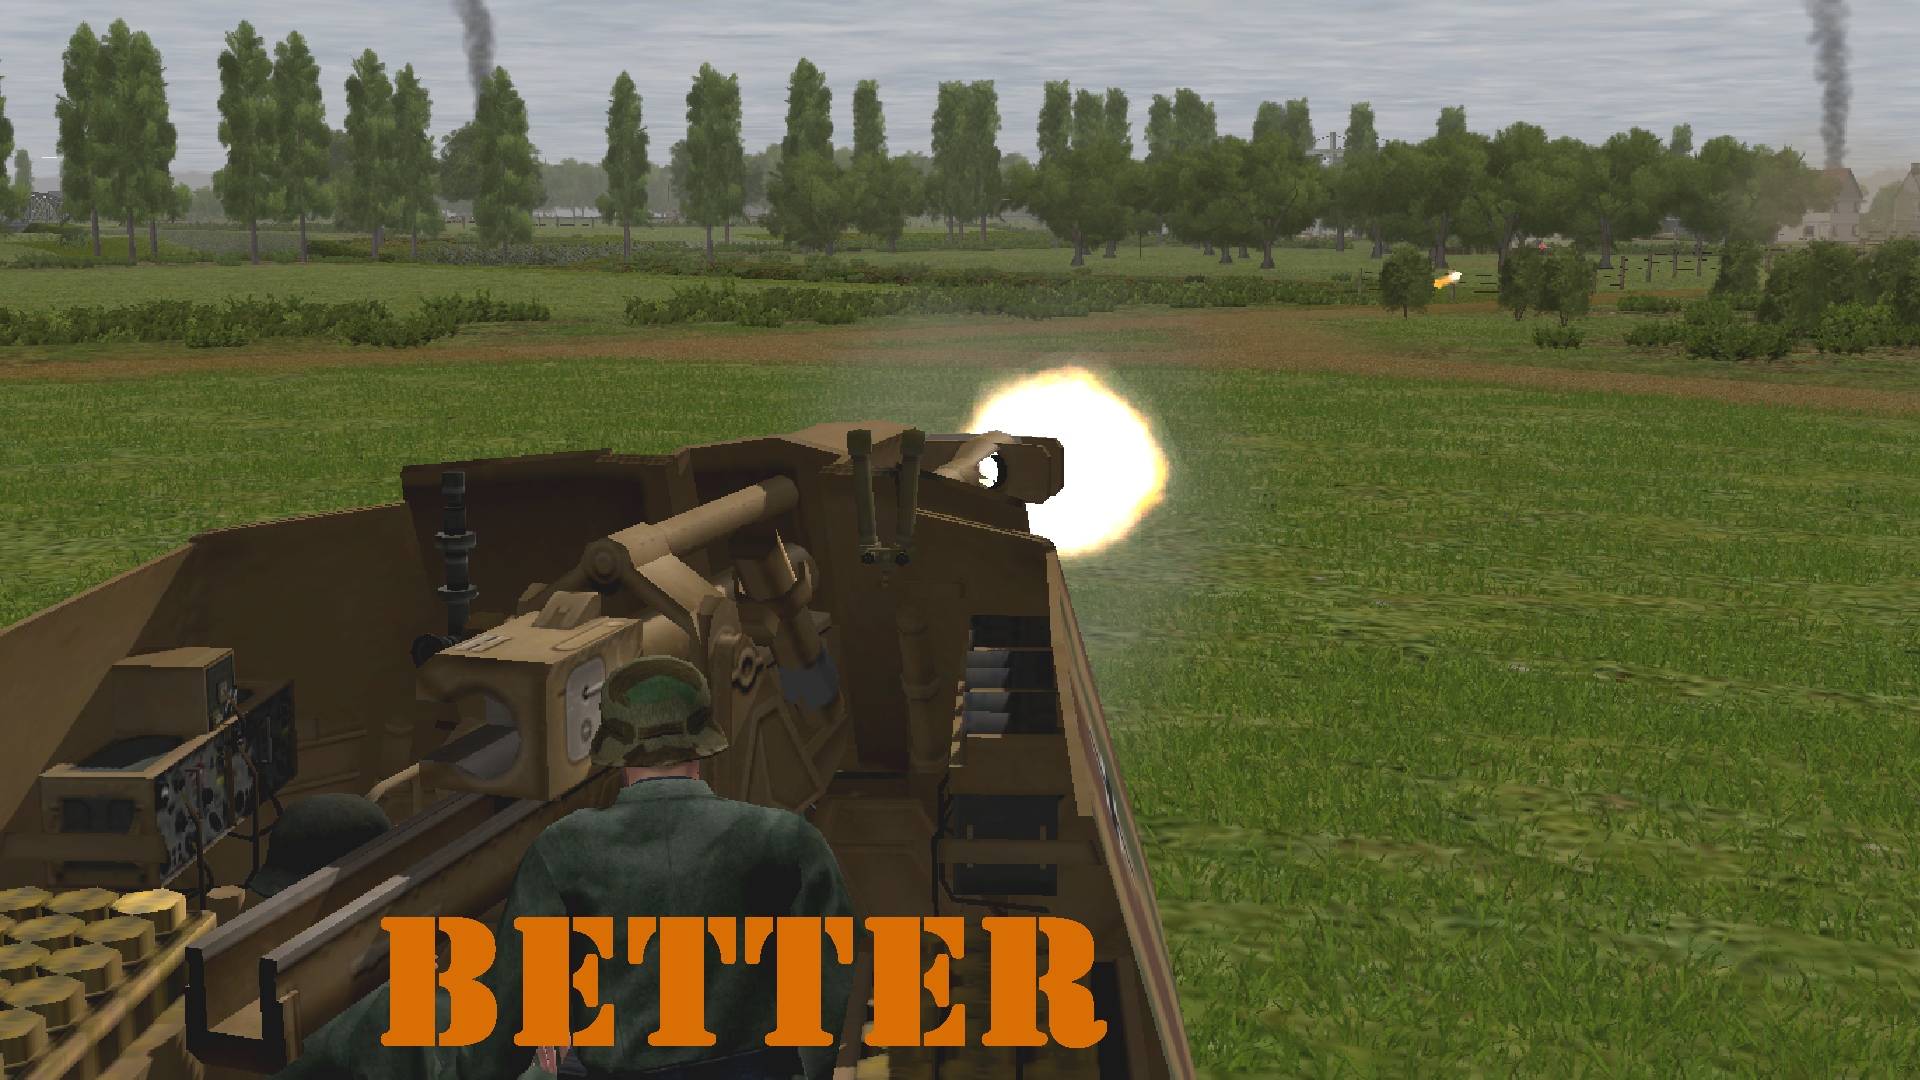
This turn is the costliest yet for the Britishers. A short time after I lose an irreplaceable sixty minutes to British Summer Time, the glider riders defending Brinkmann’s Bridge lose an irreplaceable half-dozen men to an assortment of kill kit that includes a 10.5cm howitzer, an MG 42, an MP 40, and a scoped Karabiner 98K.

(Brinkmann’s Bridge is an open-to-all game of Combat Mission: Battle for Normandy in which the commenter-controlled Axis forces are out to recapture a Dutch canal spanner recently snatched by Red Devils. Each turn covers one minute of WeGo action. For a scenario outline and the rest of the turn reports, click here).

The orchard mortar team is no more.

One of them falls to a sniper’s bullet, the other to a gale of howitzer shrapnel.

The sharpshooting pumphouse Sten-ographer is history. He looks to be attempting a brave/bonkers one-man assault of the suppressed pumphouse when the sniper team’s Schmeisser carrier intervenes.

Two of the scout slayers in the SW perish while rambling westward for unknown reasons. The fusiliers in the cottage next to the Panzer 35R drop the first, a Sten gunner, then 6th Squad’s al fresco half finish the job by potting a Bren gunner.

The last thing British casualty no.6 sees and hears is quivering poplar leaves. One of the canal bank foxhole contingent, it’s hard to tell whether he’s eliminated by a mortar blast or LMG rounds, the storm of fire pummelling grid squares red t37/38 is so intense this turn.

The Allied death toll would have been even higher if one of the myriad steel splinters that fizzed across red j41 during the sixty had collided with flesh. The ten 81mm bombs delivered by our Granatwerfer 34 during the sixteenth turn ensure the 6-pounder remains pinned but do no perceptible damage.
Elsewhere this turn…

The SPW 251/1 arrives at its rendezvous point. In a few seconds’ time Major Bellend will have boarded, and the APC’s LMG will be manned again.

Wilberg and Hirsch’s team almost make it to the bocage ‘T’ southeast of the VL.

Griess and his companions head for the garage.

The NE mortar team finish their redeployment while the SE one begins theirs.

The SPW U304 feels tarmac under its tracks for the first time.

Woikin gets a good look at the canal-bank foxholes. At the start of turn 17 they are occupied by three uninjured foes (Sten, rifle, and 2-inch mortar) and two wounded ones (rifle and PIAT)

And the remaining mortarmen in the monastery courtyard re-crew their weapon.


Turn 17 orders here, please. Commenters are cordially invited to suggest moves for the following units (A maximum of TWO units per commenter. Embarked infantry and their taxis count as single units until separated. Split squads also count as single units. Units on the west side of the canal answer to subscribers only.)
****anyone****
*Fusilier HQ (4 men) [blue k42]
*Fusilier squad 1, Bulau (7 men) split into two teams – Bulau (4 men) tired [blue k32] and Griess (3 men) tiring, moving [blue d37]
*Fusilier squad 2 (5 men) split into two teams – Meister’s team (3 men) [blue j41] and Woikin’s team (2 men) tiring, in single-storey garage [blue a37]
*Fusilier squad 3 (3 men) split into two teams, both heading for same bocage square – Hirsch’s team (2 men) [blue d47] and Wilberg (1 man) [blue d47]
*Light mortar team (30 HE) deployed [blue k30]
*Light mortar team (NO MORTAR AMMO LEFT) moving [blue k54]
*SPW U304(f)-10 halftrack (54HE, 45AP) unbuttoned [blue n39]
****subscribers only****
*Major Belin (4-man battalion HQ) [red b18]
*Sniper team (2 men) [black z22]
*Platoon HQ (4 men) [circa black l28]
*Fusilier squad 5 (5 men) split into two teams, 1 man, tiring, at [black q21] and 4 ‘rattled’ in the pumphouse [black y27]
*Fusilier squad 6 (9 men) split into two teams, both tiring [black j42 and black l37]
*medium mortar team (4 men) (3 HE, 6S) firing [circa black b25]
*Panzer 35R (32HE, 22AP, 2CAN), buttoned [black l39]
*Self-propelled howitzer (11 HE, 2 HEAT, 2 SM) commander incapacitated [red f15]
*SPW 251/1 halftrack, waiting for Belin to board (red b18)
*Truck (black e19)
*Kubelwagen(black b24)
Please start all order comments with ‘ORDER’ and any later revision comments with ‘REVISED ORDER’. This will help me distinguish firm instructions from suggestions and advice.
Good work all!
ORDER: Howitzer QUICK to Red H17 (or wherever it can get LoS to the AT gun) and TARGET BRIEFLY the ground around the AT gun for 20 seconds, as it’s running a little low on HE shells
Can squad 5 in the pumphouse engage anyone or are they still pinned? And if they’re pinned, who is pinning them? I might push the sniper up to join them if incoming fire has slackened.
Looks like our medium mortar will finally run out of ammo this turn.
CM is a little finicky w embark orders, so I think we need to hold off ordering the Western halftrack till Major Berlin is aboard, lest the AI send the good major jogging along behind it through open ground.
We could probably bring our Panzer up too, keeping its distance in case of PIAT teams
Squad 5 is no longer pinned. The only potential target they can see at present is the courtyard mortar team and the LoS isn’t great (a grey line rather than a blue one). It’s possible they may notice other targets soon though (they also have grey LoS lines to the canal bank foxholes, 6-pounder’s location, and the bit of woodland occupied by the scout slayers).
Alright then!
ORDER: Sniper team (Black Z22) to plot a QUICK route to the top floor of the pumphouse, keeping the building between them and enemy contacts. Weapons free, in case they weren’t already.
ORDERS or rather NO ORDERS from me this turn.
Light mortar team (NO MORTAR AMMO LEFT) [blue k, 54]
– continue along path set in previous turn.
Fusilier squad 3 (3 men) split into two teams [blue d, 47]
– continue with creeping into the bocage. Hopefully they should reform a single squad for the start of turn 18.
“Major Bellend”? Fnar fnar!!! 😀
I was very tempted to make that joke earlier when he first showed up, glad to see now that it was intentional!
I’m sure it’s pronounced “Beylend”, as in “British Leyland”. No?
Or, try saying it in a camp German accent for fun!
I was going with something from ‘Allo ‘Allo if you’ve ever seen that? 🙂
Poor old “Major Bellend”!
East of the canal I’m thinking the North Eastern mortar crew could suppress the foxholes with supporting fire from a resting Bulau section while the halftrack and HQ make a push for the bridge. Hirsch and Wilberg watching for nastiness south of the bridge and mortarless mortar crew sprinting for the bridge waving their sidearms in a distracting manner.
Risky with a PIAT wielder still there but progress must be made. Perhaps delay the charge 20s so that a mortar or few can land first?
Anybody with any superior suggestions?
I think we need to be mindful of the reinforcements coming from the east in a couple of turns. I’d like to get most of the bridge-adjacent baddies cleared out by then, but we’re going to need to have a few panzerfausts pointing in the other direction. Both Meister’s team and the HQ have anti-tank gear, but I’m not sure where best to position them. We could have one group in the L-shaped wood and the next group in the T-shaped hedge, or we could move everyone into the foxholes around the bridge and let the enemies come to us.
Last turn I was thinking we should have both the HQ and Meister’s squad advance toward the T-shaped hedge, while the halftrack lays down cover and FS3 pushes on toward the bridge. But FS3 isn’t quite ready, it seems?
I think, looking at the angle that the guys in the [red t, 37] west bank fox holes have, it might be possible for Meister’s team to do a sprint directly for the [red y, 41] east bank fox holes without being exposed for too long. The structure of the bridge seems to block the view, and if we can get Meister into the east bank foxholes then at least we’ll have one panzerfaust set up and hopefully not “tiring” by turn 20. Then we could hang the HQ back and put them into the T-shaped hedge next turn, after FS3 gets moving again. What do you think?
Which one’s the T-shaped hedge? I haven’t been following the nomenclature.
There’s a natural bottleneck along the main road, and tanks emerging at Blue Y39 will expose their left and right flanks to units hiding behind the woods or the hedge respectively. That seems to me to be the best ambush spot for getting Panzerfaust kills, though not necessarily for the survivability of our teams (esp if the armour comes with an infantry component). This also assumes that enemy armour is coming by that road, and not the north eastern island road.
I think the eastern commanders gave up on ambushing around the [blue y, 39] spot you suggested. I think FS1 was heading out there, but then changed their minds. The “T-shaped hedge” is the one south of the bridge at [blue c, 47] where FS3 is currently headed.
I guess the best case scenario would actually be for our infantry squads to switch places with all your heavy hitters on the west! With the mortars, howitzer and tank lined up, we should have a nice chunk of firepower to stop any advance from the east. But i’m not sure they’ll be able to set up in time.
It’s unclear to me whether the victory condition is to hold the bridge or to rescue Brinkmann. If we just need to rescue Brinkmann, I’d be all in with our infantry getting across the bridge and running away. But if we are supposed to be occupying the village and holding the bridge, then perhaps it is worth having some guys remain on the east bank, even if it is a suicide mission.
Hmm, yes i’ve been beating this drum for a while.
Consensus is to pull out, which is ok by me
Our current armour is…anemic. The panzer has a tiny gun and the howitzer only has 2AP shells and might as well be painted in garish circus colours for the target profile it presents. The 37mm on the eastern halftrack might do something, but i don’t usually play the WW2 titles and i don’t know how effective it would be.
We need that Panther, basically. I expect it will show up at zero hour or just beyond it, in appropriately dramatic fashion
Badger, since you mention the Panzer’s gun, I have some research on that front:
Our Pz 35 can penetrate the side armor of Stuarts at < 300m, but won't penetrate the front at much over 100m. Armored cars, SPGs, and tank destroyers might be vulnerable at short range. Shermans are immune at any range from any direction.
I can only agree with this tactical suggestion. I would emphasize the need to have upwards of one full minute of continuous suppressing fire before making the push for the bridge.
ORDER: Griess’ team to enter single-storey garage to join Woikin’s team in suppressing foxholes (area target foxholes).
ORDER: Bulau’s team area target foxholes
It sounds a bit ‘Hail Mary’ and I don’t think we quite need to take that step… yet.
alison’s proposal to advance Meister (rather than the valuable HQ) is preferable, in my view.
Overall, I doubt the wisdom of planning an ambush on enemy reinforcements: our East bank forces have been mauled and there’s still fighting to be done – we don’t want to get stuck in the middle. I say we get Brinkmann, and get the hell outta Dodge (by moving north, then north-west, from the cafe). There’s not enough transport, and it’s a long walk.
I’m not recanting (as getting away would be the sensible thing to do), but do have to acknowledge that Tim has been dropping hints by referring to the vicinity of the bridge as a VL (Victory Location?).
As to keeping the enemy away from the bridge, I guess I’m in. The question is: are we trying to hold it for ourselves, or just deny it to the enemy?
I think I’ll let Meister do the suicide run and if our panzerfaust-bearer gets shot down, then consider it a donation to our mortarless mortar team.
ORDER: FS2 Woikin’s duo in the house at [blue a, 37] to shoot out the window, focusing mostly on suppressing the northern foxhole square [red t, 37].
ORDER: FS2 Meister’s trio to sprint from the grass at [blue j, 41] to the east side foxholes in the vicinity of [red z, 41].
Just in case nobody else logs on before Tuesday night…
ORDER: FHQ at [blue k, 42] to stay on guard, but please don’t have them blindly lay down suppressive fire across the path where Meister’s nutters are running. If another commander comes along to revise this order to something more useful, I give my full approval.
Heads up to other eastern readers – our halftrack still needs an order!
cederic, I hope you don’t mind I’m going to jump in with an eastern halftrack order since nobody else has picked it up. As far as I can tell, the last order from all the way back on turn 13 was for it to scream down to [blue n, 39], then consider hunting over to [blue a, 39]. Doing my best to preserve the spirit of that order, while taking in mind other comments here…
ORDER: SPW U304(f)-10 halftrack to pause 30 seconds, then drive normal speed from [blue n, 39] to [blue l, 39], then hunt onto the railroad crossing at [blue k, 39] and fire at will. Target across the canal, between the foxholes in the north and the pillbox in the south. That should still be at the outer range of a PIAT shot, who anyway should be fairly solidly suppressed by everyone we have gunning at those foxholes.
As with my orders for FHQ, I welcome/urge other eastern commanders to revise the order if it’s a dumb one. I just don’t want our guys to miss a turn due to our commanders’ real-world commitments.
I’m so proud of our brave Squad 6 burning themselves out to cover the tank and pin down the scout killers, but they’ve pushed themselves awfully hard the last 5? 6? turns, and it might be necessary for them to quickly cover ground to the monastery when the Allied armor shows up to provide their panzerschrek and AT grenade support.
They seem to still have a good fix on the scout killers, they’re not taking counter fire, and there’s certainly more infantry facing them in the woods.
Tim, what’s their exhaustion level? Do they have any suppression level at all?
ORDER: Squad 6 does nothing.
Tim, what can the Panzer see? The pumphouse soldiers? The monastery mortar team? The river bank foxholes?
I’m nervous about them getting an AT grenade or PIAT to the side from the scout killers, so I don’t want to expose that vulnerable side armor.
ORDER: Panzer 35R does nothing and remains buttoned.
The Panzer can’t see any Allied units at the moment. This collage shows a few potential ‘area’ targets:
//tallyhocorner.com/wp-content/uploads/2021/03/bridge16t.jpg
From left to right – canal-bank foxholes, foxholes within monastery grounds, and woods where the majority of the scout slayers were last seen.
The pumphouse and its immediate surroundings look to be threat-free now.
Both halves of 6 squad are unsuppressed and ‘tiring’ (FATIGUED – TIRED – TIRING – READY – RESTED).
Hmmm. While I’m still concerned about the scout killers, I’m hoping our Squad 6 will be able to keep them suppressed. Since we’re pouring fire onto the foxholes by the bridge, I think we should do all we can to help panic those troops and get them to flee. I’m worried about friendly fire from shells fired too high, but I think we’ll have to live with that.
REVISED ORDER: Panzer 35 TARGET AREA BRIEFLY 30s the foxholes by the bridge, preferably where the troops at [red t34] are as opposed to the HQ, but whatever gets the area target as close to the foxholes as possible..
Turn execution underway.