
I love Combat Mission, but that doesn’t mean I’m blind to its faults. Trying to turn the Comment Commanders’ intricate infantry instructions into in-game orders can sometimes feel like trying to paint miniatures with a tar brush. The game’s hidden movement grid is half the problem. In second-gen CM you can only place waypoints in the centre of fairly large grid squares. This makes fine control of squads almost impossible. Factor in absent infantry spacing and formation controls, and a TacAI hopeless at social distancing, and all too often unlikely/unnecessary casualties are the result.
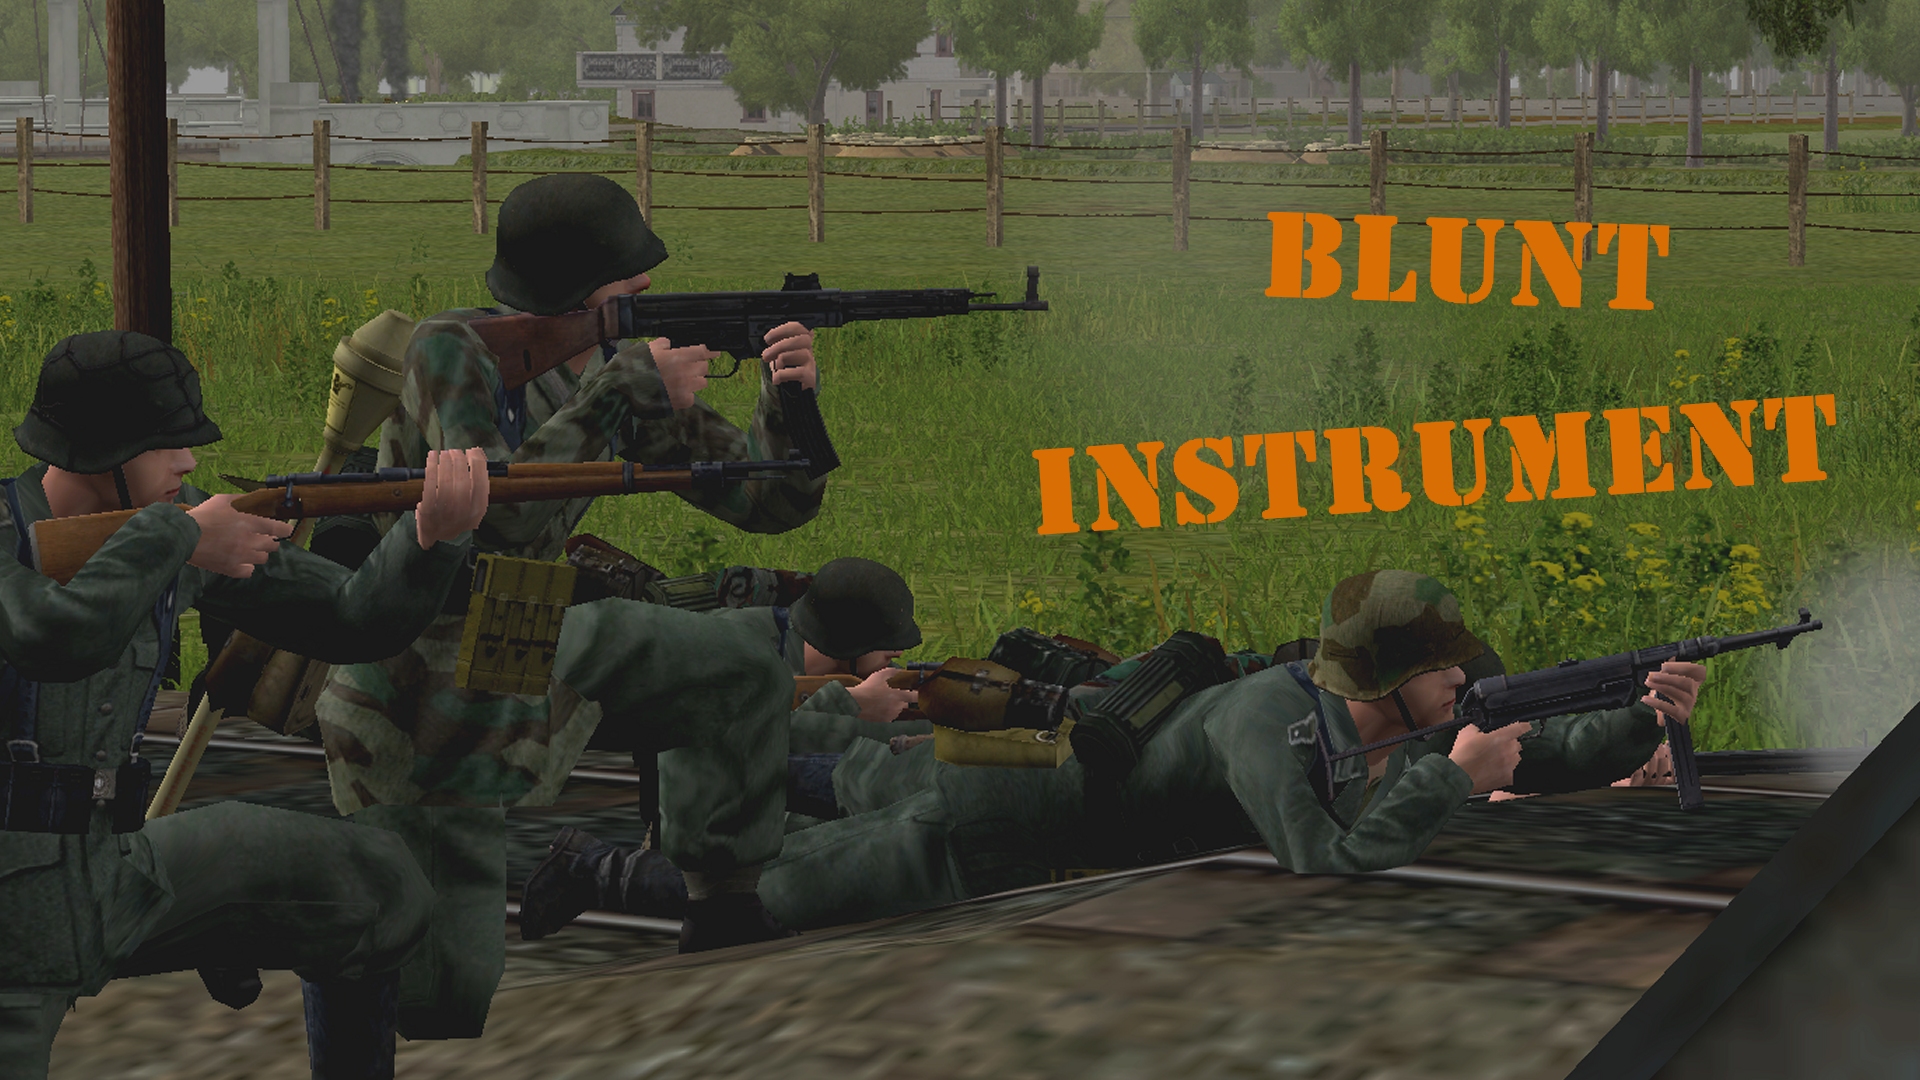
(Brinkmann’s Bridge is an open-to-all game of Combat Mission: Battle for Normandy in which the commenter-controlled Axis forces are out to recapture a Dutch canal spanner recently snatched by Red Devils. Each turn covers one minute of WeGo action. For a scenario outline, click here).

Hirsch’s half-squad are ‘veterans’ but CMBfN, in its wisdom, decides they’ll sprint the short distance to the thicket on the other side of the railway in a Bren-friendly bunch. Result? A previously unspotted British LMGer near the vacant pillbox makes hay while the sun shines. Hirsch and the kamerad panting at his side go down in a hail of lead.

Turn 10’s other German casualty is targeted by a disappointingly unchivalrous foe. One of Meister’s men is binding the wounds of an incapacitated pal close to the burning armoured car when an impossible-to-trace rifle shot brings his ministrations to a premature halt.
On the bright side, the glider riders lose more men than we do this turn.

Two of the pumphouse party are eliminated by the busy Schmeissers of the scouts and the chattering coaxial Reibel MG of the Panzer 35R (Sorry, I’ve been misidentifying this Renault-made AFV as a Skoda-produced Panzer 35(t) for most of the battle!)

And the windmill clearance goes like clockwork. Because a rifle grenade fired from the vicinity of the railway bridge disables the marksman’s spotter…

…the British sniper has no-one covering his back when Grill’s gatecrashers burst into his dusty roost at T+34.
Other Turn 10 developments of interest…

Our medium mortar is ready for action and one of its pairs of eyes – 2 platoon HQ (Lehrer) – is nearing the eastern edge of the conifer plantation.

The stump-circling shrews must be fascinating because, maddeningly, “cautious” road-split 6 squad didn’t move an inch this turn (A ‘move’ rather than a ‘hunt’ order might spur them into action – it’s possible they are glimpsing the pumphouse defenders and instantly halting). Advancing on the left of the sedentary rodent watchers is 5 squad and the surviving SPW 251/1.

The SPW U304 and the NE mortar scenery-scanned to no avail this turn.

Woikin’s team end the sixty engaged in a half-hearted firefight with a foxholed rifleman on the far side of the canal.

From its new position on the embankment, the SE mortar has LoS to the white, balconied house by the canal bridge and the patch of canal bank occupied by Hirsch’s killer. Wilberg, also now on the embankment, can see the garage and the pumphouse.

And – I saved the best news until last – more reinforcements have arrived! Say ‘Guten Tag” to a two-man sniper team, a self-propelled 105mm howitzer (20 x HE, 2 x HEAT, 2 x smoke) and…

…the Kubelwagen-conveyed Major Belin*, a gung-ho brasshat eager to enlarge his medal collection. The trio are currently waiting for orders north of the stables.
* Like Lehrer and the SPW U304, Belin has the authority to task the medium mortar.


Turn 11 orders here, please. Commenters are cordially invited to suggest moves for the following units (A maximum of TWO units per commenter. Embarked infantry and their taxis count as single units until separated. Split squads also count as single units. Units on the west side of the canal answer to subscribers only.)
(anyone)
– NE group –
*SPW U304(f)-10 halftrack (63HE, 45AP) unbuttoned, [blue k14/15]
*Fusilier squad 1 (8 men) split into two teams – Bulau’s team (6 men) tired [blue k24] and Grill’s scouts (2 men) [red z8]
*Light mortar team (31 HE) [blue k8]
– E group –
*Fusilier squad 2 (7 men) split into two teams – Meister’s team (3 men) [blue l32] and Woikin’s team (3 men) tired [blue l36]
– SE group –
*Fusilier HQ (4 men) [blue l/m42]
*Fusilier squad 3 (6 men) split into two teams – Hirsch’s team (3 men) tired [blue h55] and Wilberg (1 man) [blue k49]
*Light mortar team (38 HE) tired [blue k54]
(subscribers only)
*Panzer 35t (32HE, 22AP, 2CAN), buttoned, [black m42]
*Scout team (3 men, MP 40s) [black p44]
*Platoon HQ (4 men) [circa black k27]
*Fusilier squad 5 (9 men) [circa black m21]
*Fusilier squad 6 (9 men) [black i23 & l22/23]
*medium mortar team (4 men) deployed [circa black b25]
*Kubelwagen(black b24)
*SPW 251/1 halftrack (black j22)
*Truck (black e19)
(latest reinforcements)
*Major Belin (4-man battalion HQ) in Kubelwagen [black v3]
*Sniper team (2 men) [black q1]
*Self-propelled howitzer (20 HE, 2 HEAT, 2 SM) [black q2]
Please start all order comments with ‘ORDER’ and any later revision comments with ‘REVISED ORDER’. This will help me distinguish firm instructions from suggestions and advice.
Given the tiredness on the East flank I’m wondering if a turn of ‘sit still and relax’ might help, or if we’re doomed to them being a bit knackered now for the rest of the engagement.
If it’ll help, pausing our advance on that front for a turn doesn’t feel a bad plan; it gives the chaps on the other side of the canal a chance to get into position ahead of making life very miserable in the monastery.
Sit & spot makes it sound more tactical, but is essentially the same thing, perhaps with fewer napkins or sandwiches.
We’ll also have to eventually start moving some squads back East to set up ambush spots for the Allied armour arriving in 10 minutes time.
Resting for a turn doesn’t sound like a bad idea, and for at least one squad, the embankment probably should be the limit of their western advance. Maybe squad 2, since it’s relatively more intact.
Tim, are AT assets evenly distributed amongst all the existing squads?
I think FS1 was planning to head over that way.
I’d also like to know which fire teams have the panzerfaust. I think I read that you can’t shoot anti-tank gear out of buildings in Combat Mission, so my original plan was to put the MG team in the house by the bridge and the panzerfaust team in a hedgerow or forest. But we gotta crack that house – if we don’t have the bridge locked down then I’m not sure it will matter if we can ambush any arriving armor. I presume the win condition is to give Brinkmann a safe path out of his attic, and that won’t happen if there are still enemies in the woods by the canal.
Oh yes I’d forgotten about the island-bound squad. They’d probably need to start shifting soon though. I can’t quite get a sense for the speed of infantry squads on this map: it seems to take whole minutes for some squads to cross what I assumed to be quite small patches of ground.
I’d like to humbly propose setting up an AT ambush in the woodline at Green A-G 41. Armour coming along the main road will be forced along a bottleneck, and there’s a blind corner.
If/when our big metal cat shows up and assuming we’ve taken the bridge by then, it could potentially set up overlapping fields of fire in a hull-down position behind the embankment looking down the road at 39.
Panthers beat Shermans like rock beats scissors, right? Does that hold true for upgunned shermans too?
Oh hold on looks like FS1 has no AT weapons on hand!
> Are AT assets evenly distributed amongst all the existing squads?
No.
(in the east)
– Bulau (Panzerfaust + AT rifle grenade)
– Meister (Panzerfaust)
– HQ (Panzerfaust)
(in the west)
– HQ (Lehrer) (Panzerfaust)
– 5 Squad (AT rifle grenade x 2)
– 6 squad (Panzerfaust + AT rifle grenade x 2)
Bulau’s squad doesn’t have Panzerfausts?
I mixed up Bulau and Woikin. Yes, Bulau still has a PF.
A few thoughts to lob like an inebriated mortar opperator:
1. What should the NW mortar be targetted at? The pump house targets we know about? A smoke field in front of the monastery to enable an advance on the pump house? Or a speculative barrage on the possible AT gun sight near the Monastery? I guess it depends what LoS the spotting HQ squad in the woods have, also on the timing of these things – mortar fire delay and whether we’re staged for an advance.
2. Has the jeep over the canal from the Windmill been sighted since it disapeared up there? Here’s hoping the sniper snuffers in the windmill can hang around and do some static scouting for us now – and before they move off elsewhere.
3. Which recently arrived infantry assets in the NNW make the best scouts? The sniper team or brass? I know which i’d rather shove into the line of (twin linked Lewis?) fire but i suppose HQ command influence does provide a non-negligible morale lift…
In the absence of LoS by a spotter to the woods South of the monastery (preventing us from creating vast quantities of unfortunately red kindling) I’m wondering if there’s a shot available into the courtyard of the monastery to remove their mortar team.
Failing that, smoke along the canal bank to cover an advance on the bridge does sound an excellent plan.
The snipers need to move cautiously, they’ll be vulnerable to that jeep. Until it’s eliminated it may be better to position them with a good field of fire and let someone else attract it.
I’m wondering whether we even need to move the howitzer. It’s possible that it could bed down where it is and start causing some very brown underwear.
QUERY – Tim, can the howitzer receive fire orders from HQs, as the mortars can?
> can the howitzer receive fire orders from HQs, as the mortars can?
No. For all intents and purpose, it’s an open-top close support ‘tank’.
As far as I would greatly enjoy seeing Major Belin ride his kubelwagen into machine-gun fire like a german John Wayne, I guess the snipers will have to do the brunt of the scouting, sadly.
If our Pz 35 is going to be much help to us besides the occasional potshot near the pumphouse we’re going to need to clear that monastery. With the northern woods and the westmost building [black l37] covered by its gaze, our Fusilier squad 6 should be able to approach and recon the compound.
ORDER: Split Fusilier Squad 6 [black i23]. Both QUICK South to [black i33] via [black i29], the edge of the plantation. The one with the MG stops there, the other will immediately FAST & HIDE to the building at [black l37].
ORDER: *Sniper team (2 men) [black q1] to FAST into the house at Black V4 (assuming that there is indeed a door on the sheltered side, then MOVE to top floor, setting target arcs to hold fire, and HIDE at the top.
ORDER: *SPW U304(f)-10 halftrack (63HE, 45AP) unbuttoned, [blue k14/15] to FAST to Blue K 25 across the railway bridge, then HUNT to Blue H29
Snipers are heading up to the house to spot. Potentially, if the LoS is good from up there maybe the Major might want to join them on a later turn so we can try spotting for our exciting new 105mm howitzer (maybe after that MG-armed jeep is cleared out)
The eastern halftrack doesn’t seem that useful thus far, so I’m going to try using it a bit more aggressively to help clear out the eastern bank.
The Eastern half track is cautiously awaiting discovery of evil AT that might destroy it. It’s already made a contribution and will be extremely useful in the push on the monastery if it’s not a burning wreck by then.
The NE mortar team on the other hand may benefit from a bit of exercise, I’m pondering inviting them to pop down to the rail bridge given their refusal to fire on the enemies near the pump house as ordered.
Hmm… in that case I might push the 105 up with the snipers to take out that jeep and leave the half track where it is. Any objections?
Go for it.
As Tim stated above, that 105mm is an open top assault gun and not an artillery asset.
REVISED ORDER: *SPW U304(f)-10 halftrack (63HE, 45AP) unbuttoned, [blue k14/15] to remain where it is (no new orders).
Instead
ORDER: *Self-propelled howitzer (20 HE, 2 HEAT, 2 SM) [black q2] QUICK to Black V2, then Hunt to Black X4 (essentially using the two-story manor as cover, moving such as to face the jeep’s last estimated position)
ORDER: Bulau’s team find cover on east bank of rail line
Order: *Fusilier squad 5 (9 men) [circa black m21], Quick [black u20], split into two squads,
lightest equipped squad (your discretion) move [black d20], –> hunt [black f22].
Heavy squad, hunt [black u22]
ORDER: Light mortar team [blue k8] to pack up, drop back to column blue L and hunt to Blue L22.
If they see anything on the way they’re welcome to have a pop basically but if the tea swiggers cower in fear out of sight then progress can be made.
ORDER: FS1 Woikin’s team at [blue l, 36] to stay put and rest. If they continue to half-heartedely engage the enemy in the vicinity of [red t, 36], that’s okay, but the emphasis should be on catching their breath. They still have a sprint to the house ahead of them.
ORDER: FS1 Meister’s team at [blue l, 32] to target the sandbags at [red t, 36].
Can we get some backup from the SE mortar team? I don’t think they have any current orders, and perhaps they can either lob something in the direction of the [red t, 36] sandbags, or the [red s, 48] chaps who fired on Hirsch.
ORDER: Fusilier squad 3 (6 men) split into two teams
LESS DAYDREAMING IN ARITHMETIC CLASS, STONE!
Hirsch’s team (3 men) [blue h, 55]
Move [blue f, 55]. Pause 15 seconds. Cautious to [blue e, 56]. Assault into the building at [blue d, 55]. Take up positions with best viewing arc from west to north-west.
Wilberg [blue k, 49]
Cautious to [blue l, 48]. Cautious to [blue k, 47].
I’d like him to pay attention to his left as he moves north: maybe face west at each of those waypoints?
ORDER: Light mortar team [blue k, 54]
Target, with extreme prejudice, Hirsch’s slayer at approx [red s, 48] for 35 seconds.
It might just be possible for them to Target Briefly somewhere near [red t, 34] or even closer to the British gunman.
Poor tired boys. They must have been very naughty, no rest for them at all.
Can’t believe it took me this long to find your new place. Excited to add this to my list of regular things to check while slacking off from work.
Turn execution underway.