
The maximum heart rates of selected German combatants during this turn:
Oberst Brinkmann: 93 beats per minute.
Unteroffizier Thylin: 116 beats per minute.
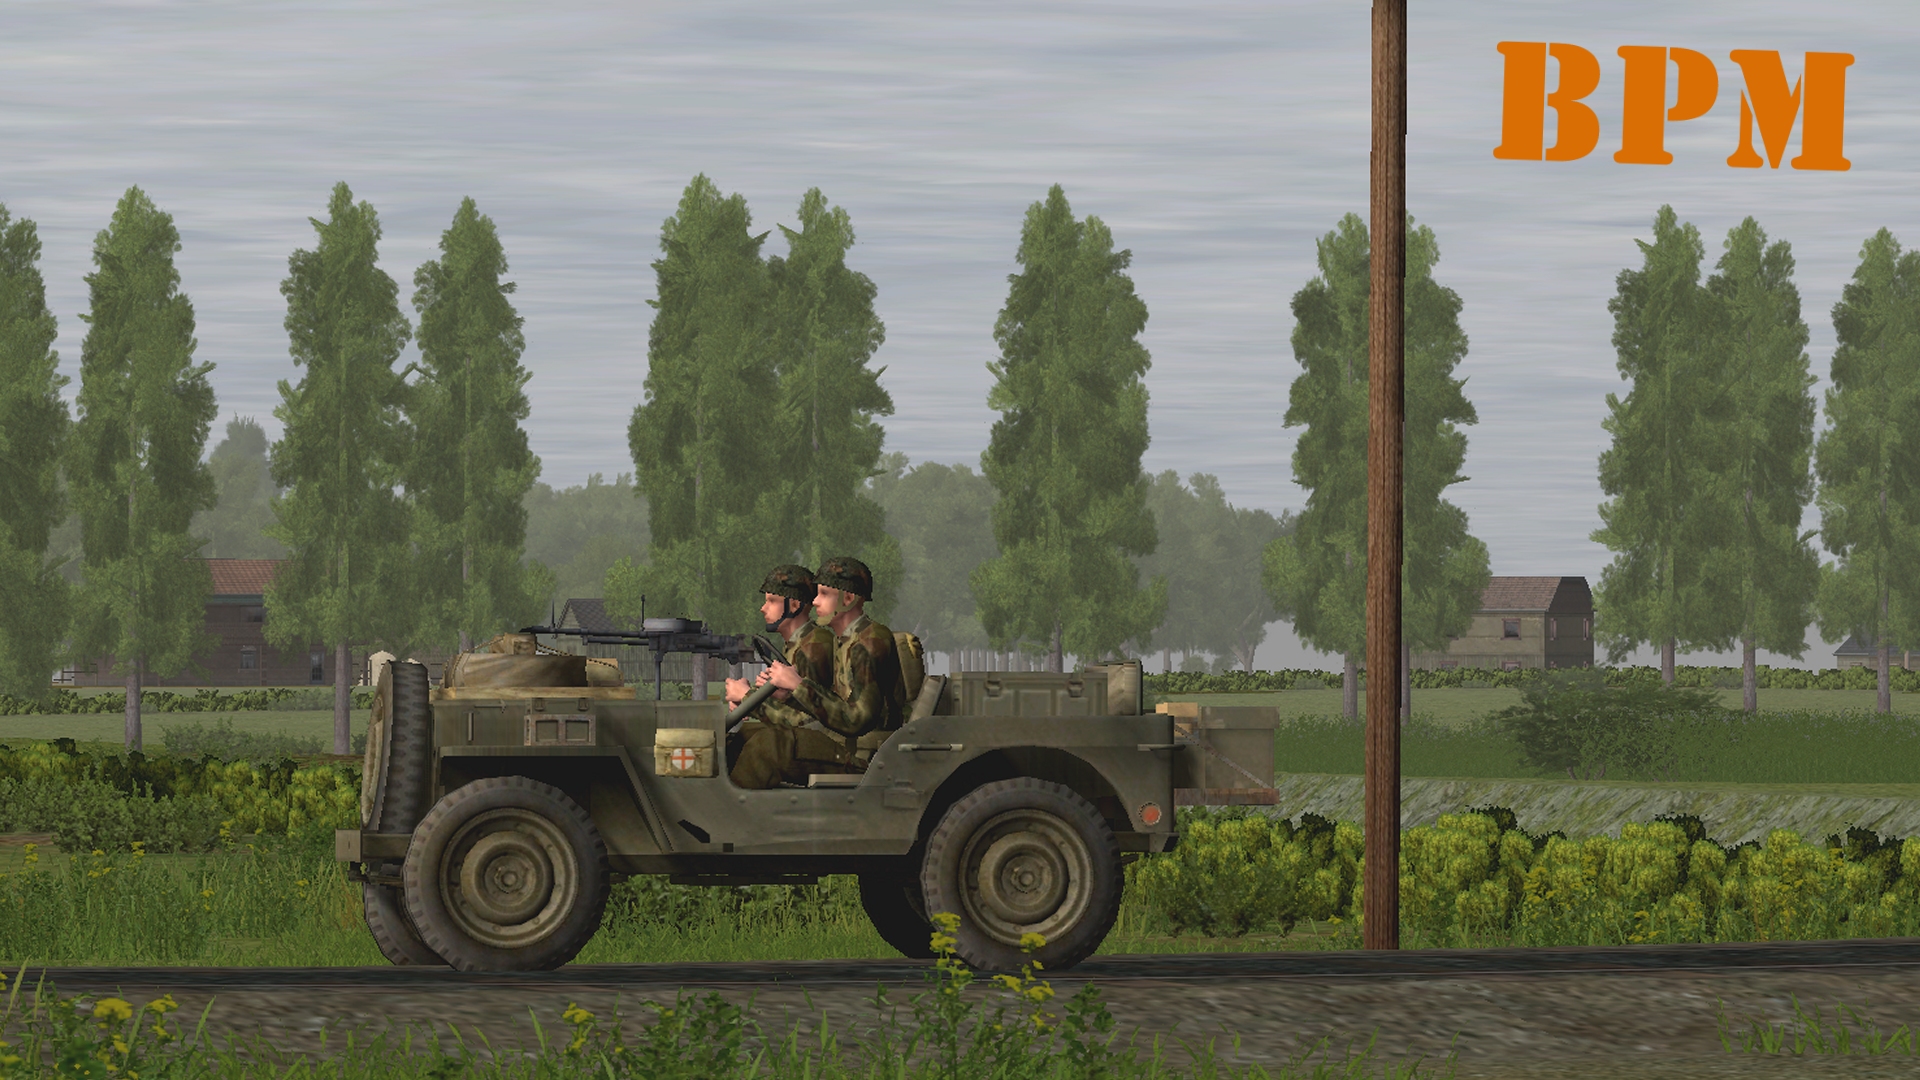
Feldwebel Bulau: 130 beats per minute.
Unteroffizier Meister: 145 beats per minute.
Gefreiter Tappe: 183 beats per minute.
(Brinkmann’s Bridge is an open-to-all game of Combat Mission: Battle for Normandy in which the commenter-controlled Axis forces are out to recapture a Dutch canal spanner recently snatched by Red Devils. Each turn covers one minute of WeGo action. For a scenario outline, click here)

The cause of Bulau’s short-lived BPM spike is pictured above. In the opening seconds of the turn the fusiliers on “The Island” get a fleeting glimpse of a British jeep churning ballast near the railway bridge. The beetling 4WD veers right and disappears, hidden by the embankment, before the half-squad’s G43 and MP 44 can be brought to bear.

A heavily-armed (2 x Bren, 2 x Sten, 1 x two-inch mortar) section of red devils is responsible for gently boosting Brinkmann’s BPM. In the latter half of the turn, our Luftwaffe loft dweller watches five paratroopers emerge from the monastery’s main gate, cross the road, and vanish into the strip of scrubby woodland opposite.

Nothing specific alarms Unteroffizier Thylin, but as the Panzer 35(t) slips from the shelter of the western woods and halts to better contemplate the pumphouse, monastery, orchard and bridge road, its commander/gunner/loader finds his lips drying and brow moistening.

Scrutinising the suspiciously quiet scenery ahead eventually pays dividends. Although the apple pickers last seen making for the pumphouse are nowhere to be seen, Thylin does identify a fidgeting para in a foxhole close to the canal bridge.

The knowledge that an MG 42 and three Karabiner 98ks are covering his run, and four loyal comrades are a few paces behind him, fails to make Meister’s dash to the Van Barneveld farmhouse any less tense. The Unteroffizier’s heart is beating cat-quick by the time his jackboot unlocks the front door and, with Schmeisser levelled, he enters a parlour as cosy as it is empty. Apart from a patriotic piscine circling a bowl on the dresser, the building turns out to be deserted.

Running while carrying a cumbersome Grantwerfer 36 mortar is guaranteed to tax the ticker. Throw in some flying lead and unhelpful heart rates like Gefreiter Tappe’s become eminently achievable. The three-man light mortar team in the SE is making for the L-shaped wood ahead of it when the bullets start whipping past. The ditch by Van Der Voort Farm? The railway embankment circa blue k51? It’s impossible to identify the precise origin of the (thankfully) inaccurate and short-lived flurry of automatic fire.
Some things worth bearing in mind when issuing the next round of orders:

A few of Meister’s men have LoS to the railway bridge and the building beside it, but their view westward is blocked by the high hedge.

In the closing seconds of the turn, the most southerly fusilier unit – half of 3 Squad – hears a vehicle moving on the far side of the nearby ditch. If the vehicle is where it appears to be and continues travelling eastward (the impression given by the contact icon) it should become visible very soon.

Tappe’s mortar team and the fusilier HQ are both approaching positions on the edge of the L-shaped wood from which they should be able to observe and fire upon any targets on the embankment.

The NE mortar team is in the process of deploying their weapon in a spot with LoS to several areas beyond the embankment, and some structures (white balconied house near the bridge and the main monastery building) on the western side of the canal.

Both sections of 1 Squad have poor LoS westward from their current positions, but the halftrack has the building next to the bridge and a sizeable stretch of the embankment in view.

The scouts are “tiring” after spending much of turn 2 advancing cautiously on hands and knees.


^ Some of the green Allied icons on this image indicate “last seen here” positions not present locations.

Turn 3 orders here, please. Commenters are cordially invited to suggest moves for the following nine units (A maximum of one unit per commenter. Embarked infantry and their taxis count as single units until separated. Split squads also count as single units.)
(anyone)
– NE group –
*SPW U304(f)-10 halftrack (65HE, 45AP) buttoned [blue x13]
*Fusilier squad 1 (9 men) split into two sections [blue y14 and blue z16]
*Light mortar team (45 HE) setting up [blue u9]
– SE group –
*Fusilier HQ (4 men) [green a42]
*Fusilier squad 2 (9 men, 2 sections) split into sections [green k33 and green e27]
*Fusilier squad 3 (9 men, 2 sections) split into two sections [blue x47 and blue s45]
*Light mortar team (45 HE) [green k48]
(subscribers only)
*Panzer 35t (33HE, 22AP, 2CAN), buttoned, [black o42]
*Scout team (3 men, MP 40s) tiring [black k49]
Please start all order comments with ‘ORDER’ and any later revision comments with ‘REVISED ORDER’. This will help me distinguish firm instructions from suggestions and advice.
NE group: Squad 1 section 1 @ blue y14 – QUICK to blue v14
NE group: Squad 1 section 2 @ blue z16 – QUICK to blue x16 [in preparation for bridge crossing]
Is that an order, with ‘ORDER’ included, or is that a suggestion for us to discuss?
(Thought I’d ask long before Tim needs to know) 🙂
ORDER: NE group: Squad 1 section 1 @ blue y14 – QUICK to blue v14
ORDER: NE group: Squad 1 section 2 @ blue z16 – QUICK to blue x16 [in preparation for bridge crossing]
Question(s):
What LOS does the NE mortar have?
Is that a new indeterminate vehicle contact in the NE on the railway?
If that’s a similar jeep to the one that went south and is now hidden, we might want the mortar team to hide… Probably wouldn’t be a bad idea for htem to do that anyway – should mean they will hold fire unless given explicit orders.
We might also want that NE half track/SPG to make an entry…
Since the colour of the icon is grey (and not black), I think it’s one of the notoriously unreliable / freakishly mobile “last seen [vaguely] here” units. That is, I think it’s the jeep from before, just that the game engine takes it on a wander round the map so that it maintains your attention.
Both the contact icons near the railway bridge were generated by the speeding jeep.
The NE mortar team’s LoS is a little complicated. It can see significant portions of the terrain between the railway embankment and the canal including the windmill (but not the garage), and, on the other side of the canal, the white house by bridge + red r39/40 and a section of the main monastery building. Oh for a Graviteam Tactics-style LoS display!
Thank you Tim and Col. K!
@Tim
I’d like to direct 3rd Fusilier squad’s attention towards the anticipated jeep in the south. What commands are there in the vein of “watch direction” or “target arc”? And any idea of the different outcomes of their use?
(Also I would have expected both squads to occupy the same column, namely [blue y] (approximately)).
A 45 degree target arc focused on the spot where the jeep is likely to appear should do the job fine. 3 Squad can be urged forward into column blue y if you wish. They may have stopped a little short because they were assigned a hunt rather than a move command in a previous turn (hunting units stop the second they glimpse a foe).
Here’s hoping Turn 3’s title word will be the Ali G tribute: Booyakasha!
ORDERS: Fusilier squad 3
Northern squad [blue x, 45] – Move cautiously 5-10 metres WSW. Check where on the Van der Voort farm’s northern fence they have ‘line of sight’. Target arc passing through that point and extending 60 degrees counter-clockwise. Range: to edge of battlefield.
Southern squad [blue x, 47] – Hide. Target arc as above: passing through the same point, 60 degrees, to edge of battlefield .
@Tim
Can you confirm you’re running a recent engine version where these sorts of ambushes should work.
I’m using Game Engine 4. An ambush like this…
//tallyhocorner.com/wp-content/uploads/2021/02/bridge02zz.jpg
should work. The only thing I’m not entirely sure about is whether a target arc will trigger an ambush while a ‘hide’ command is in effect. The manual is a little vague on the subject.
I think we’ll try the orders as given above, including the Hide command (unless someone with more experience offers alternative insight).
I’m expecting A Team (northern) to spot and open fire on the jeep. Should it return fire, B Team (southern, hiding) ought to notice and open fire themselves.
Is it worth separating the two squads a little more? One on the Southern edge of the wood (X48), the other on the Western edge (e.g. Y45)?
That gives you a few more options without exposing either squad greatly, and also gives them a little more security against a mortar barrage or something equally nasty.
I’m thinking of moving the HQ to around green A42 or blue X41 so that they can support 3 Squad and the mortars. I’d have kept them at A42 for longer to let things develop a little but the mortar crew will be visible anyway so I think getting the HQ (and their probably-have-a-mg42 machine gun) into a position that’ll let them discourage anybody from taking careful aim at the mortars.
Pz35, no new orders this turn. SE scouts, change movement to hunt. Still heading [Black papa 49].
Correction: SW scouts.
You forgot to state ‘ORDER’.
I’m hoping they can upset the enemy mortar crew. Are you intending to attack from the West, or swing south through the trees, head East using them as cover and come at the mortars from the South?
If they flee from the tank that might catch them in an ambush.
That tank has locked down the SW sector. I might move it a little further NE to give it some better angles. The enemy cant move or reinforce in any direction except through the foliage east of monastery. We can lock that line of communication down with mortar fire. Also any reinforcement from the North, where we have no eyes, will run into it.
Scouts going south is going to take to long. Theres a building in black zulu 51 thats obscuring the southern approach. Id rather push toward the east and see if we can scare them into the Pz35s line of fire.
ORDER: FS2 MG team at [green k, 33] to pack up and head toward the hedge gap at [blue x, 30] as quick as they can.
I’m thinking we should also order the FS2 breach team at [green e, 27] to exit the house and move toward the edge of the hedge at [blue y, 25], keeping their eyes peeled in the direction of the building by the railroad bridge. The vantage point in the house might be slightly higher than ground level, but I’m not sure if only having two people in the window is enough to cover FS1’s advance in the NE. Radioing Sky_Wolf for advice!
No new orders for the halftrack, I think. It can stay in the overwatch position it’s in.
I doubt it can go over the small footbridge, so pushing it forward just means a much longer detour when it has to redeploy to cross the railway bridge.
Turn 3 will be run tonight so if anyone want to alter their orders, or give instructions to units without orders, you’ve got roughly 12 hours in which to do it.
I believe the two mortar teams and the HQ currently have no fresh orders (but all three are in the process of executing old ones). Strictly speaking, one or other of the Panzer 35(t) and the scouts is still available too because of the “one unit per commenter” rule. Brasshat, which one would you rather direct this turn?
Ill run the orders for the scouts then. If someone else want to move the Pz35 be my guest.
I’ll order the Pz35 then to…do nothing. I agree with your positioning of it, there’s little to be gained (more to lose) by advancing without infantry cover.
Order: Pz35 target arc quadrant from (black N, 26) to (red D,46) and unbutton – if relevant.
Be advised that you might catch a sniper-bullet unbuttoning the crew.
Yes, true, but we’re in that catch 22 of better spotting/sniper vulnerability or poor spotting/greater ambush risk. Also, the tank is hidden(ish) and not yet apparently spotted, we also at this stage in the encounter need a fix on the opposition.
I prefer to think that virtual tank commanders (i.e. not me!) are brave and demonstrate true leadership/heartz von stahl (brass, oak or other ersatz materials if supply is short).
Then again, i have rather rushed a few AFVs into harms way in previous CCM (cue flashbacks to a snowy baltic seafront town and the loss of a couple of SPGs)…
Order: SW scouts, change movement to hunt. Still heading [Black papa 49]. Engage monastery mortar if possible.
ORDER: Leaving it over to the gods of time zone differences… If this makes it before the cutoff, let’s send the FS2 breach team from inside the house at [green e, 27] to the edge of the hedge at [blue y, 25]. But if the order doesn’t make it before the cutoff, perhaps the handful of guys who don’t have a window to guard can raid the kitchen for some zoute drop.
Darn, I was too late to implemented my suggested HQ order.
No worries, they can merrily gambol their way to the already scheduled location. Or get shot on the way. We’ll find out soon 🙂