
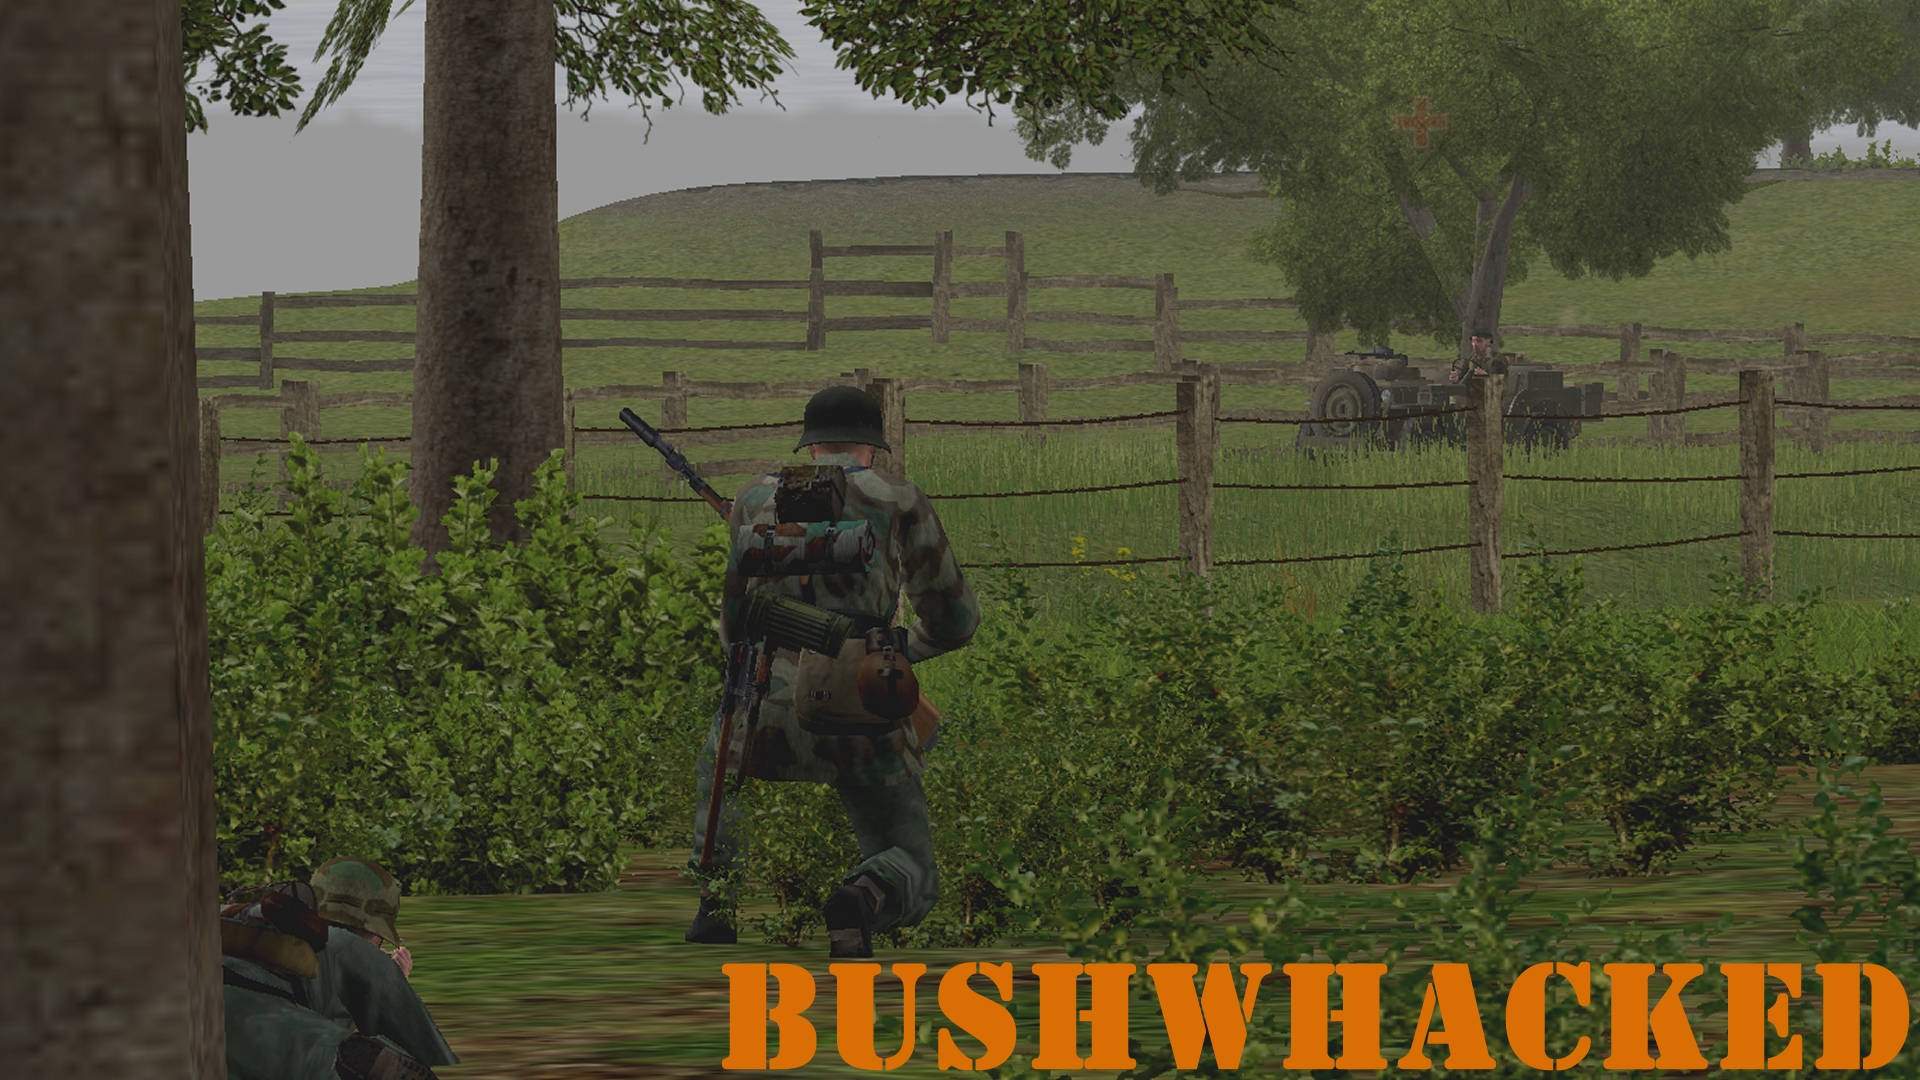
Colour Sergeant Potter got through Slapstick and Deadstick without a scratch. It’s during Operation Bandstand that his luck runs out. Sitting in the passenger seat of a jeep skirting Van Der Voort farm at the start of turn 3, he reacts quickly to the wayward rifle grenade that opens the German ambush, but not quite quickly enough. The vehicle’s twin Vickers K guns are pivoting towards the treeline from whence the Gewehr-Panzergranate came, when the fusilier pictured below pots Potter.
(Brinkmann’s Bridge is an open-to-all game of Combat Mission: Battle for Normandy in which the commenter-controlled Axis forces are out to recapture a Dutch canal spanner recently snatched by Red Devils. Each daily turn covers one minute of WeGo action. For a scenario outline, click here).

Soon almost everyone in 3 Squad is firing on the startled 4WD. Potter’s driver has time to put his steed into reverse gear, but is dead before he can lift his boot from the clutch pedal.

The bodycount reaches 3 a few seconds later when the ambushers spot and fell a Sten gunner advancing along the ditch close to the KOed jeep.

Turn 3’s other significant firefight is less one-sided. Halfway through the sixty, 3 Squad’s HQ and light mortar team begin swapping lead and HE with enemies heading in the direction of the burning PSW 222.

Despite being caught in the open and harassed from The Island…

…as well as the L-shaped wood, the three Brits give a good account of themselves.

By the time they disappear behind the railway embankment at the end of the turn, although they’ve failed to draw blood, the men with the Pegasus patches on their sleeves have pinned the southern light mortar team and slightly flustered our HQ.

There’s action on the western side of the canal too this turn. Sharpshooting Thylin needs only one HE round to slay the foxhole tenant he spotted last turn.

After firing he unbuttons, keen to inspect his surroundings with fieldglasses. That keenness doesn’t last long.

Moments after taking his first gulp of fresh air, our tank commander is spooked into closing his hatch by rifle shots from the NE and a mysterious untraceable detonation.

2 Squad spend the turn exchanging green letters for blue ones.

The scouts near the Panzer end the sixty just 80 metres from the monastery wall. During their cagey advance they eyeballed the British mortar team and (presumably) the half-squad previously noted by Brinkmann.


Turn 4 orders here, please. Commenters are cordially invited to suggest moves for the following nine units (A maximum of one unit per commenter. Embarked infantry and their taxis count as single units until separated. Split squads also count as single units.)
(anyone)
– NE group –
*SPW U304(f)-10 halftrack (65HE, 45AP) buttoned [blue x13]
*Fusilier squad 1 (9 men) split into two sections [blue v14 and blue x16]
*Light mortar team (45 HE) weapon deployed [blue u9]
– SE group –
*Fusilier HQ (4 men) [green a42]
*Fusilier squad 2 (9 men) split into two sections [blue y25 and blue y30]
*Fusilier squad 3 (9 men) split into two sections [circa blue z47]
*Light mortar team (45 HE) weapon deployed [circa green a42]
(subscribers only)
*Panzer 35t (32HE, 22AP, 2CAN), buttoned, [black o42]
*Scout team (3 men, MP 40s) tiring [black p49]
Please start all order comments with ‘ORDER’ and any later revision comments with ‘REVISED ORDER’. This will help me distinguish firm instructions from suggestions and advice.
ORDER: NE Group – Squad 1, team of 4 men – PAUSE 15 seconds, FAST across bridge to blue o17
*Squad 1, team of 5 men (HQ) will cross bridge during a subsequent turn
Would you be open to sending the squad into the house at Blue M 20 instead, just a dozen metres to the south?
It’ll 1) offer better cover and 2) also allow the squad to fire into the SE quadrant.
Patience is a virtue in Combat Mission. Their cover behind the house is better than their cover in the house according to our current knowledge of enemy positions. Plus it is more likely that the enemy will spot them if they run into the house willy nilly instead of taking their time.
On the next turn the 4-man team shall cautiously move towards the house, assuming their FAST movement to Blue O 17 did not uncover any new enemies. Ideally the 5-man team (HQ) of Squad 1 will cautiously (SLOW) enter the house at Blue M 20 within the next few turns so as to cover the continued advance of the 4-man team towards the bridge.
The way I see it, we need to get Squad 1 off the island ASAP so as to cross the bridge at ROW 39 before the enemy tanks arrive, or to at least be within Panzerfaust distance of the road running along ROW 39 of the map. Firing upon the enemy during their advance is a secondary objective (we appear to have already achieved fire superiority from this side of the map).
That’s my opinion but I understand opinions may vary.
That’s not a problem with me! That plan makes a lot of sense.
There’s an outside possibility that enemy armour might move down Row 8, but I agree we should set up a kill zone along Row 39 closer to Turn 20.
It’s nice to hear the thinking behind your orders.
You’ve made me wonder whether the armour arrives at turn 20, or if it’s the “you lose” scenario caused by failing to take the bridge by turn 25.
I shall scour the previous updates for enlightenment.
Here we go then! First blood…
Looks like a lot of activity in the Monastery – we are seriously outgunned on that side of the map. The arrival of our motorised column from the left/west (in 2 turns?) will hopefully change that.
On the Pz35, that explosion looked a lot like mortar fire (from the monastery?). I’d prefer that to PIAT fire tbh but it suggests the tank had been spotted before this turn (setup time normally ~60 secs): we may want to reconsider its position? Or is the danger of sneaky attack/ambush through/from the monastery woods low enough or mitigated by the approaching scout squad? I’d be tempted to use the Pz35 as a pillbox for now…
I did like the explosion image. Rather than a pillbox keeping a little movement might be sensible, just to stop people getting better at their aim.
That monastery does indeed feel rather dangerous, so until armoured support arrives I’d be tempted to move the Pz35 a little further north. That way it’s got better line of sight towards potential threats and also a clear field of fire at anybody trying to cross the bridge to support the forces in the East.
On that East side, we now have access to a Kubelwagon and a Vickers mounting jeep. I’m not saying 3 squad should go fast-mobile but the idea does appeal somewhat. Commandeering the jeep then going gung-ho over the railway embankment would be reckless due to fire from the monastery so I’m pondering whether other tactical options would justify the time it would take to get to it, get into it and drive it to where it might be useful.
Glad the Fusilier HQ was able to provide cover for the mortar squad – my fears on their vulnerability feel justified, without the return fire from the HQ they may well have been more than merely pinned down. I suspect the chaps in 2 Squad will be able to quell further assaults from the rail line before the next turn is completed.
The half track didn’t join in that skirmish so I’m wondering if it might be better swinging north and along that road a bit. From the rail line at Blue K8 it would command most of the Canal area North of the bridge, while being at a distance that makes PIATs very reliant on raw luck for a hit. Of course, that assumes no nasties North of that road.
Still, an enemy vehicle and four enemies down for no losses of our own. Has a play-by-comment ever had such a good start? This worries me, how can we salvage a flawed victory in the face of incompetence if we’re already winning.
Now you put it like that, this does seem an unnervingly strong start. There’s plenty of time yet to throw our hand away though 🙂
I like the sound of it but I’m not sure we can use the vacated vehicles. You can’t in earlier versions of CM anyway, this sadly isn’t like the Men of War games…
I was hoping the half-track would get some shots from where it was, but either the LoS isn’t good or the gunner just didn’t make any spots. Not averse to moving it up to the railway embankment! There’s been no fire from the house at Blue M 20, meaning it’s most likely empty, and it does look like a commanding position…
That house at [blue m, 20] looks tantalizing indeed. There’s at least one window on the southern side, if I’m not mistaken, which would make it a good spot to cover the advance of our guys in the SE quadrant. I’m surprised none of the enemy was posted up there! They seem to be weighted heavily in the SW.
I agree! I assumed it was occupied too, which is why I moved the half-track so cautiously.
I think Sky_Wolf is commanding the NE fusilier squad this turn.
See my comments above.
Im smelling a 2 pounder. I actually would like to pull that Pz35 south in to the trees temporarily. Move the scouts north to be the eyes for the Pz35, buttoned its blind as a bat. Monastery looks like a hornets nest. And the scouts wont be able to shift that mortar anyways.
No idea if the dates really match up but 6 and 17 pounder AT guns might be more likely and lurking – if not responsible for that shell burst near the Pz35: https://arnhemjim.blogspot.com/2017/07/detailed-list-of-arms-and-equipment-of.html
Agree with your cautious husbandry of our lone tank. Care to do the honours?
The scouts can fulfil their current order and catch their breath.
Ill put in the orders for the Pz35.
ORDER: *SPW U304(f)-10 halftrack (65HE, 45AP) buttoned [blue x13] to Unbutton and Quick to Blue K8 taking the road where possible, then taking a hull-down position behind the embankment and facing SSW to spot for enemy infantry.
Just to check Tim: I don’t see any eastward-facing windows on the Windmill at Red Z8 that might be overlooking Blue K8. Is that correct?
The eastern side of the windmill looks to be windowless:
//tallyhocorner.com/wp-content/uploads/2021/02/bridge03p.jpg
Thanks Tim!
First scalps and a positive k/d ratio? Time for Colonel K to rest on his laurels!
Or possibly more rhetorically:
First scalps and a positive k/d ratio! Time for Colonel K to rest on his laurels?
ORDER: Fusilier Squad 2 southern team [blue y, 30] to move into the hedge gap at [blue x, 30] and set up to fire in the direction of the enemies near the PSW 222. Northern team [blue y, 25] to stay put for now, covering the advance of the FS1 team that will be crossing the pedestrian bridge in the NE quadrant. If the game allows it, perhaps pause 15-30 seconds to make sure the FS1 team doesn’t get popped the moment they stand up, then creep forward to [blue x, 25].
Order: Pz35, buttoned, Reverse to [Black Juliet 44].
I’d like to execute this turn tonight. If anyone has orders for any of the units in the L-shaped wood, the scout team, or the mortar team in the NE, you’ve twelve hours in which to issue them.
As all of the units in the L shaped wood saw action last turn and are in good positions to provide cover for movements elsewhere (and for the SE mortar team) I wasn’t going to order any of them to do anything.
Both mortar teams have only just set up. We may need to shift them again in a turn or two but Commenter Commanders put them there deliberately so it feels rude to prevent them plopping off a couple of sharp trajectory Tommy teasers.
Naturally more competent commanders are welcome to make better use of those units, I am merely articulating why I choose not to.
However, since I haven’t given any orders yet this turn.
ORDER: Kubelwagon to seductively flutter its blackout headlamp covers to the West in a beguiling and distracting manner.
From the overhead view, 3rd Fusilier squad are bunching up somewhat and I’d like to put some separation between the sections.
ORDER: Fusilier squad 3, split into two sections [circa blue z, 47]
Both sections to cancel target arcs. SW section to move cautiously 3m SW. NE section to move cautiously 10m NW.