
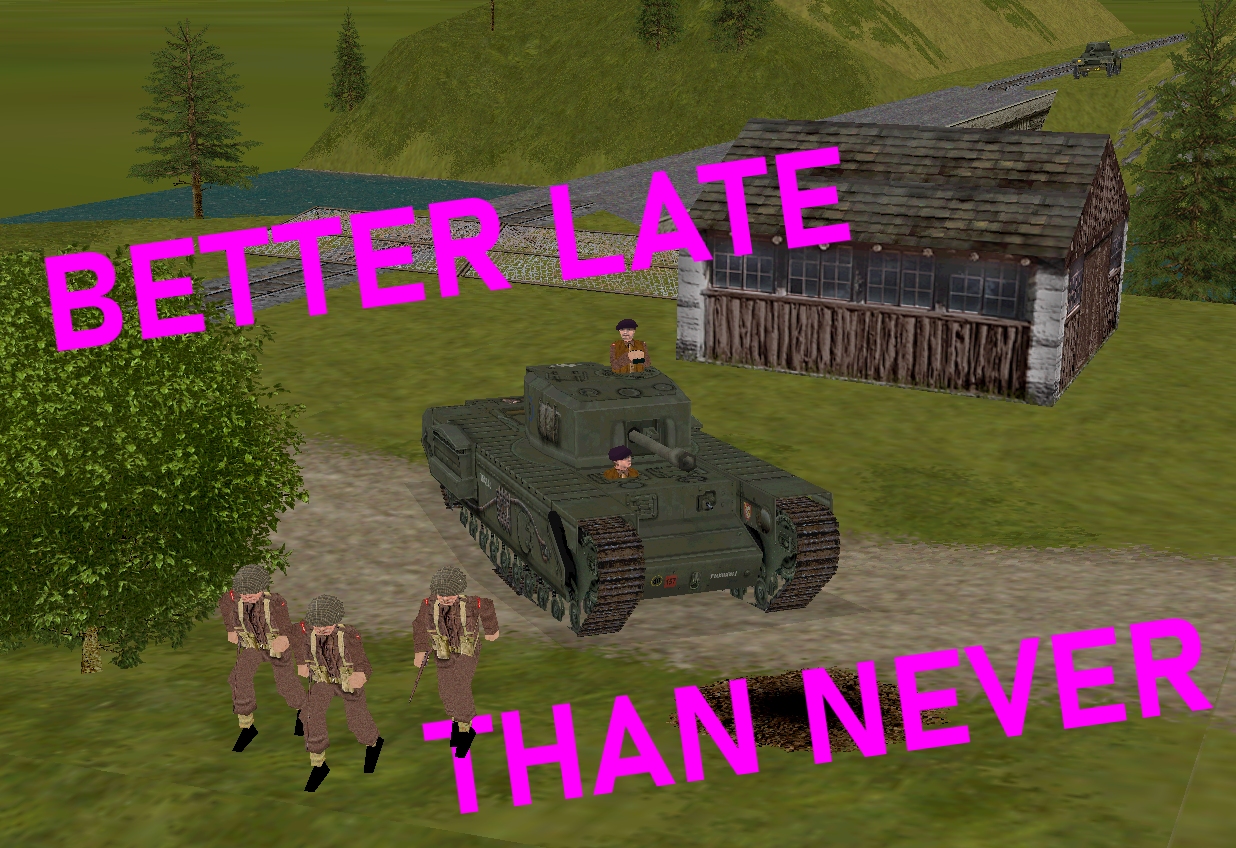
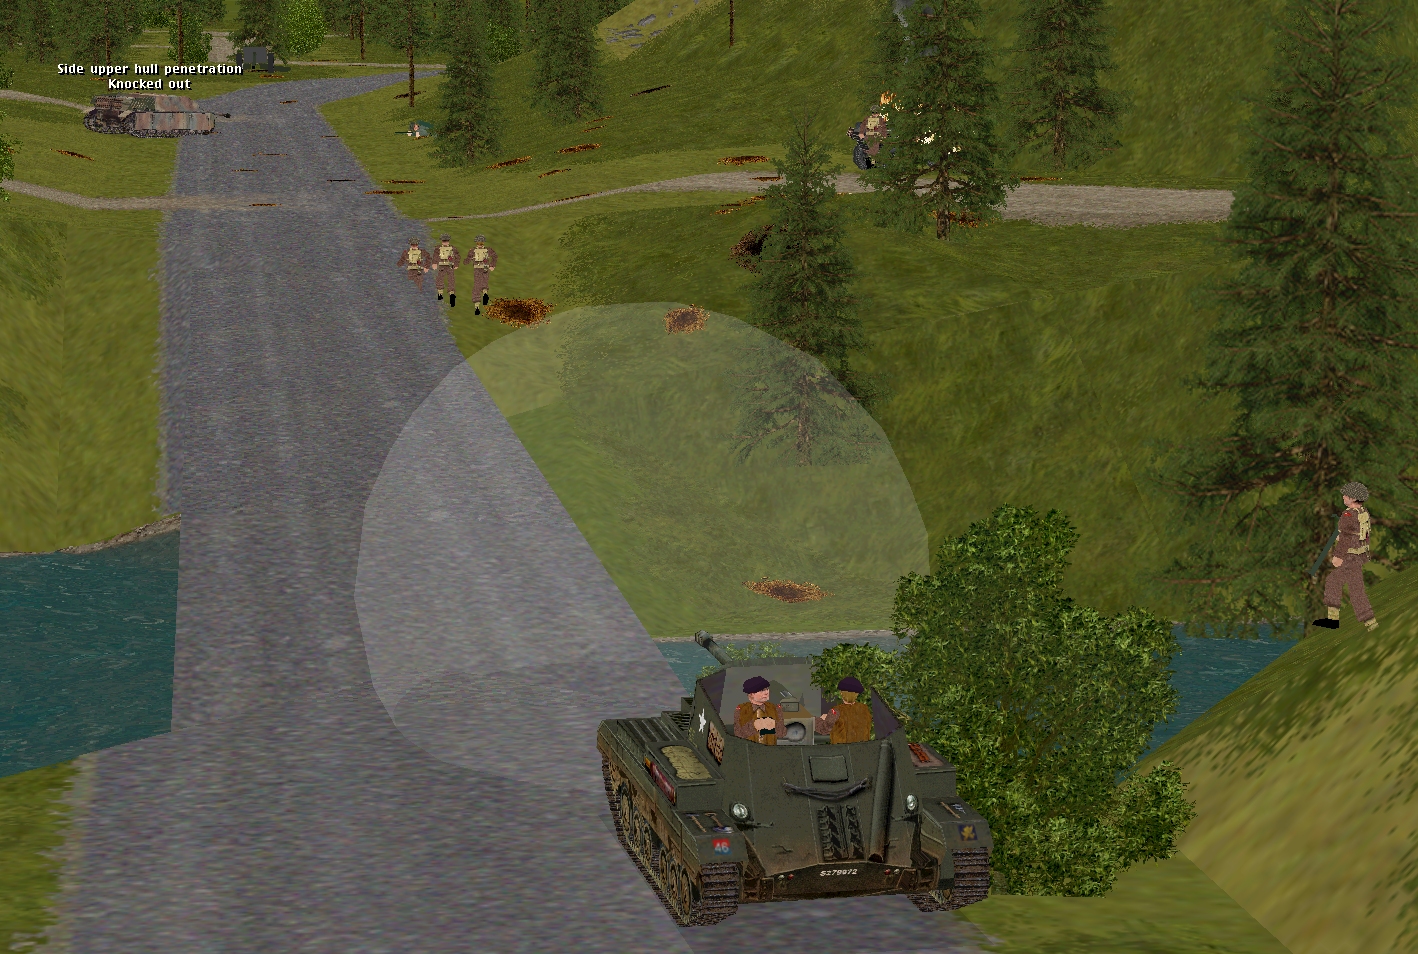
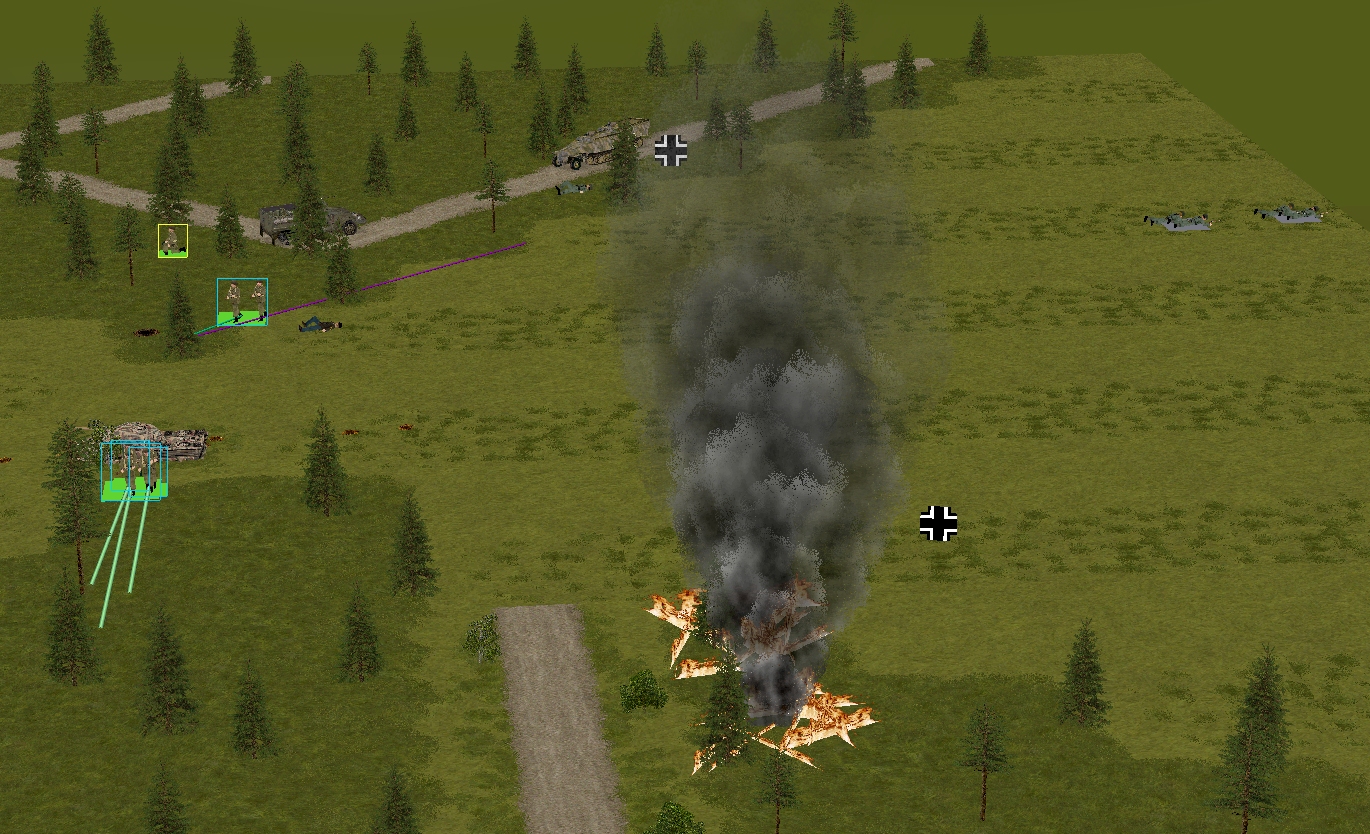
I couldn’t decide which ‘B word’ screenshot to lead with today so have provided three. The first is a nod to the Comment Commanders’ tardy taxi. The ponderous Churchill VIII finally delivered its passengers – Sergeant Forester’s squad – this turn!
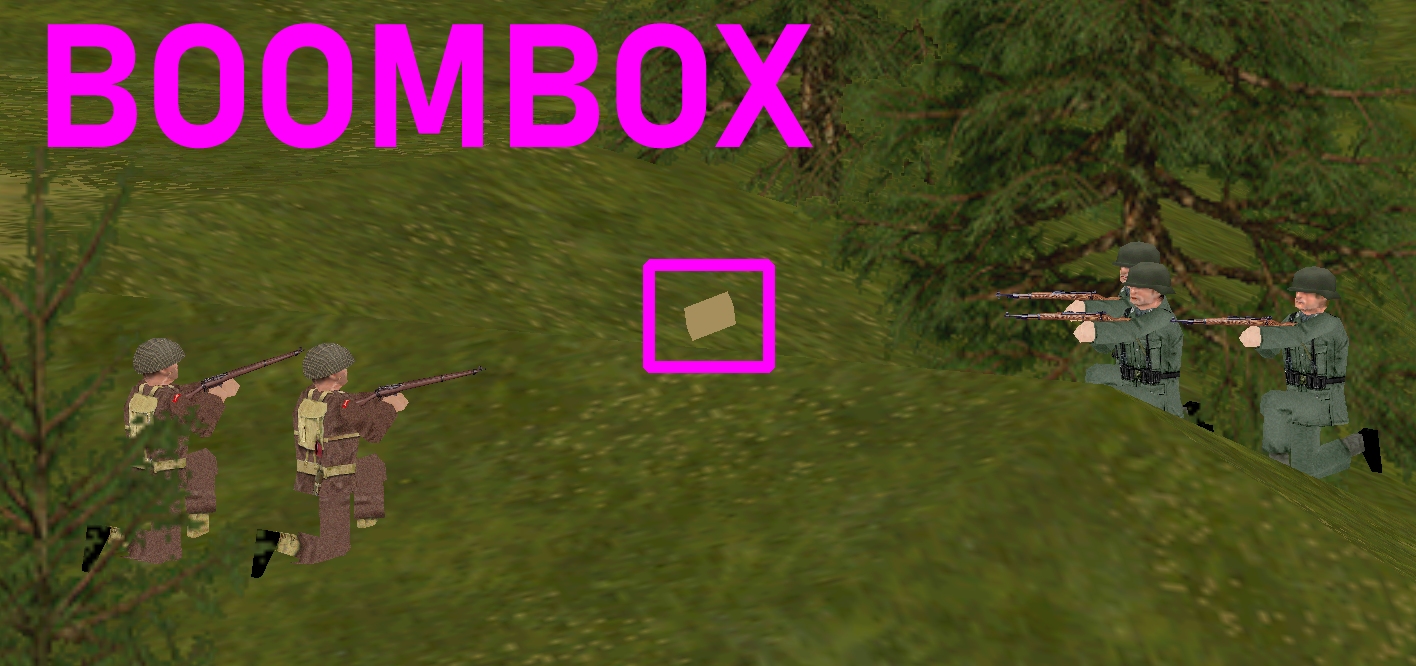
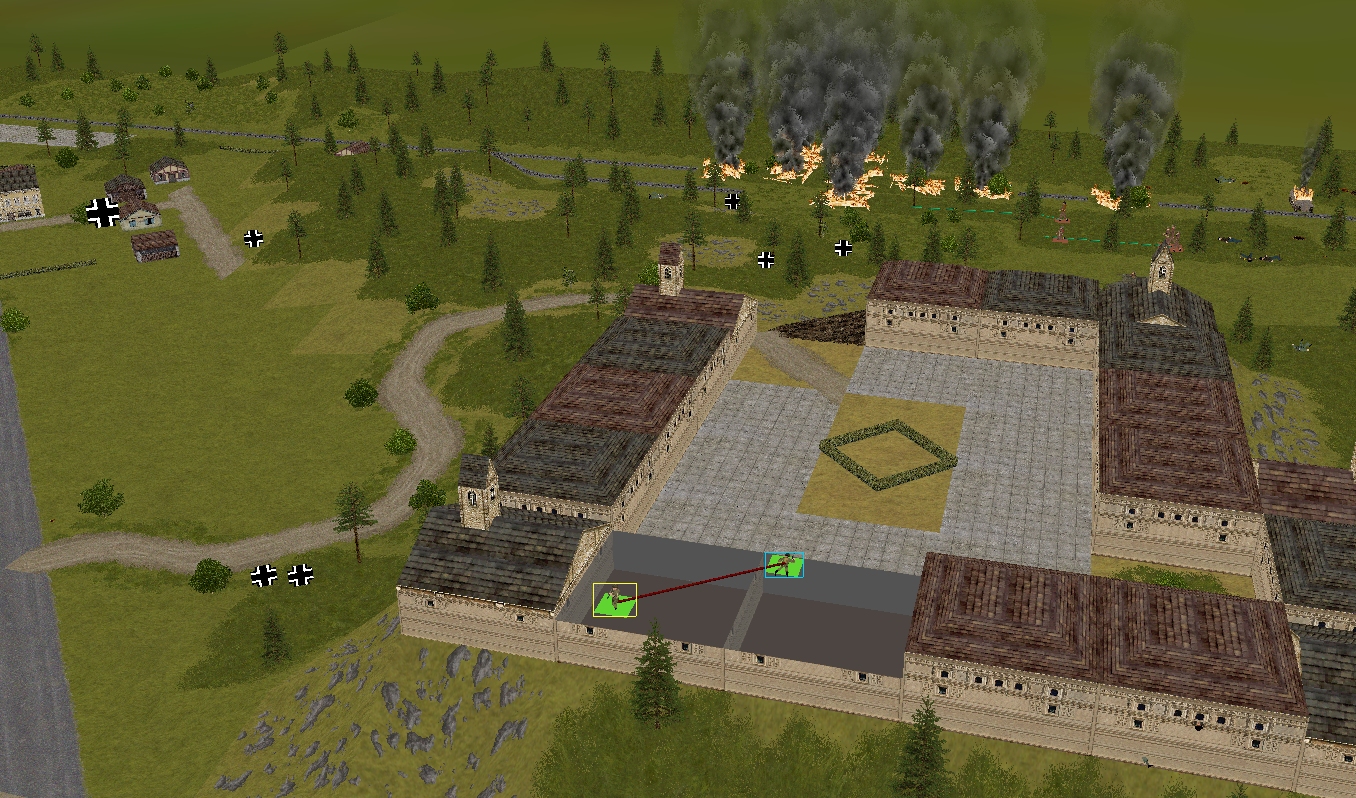
The second shows Sergeant Venison’s ravaged unit heaving a demolition charge at some Sicherung troops south of the Schloss. The resulting blast finished several foes and persuaded the rest to scamper in the direction of the village.
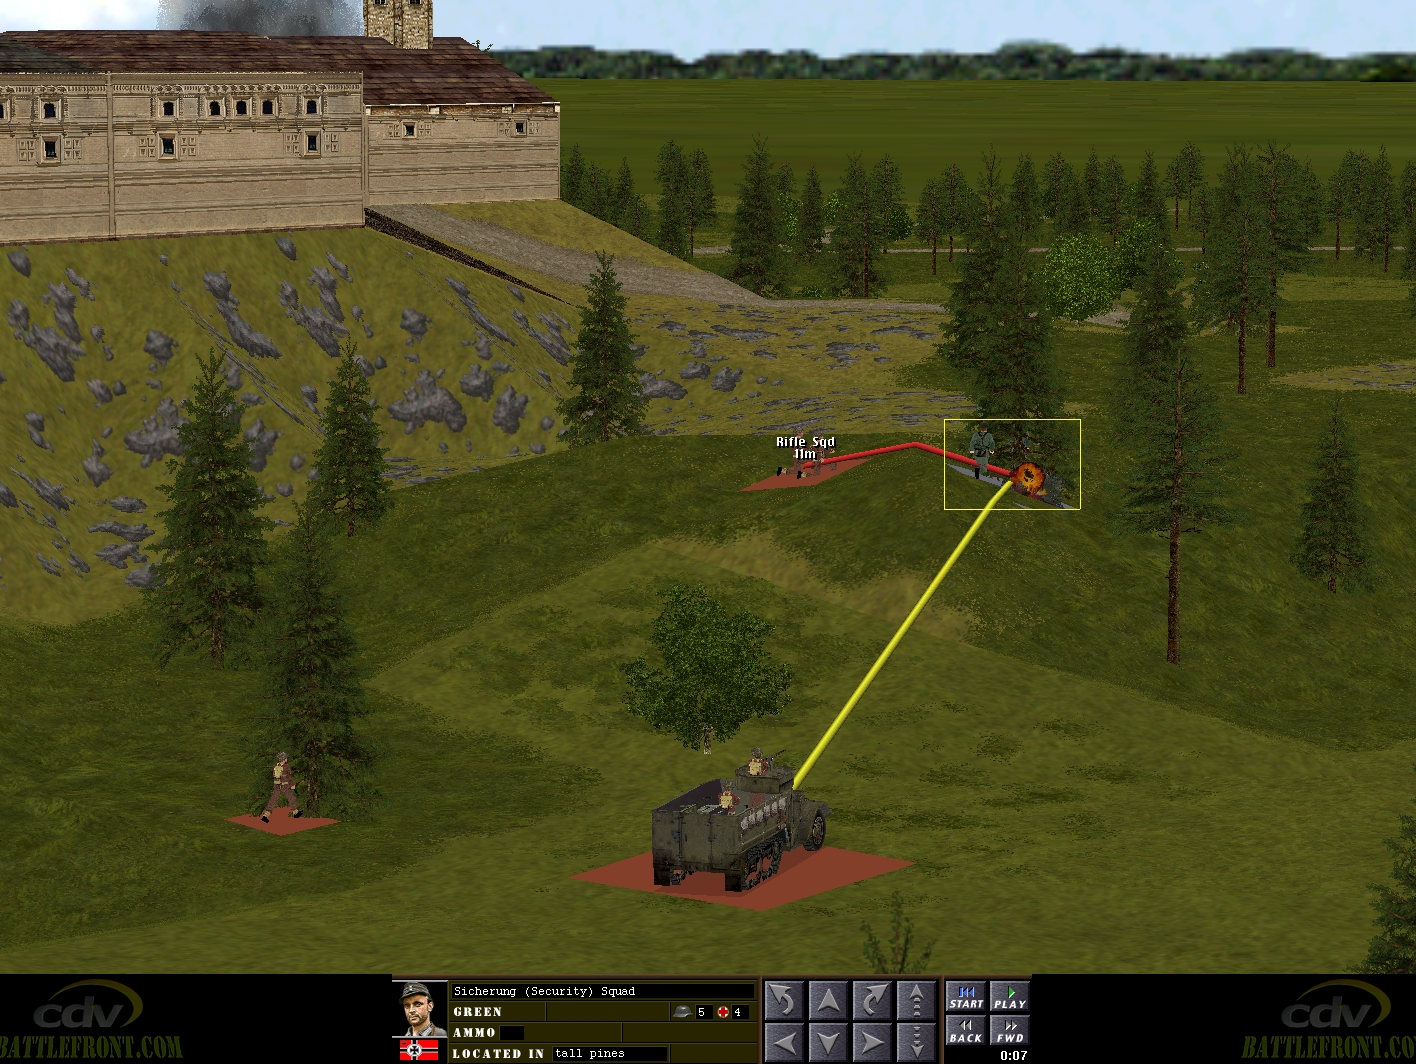
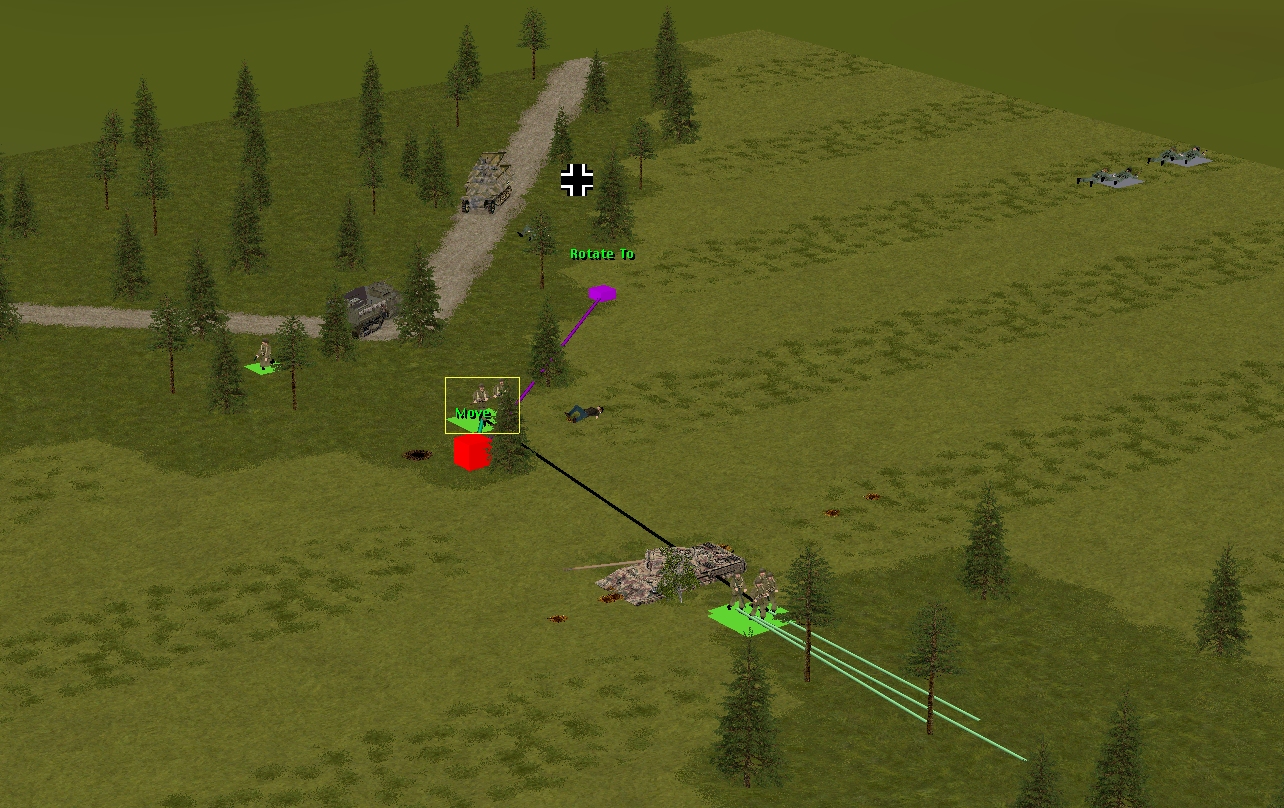
The focus of screenshot #3 is the Jagdpanzer IV. Possibly spooked by the aggressive advance of Sergeant Pyle’s Sherman, the German TD decides to reverse fairly early in the turn.
The manoeuvre might have worked out fine if the reverser’s final waypoints had been somewhere east of the Schloss. However, because the Jagdpanzer attempts an ambitious three-point turn under the eyes of Bowman’s advancing Archer, it ends up bowing out of Bounce the Bogen without firing a shot.

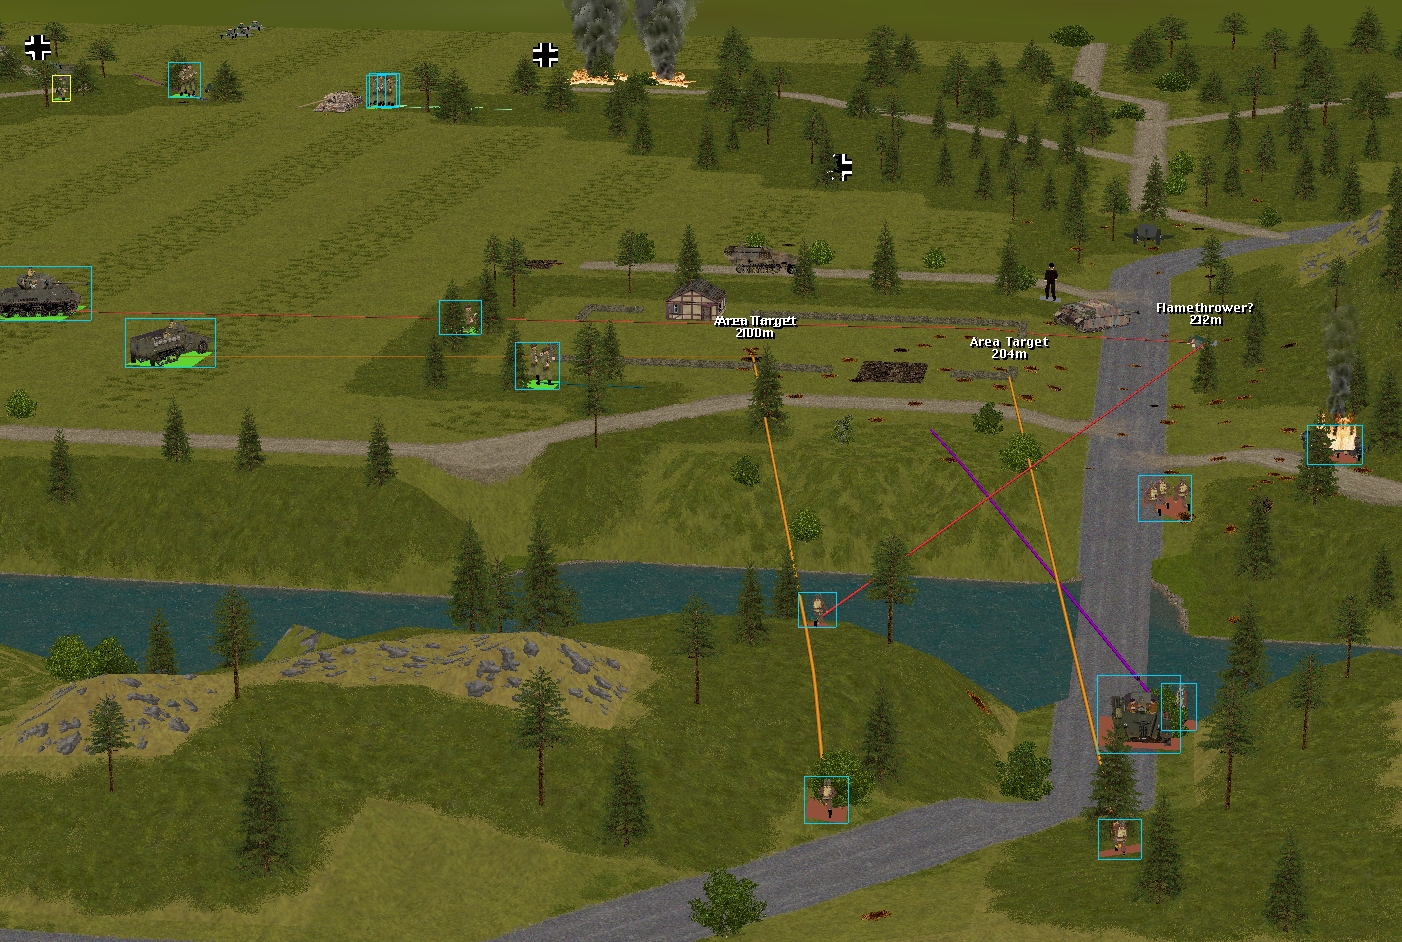
Other Turn 22 incidents of note? Sergeant Sherwood’s lads rush a Panzerschreck team close to the rail bridge. The resulting scrap is quick, brutal, and, for the Brits, completely painless.
Many of Costner’s Yanks swap one stand of conifers for another. During the dash past the KOed Panther, none of the sprinting GIs take fire, the enemies in the field to the NE being too focused on retreat, first aid, and bleeding out to engage.
Once again, a panting Corporal Whitehand arrives at a second-storey window too late to make use of his AT drainpipe.
Hawthorn comes close to running out of ammo. The three-inch mortar will start Turn 23 with 1h and 2s remaining, Tuck with 32 25-pounder rounds available.
Incredibly, despite taking fire from numerous directions, the German flamethrower team is still alive and kicking cowering at the end of the sixty.
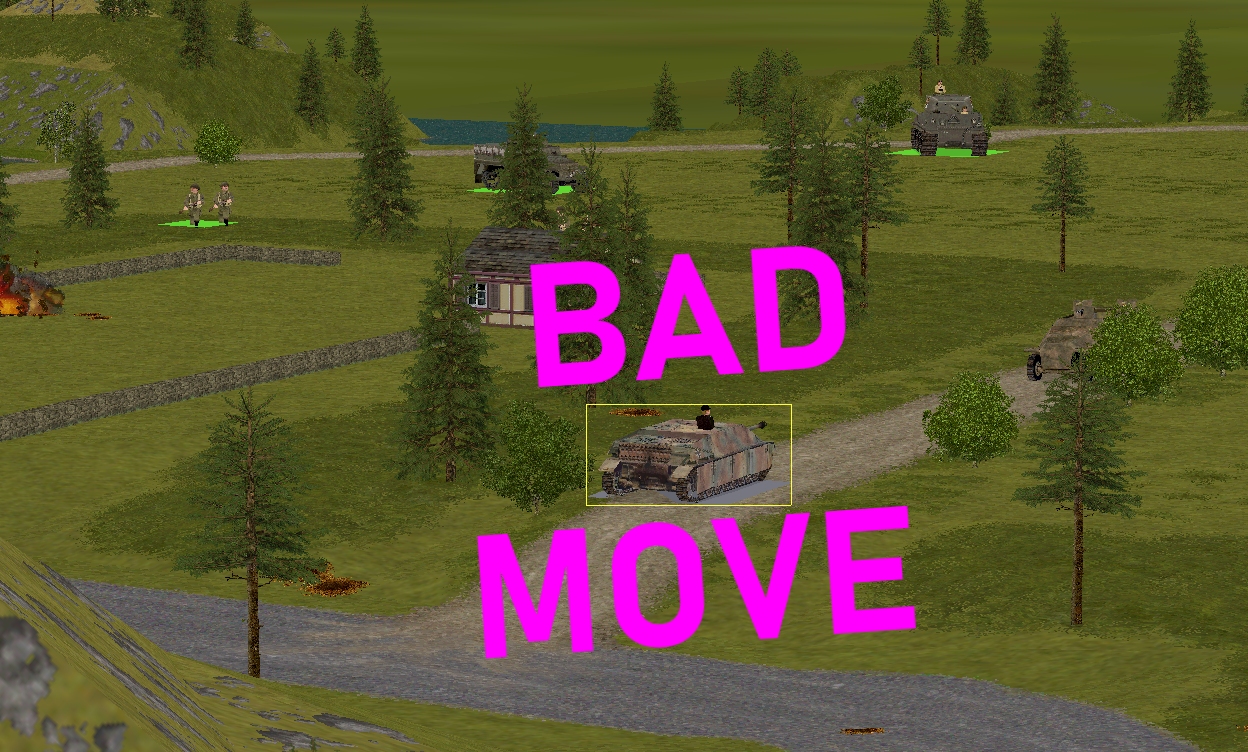
The Panzer IV was conspicuous by its absence this turn.
All of the following shots were taken after the clock had stopped.


Turn 23 orders here, please. Commenters are cordially invited to suggest moves for the following eight unit groups. First come, first served. A maximum of one unit group per commenter (Ignore this limit if order execution – usually Monday morning at 0700 GMT – is less than 24 hours away).
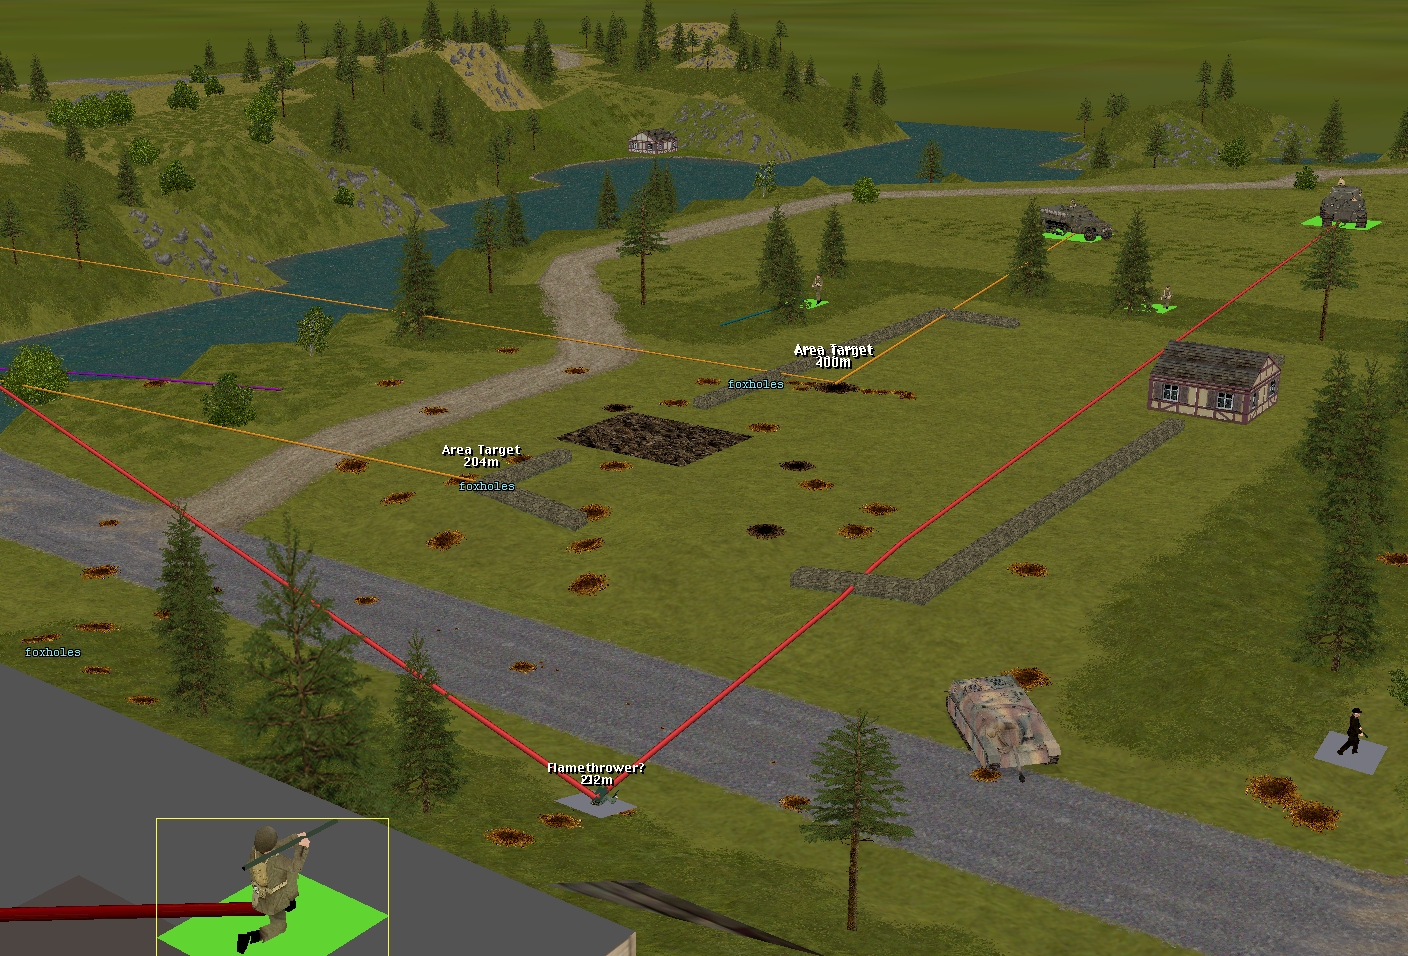
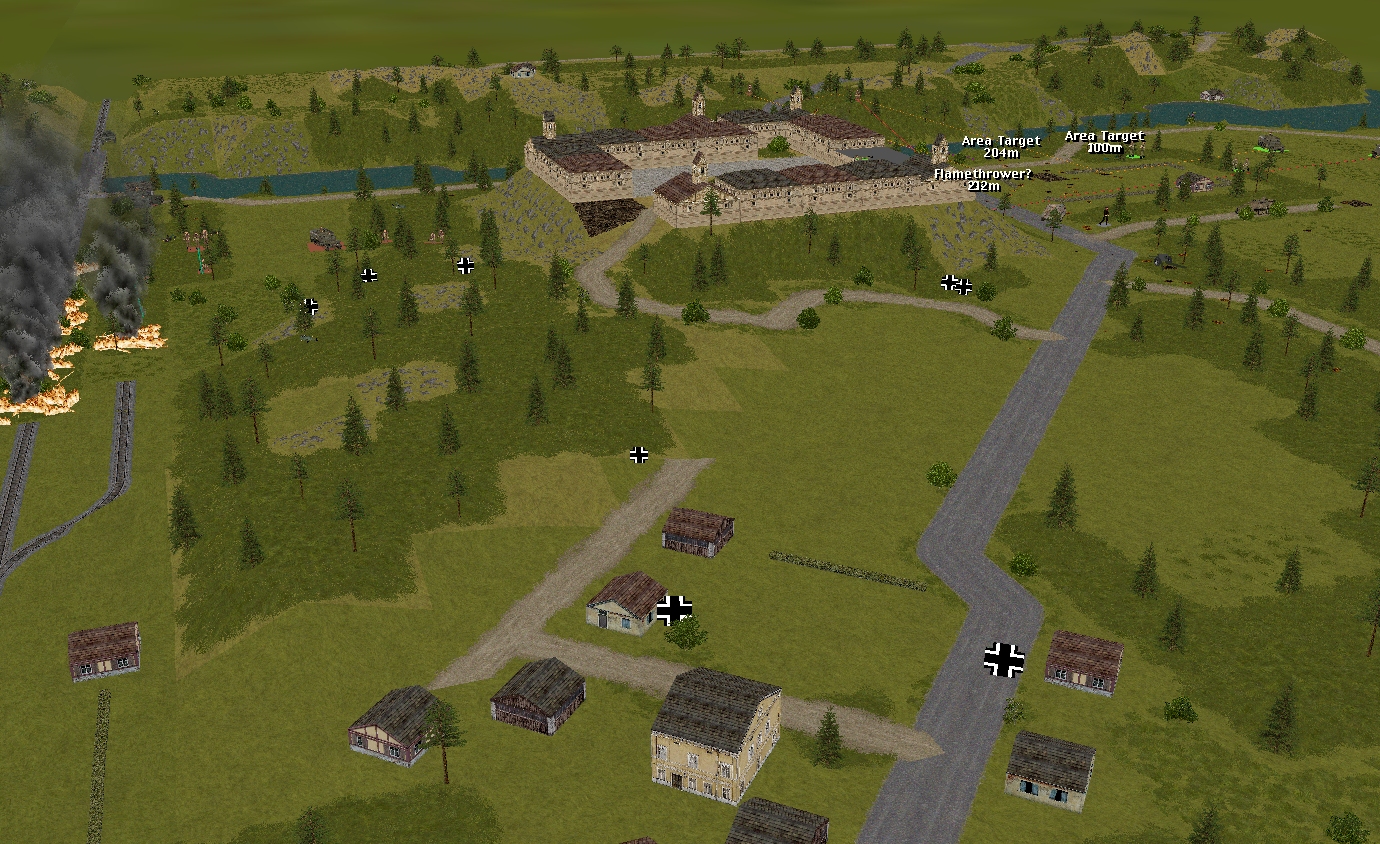
(See screenshots for unit locations)
– Merry’s men (Lieutenant Merry + Sergeant Venison’s rifle squad + Corporal Fletcher’s M5A1 halftrack)
– Marian’s men (Lieutenant Marian + 3 x rifle squads + PIAT team + 3 inch mortar team)
– Captain Hood (Six-man company HQ + arty spotter Lieutenant Tuck)
– Sergeant Bowman’s Archer TD
– Sergeant Johns’ Churchill VIII
– Sergeant Pyle’s Sherman
– Lieutenant Costner’s platoon (2 split inf squads + bazooka team + 1 HT)
– Captain Dale’s party (Six POWs armed with pilfered rifles and pistols) + Corporal Whitehand’s team (Two POWs armed with a pilfered Panzerschreck)
Please start all order comments with ‘ORDER’ and any later revision comments with ‘REVISED ORDER’. This will help me distinguish firm instructions from suggestions and advice.
ORDER: Sgt. Venison’s squad
SNEAK a short way southeast to have a better view on to the path at the castle entrance.
Face east.
ORDER: Lt. Merry
MOVE FAST eastwards through the scattered trees.
MOVE CAUTIOUSLY to end up behind and to Venison’s left. (ie. where Venison is now)
ORDER: Sergeant Forester (infantry squad)
SPLIT into two sections
– First Section: MOVE FAST to enter woods at [12, 5, 3]
– – – – – MOVE CAUTIOUSLY deeper into woods [13, 1, 3-4]
– Second Section: continue MOVE to [12, 4, 1]
– – – – – MOVE FAST to enter woods at [13, 1, 3]
– – – – – MOVE CAUTIOUSLY deeper into woods [13, 2, 3]
ORDER: Sgt. Scarlet
Continue current MOVE to [5, 0, 5]
MOVE CAUTIOUSLY northeast into scattered trees.
MOVE CAUTIOUSLY eastwards through scattered trees into woods at [13, 4, 1]
HIDE.
ORDER: Sergeant Johns’ Churchill
MOVE FAST into scattered trees at [13, 0, 2]
FACE northeast.
ORDER: Cpl. Fletcher’s halftrack
Wait 30 seconds.
MOVE FAST to [27, 5, 2-3]
(I guess instead of Woods I ought to be saying Tall Pines)
REVISED ORDER: Sergeant Johns’ Churchill
MOVE FAST before entering scattered trees at [12, 5, 2]
MOVE NORMALLY remainder of way to [13, 0, 2]
FACE northeast.
REVISED REVISED ORDER: Sergeant Johns’ Churchill
Only turn the turret to point northeast (I presume it has a co-axial machinegun in it.
ORDERS: Lt Costner’s Platoon:-
Costner and Lincoln – Complete move. Then MOVE to 38, 1, 2.
Sgt Alvarez – RUN to 46, 5, 3. Then MOVE 37, 5, 2.
Carlson – Complete move. Then MOVE to 38, 1, 1.
Shanley – ASSAULT Foxhole 36, 3, 3.
Olander – TARGET Foxhole 36, 3, 3.
Spencer HT – Continue to TARGET Foxhole 36, 3, 3.
ORDER: Sgt Pyle’s Sherman.
TARGET suspicious looking “hole” @ 36, 4, 2. Is there a Fox in it?
ORDERS: Dale’s Party:-
Dale – Set AMBUSH at castle entrance 21, 1, 3.
Whitehand – MOVE to ground floor South window. HIDE.
ORDER: Bowman’s Archer – ROTATE main gun to 36, 4, 2.
ORDER: Tuck’s 25Pdr – ADJUST Fire to Foxhole circa 37, 3, 1.
ORDERS: Marian’s Platoon:-
Marian – RUN to NE Cnr of 27, 5, 4. Face NE.
Greenwood – SPLIT Squad. Team ‘A’ MOVE to 36, 1, 1. FACE E.
Team ‘B’ FACE NE.
Hawthorn’s Mortar – SMOKE 28, 3, 5.
Sherwood – ‘B’ Team RUN to 28, 3, 4. FACE NE.
‘A’ Team PAUSE 15sec, RUN 28, 3, 4, MOVE 28, 4, 4.
PIAT team – RUN to SE Cnr of 27, 5, 4.
“Sergeant Venison’s ravaged unit”
Does that mean they’ve taken more casualties, or is it the same six men it’s been for the past quarter of an hour?
Venison’s squad hasn’t taken any losses recently. It still consists of 5 x rifle + 1 x Bren. However, they are low on ammo now (“This signals that the unit will fire only in self-defense, and even then only infrequently and at reduced strength.”)
Also, Tim, I just need confirmation that there’s no way through to Nottingheim village south of the castle with vehicles.
Vehicles can use the area of scattered trees in box 13 and 12 to reach the village. The darker green woodland on the map is ‘tall pines’ which is only accessible to infantry.
Colonel – Map ref 5, 3, 5 appears to give a Thermopylaen access to the village. Hopefully no one has told the Spartans or the Pzr IV.
Maybe more pressing is the imminent arrival of Security at the castle entrance with an eviction notice, as Venison’s squad may soon be reduced to throwing pine cones and squirrel droppings perhaps Messrs Churchill, Hood and Forester could lend a hand?
Sgt. Venison: “And a bayonet, sir, with some guts behind it.”
(While some future scriptwriter for Zulu was eavesdropping. Probably.)
((And what fortifies those guts? Boots Fluid Beef.))
@Tim
Could the Churchill get line of sight on to the steep path to the castle entrance from [12, 2-3, 3] or so?
How about Corporal Fletcher’s halftrack from [12, 4, 4]?
I’m still hopeful of sending the halftrack to the roadbridge to pilfer some more infantry units. Probably the PIAT and a half-squad, or whatever fits.
Re pilfering of units – I’ve no problem with the PIAT and will move it over the bridge (27, 5, 4). I’d rather wait until the foxholes are cleared in square 36 before relinquishing a half squad. This should take 2ish turns – starting next turn.
I’m guessing Tim may not be checking here as often now given his recent game changing announcement… so if you don’t mind taking my less than expert advice, it appears (from my downloaded version of the scenario map) that the Churchill gets a partial view of a small section of the top of the path by moving to location 12, 1, 2. The HT won’t be able to see any of it.
Going forward I’m happy to answer any future LoS queries or tactical thoughts you may have.
Happy New Year.