
During this sixty-second snatch of WeGo WW2 action, several enemy infantry units suddenly remember urgent extramartial commitments and hurry towards the map’s eastern fringe.
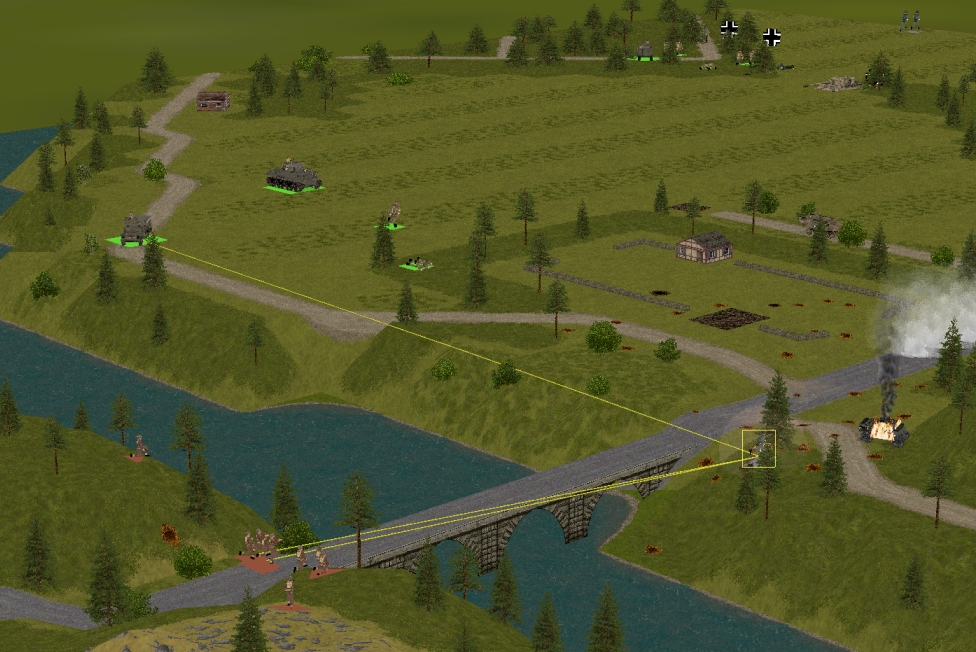
For a unit that has been lurking inconspicuously in a foxhole close to the road bridge since the battle began, the memory jogger is a cacophonous combination of mortar, MG, and rifle fire. Battered by Hawthorn’s pear-shaped shrapnel sprayers then spotted and scourged by Spencer’s halftrack, this particular group of retreaters end the turn the whipping boys of four different Allied units.
There’s Teutonic backpedaling in the vicinity of the rail bridge too. The advancing three-man Volkssturm team might have troubled Scarlet or Merry if they’d encountered them. However, it’s Fletcher’s halftrack they end up running into. Harried by the vehicle’s pintle-mounted HMG, they wisely decide to head back in the direction of Nottingheim.
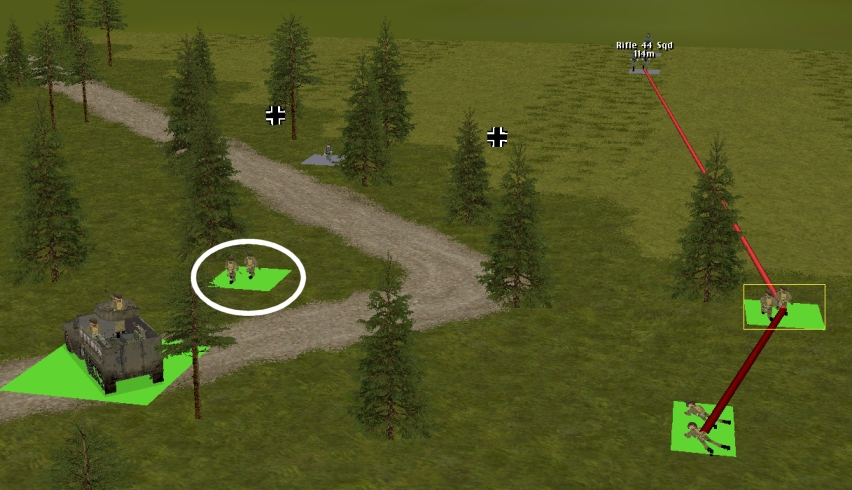
In the NE corner of the map, the only visible foe not in skedaddle mode manages to whittle Carlson’s half-squad (ringed in above image) down to five men this turn without loss. If Costner, Alvarez, Lincoln or the HT want to help tip the scales in this close-range, cross-ride exchange, they’ll need to relocate. Right now dense evergreenery means only Carlson can see the doughty Deutschlanders at 63, 5, 1.
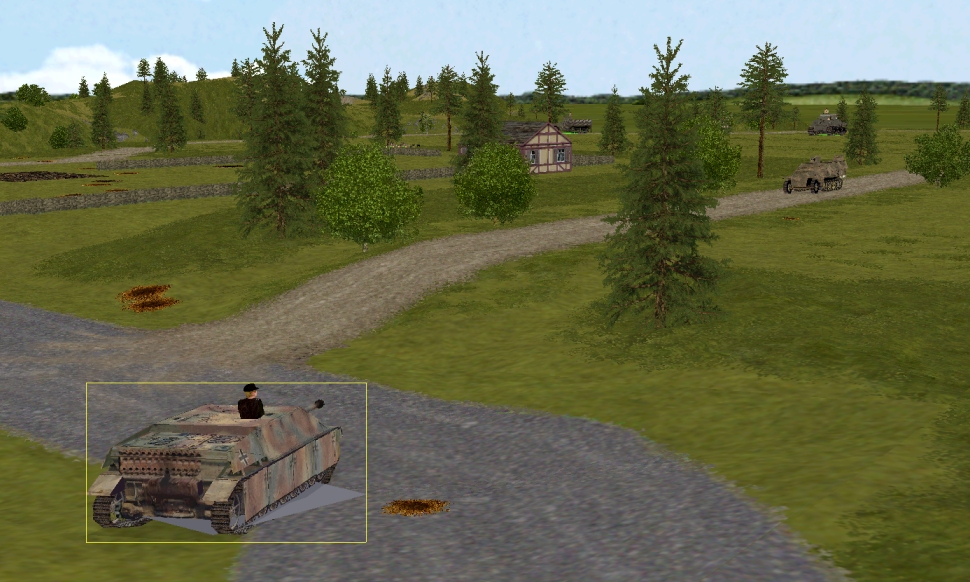
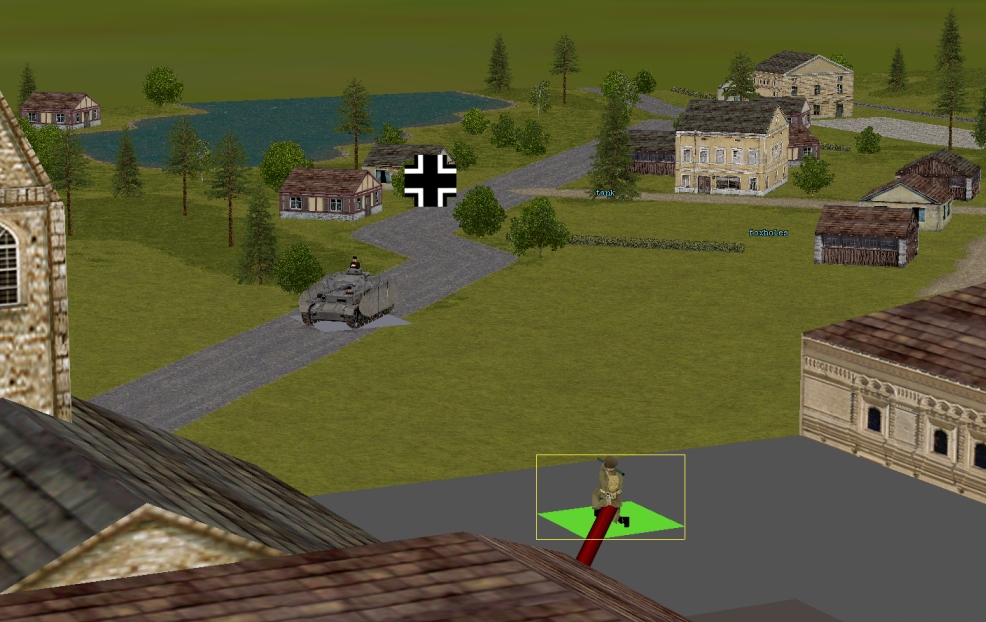
For volunteer panzer hunter, Corporal Whitehand Turn 20 was another frustrating one. Finding the door to the corner tower locked*, he diverted to the upper floor of 29, 2, 1 where he waited on tenterhooks for the Jagdpanzer to come into view. It didn’t. Demonstrating either astonishing fickleness or remarkable prescience, the German tank destroyer turned tail again in the first half of the sixty, and began driving purposefully in the direction of the KOed SPW 251. If, and it’s a big if, it keeps going, Pyle Sherman’s is guaranteed an eventful Turn 21.
*Due to an engine limitation, none of the castle’s corner squares are accessible
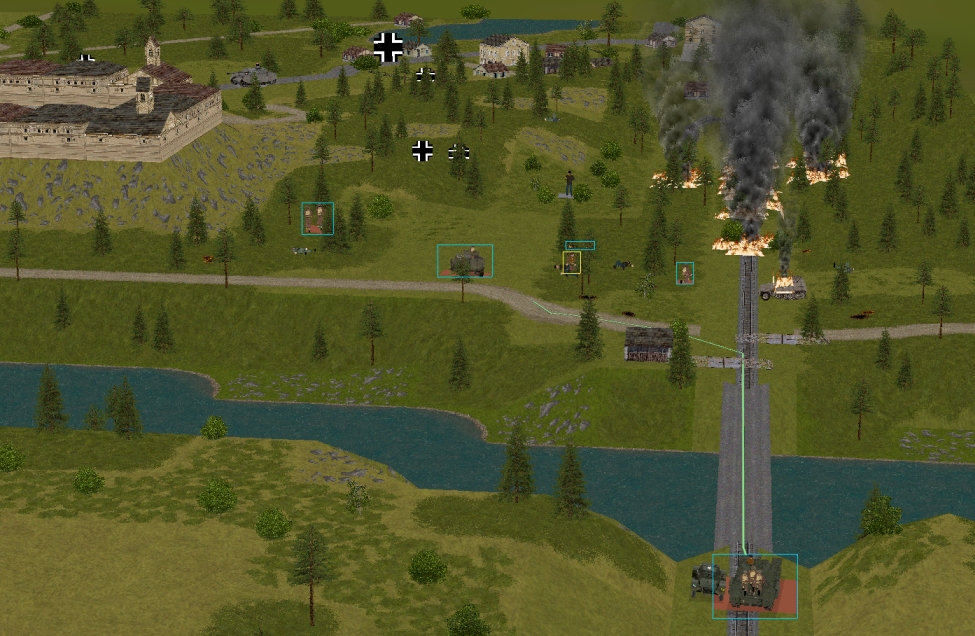
The situation at T+60:
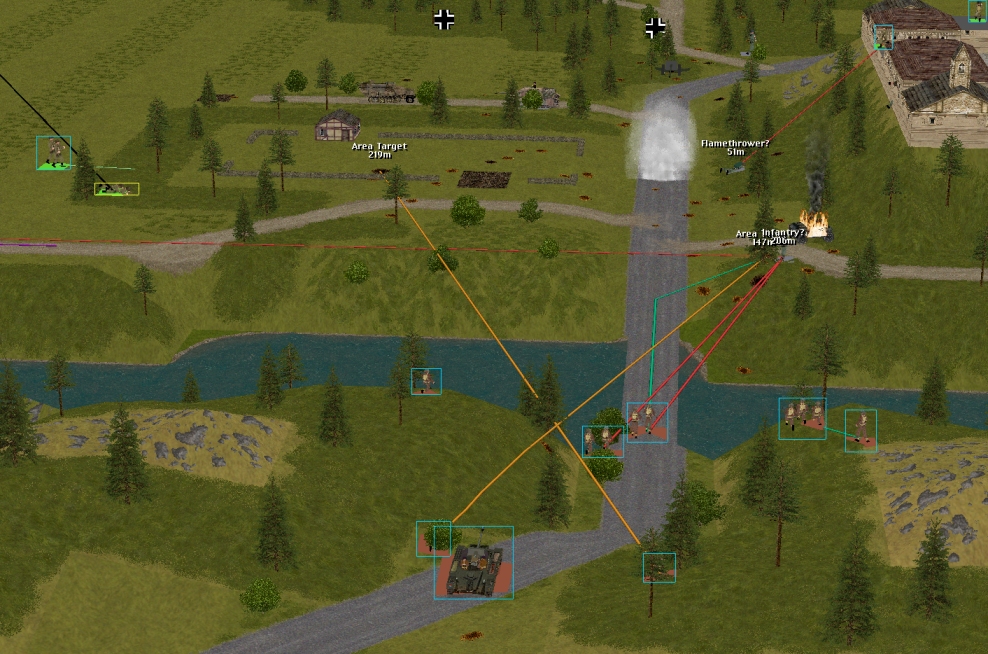
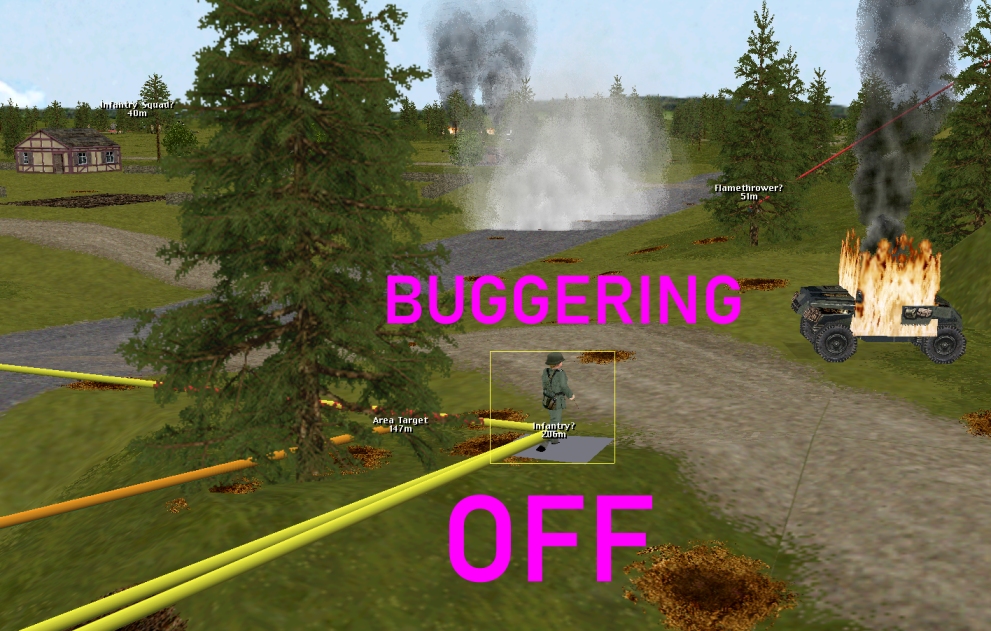
Tuck has 48 rounds remaining, Hawthorn has 23+2. Shanley and Olander may be at risk from wayward 25-pounder rounds if Tuck doesn’t cease fire or adjust his aim next turn. The infantry unit Dale has been troubling for a while looks like a flamethrower team.
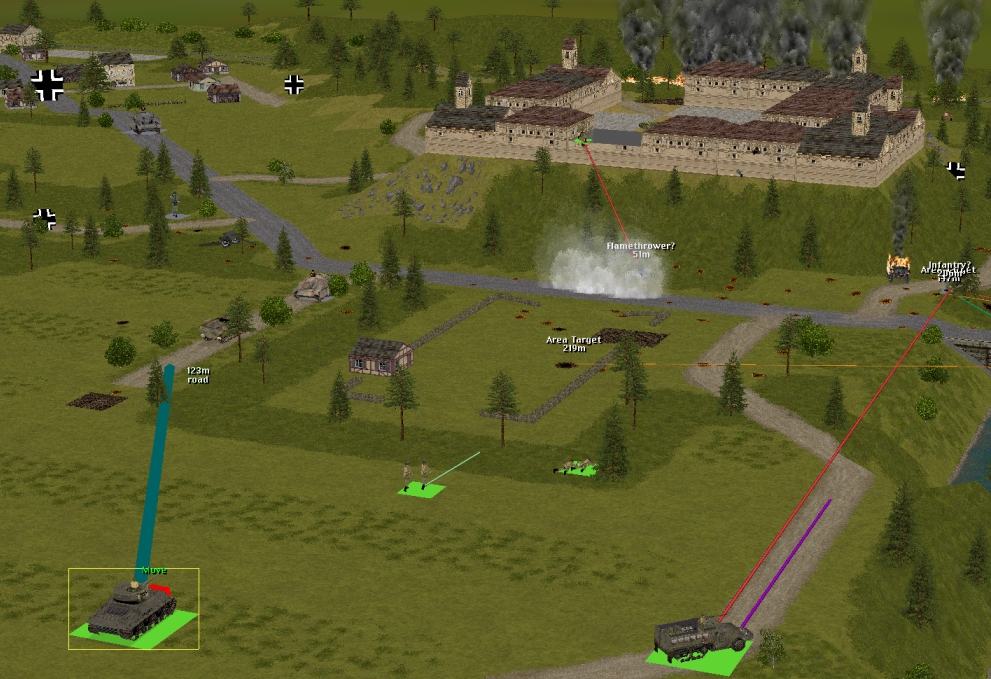
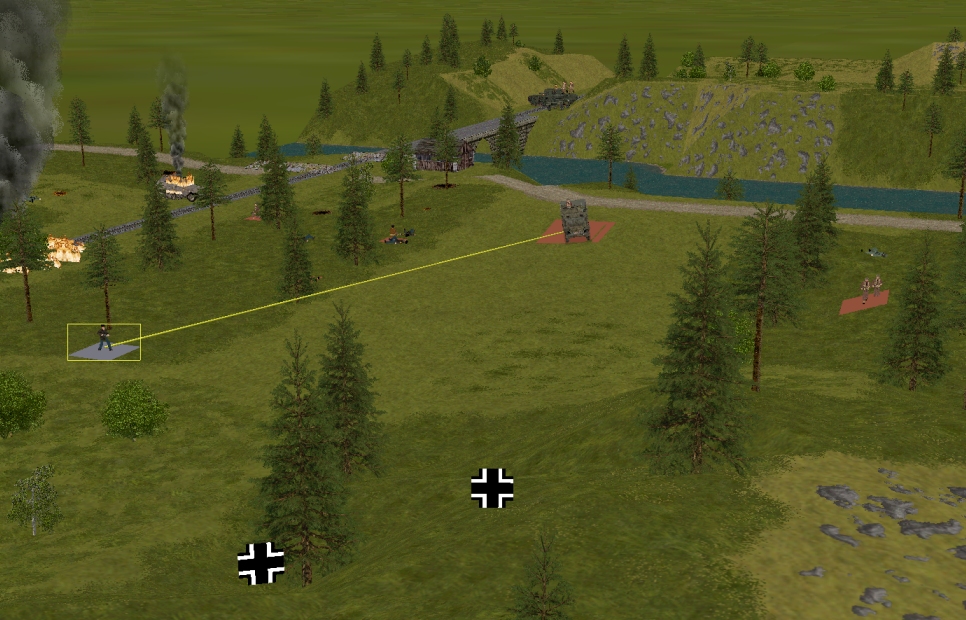
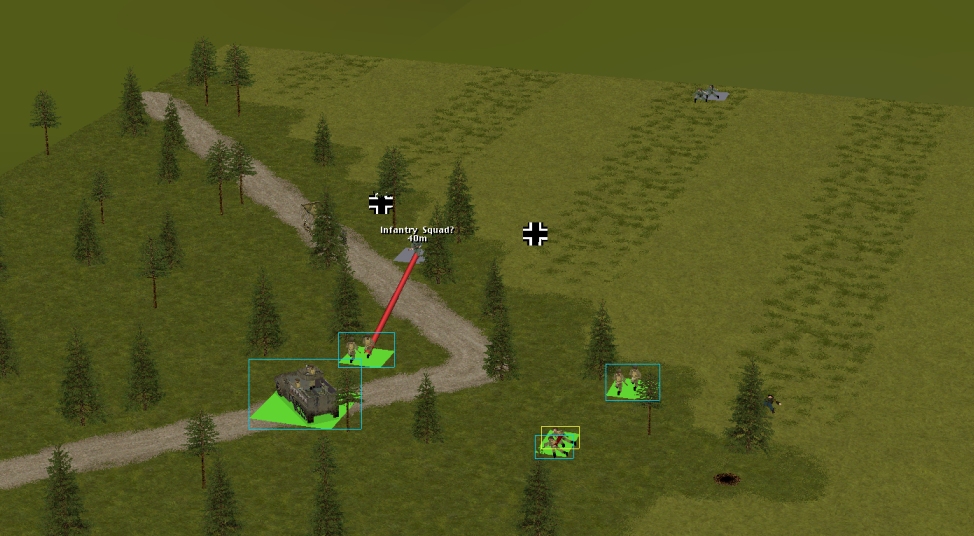
When the clock stopped, the Panzer IV was driving down the road from the village, watched by Whitehand. The blue LoS line in this image changes to red if moved any further eastward.

Turn 21 orders here, please. Commenters are cordially invited to suggest moves for the following eight unit groups. First come, first served. A maximum of one unit group per commenter (Ignore this limit if order execution – usually Monday morning at 0700 GMT – is less than 24 hours away).
(See screenshots for unit locations)
– Merry’s men (Lieutenant Merry + Sergeant Venison’s rifle squad + Corporal Fletcher’s M5A1 halftrack)
– Marian’s men (Lieutenant Marian + 3 x rifle squads + PIAT team + 3 inch mortar team)
– Captain Hood (Six-man company HQ + arty spotter Lieutenant Tuck)
– Sergeant Bowman’s Archer TD
– Sergeant Johns’ Churchill VIII
– Sergeant Pyle’s Sherman
– Lieutenant Costner’s platoon (2 inf squads + bazooka team + 2 HTs)
– Captain Dale’s party (Six POWs armed with pilfered rifles and pistols) + Corporal Whitehand’s team (Two POWs armed with a pilfered Panzerschreck)
Please start all order comments with ‘ORDER’ and any later revision comments with ‘REVISED ORDER’. This will help me distinguish firm instructions from suggestions and advice.