
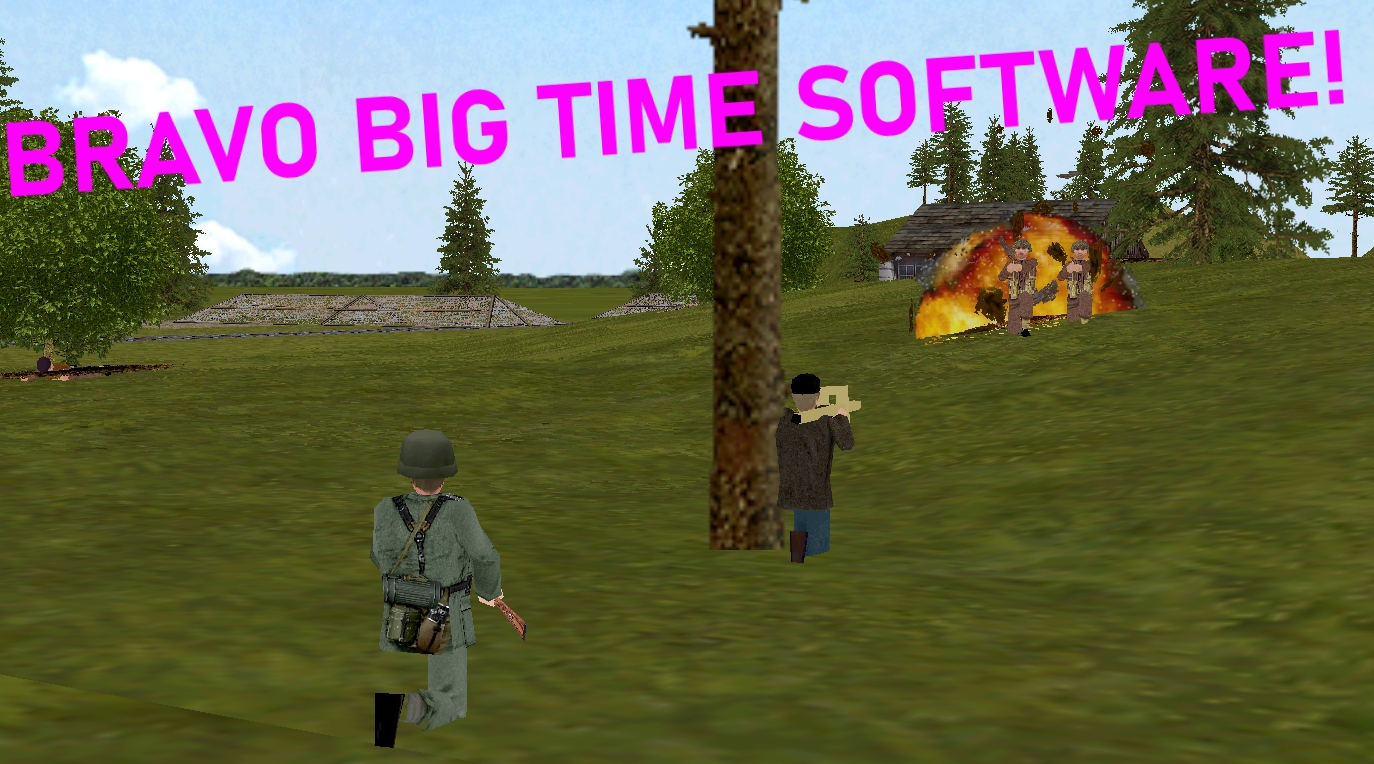
One of the reasons I prefer first-generation Combat Mission to second-generation Combat Mission is the AI. Although the German troops in Bounce the Bogen don’t have a carefully prepared battle plan to guide them, at present they’re doing a fine job of keeping the units of the thin-on-the-ground Comment Commanders at bay.
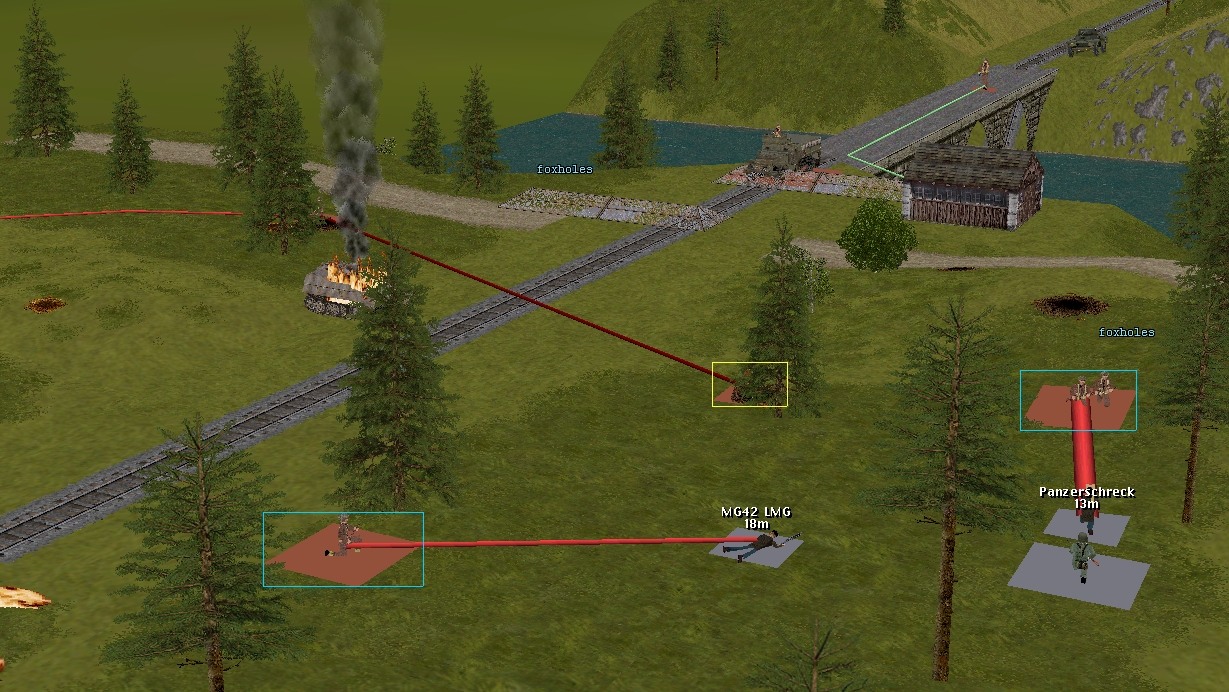
Beyond Overlord’s admirably self-reliant silicon CO is, I reckon, handling the situation at the railway bridge particularly adroitly. Having been evicted from positions close to the riverbank, the battered defenders have retreated a short distance into the woods. Out of sight of the heavy-hitting Churchill and Archer, and the cautious M5A1, their task is considerably easier.
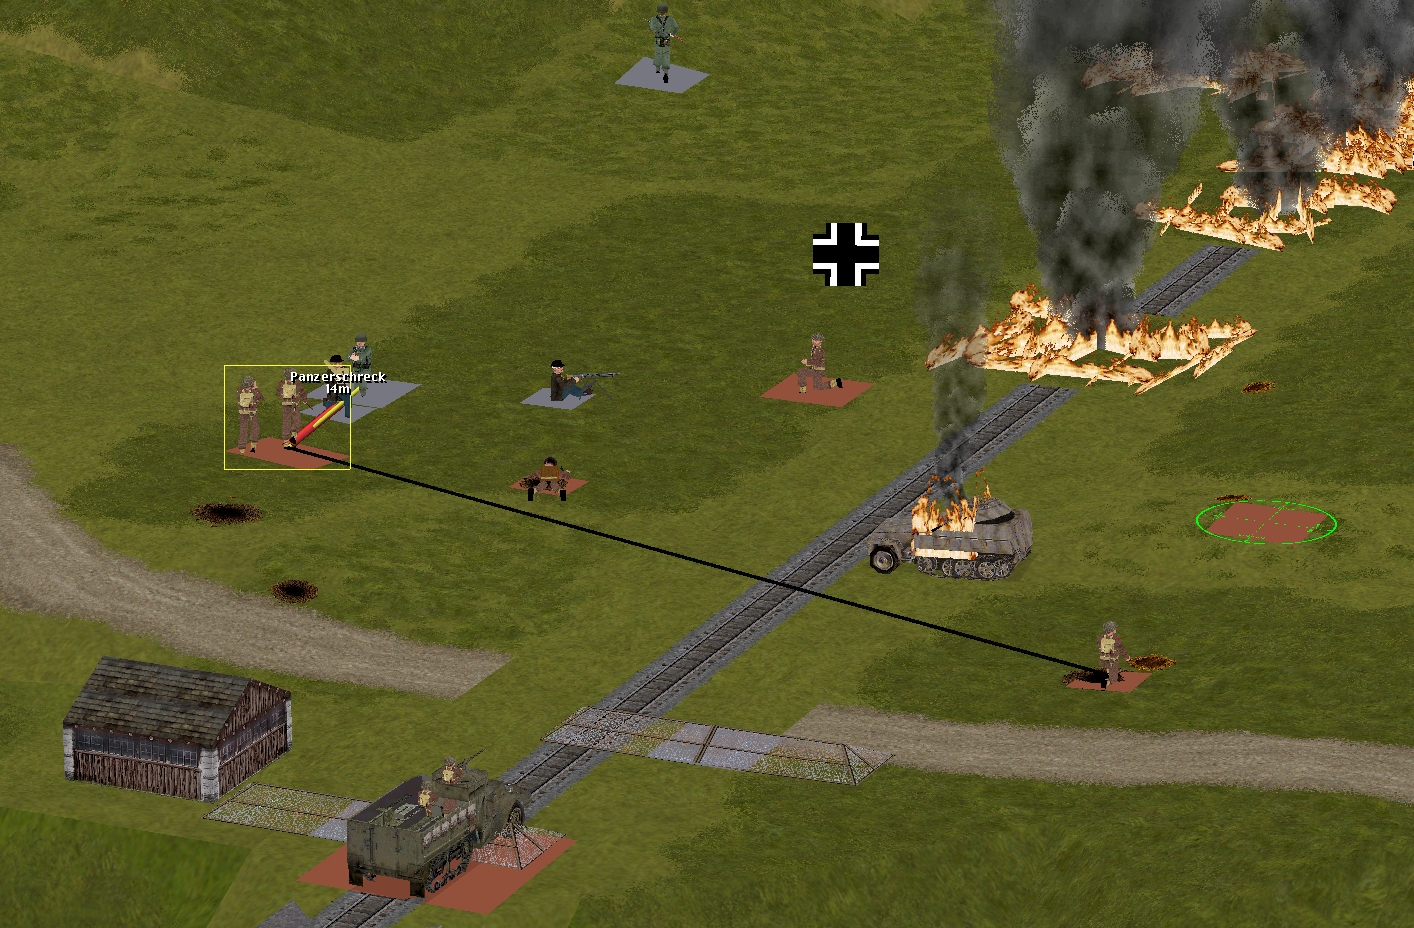
In Turn 14 this new ‘stop line’ holds despite British pressure. A rush from the signal box fails to deplete or overwhelm the part-time Panzerschreckists and the ‘infantry squad?’ nearby. True, because the manoeuvre relieves the pressure on Scarlet and Venison, it may eventually prove telling.
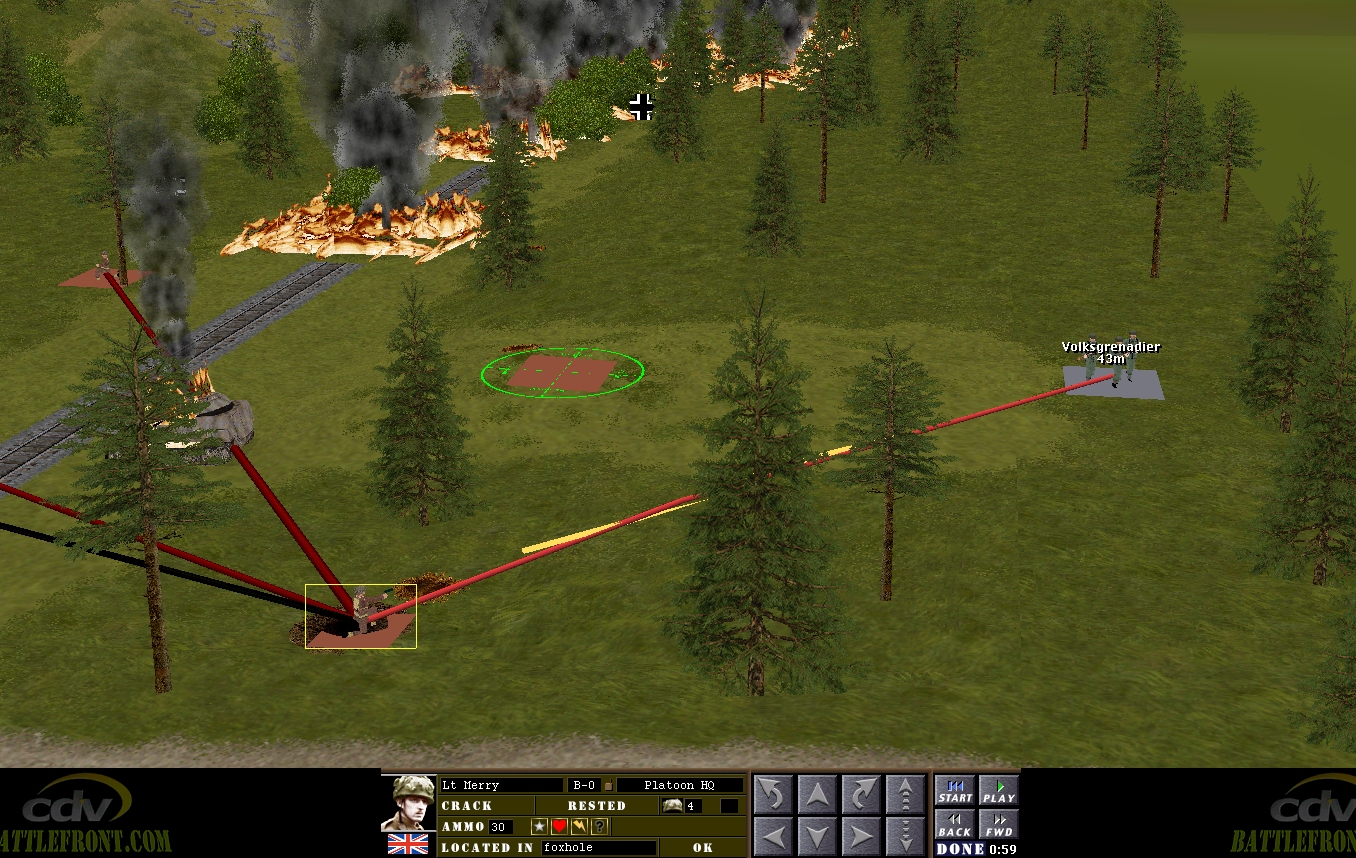
Distracted by the fighting just north of the railway, the Brits have few assets available to fight off a counterattack developing to the south of the line. Midway through the sixty a squad of eight Volksgrenadiers cannily hugging the forested southern map edge, moves into Merry’s LoS. Can the foxholed Lieutenant and his three companions, repulse them without assistance? Perhaps Captain Hood, halfway across the bridge when the clock stops, could help out.
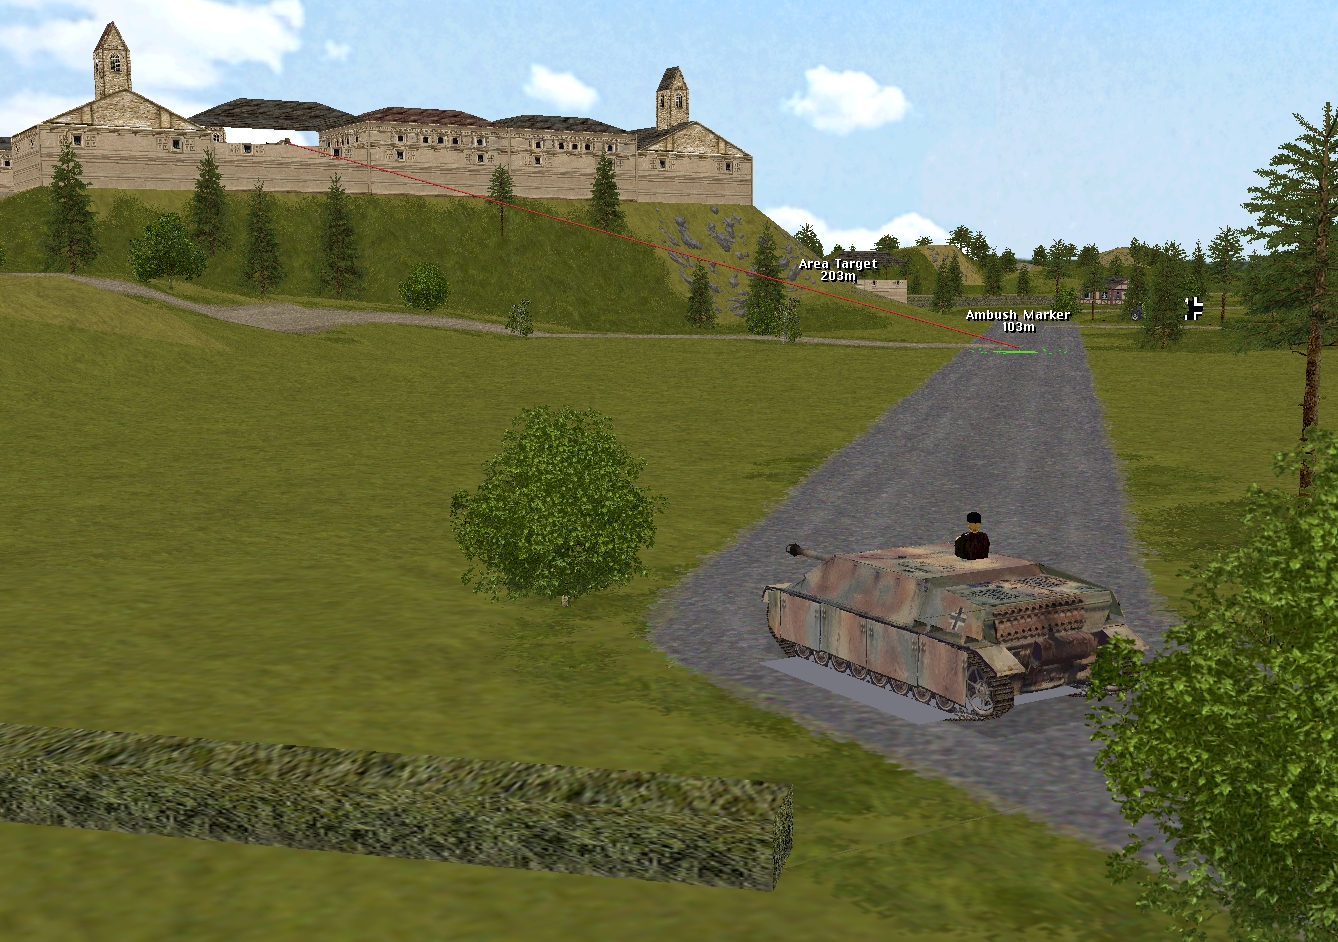
Not only is the Jerry CO competent, he’s also surprisingly cool. The Jagdpanzer that lurched into life last turn, halts not long after this one commences. Unsure, perhaps, of where the main thrust of the Allied attack will come, he still seems unwilling to commit his most potent (?) assets.

The US units that arrived last turn begin exploring their wooded surroundings this sixty. Engine limitations (in CMBO, squads can’t disembark and split in the same turn) mean some orders don’t get executed, but it’s a start.
Elsewhere, Marian’s men sit tight while Tuck switches his attention to the two-storey, occupied building overlooking the road bridge. According to the artillery observer’s info panel, the next bombardment is 48 seconds away when the turn ends.
Mauled by the Churchill’s hefty howitzer, both of the ravaged Volksgrenadier squads near the riverbank show no interest in advancing further south.
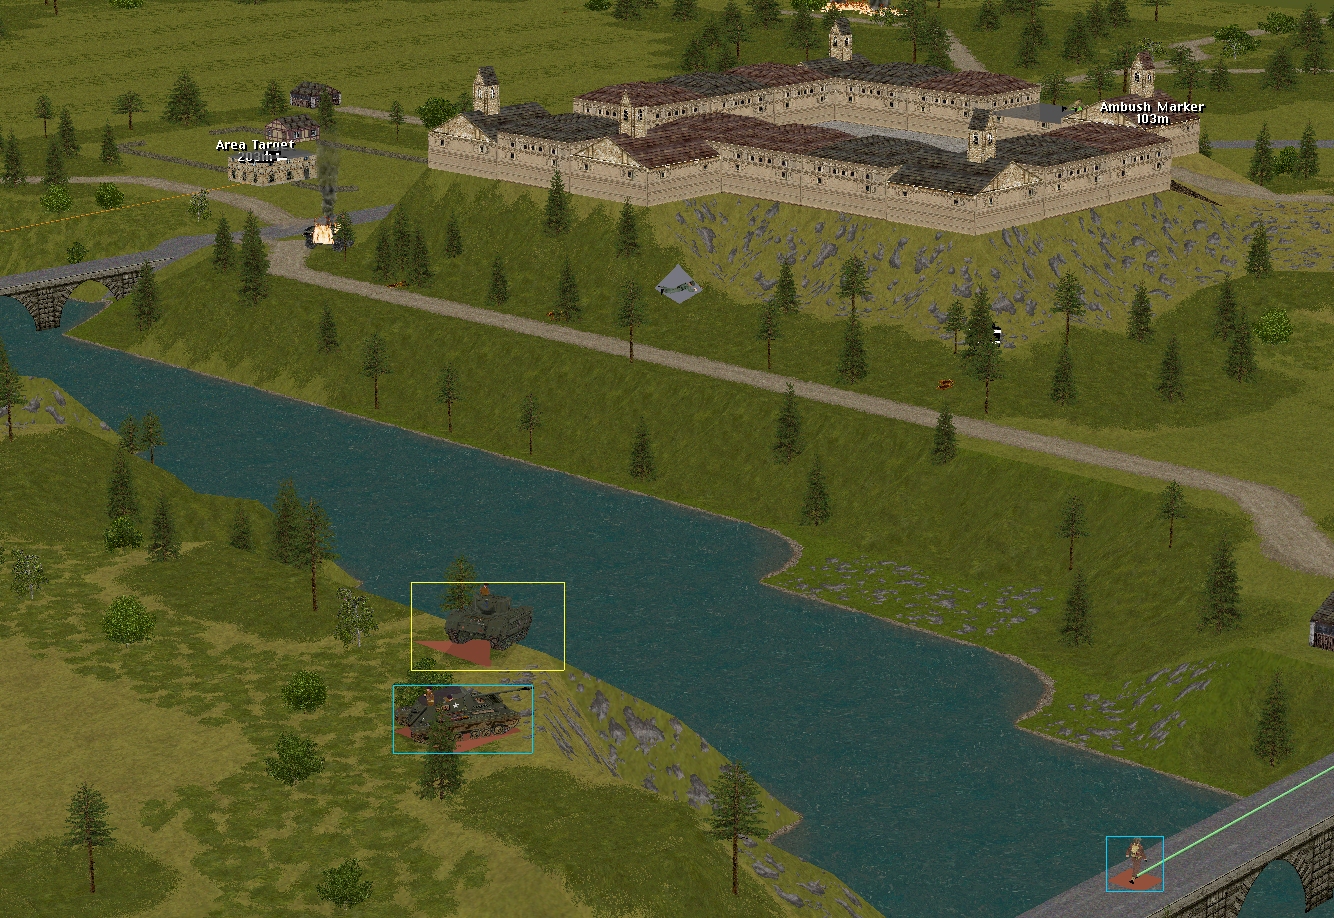
Captain Dale’s relocation is uneventful. If foes have managed to infiltrate the castle, they are keeping a very low profile.

Turn 15 orders here, please. Commenters are cordially invited to suggest moves for the following eight unit groups (First come, first served. A maximum of one unit group per commenter. I’ll try to execute the turn as quickly as possible after all orders are in.)
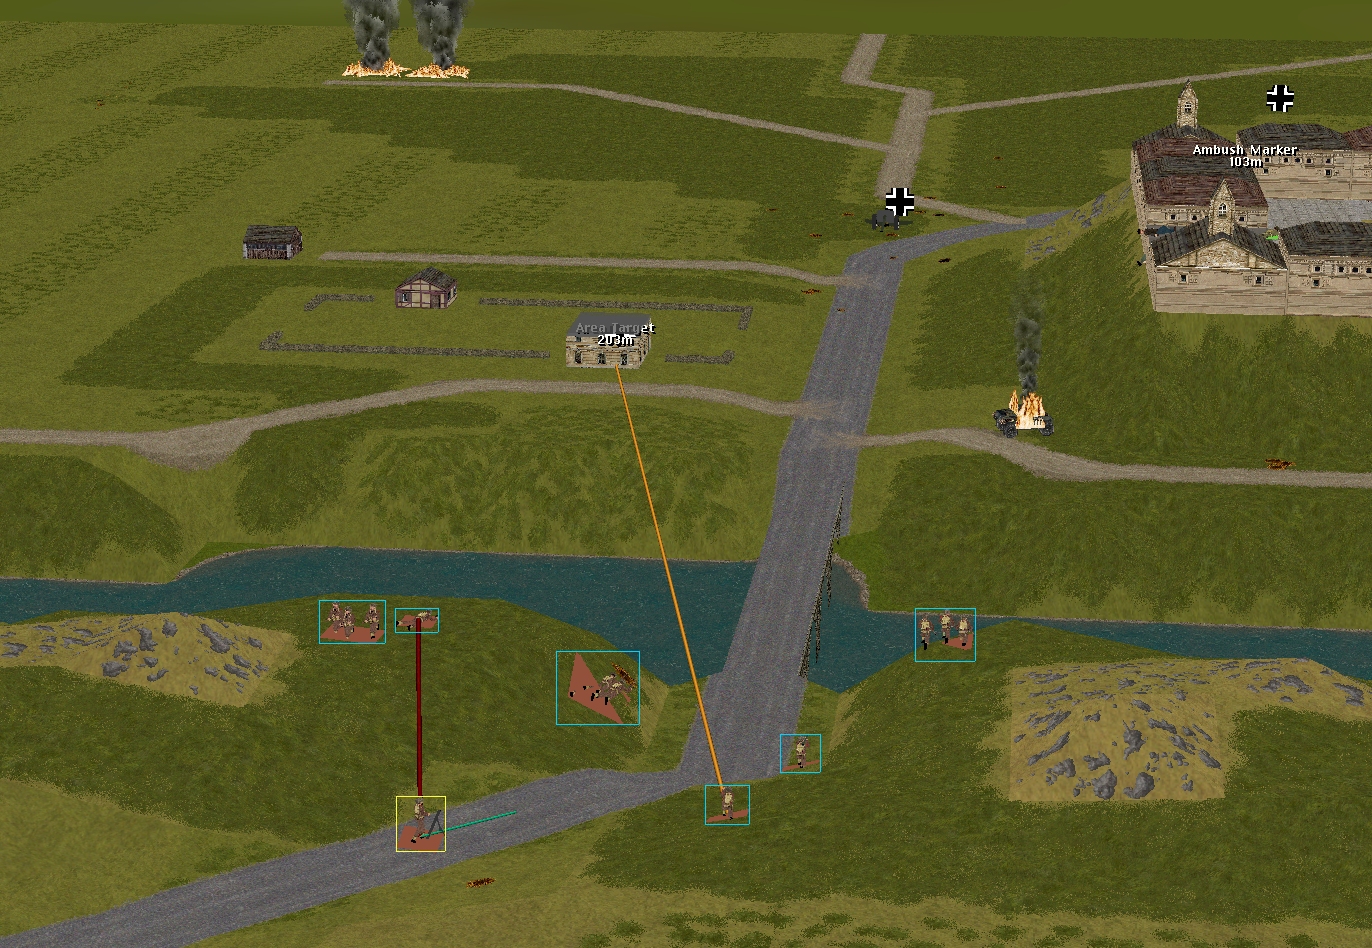
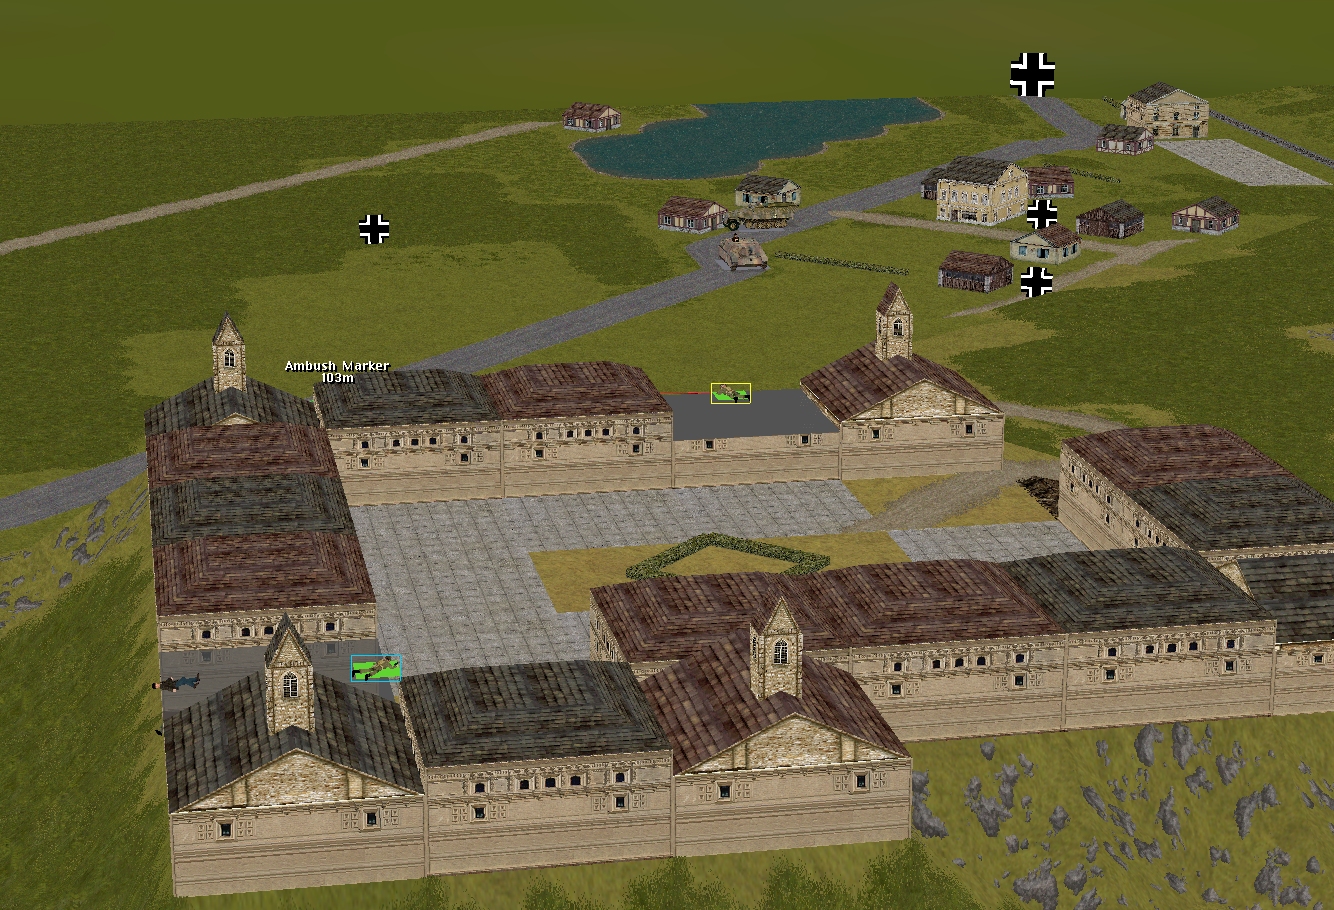
(See screenshots for unit locations)
****anyone****
– Merry’s men (Lieutenant Merry + Sergeant Venison’s rifle squad + Corporal Fletcher’s M5A1 halftrack)
– Marian’s men (Lieutenant Marian + 3 x rifle squads + PIAT team + 3 inch mortar team)
– Sergeant Bowman’s Archer TD
– Sergeant Pyle’s Sherman
****subscribers only****
– Captain Hood (Six-man company HQ + arty spotter Lieutenant Tuck)
– Sergeant Johns’ Churchill VIII
– Captain Dale’s party (Six POWs armed with pilfered rifles and pistols) + Corporal Whitehand’s team (Two POWs armed with a pilfered Panzerschreck)
– Lieutenant Costner’s platoon (2 inf squads + bazooka team + 2 HTs)
Please start all order comments with ‘ORDER’ and any later revision comments with ‘REVISED ORDER’. This will help me distinguish firm instructions from suggestions and advice.
I didn’t realise there was such a bump east of the signalbox for fleeing enemies to hide behind.
ORDER: Sgt. Venison’s (A) 2-man fireteam
ATTACK MG42 (assistant gunner) to the northwest.
I don’t know if there’s a command that would encourage them to engage further targets beyond that. HUNT towards the Panzerschreck?
ORDER: Cpl. Fletcher’s halftrack
MOVE CAUTIOUSLY beyond the second barricade where they might get LoS to the MG42 / Infantry Squad but still not be wholly exposed to the Volksgrenadiers, approx [3,4,4]
If the option presents, TARGET either the Infantry Squad or MG42.
Venison was firing at the suppressed machine gunner when the clock stopped. He also has LoS to the Volksgrenadiers to the south. If he moved about ten metres NW he’d probably sight the Panzerschreck team and the unidentified infantry unit next to them.
It’s worth noting that only turreted AFVs can ‘hunt’ in CMBO. Other units searching for targets must make do with ‘move’. Also worth mentioning is that the M5A1 can’t A) cross barbed wire entanglements, and B) fire when buttoned.
Nuts! and curse my imprecision.
I don’t know what the M5A1 did last turn but I meant for it to be perpendicular to and south of the barricade.
Ah well.
I’m not sure how I managed to interpret “MOVE CAUTIOUSLY to the end of the first barricade, facing eastwards” as “move up to the first barricade, facing eastwards” but I did. Sorry! I think we’ll have to chalk that one up to martial friction.
Although the screenshot makes it look like the M5A1 is now enmeshed with the barricade, that’s an optical illusion. It’s actually located on the railway. A short reversing manoeuvre followed by a move waypoint would put it where you intended.
REVISED ORDER: Sgt. Venison’s (A) 2-man fireteam
ASSAULT MG42 (assistant gunner) to the northwest.
ORDER: Sgt. Scarlet
ASSAULT MG42 (assistant gunner) to the east.
REVISED ORDER: Cpl. Fletcher’s halftrack
UNBUTTON
MOVE FAST to get past the second barricade
MOVE CAUTIOUSLY to where they might get LoS to the MG42 / Infantry Squad but still not be wholly exposed to the Volksgrenadiers, approx [3,4-5,4]
If the option presents, TARGET either the Infantry Squad or MG42.
ORDER
Hood, rather than heading for the signal box, should head towards Merry’s position to help push back the Volksgrenadiers.
ORDER – Sgt John’s Churchill – TARGET Bldg 36,3,2.
ORDERS – Marian’s Platoon
– Mortar team MOVE to NE Cnr of 34,3,1 and setup.
-HQ team SNEAK to East edge of 34,5,2 and hide. Should now have a LoS on all 4 alleged foxhole locations along east end of the road bridge.
– Forester squad MOVE 34,3,1 then RUN to 26,1,5. Continue RUN due South until 2,1,5. (Reinforcements for the rail bridge in 3- 4 turns).
ORDER – Sgt Pyle’s Sherman – PAUSE 15 secs. MOVE to 61,1,2. TARGET Bldg 45,2,1. (See if we can scare up a HT).
Note. – Lt Costner’s Platoon is now separated into two groups. One has headed east now located in Block 62 to deal with the dug in tank. The other in Block 61 will support Sgt Pyle’s Sherman advancing south.
ORDER – Block 62 group. SPLIT squad.
Section A – MOVE thro forest to 55,2,5. HIDE.
Section B – Run to 62,5,4. MOVE thro forest via road to 63,3,1. HIDE.
Bazooka team – PAUSE 15sec. MOVE following in the footsteps of Secn A to 55,2,5. Then SNEAK to 55,3,4.
HQ team – RUN to 62,2,4. Then MOVE and follow Secn A.
HT – Rotate North.
Block 61 group – SPLIT squad.
Section A – SNEAK to 61,4,1. HIDE.
Section B – MOVE to Bldg @ 61,2,2. Then RUN 60,5,2. Face South HIDE
Is Lt. Merry engaged in a firefight with the Volksgrenadiers, or he waiting for a rather moot ambush to be triggered?
Merry and his three companions are firing at the advancing Volksgrenadiers with a pistol , a Sten, and two Lee-Enfields. The Germans have yet to return fire, possibly because the platoon HQ is relatively inconspicuous (forest + foxhole). I’d be amazed if the Brits hadn’t been spotted and engaged by T+10 next turn.