
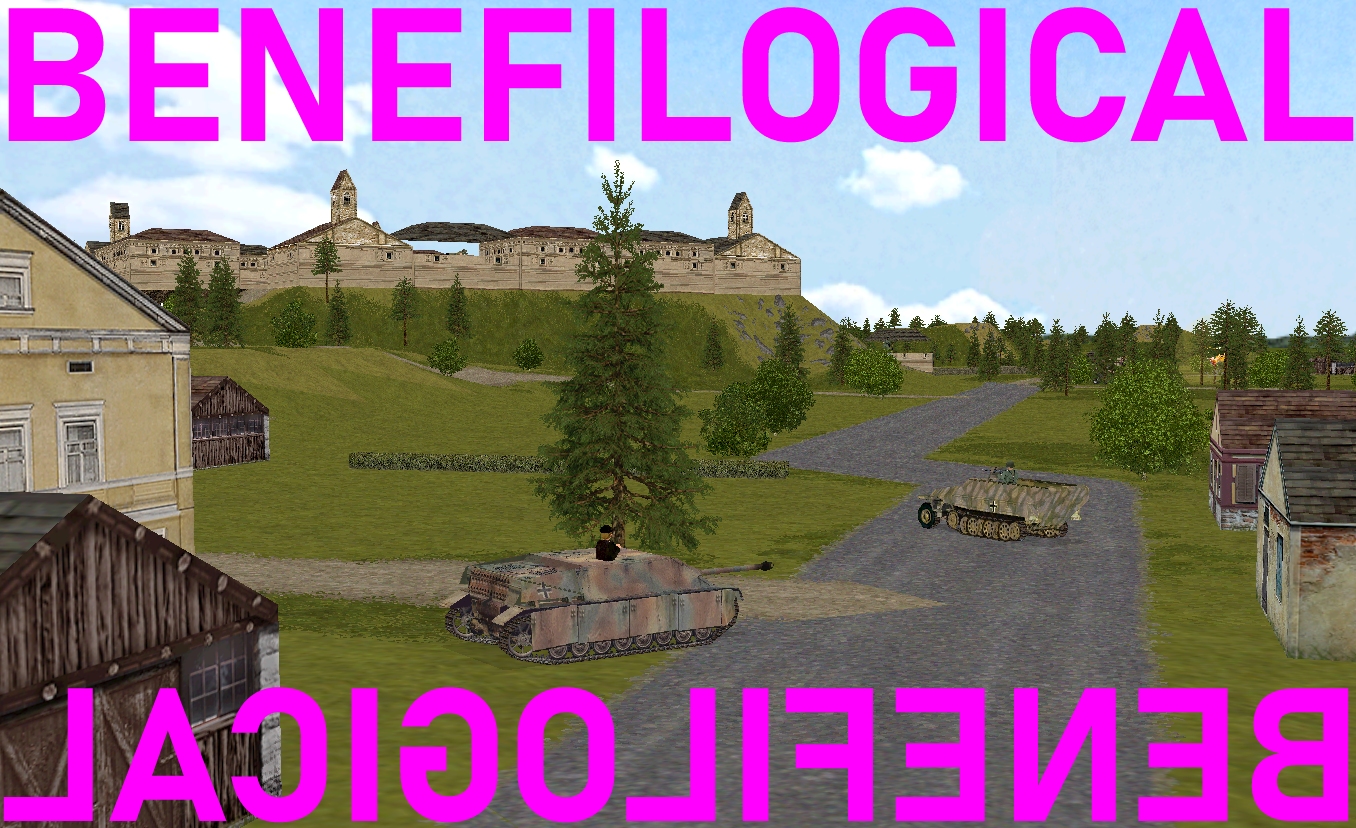
How about I relay this turn’s developments in reverse benefilogical order rather than chronological order? ‘Benefilogical’ is a word not found in many dictionaries. It means “arranged in order of welcomeness”.
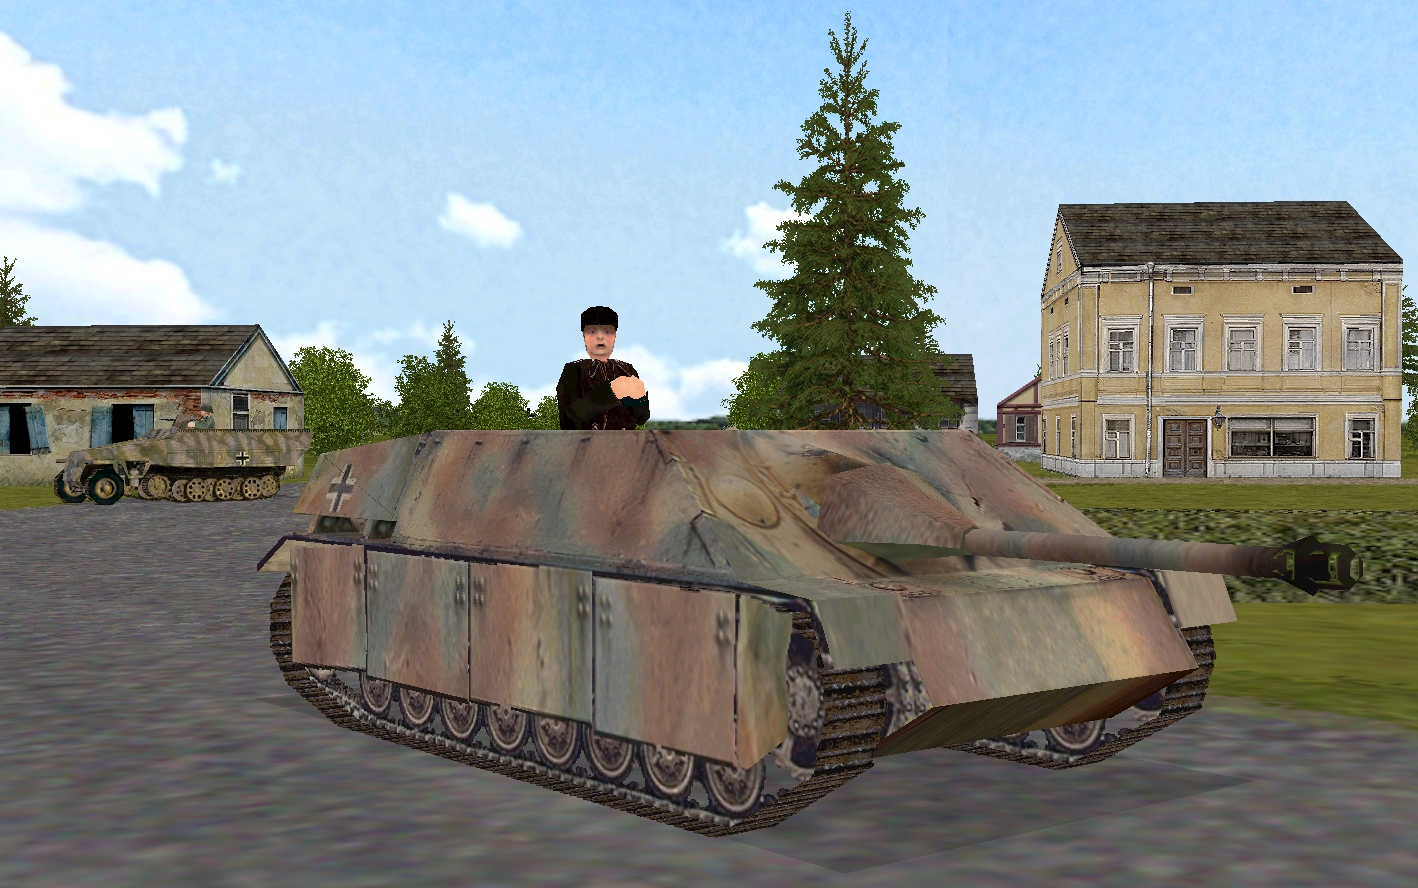
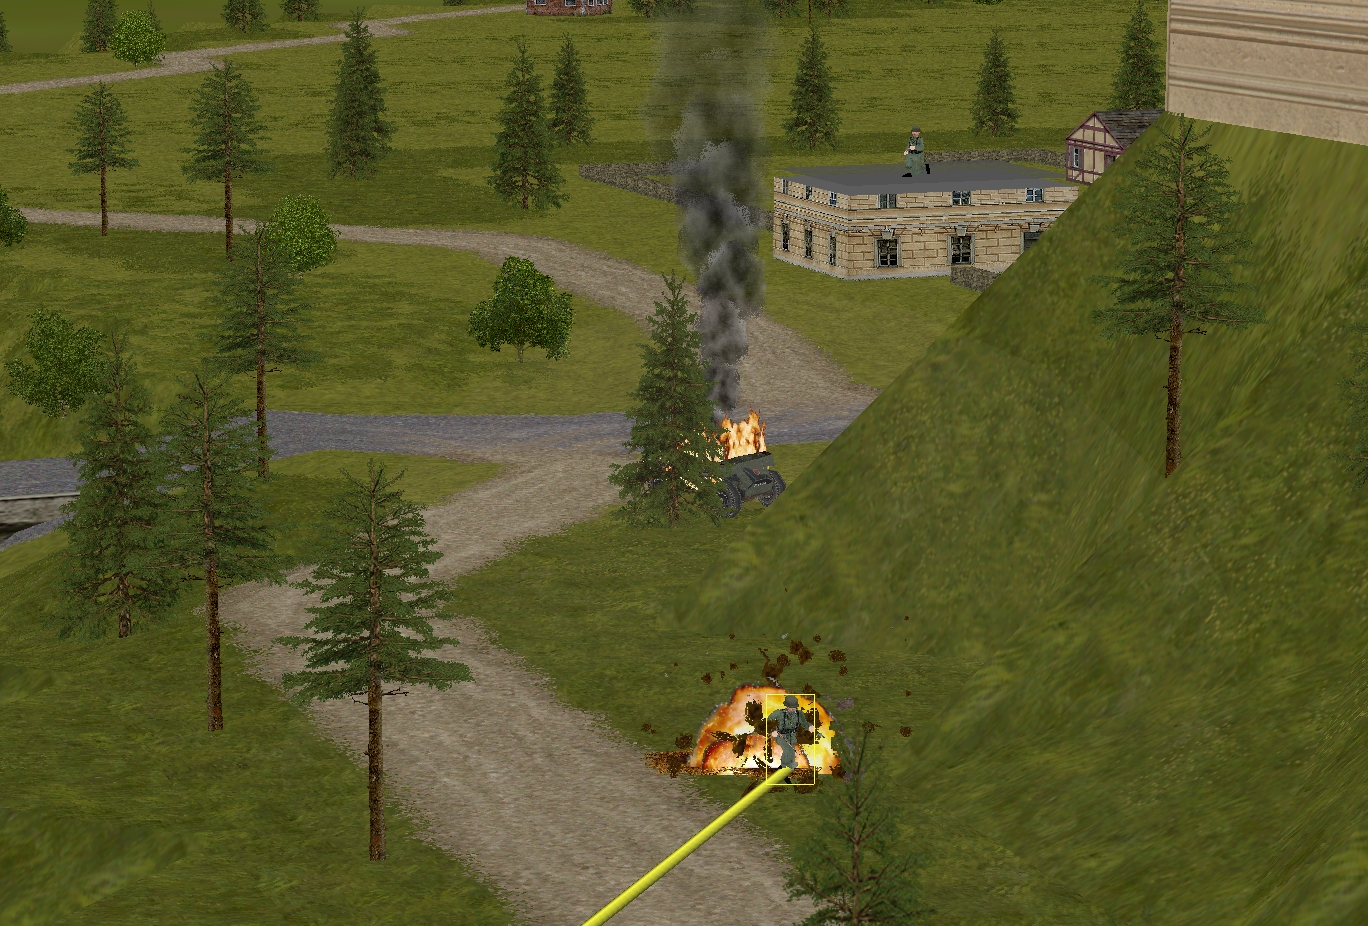
From the Comment Commanders’ perspective, Turn 13’s most disturbing development is probably the stirring of the Jagdpanzer. At T+20, the low-profile German tank destroyer finally gets tired of admiring the Eichhörnchenhaus, and begins beetling north-westward. Delayed by a clumsily parked halftrack, it’s in the vicinity of 23, 2, 2, and still moving NW when the clock stops.
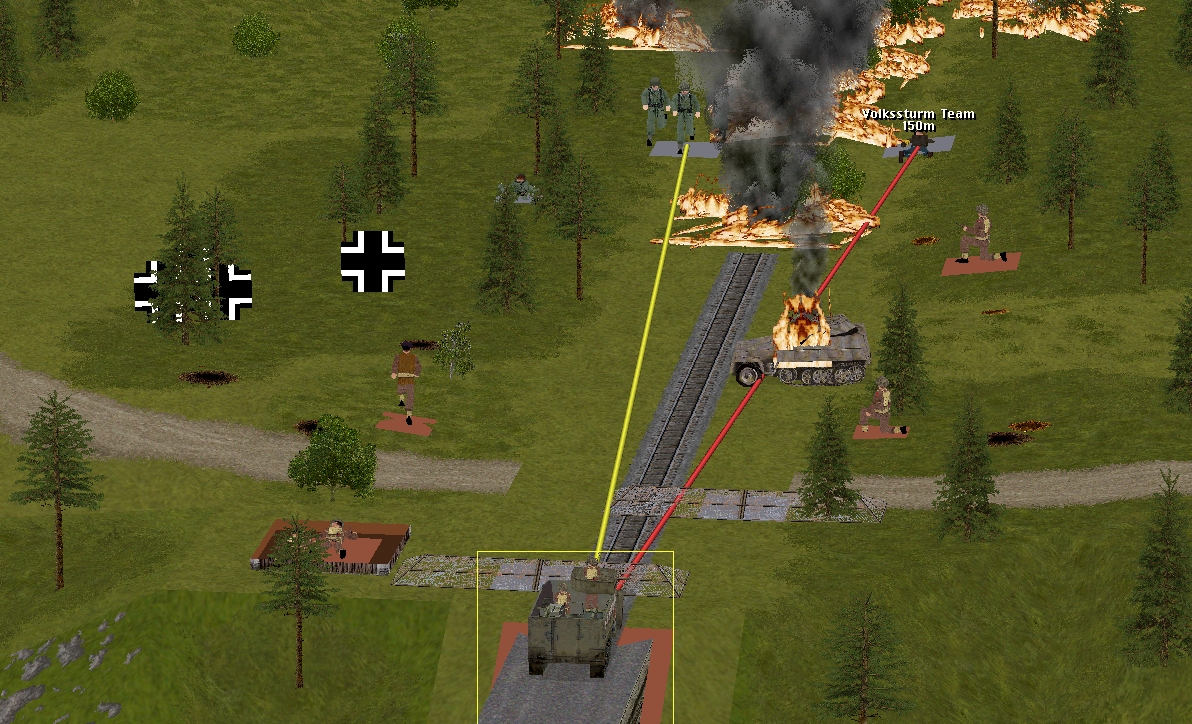
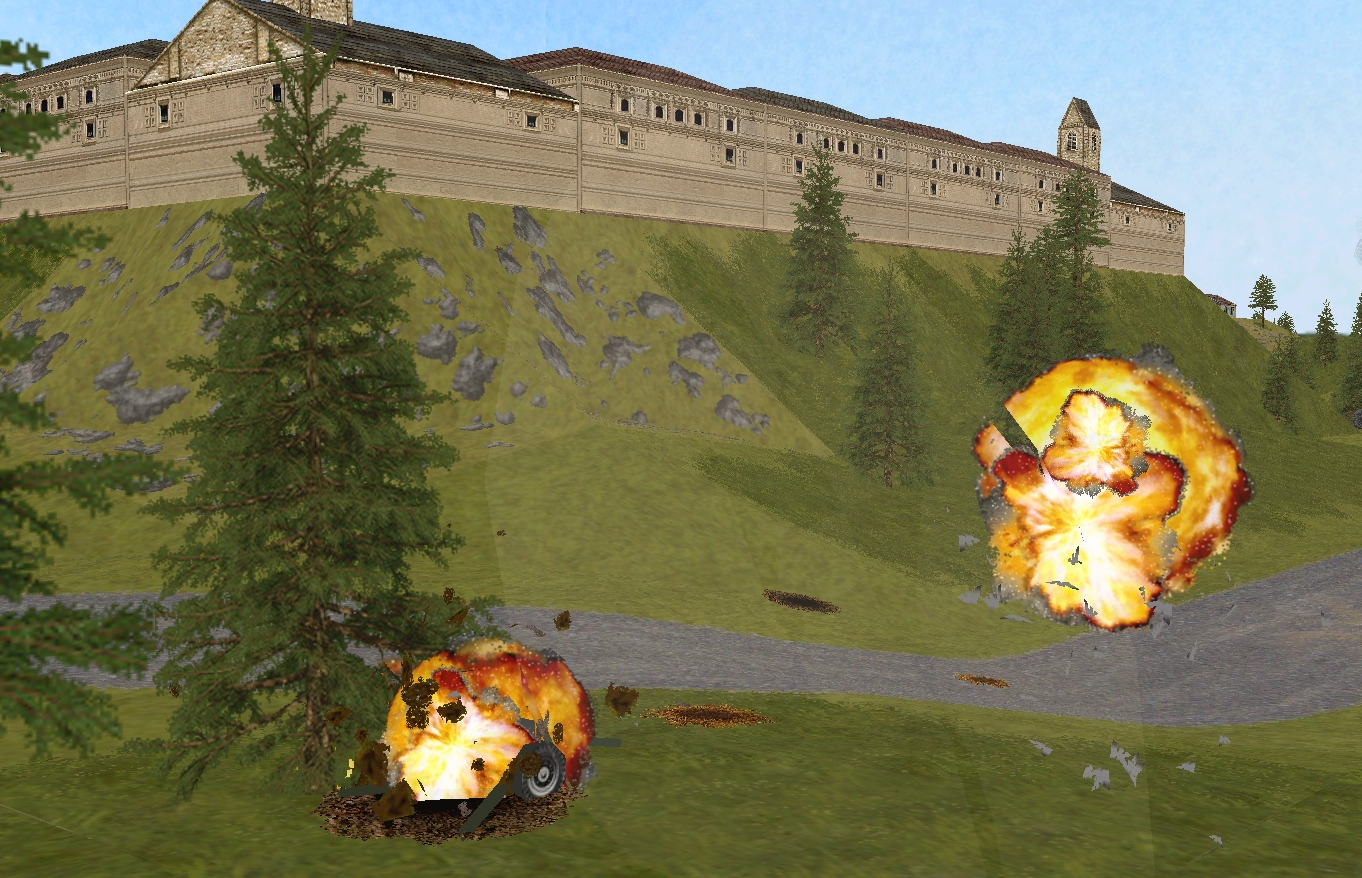
Also concerning for the Allied order issuers is the appearance roughly halfway through the sixty of a full-strength (?) squad of Volksgrenadiers close to the western end of the burning train.
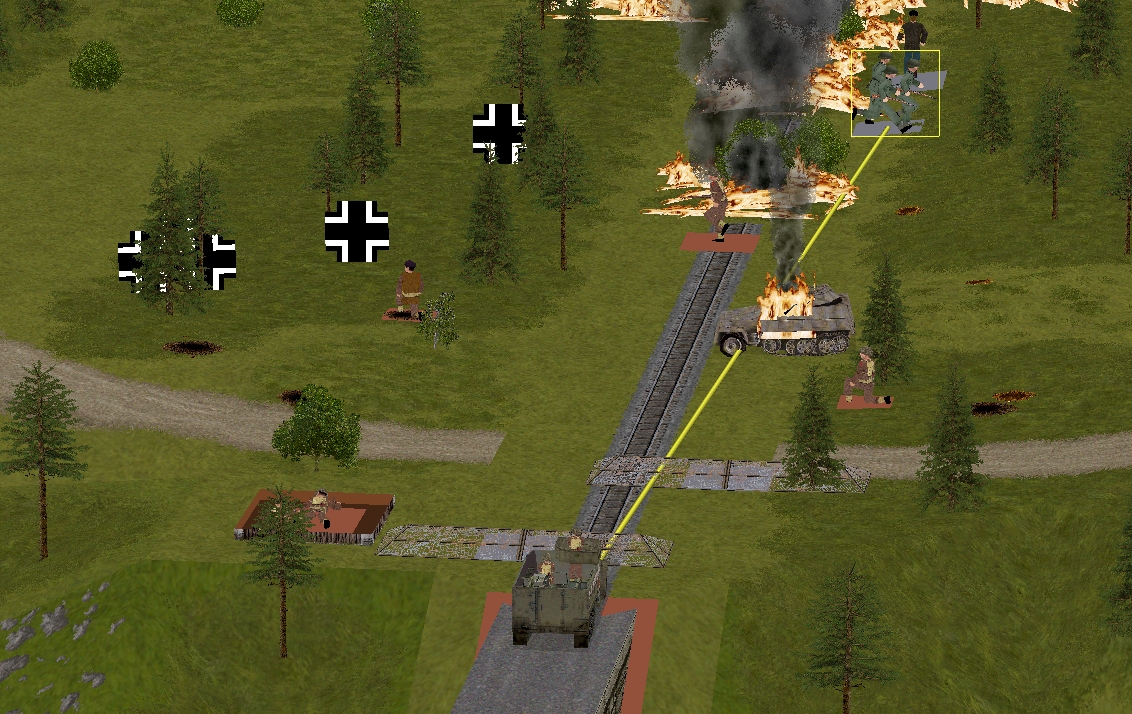
After directing an ineffectual fusillade at Fletcher’s halftrack, the squad darts south across the rail line, disappearing into the woods on Merry’s right flank.
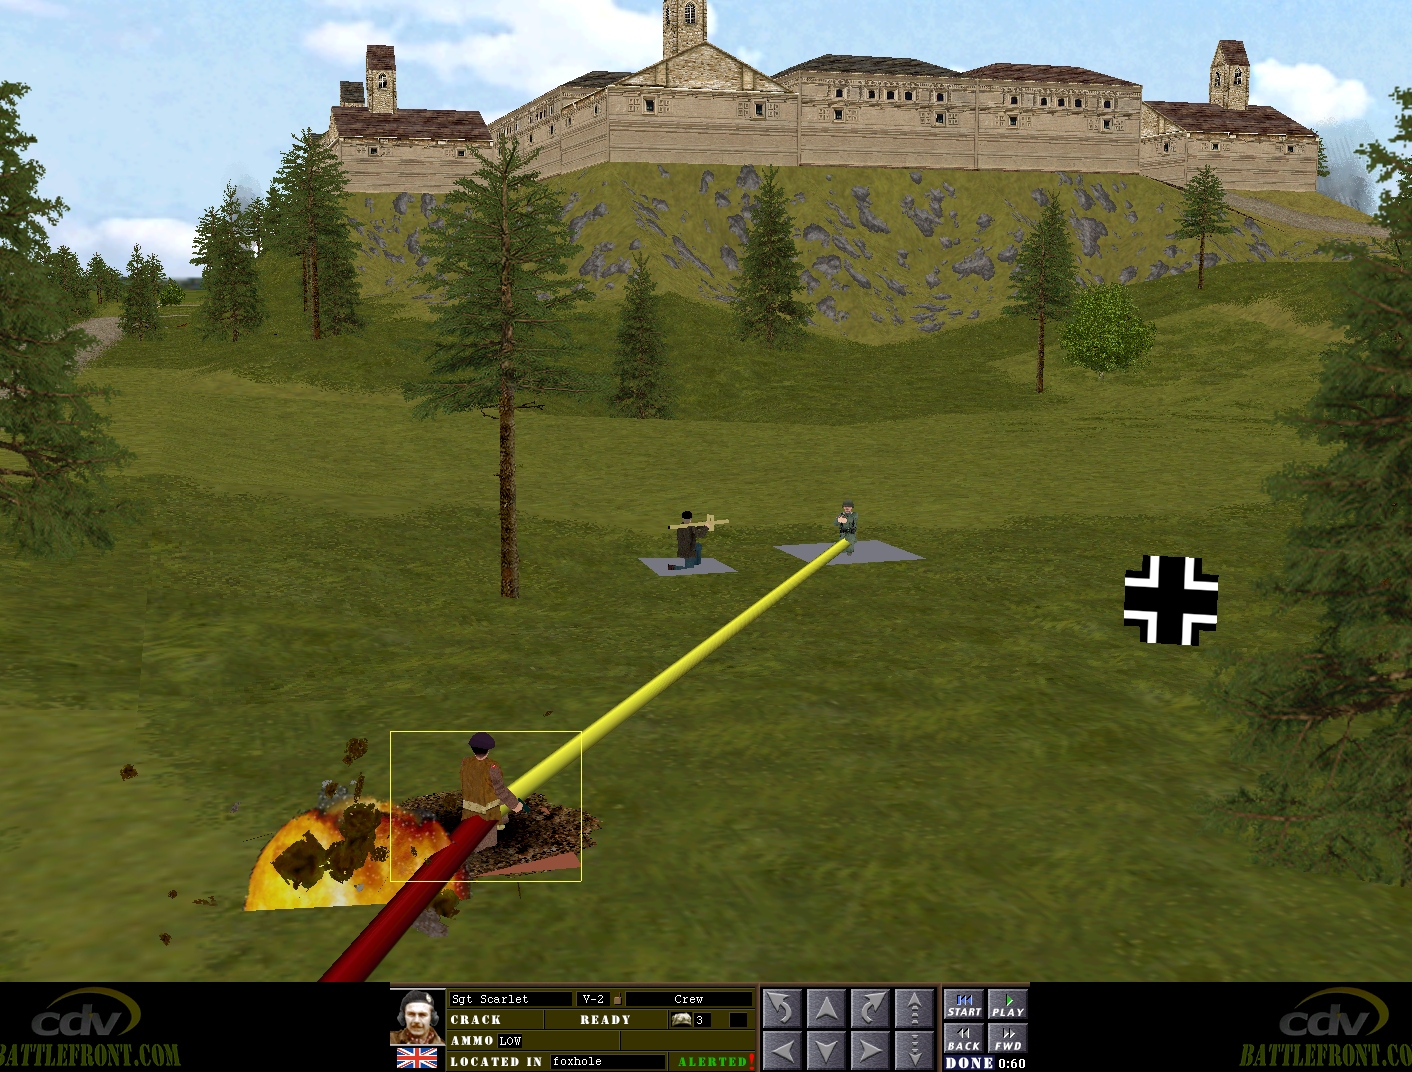
Even if these Jerry-come-latelies aren’t planning a sly counterattack on the rail bridge, things could still get sticky for the Tommies in the SW corner of the map in coming turns. Scarlet and the other two survivors of the Daimler armoured car end the execution phase taking cover after their recon sally brings them to the attention of one of the ‘infantry squads’ (?) dislodged from the signal box earlier.
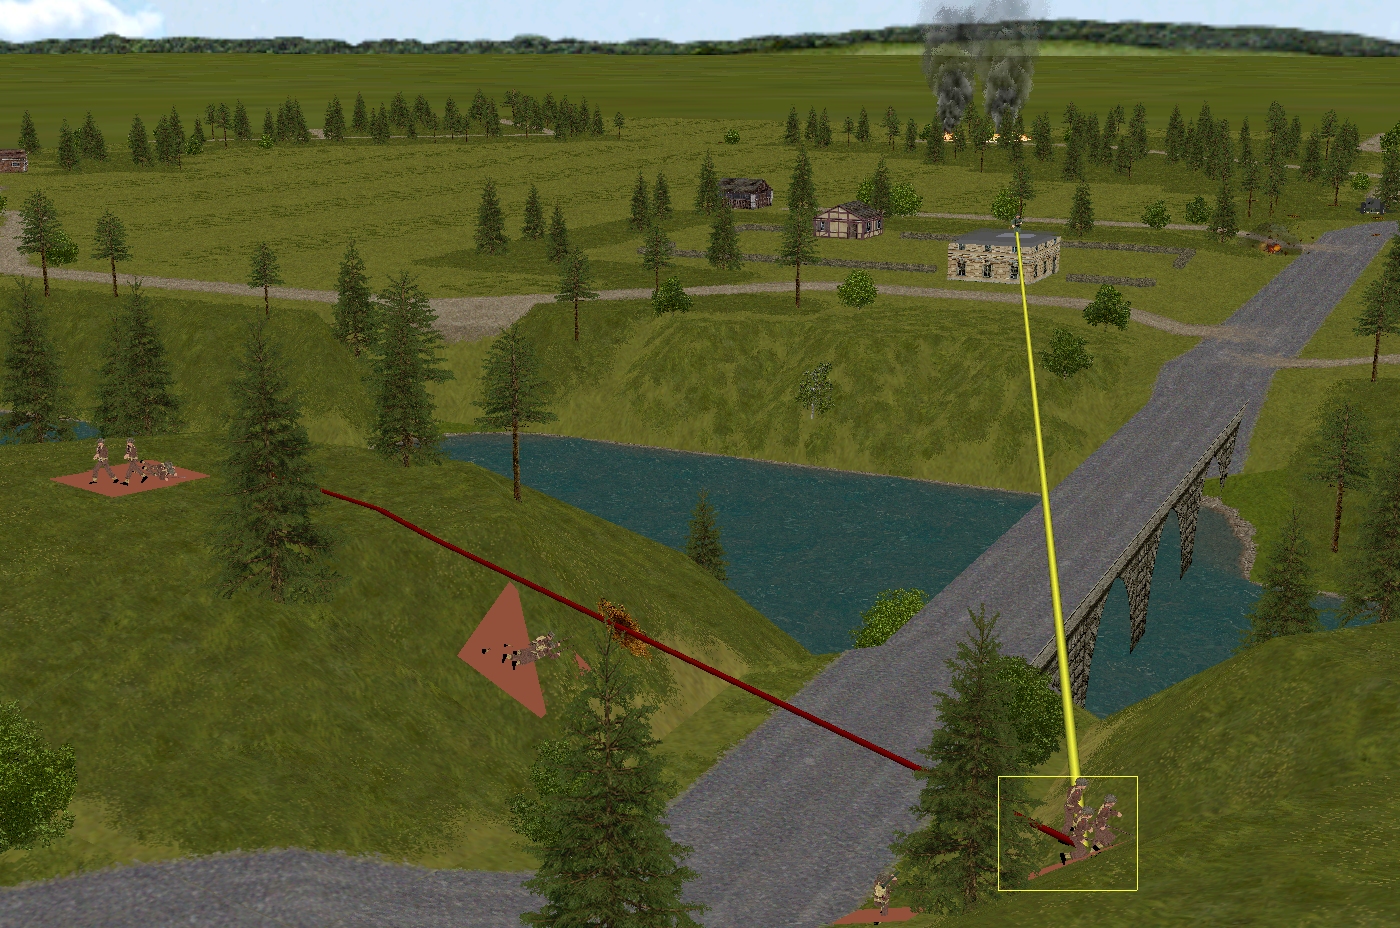
Sergeant Sherwood’s unit also receives fire in Turn 13. Their cross-road dash at the western end of the road bridge encourages a previously unspotted enemy unit to show itself and squeeze triggers. Fortunately, the foes in the upper storey of the house at 36, 3, 2 score no hits.
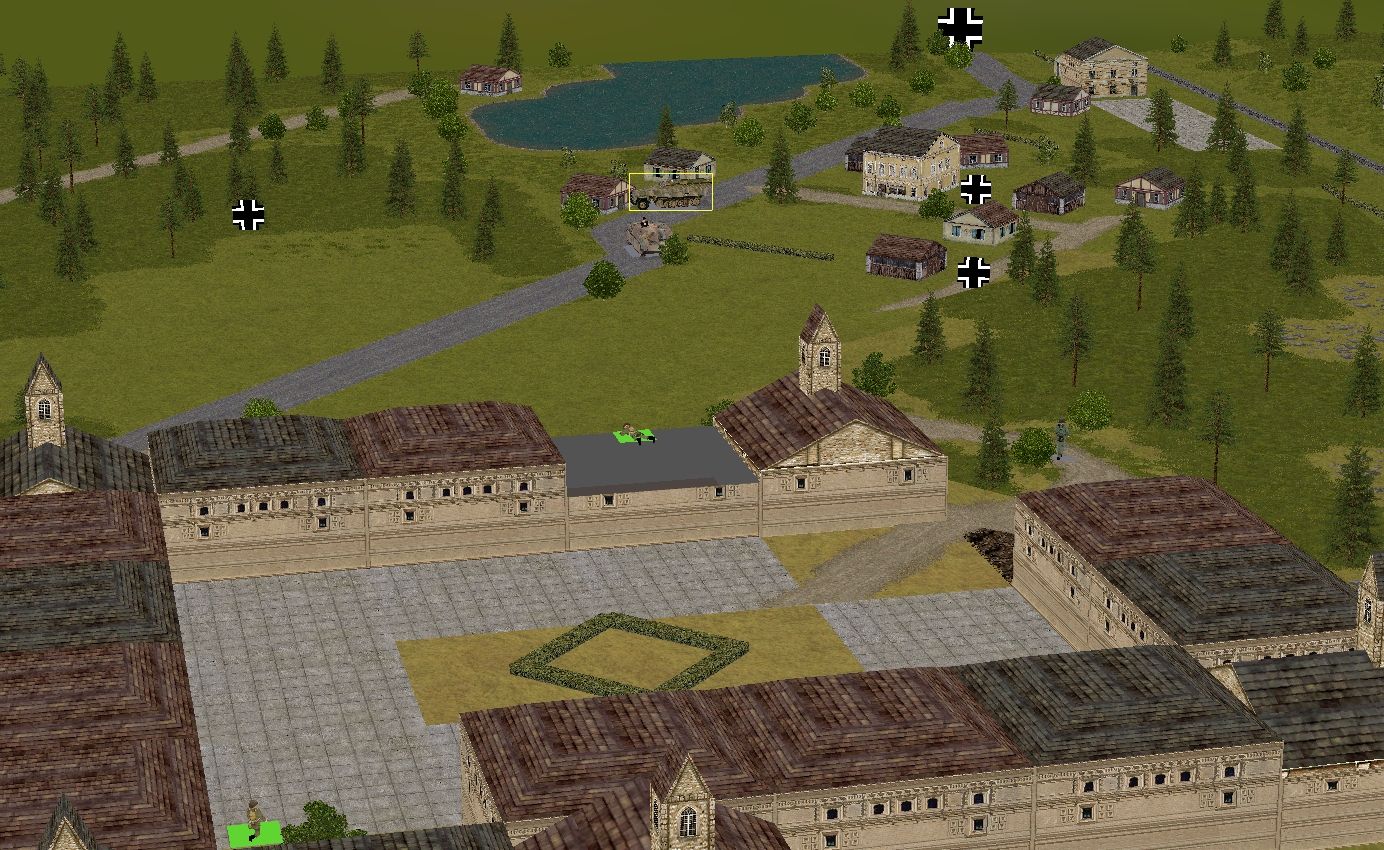
I’m not sure if Captain Dale finding the castle courtyard deserted counts as good news or bad news. The worrying sound contact close to Whitehand vanishes not long after the Yank pilot steps outside.
I’m pleased to say, it’s all glad tidings from here.
Sergeant John’s Churchill VIII well and truly clobbers the more northerly of the two riverside Volksgrenadier squads this turn. The howitzered Fritzes are down to two men when the clock stops.
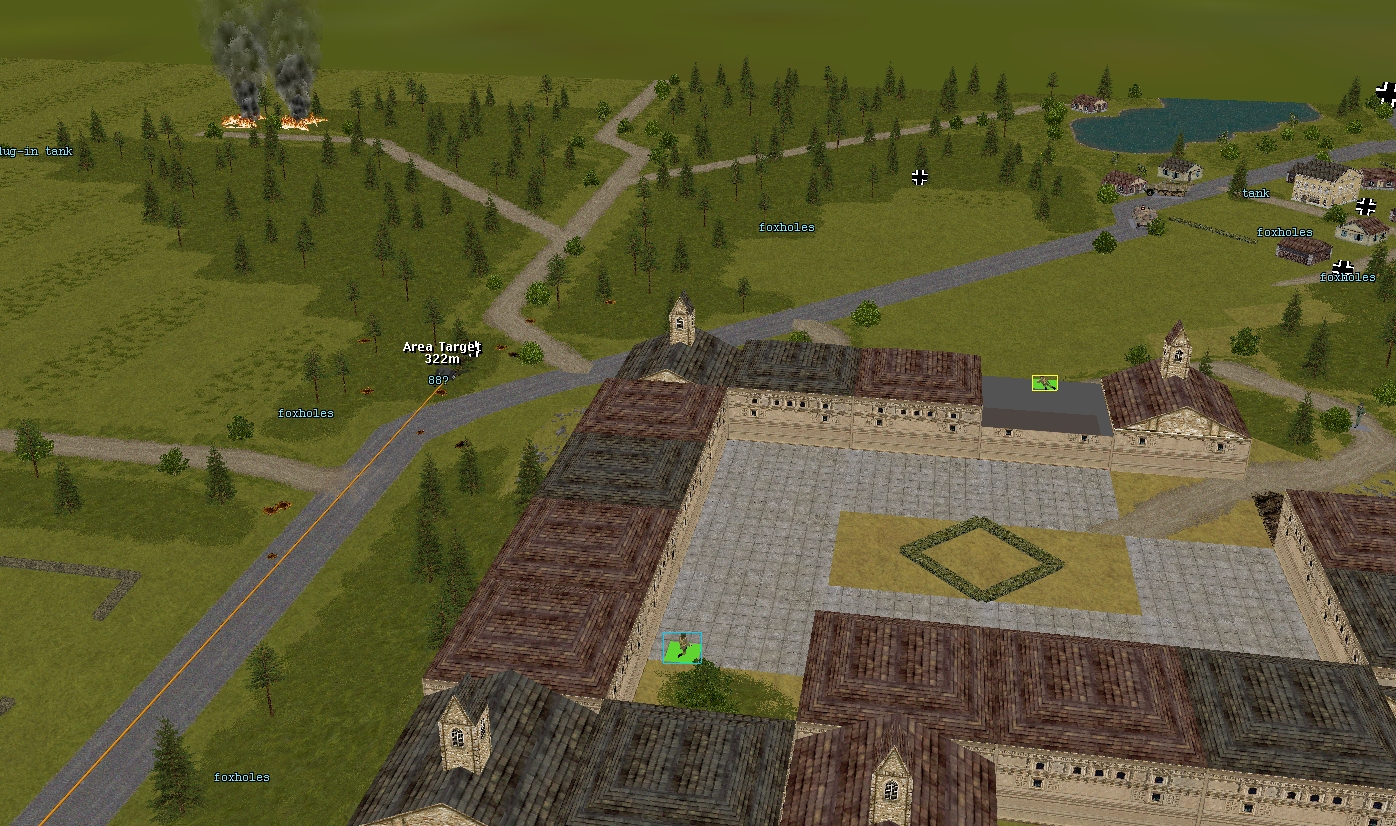
And Tuck’s patient toil with map, radio, and field glasses finally pays off at T+46. Secondary explosions… skedaddling gunners… Allied units can now cross the road bridge without fear of 88mm objections!
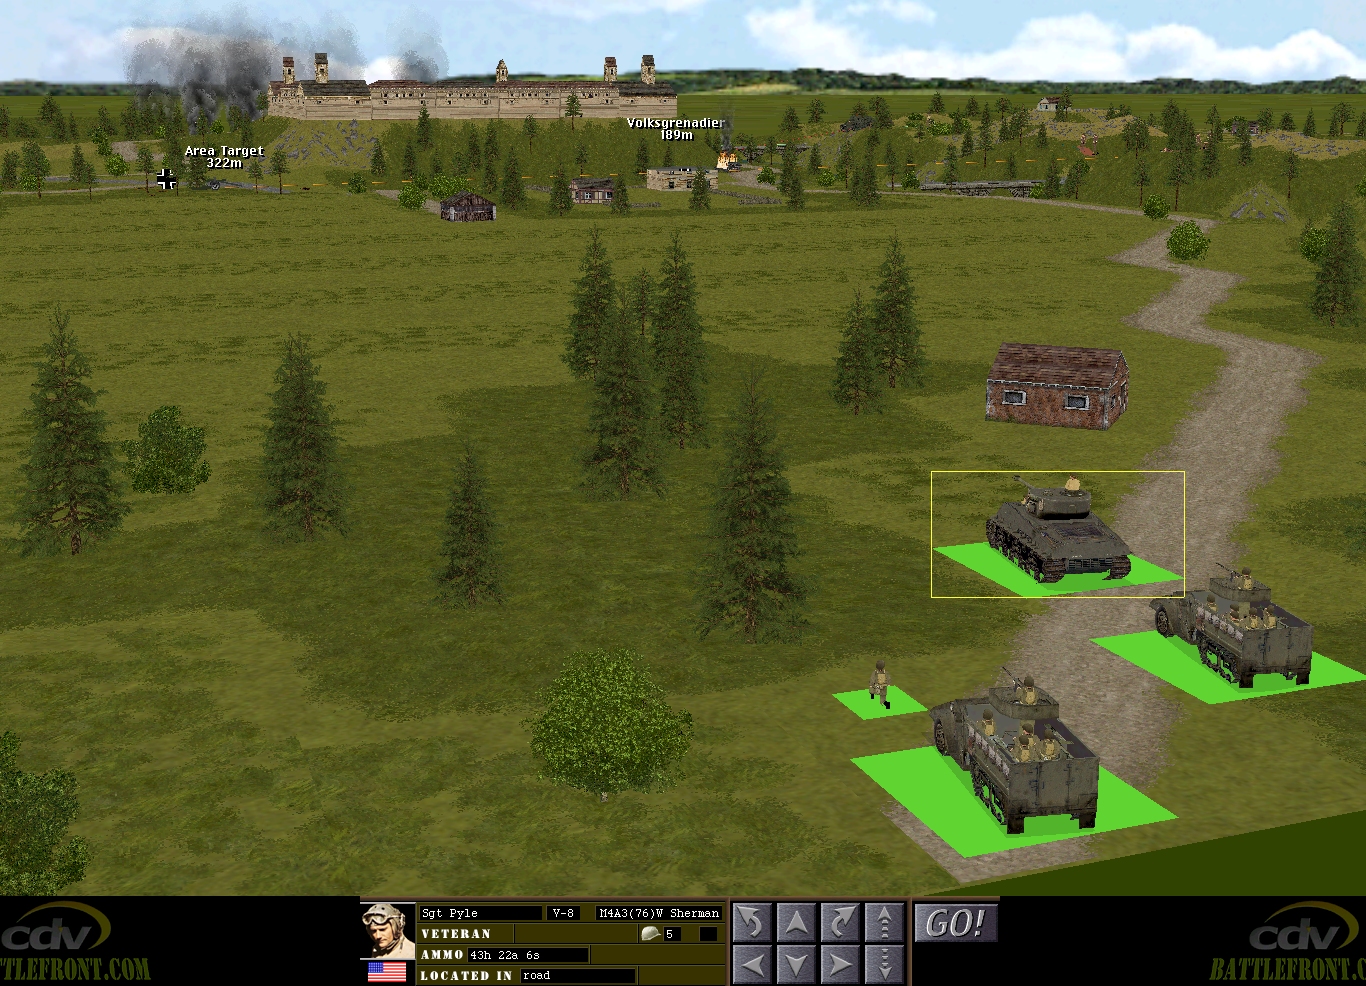
Turn 13 delivers its most gratifying gift at the close. Those gung ho US AFVs that managed to nip across the bridge at Mannsfeld before it was blown have made it to Nottingheim! Sergeant Pyle’s Sherman and Lieutenant Costner’s reduced strength (two 12-man squads and a bazooka team) but fully mechanised platoon should prove bally useful in the fighting to come.
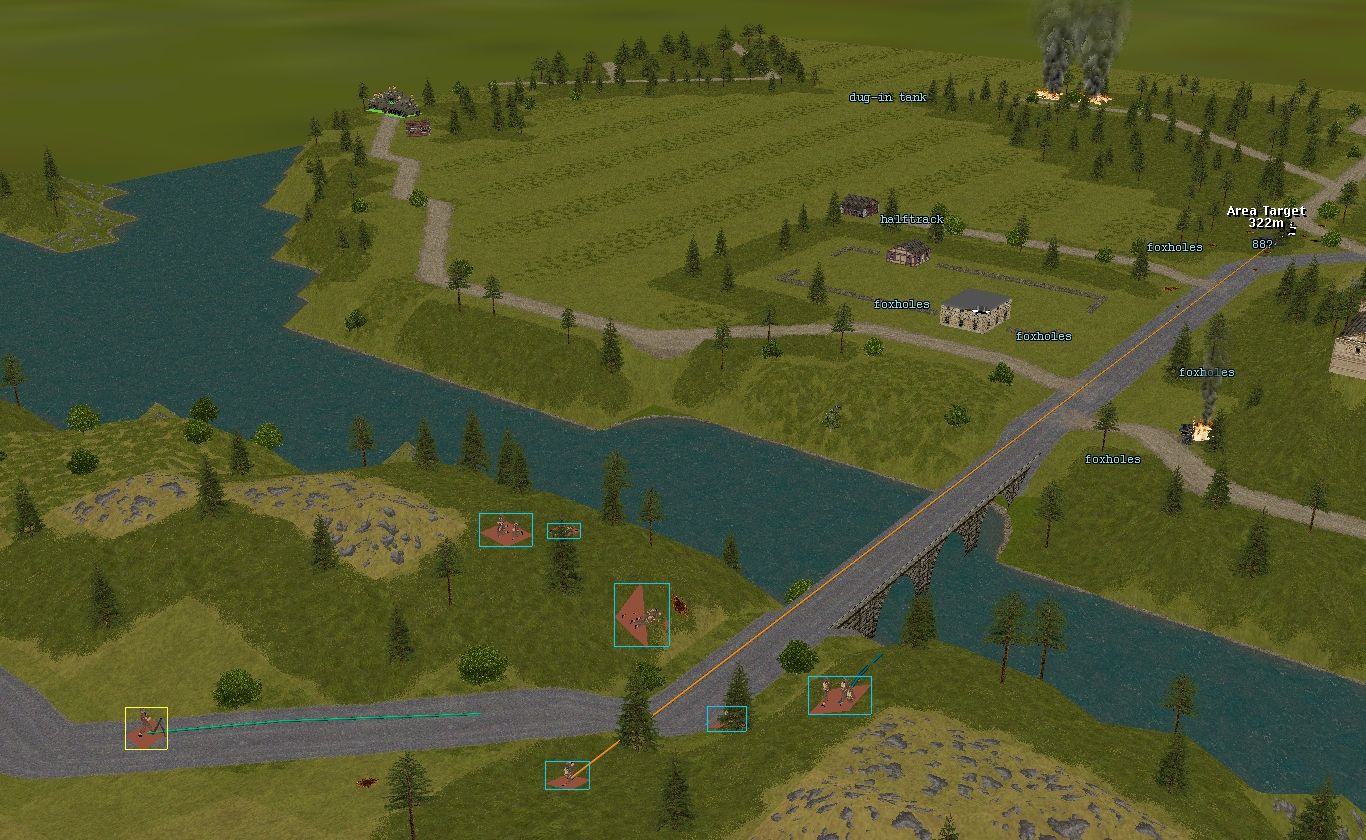
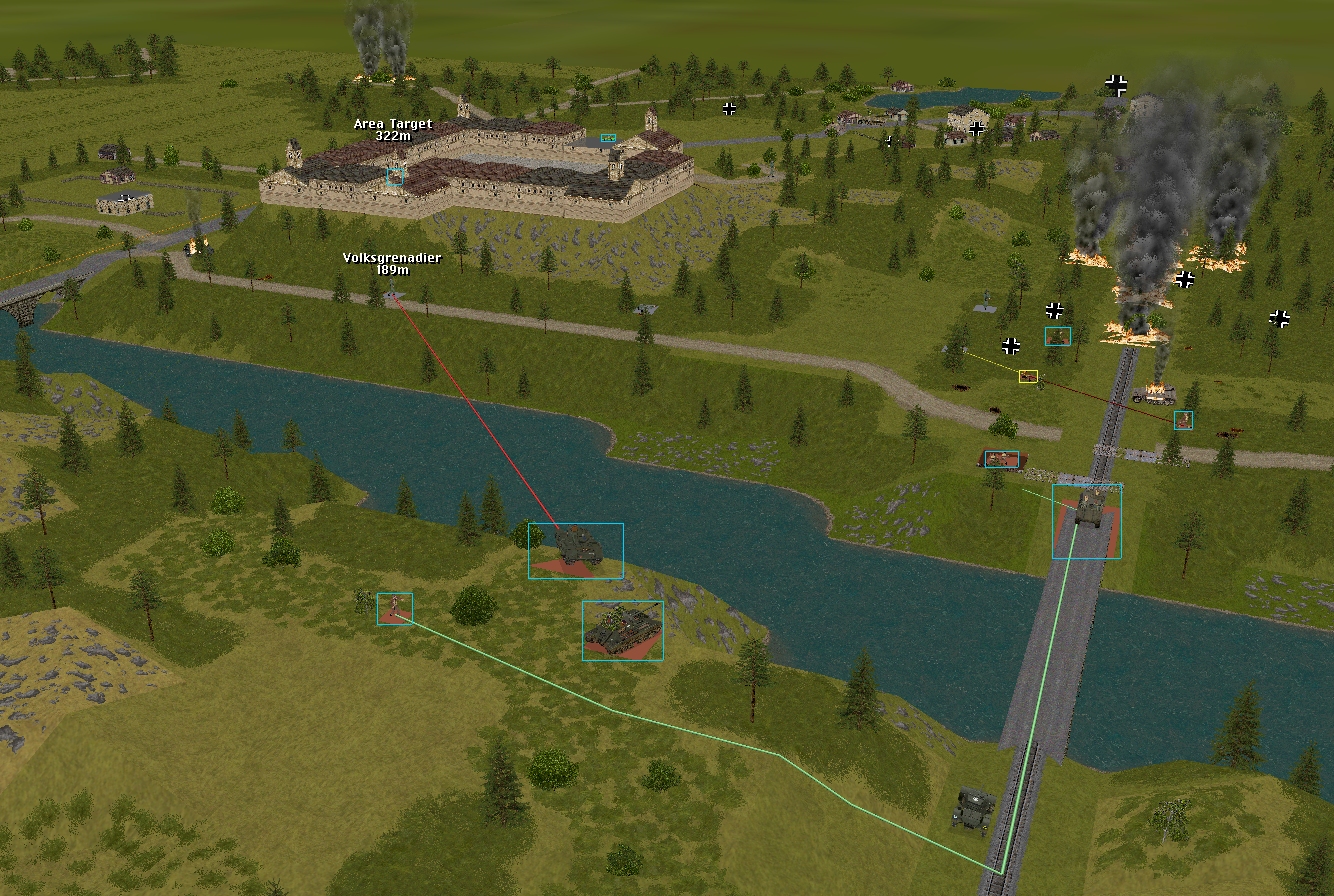
The situation at the end of the turn:

Turn 13 orders here, please. Commenters are cordially invited to suggest moves for the following eight unit groups (First come, first served. A maximum of one unit group per commenter. I’ll try to execute the turn as quickly as possible after all orders are in.)
(See screenshots for unit locations)
****anyone****
– Merry’s men (Lieutenant Merry + Sergeant Venison’s rifle squad + Corporal Fletcher’s M5A1 halftrack)
– Marian’s men (Lieutenant Marian + 3 x rifle squads + PIAT team + 3 inch mortar team)
– Sergeant Bowman’s Archer TD
– Sergeant Pyle’s Sherman
****subscribers only****
– Captain Hood (Six-man company HQ + arty spotter Lieutenant Tuck)
– Sergeant Johns’ Churchill VIII
– Captain Dale’s party (Six POWs armed with pilfered rifles and pistols) + Corporal Whitehand’s team (Two POWs armed with a pilfered Panzerschreck)
– Lieutenant Costner’s platoon (2 inf squads + bazooka team + 2 HTs)
Please start all order comments with ‘ORDER’ and any later revision comments with ‘REVISED ORDER’. This will help me distinguish firm instructions from suggestions and advice.
(Let’s see if I earn the nickname “Bloody Shambles”)
ORDER: Lt. Merry
HOLD FIRE
SNEAK back into the foxholes at [3,5,3] and HIDE
FACE EAST
AMBUSH enemies that enter a couple of metres into the clearing at [4,1,3]
ORDER: Sgt. Venison’s (A) 2-man fireteam
CRAWL the shortest possible distance southwestwards to get unimpeded shots into the same clearing
HOLD FIRE and AMBUSH as per LT. Merry
ORDER: Cpl. Fletcher’s halftrack
MOVE CAUTIOUSLY to the end of the first barricade, facing eastwards
BUTTON UP
ORDER: Sgt. Venison’s 4-man (B) fireteam
ASSAULT the enemies in [12,1,1] that are giving grief to Sgt Scarlet.
(Fingers crossed for 30 seconds of Archer indirect fire on [12,1,1] to give Jerry something else to think about).
In the absence of sufficient Commanders I’m giving myself several battlefield promotions.
ORDER: Lt Costner
Northern most H/T- Move to 62,2,4. Debus and SPLIT infantry 62,3,4.
Section A – MOVE thro forest to 55,2,5. HIDE.
Section B – Run to 62,5,4. MOVE thro forest to 63,3,1. HIDE.
Bazooka team – PAUSE 15sec. MOVE to 62,3,3.
Southern H/T – Debus and SPLIT squad to 61,3,4.
Section A – MOVE to 61,3,2. SNEAK to 61,4,1. HIDE.
Section B – MOVE to 61,2,2.
ORDER: Sgt Pyle
TARGET with M.G fire only Cabin 61,2,2.
ORDER: Sgt John’s Churchill
TARGET bothersome signallers circa 12,1,1. If they are not visible then TARGET Volksgdr circa 20,1,1.
ORDER: Capt Dale.
RUN back into 28,3,2 top floor. Position midway along south wall/windows facing S.E then HIDE.
Sgt Whitehand – SET AMBUSH 30,2,1. Cross fingers.
ORDER: Sgt Tuck
Change TARGET to 36,3,2.
Its all gone a bit too quiet – hopefully due to vigorous head scratching and thinking cap wearing. Here are my quick thoughts to ideally stimulate some better ones.
The Castle – Capt to move back inside asap. Bazooka team set up ambush marker for say 30,2,1.
Rail bridge – Hold position. The Archer to remain to provide fire support.
Churchill – Target ex signallers or white house (36,3,2)?
Road bridge – Infantry hold position. Arty change target to white house (36,3,2).
Lt Costner – send Bazooka team with infantry squad escort east thro forest to take out the dug in tank.
Tim,
Are Venison’s 4-man B fireteam able to get line of sight to anything useful from within the signalbox?
I’m thinking whoever’s attacking Scarlet; or alternatively the woods where the VolksGrenadiers might appear, around [4,2,3].
Similar question for the half-track: would moving between the barricades give it a deeper view into the woods at [12,1,1]?
I presume the only way for it to get off the bridge is past the barricades; it can’t go round the western side of the signalbox, can it?