

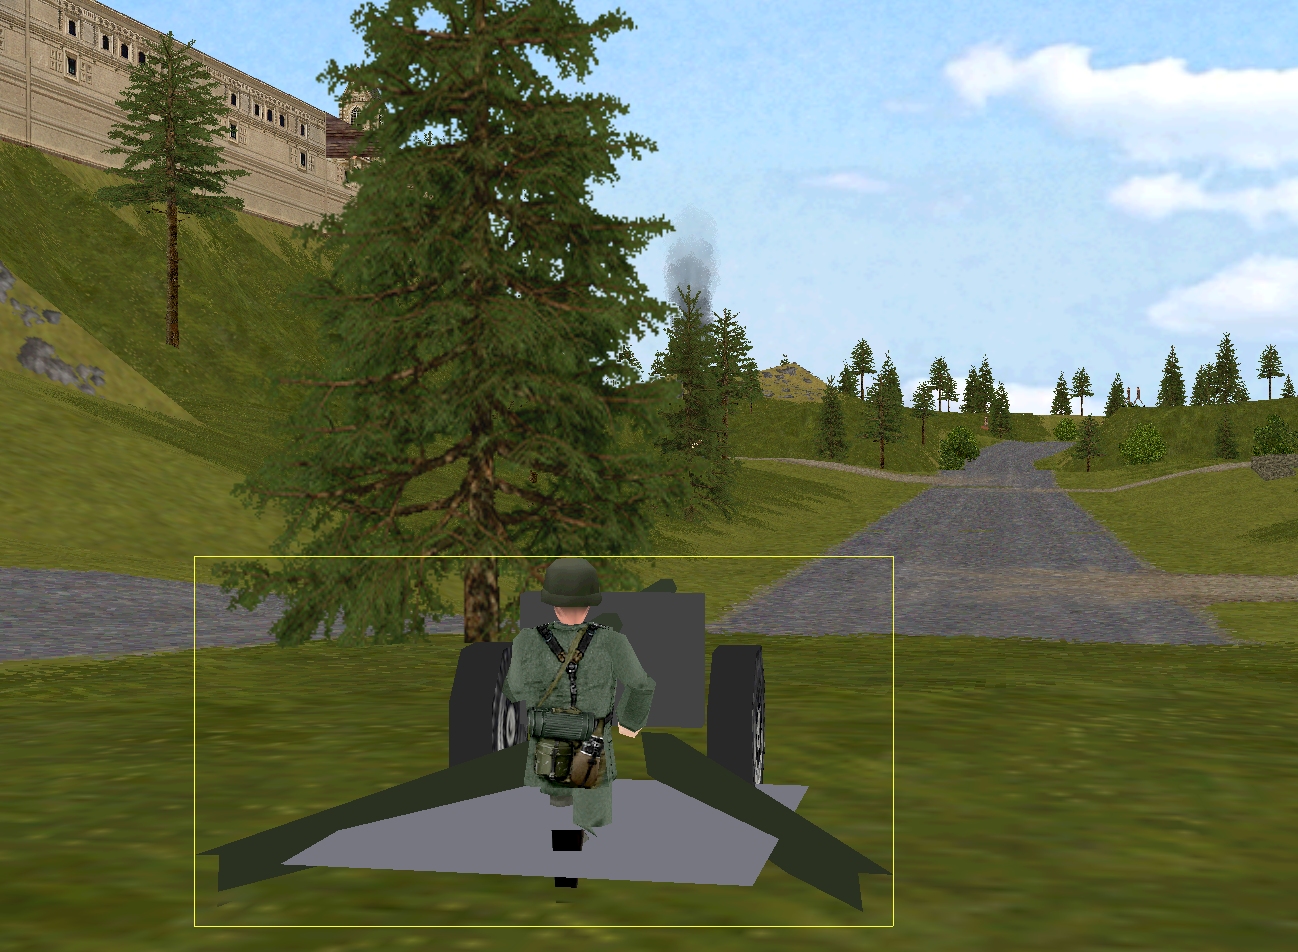
From their resolve and fighting prowess, you wouldn’t guess the four-man German team next to the railway bridge has a combined age of 263. The plucky band of Deutsch pensioners is led by a hard-of-hearing forester called Franz, a veteran of Verdun. It’s this wise old warhorse who issues a retreat order early in Turn 9.
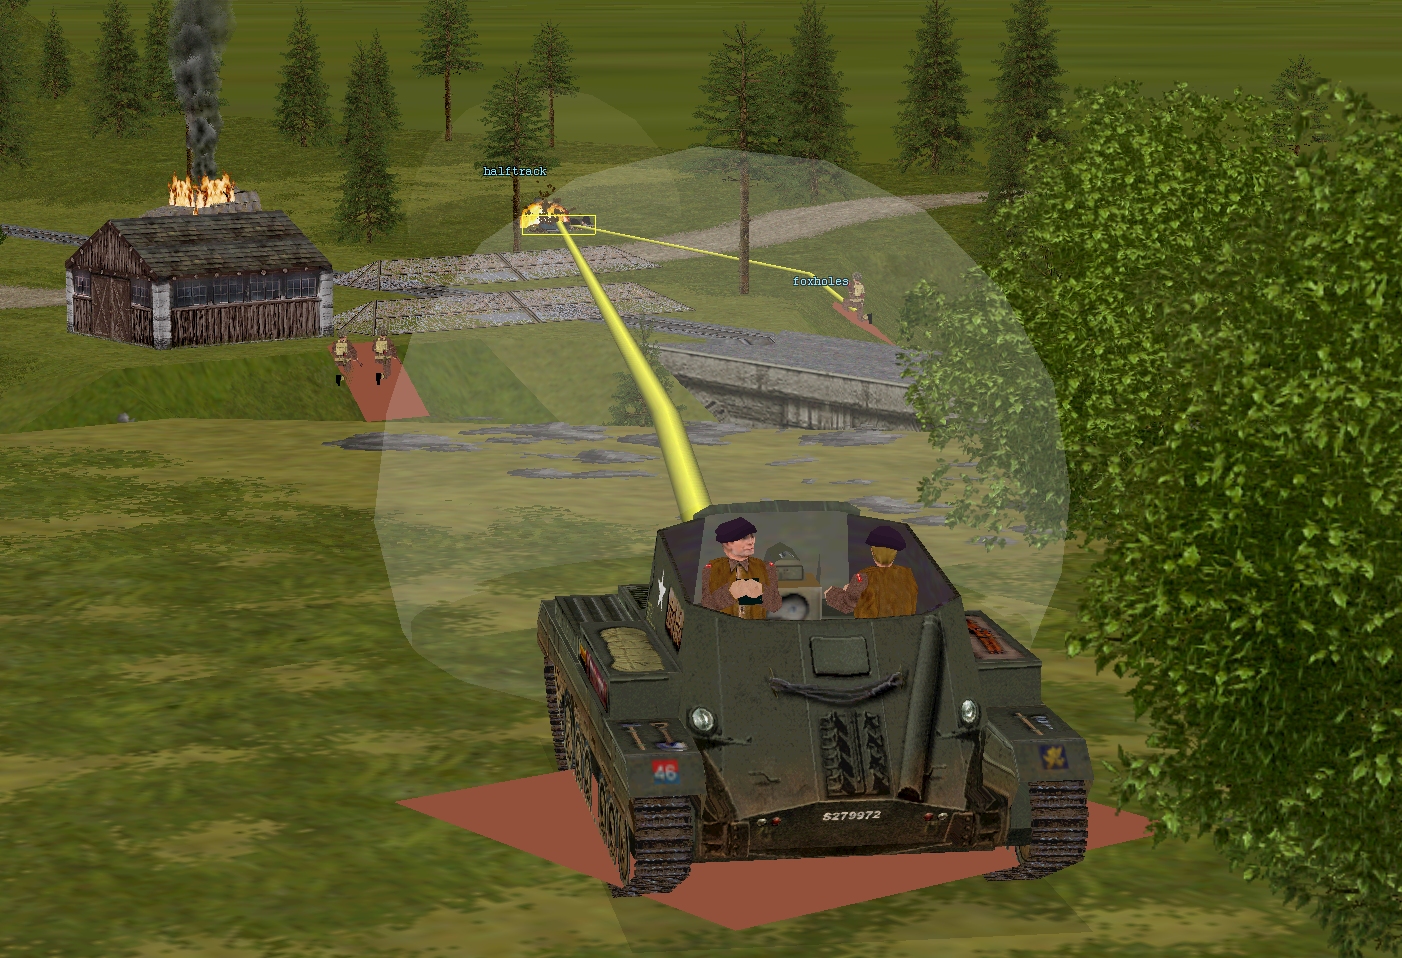
The spruce-trimmed septuagenarian and his comrades probably would have stuck around if an Allied tank destroyer hadn’t begun filling in their, presumably Panzerfaustless, foxhole with 76mm HE.
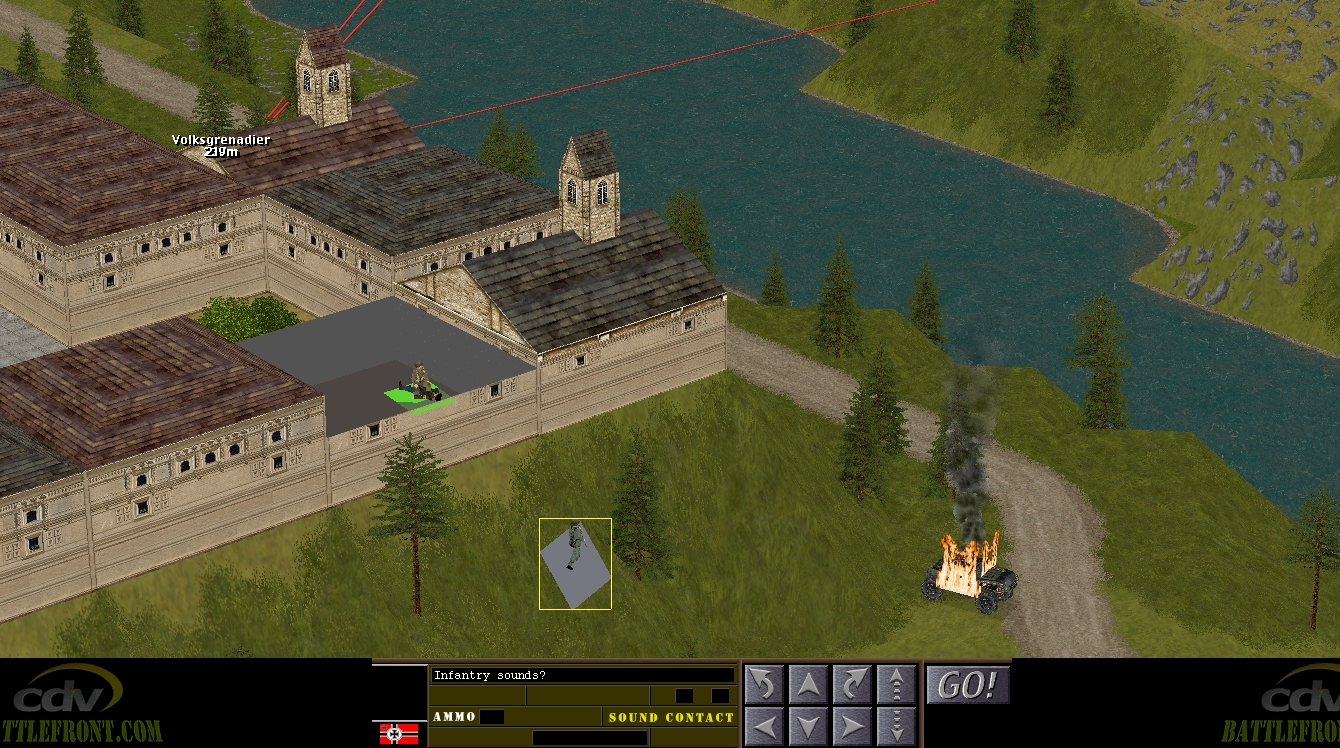
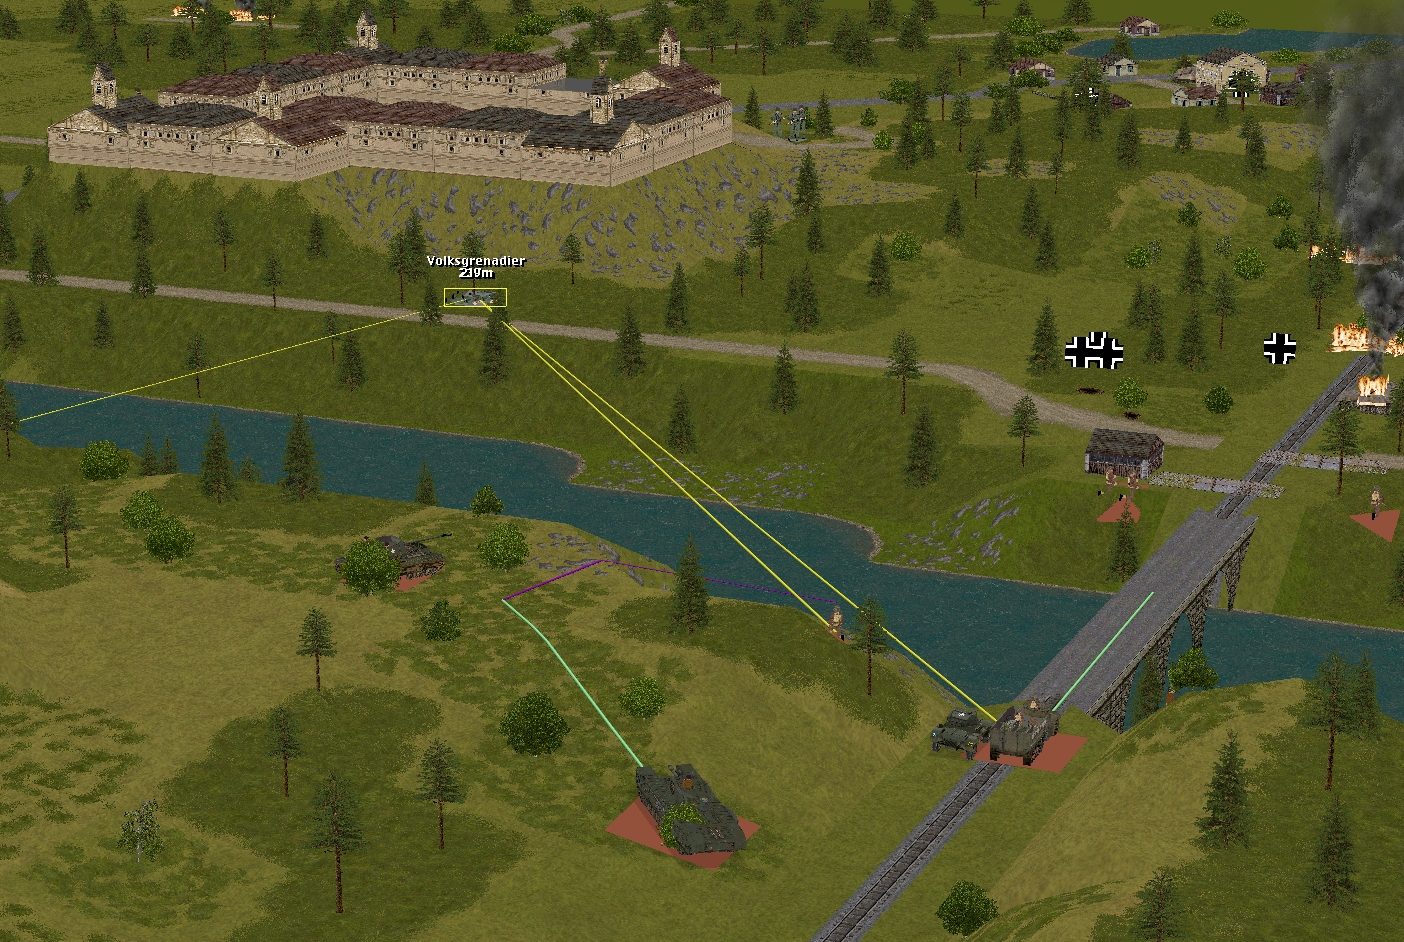
Around fifteen seconds after the vamoosing Volksturrmers vanish into the woods, a thunderous report shifts my attention to the other Bogen crossing. Having got across the road bridge in one piece…
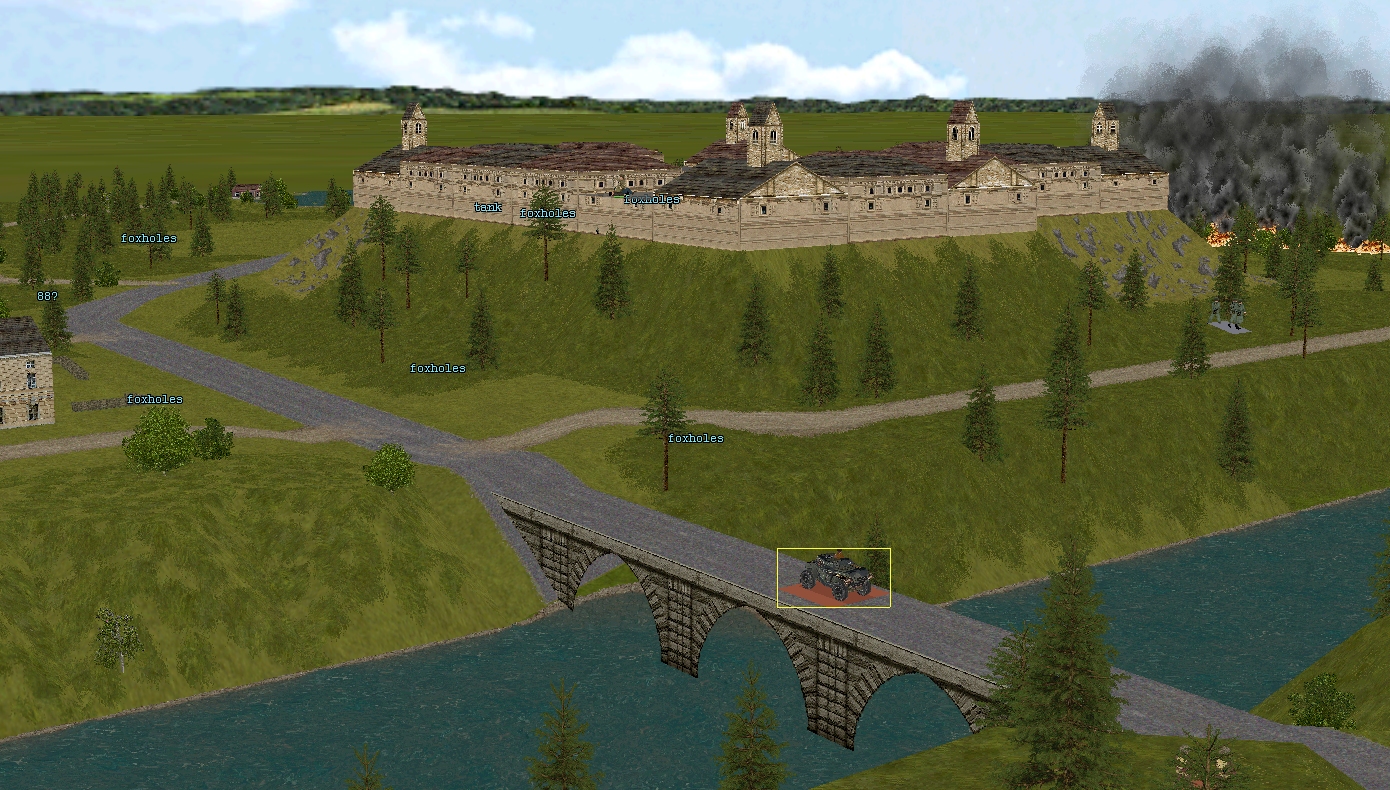
…the Comment Commanders’ speeding scout car is in the process of executing a hairy right-hand turn when it’s ripped asunder by either an AT rocket or an AP round.
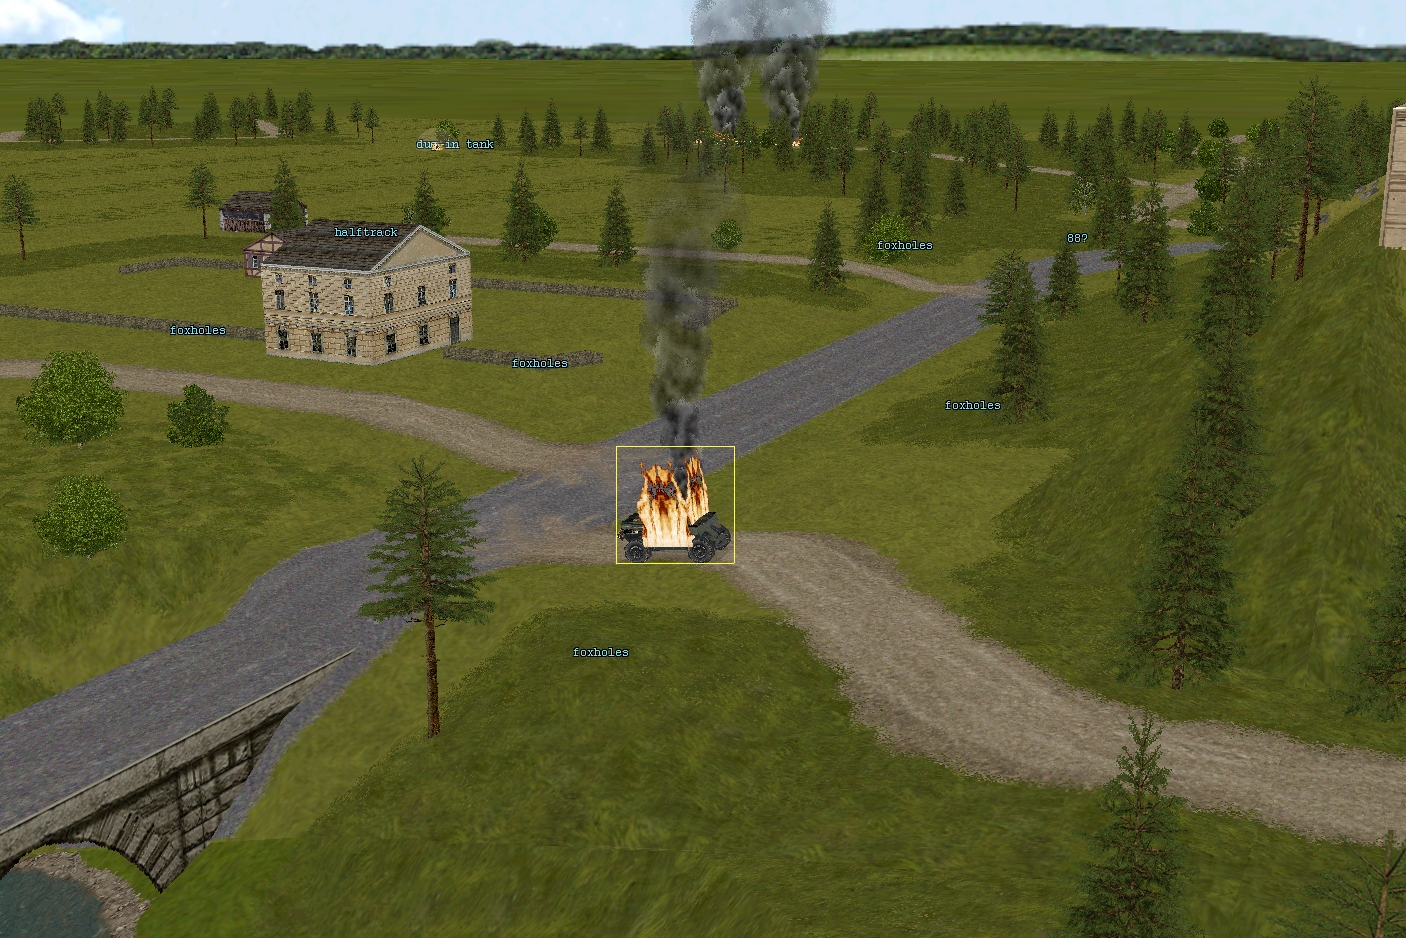
Sadly, Corporal Much and his two companions do not pass Go or collect £200.
Other notable developments during this sixty:
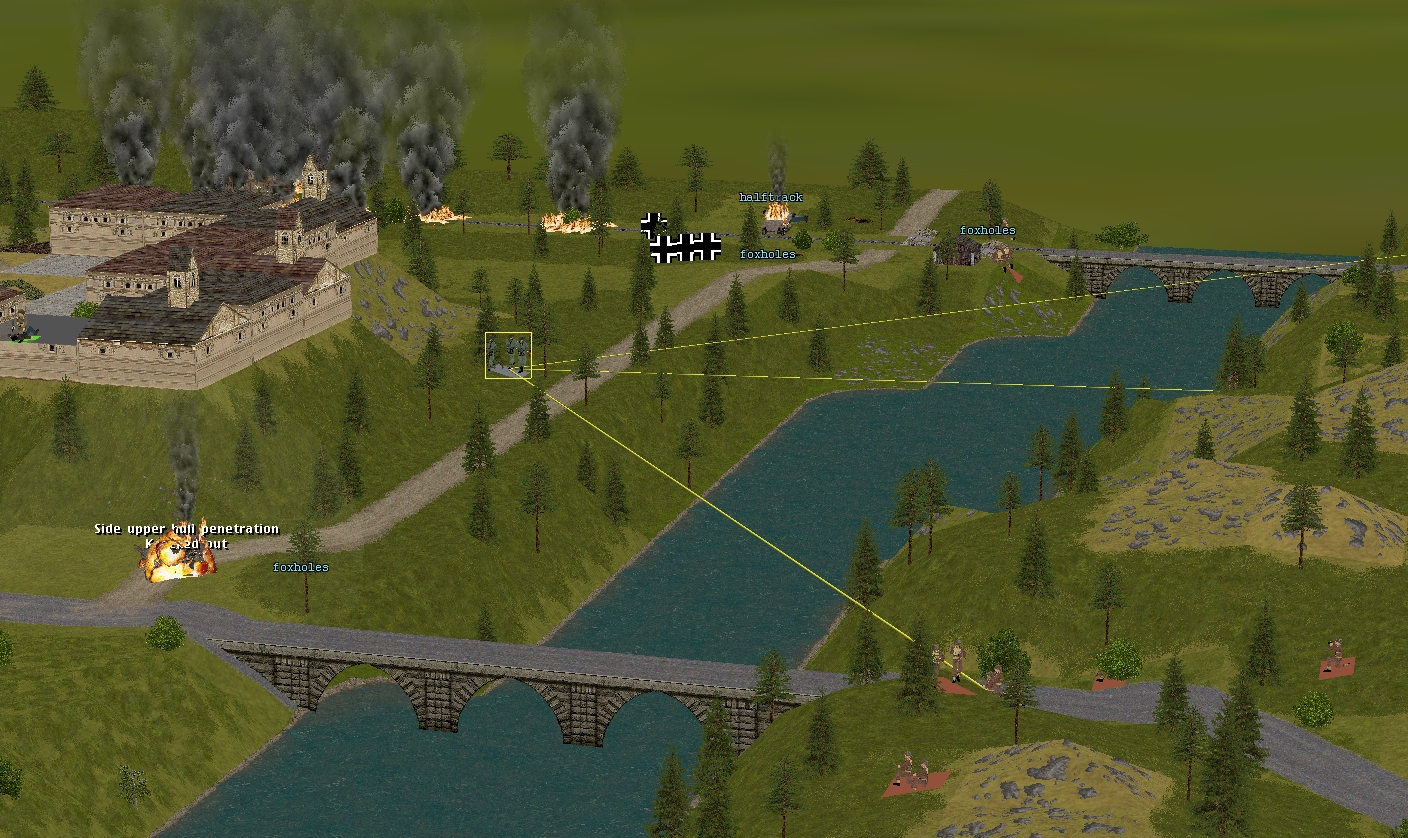
The Volksgrenadiers west of the castle falter after taking fire from a variety of British units including the advancing halftrack, Sherwood’s rifle squad, Merry, and Hood.
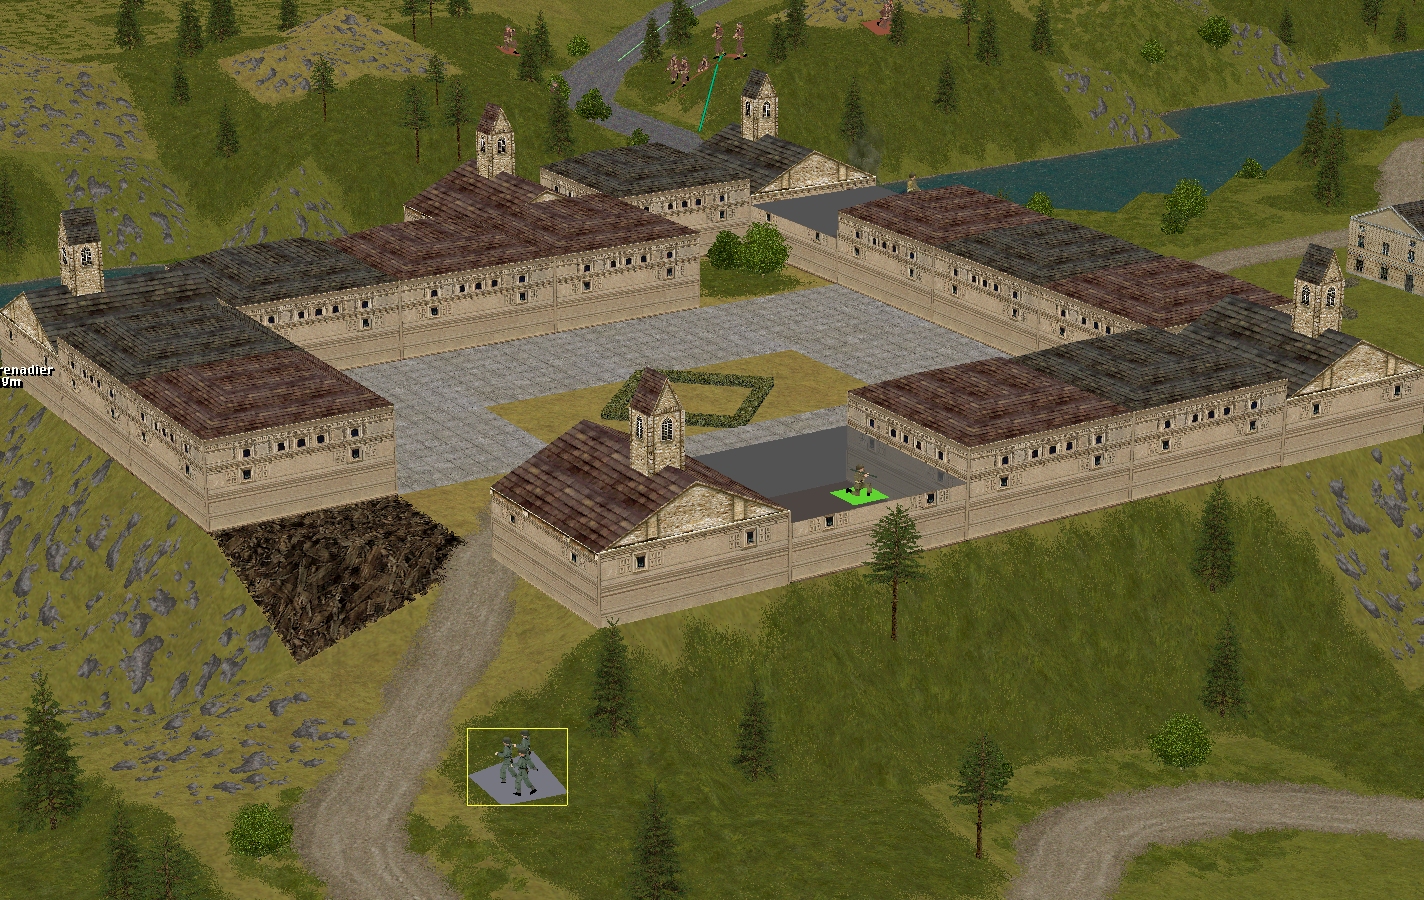
The Volksgrenadier squad east of the castle begins moving. Are they making for the castle courtyard? The rail bridge? There’s no way of telling at this point.
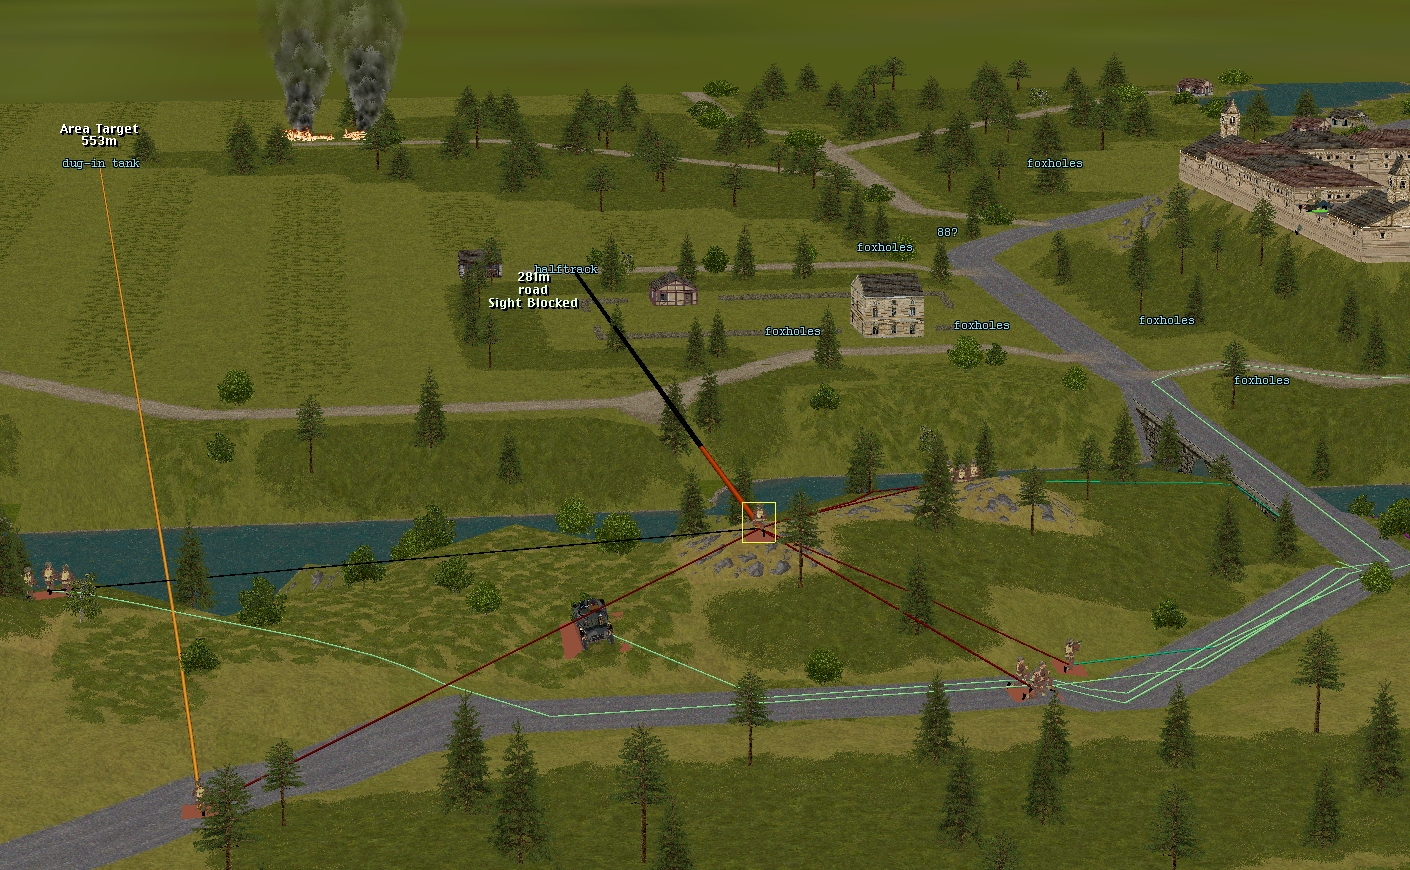
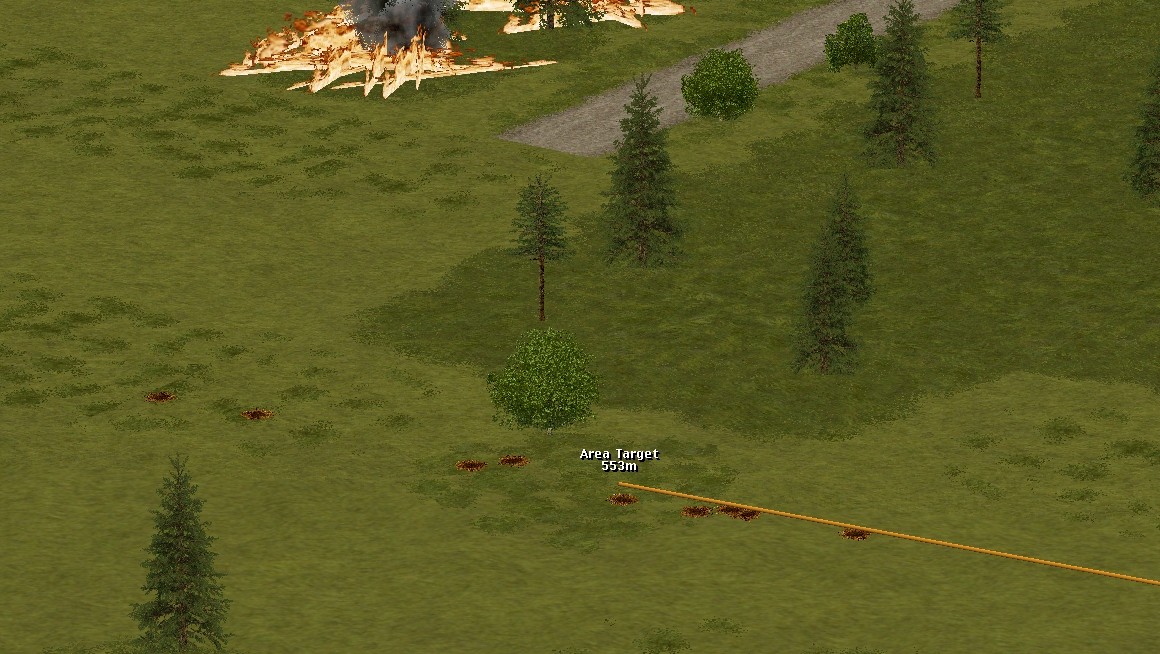
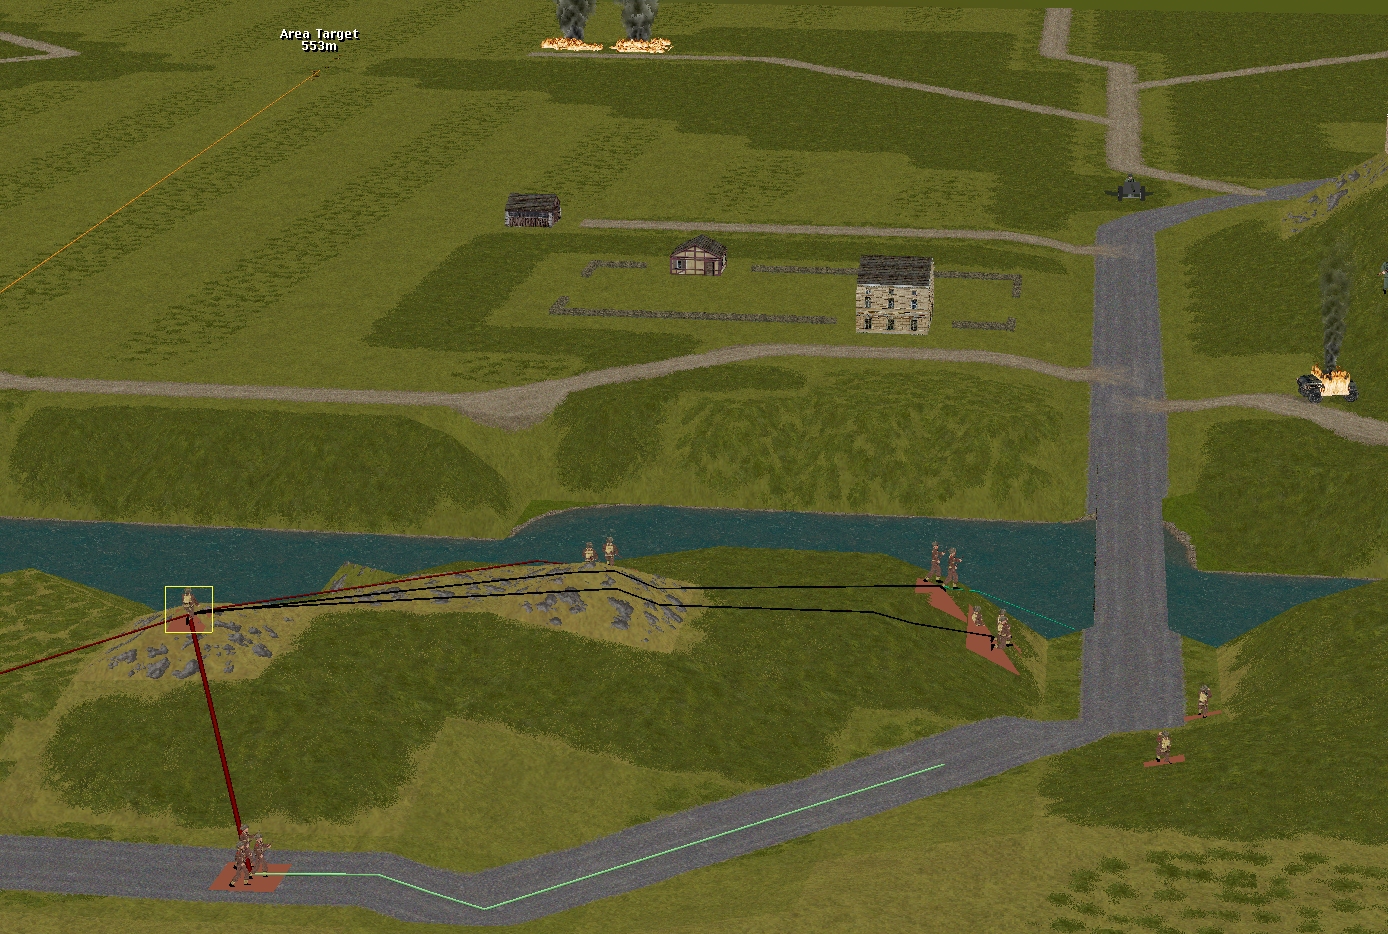
The 3-inch mortar begins pummeling the copse where, according to Captain Dale, a dug-in German tank lurks. Of the twelve bombs it dispenses, around a half fall short or long.
Dale hears movement in the woods below his window.
In the final seconds of the turn a generic ‘gun?’ marker appears circa 29, 4, 5.
The situation at the end of the turn:
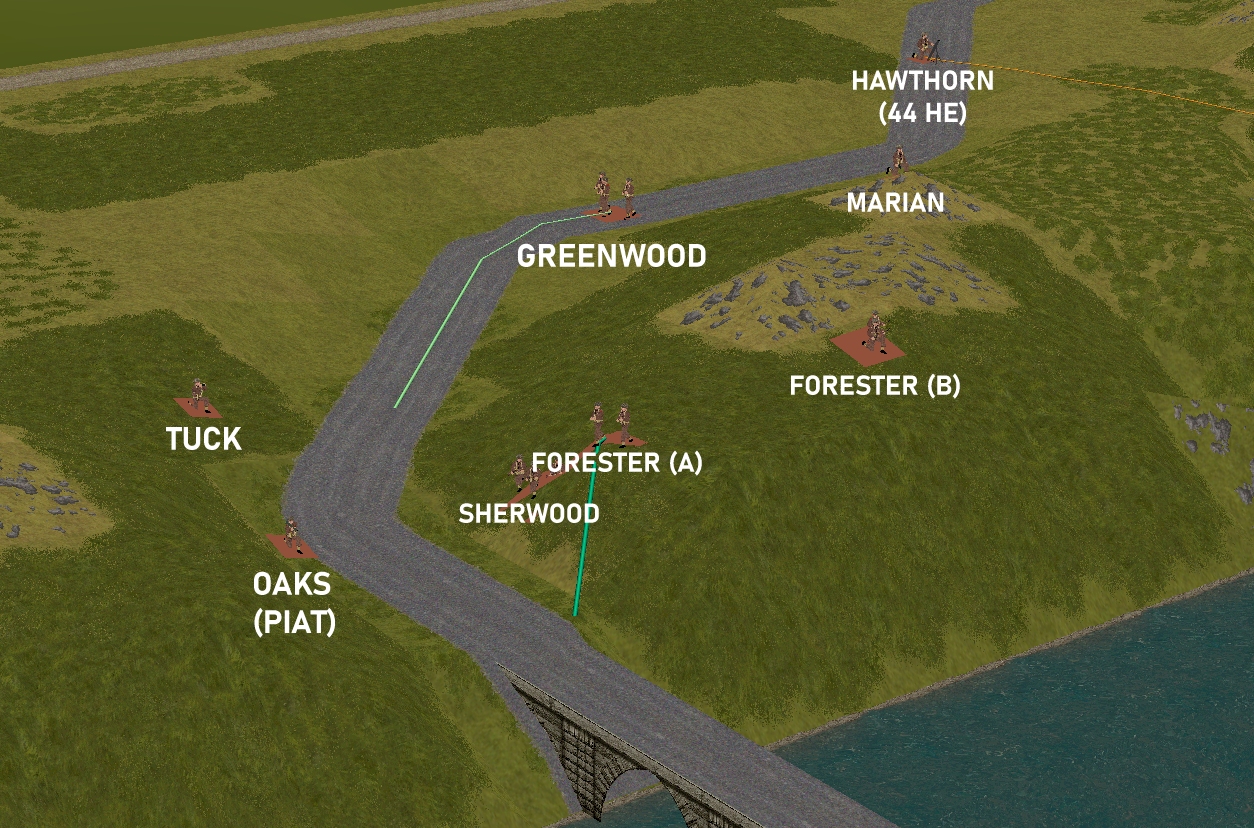

Turn 10 orders here, please. Commenters are cordially invited to suggest moves for the following six unit groups (First come, first served. A maximum of one unit group per commenter. I’ll try to execute the turn as quickly as possible after all orders are in.)
(See screenshots for unit locations)
****anyone****
– Merry’s men (Lieutenant Merry + Sergeant Venison’s rifle squad + Corporal Fletcher’s M5A1 halftrack)
– Marian’s men (Lieutenant Marian + 3 x rifle squads + PIAT team + 3 inch mortar team)
– Sergeant Bowman’s Archer TD
****subscribers only****
– Captain Hood (Six-man company HQ + arty spotter Lieutenant Tuck)
– Sergeant Johns’ Churchill VIII
– Captain Dale’s party (Six POWs armed with pilfered rifles and pistols) + Corporal Whitehand’s team (Two POWs armed with a pilfered Panzerschreck)
Please start all order comments with ‘ORDER’ and any later revision comments with ‘REVISED ORDER’. This will help me distinguish firm instructions from suggestions and advice.
ORDER:
Forester (A) to continue to destination, wait 15 seconds at the foot of the bridge, then cross the bridge at a cautious pace.
Forester (B) to put 15 seconds rifle-fire on the 2-story building in grid 36
ORDER: Sgt. Venison’s 2-man fireteam
FAST into the vacated foxholes, maintain north-east facing
ORDER: Sgt. Venison’s 4-man fireteam
MOVE at a non-exerting pace to the upper floor of the signalbox with a viewing arc from north-east to east
ORDER: Cpl. Fletcher’s halftrack
Continue fast move onto bridge but the endpoint might need finessing to maintain LOS to the Volksgrenadiers at approx [20,1,2]
ORDER: Lt. Merry
RUN across the bridge to replace Sgt. Venison in defilade at approx [3,3,3]
ORDER
Tuck to call in a bombardment on the (likely) 88 at 29,4,5
Hood can stay put for now. Though for reference does he as the company HQ provide a tangible benefit to nearby squads, morale-wise or otherwise?
Yes he will improve morale, combat effectiveness and movement speed BUT needs to be in command distance, indicated by a brown line in the screenshots. Rule of thumb is it needs to be in direct LoS or within 50m approx.
ORDER:
Capt Dale to hold fire. Crawl to south side of room (S.E cnr) and set an ambush marker @ 28,3,1.
ORDER:
The mortar to cease fire and move to 34,2,5 following the road as much as possible.
Order:
Lt Marian to MOVE to 34,2,5 then RUN to 34,3,3 (keeping below ridge line), then SNEAK to 34,4,3 and hide. From here he should just make out the ’88.
These last two orders are to enable the mortar to engage the ’88 as a backup to the arty.
Ouch, scout cars are in a tricky business! It doesn’t look like the 29,4,5 gun has the angle to have dispatched Cpl Munch. But I wonder if a cautious faust/schrek operator in the two story building of grid 36 could have escaped our watchful infantry…
Ok…So maybe ‘reconnaissance by speed’ isn’t a very good idea.
I should probably stop taking tactical advice from ork Speed Boyz 🙁