
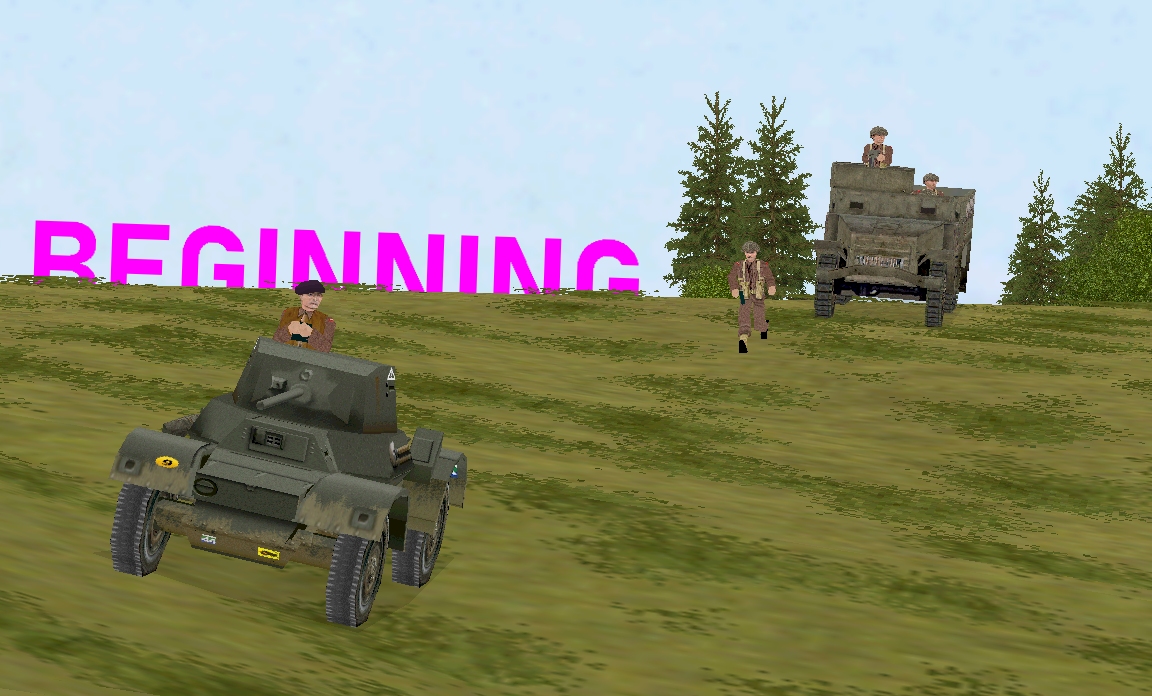
Splendid – we now have enough volunteers to begin Bouncing the Bogen! In Turn 1, thanks to orders issued by half a dozen game Cornerites, kit jangles and leaf springs flex on the heavily wooded western side of the river, and, inside Schloss Nottingheim, boots beat quick tattoos on cold cobblestones.
After checking for booby traps, Lieutenant Tuck, the spotter for an off-map battery of on-call 25-pounders (120 round of HE or smoke available), takes up residence in the semi-derelict hilltop cottage at 18,2,4.
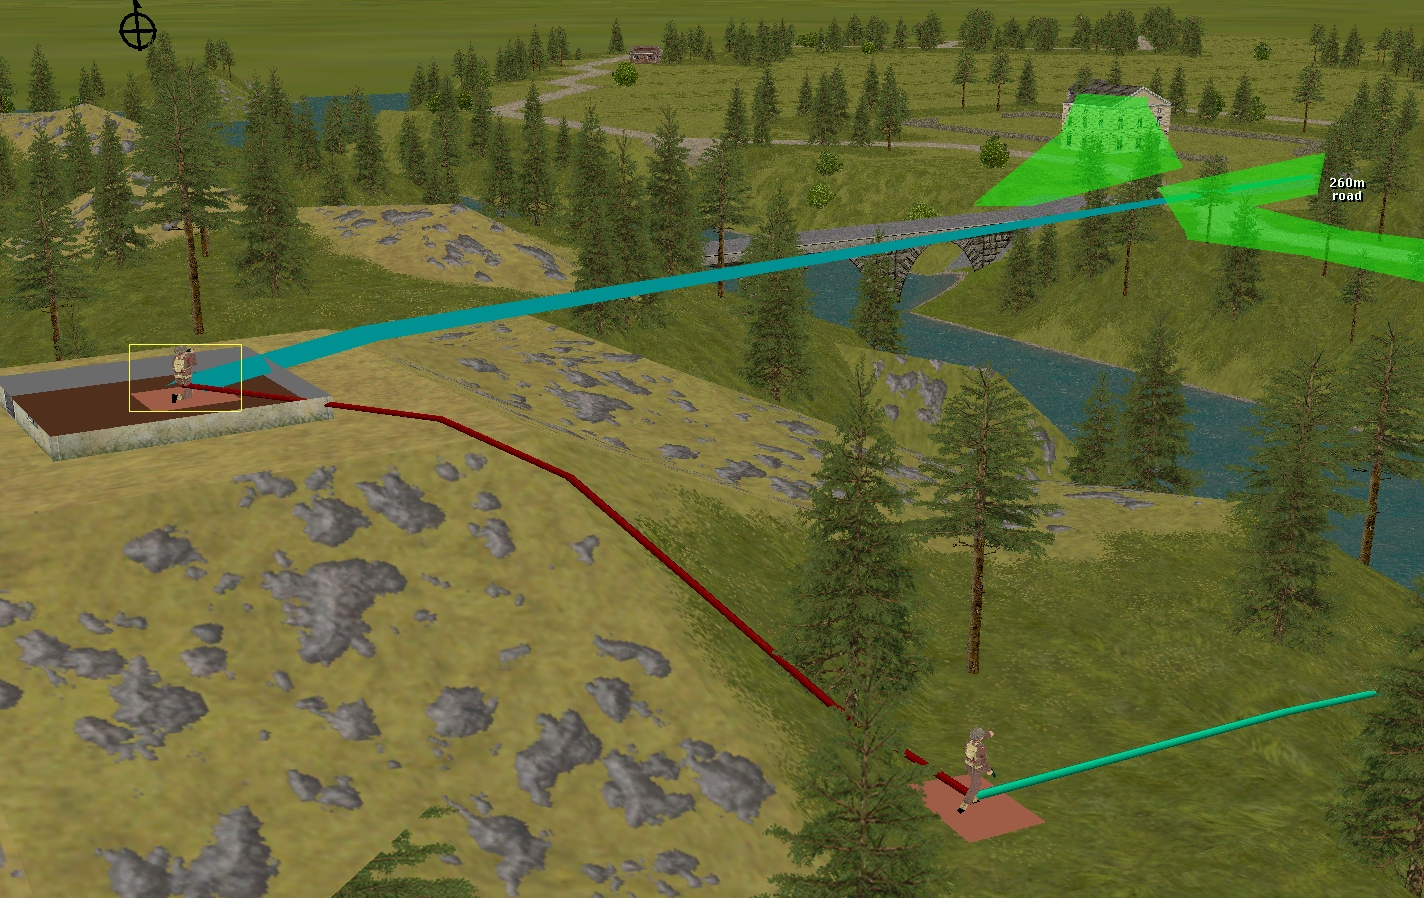
While he can’t see the road bridge from his new vantage point, he can inspect the two-storey building at 36,3,2 and a section of the road below the castle (areas shaded green in above grab = rough indication of in-LoS terrain).
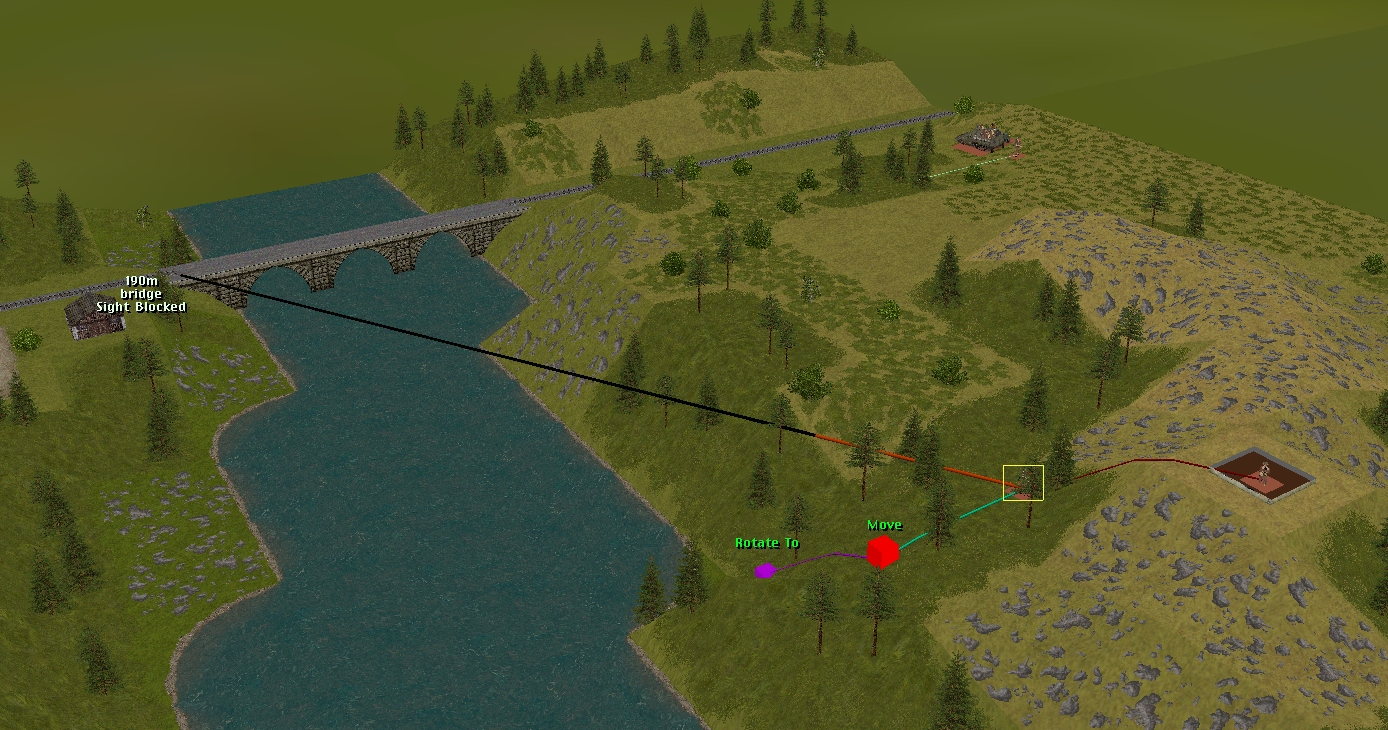
Captain Hood is clambering over windthrow and pushing aside spruce branches when Turn 1 ends. From the shady spot he’s making for, will he be able to make out the eastern end of the rail bridge? It’s hard to say. In CMBO, tree ‘doodads’ don’t equate to actual trees. It’s the distance to the edge of the underlying woodland that determines how severely LoS is degraded.
Corporal Much’s Humber motors to 26,1,4 as instructed, but on arrival the three-man crew refuses to dismount citing CMBO engine limitations. (Sorry, I should have mentioned earlier that AFV crews can only quit KOed steeds.)
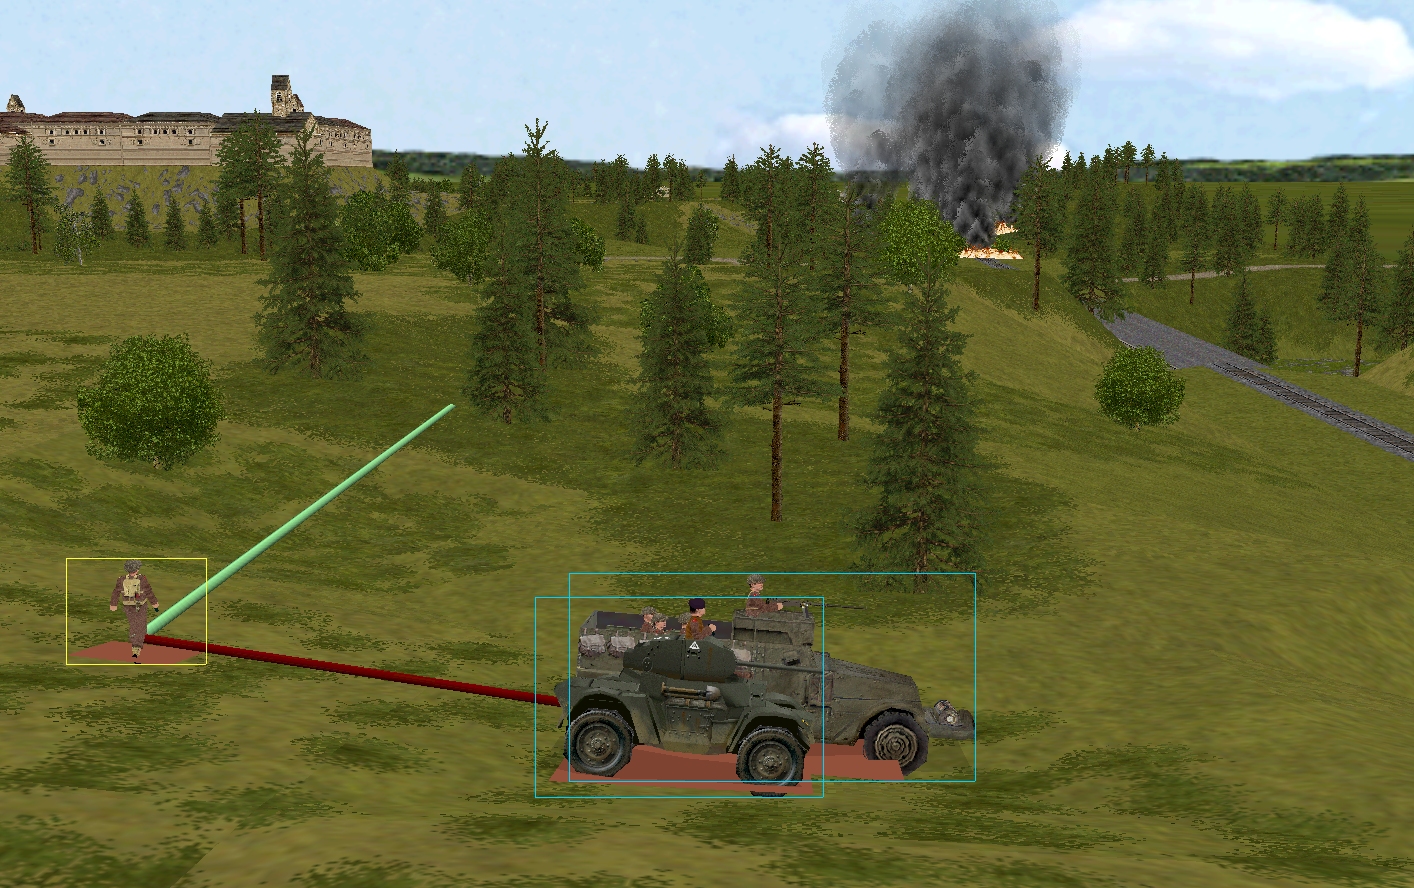
At T+60, in brush close to the railway cutting, the Daimler and loaded halftrack await further instructions, while nearby, Lt Merry heads for the woods.
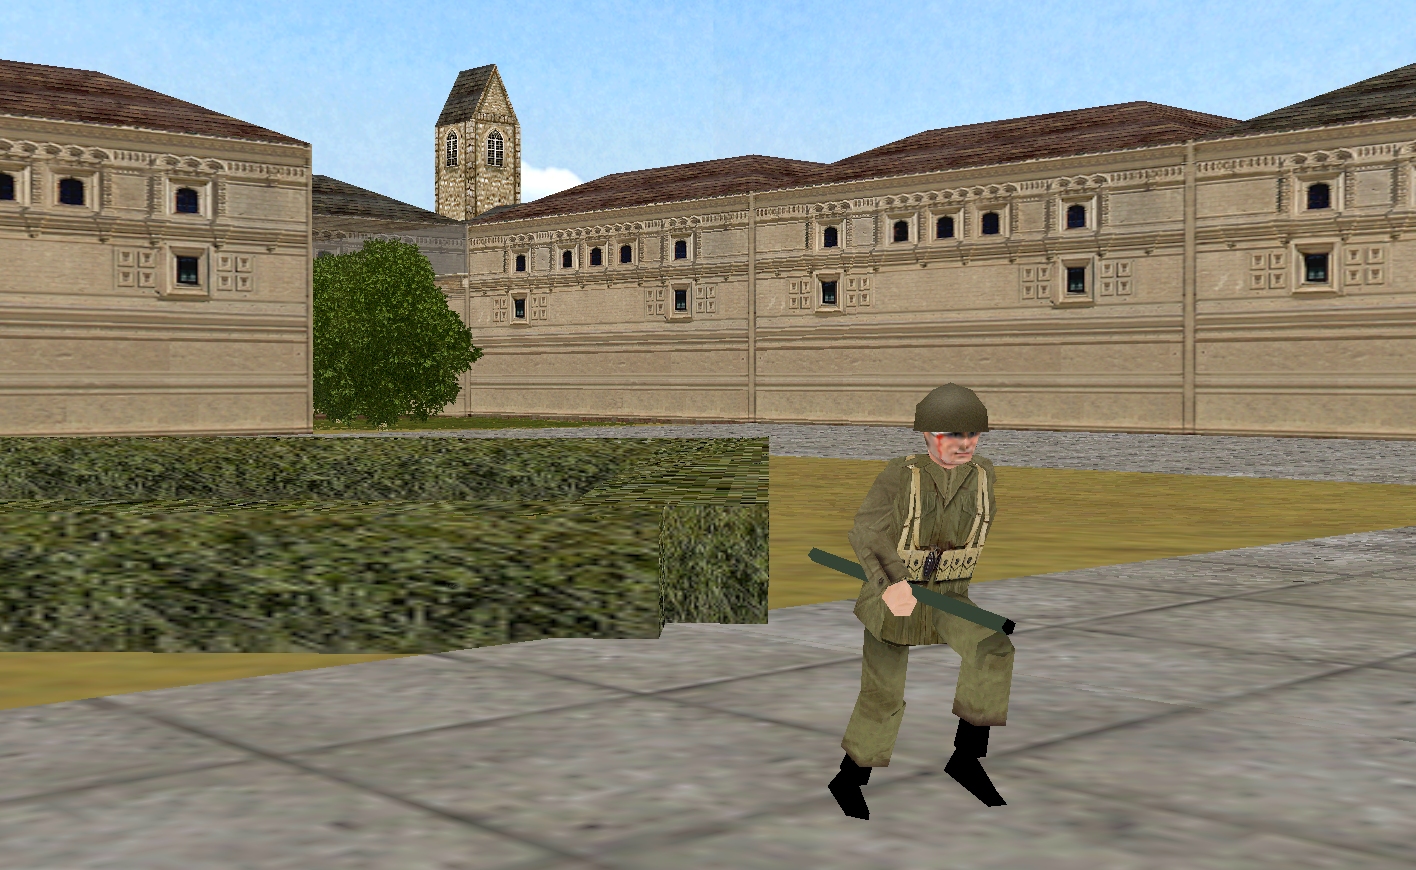
The turn’s most daring bit of maneuvering is probably Corporal Whitehead’s dash across the castle courtyard. Fortunately, the German MG team and sniper at 28,3,2 appear not to notice the two USAAF POWs and their Dunkelgelb drainpipe.
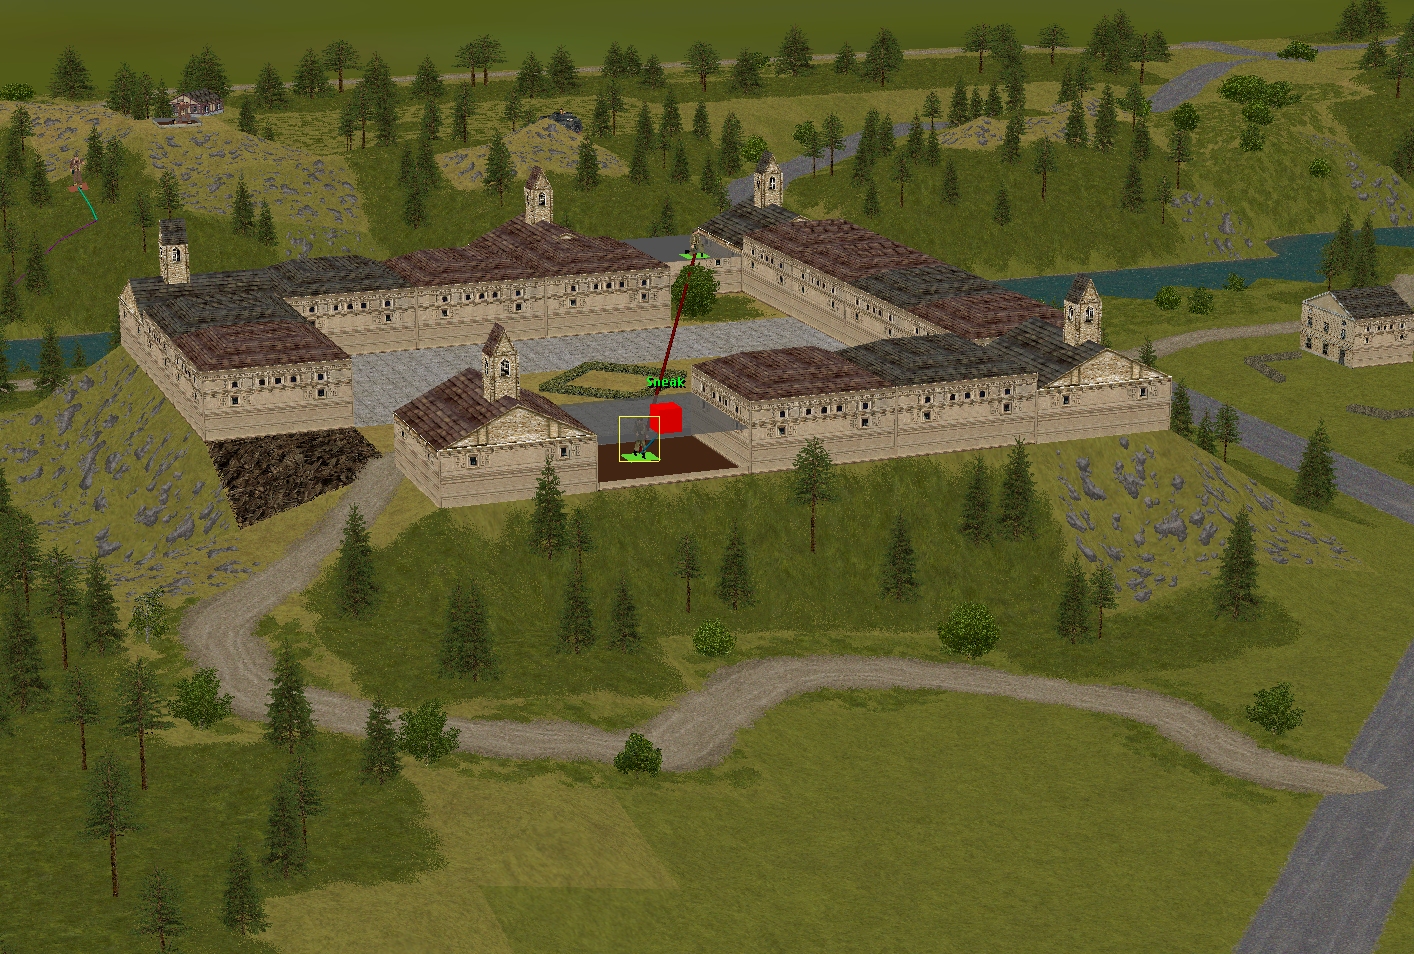
At the start of Turn 2, Whitehead, Merry, and Hood are still on the move (but receptive to additional or new orders) and no enemy units are visible.


Turn 2 orders here, please. Commenters are cordially invited to suggest moves for the following units (First come, first served. A maximum of one unit/unit group per commenter. I’ll try to execute the turn as quickly as possible after all orders are in.)
(See screenshots for unit locations)
****anyone****
– Corporal Much’s Humber scout car
– Corporal Fletcher’s M5A1 halftrack + Sergeant Venison’s rifle squad + Lieutenant Merry (Four-man platoon HQ, Venison’s boss)
****subscribers only****
– Captain Hood (Six-man company HQ)
– Lieutenant Tuck (Two-man spotter team for a battery of 25-pounders. 120 rounds)
– Sergeant Scarlet’s Daimler armoured car
– Captain Dale’s party (Six POWs armed with pilfered rifles and pistols) + Corporal Whitehand’s team (Two POWs armed with a pilfered Panzerschreck)
Please start all order comments with ‘ORDER’ and any later revision comments with ‘REVISED ORDER’. This will help me distinguish firm instructions from suggestions and advice.
OK. Let’s save their ladyships’ dainty plates of meat (feet).
Provided it can handle the adverse camber, and won’t run down onto the rail track and then up the slope again…
ORDER: Cpl Fletcher’s halftrack + Sgt Venison’s rifle squad
CAUTIOUS MOVE to 1,4,5 and Disgorge cargo
ORDER: Sgt Venison’s rifle squad
CAUTIOUS MOVE to 1,5,5
(If someone wants to command them to push further forward, eg 2,2,5, I’m OK with that)
Ok, let’s try poking our nose out.
ORDER
The Humber to drive round to the end of the road leading to the bridge (26, 4, 5) where they can get a clear view across the bridge. Stop for as little as possible (five seconds?), and immediately reverse back into cover (34, 3, 1).
Hopefully that should get us some intelligence before the enemy start shooting
ORDER:
Dale’s desperados and the Whitehand duo to continue up to their respective second floors. I want all 16 eyeballs looking out of their east windows: Dale and his crew towards the MG/Sniper part of the castle, and Whitehall and his buddy trying to spot any juicy targets along the road / hamlet area.
ORDER
I like Col. K’s idea about pushing across the west side of the castle and up the north; the south side of the castle does (on reflection) look pretty difficult to move through with vehicles.
Scarlet’s armored car to 1,3,5 after a 30-second delay (to let the half-track and perhaps infantry take a gander), facing toward the east end of the rail bridge.
“on arrival the three-man crew refuses to dismount citing CMBO engine limitations”
Rank insubordination! Have the entire crew flogged!
More seriously, that’s put paid to my initial plan of reconnoitring the road bridge stealthily. I suppose the options are to either give up and cross the rail bridge with everyone else, or to play it a bit more risky. (This is regarding Corporal Much’s Humber btw)
I propose sticking our nose out onto the end of the road to try and get a look across the bridge. Hopefully if we drive out, then immediately reverse into cover, potential foes won’t get a chance to shoot.
Possibly we could ask the 25-pounders to drop some smoke around 23, 3, 5 to block view from the suspected 88?
Thoughts from the commentariat?
(I’d like you all to know how hard I’m suppressing my initial urge to Leeroy-jenkins it across the bridge)
Looking wider, do we have an overall plan?
I’m guessing something along the lines of; pushing across the rail bridge down to the village, before swinging north around the eastern side of the castle, to flank the forces guarding the road bridge?
By concentrating down one side we can hopefully have at least a numerical advantage over and enemy we encounter. Although we should bare in mind that enemy reinforcements might well turn up on the road in square 16 at some point.
I’m voting to push up on the western / left side of the castle.
The swathe of forest / scrub south of the castle doesn’t look traversible by vehicles. Which would mean leaving Sgt Venison to defend that area, while Lt Merry + halftrack + Daimler run the Panzerfaust gauntlet and head north to flank the foxholes on the eastern side of the road bridge.
Who’s got whips to do a flogging? I suppose, with la vise anglais, it’s the majority of public school officers.
Could make them stand on picquets.
It takes quite a bit of switching between tabs, but the presumed 88 is at 29,4,5. It’s some unidentified tank at 23,2,2.
I’d been considering a plan to shell the dug-in tank with the 25 pounders, but I like this idea of an initial smoke screen. However, are you prepared to wait the 3-8 min for call in and dispersion?
Tuck and the battery are masters of their craft. Expect a wait of around two minutes between request and bombardment.
How long does it take between bombardments please?
ie, if we order a strike in turn 2, presumably it will land at the end of turn/minute 4. Would we be able to order a new strike in turn 5 (to land at the end of turn7)?
An in-progress bombardment can be adjusted (target point moved a short distance) in under a minute IIRC, but requesting a new one will take two minutes again.
Thoughts re: Dale and Whitehand. Whitehand’s the simpler one: just let the pair continue and set up overlooking the village/east of the castle. Not much else they can do at the moment without small arms.
As for Dale’s men, my idea is to split them into two three-man teams. Assuming there’s nothing to see out the western window, one team can sit on the second floor and provide suppression fire on the building housing the MGs/sniper (i.e. looking out the eastern windows). In the meantime, the other team goes back downstairs and prepares to storm the enemy-held part of the castle, probably on turn 3/4, by which time hopefully the enemy is suppressed.
What I don’t know is whether this is doable (can you shoot out of windows into other windows? Can you be that granular with positioning inside the building?) or even potentially suicidal. I’ve read that storming buildings rarely goes well for the invading force.
Dale’s team can’t be split I’m afraid. I’ve used an HQ unit to represent them, and HQs aren’t divisible in CMBO.
Exchanges of fire between units in different buildings are possible in CMBO, and, although interiors walls aren’t modelled explicitly, by positioning units in different areas of an interior, the player does have a degree of fine control when ‘house clearing’.
In our scenario, as the Germans in the castle are probably focused on the eastern end of the road bridge, and lack Dale’s leadership abilities (he has bonuses in all four possible areas – command, combat, morale, and stealth) the American airmen should be favourites in any CQB.
Got it. Thanks Tim.
I can help with orders if there are still some missing. As far as I can tell, Captain Hood and Lieutenant Tuck team are still without orders.
My understanding is that Captain Hood should continue it’s move. As for Lieutenant Tuck and its team, a strike was discussed. Should it be done?
If so, at which coordinates: 29 on the 88 or 37 on the halftrack?
I’d humbly suggest the foxholes in box [3] in the first instance, to support the crossing of the southern bridge.
I think orders for other targets can wait until Turn 4 is complete and orders are being sought for Turn 5.
ORDER:
LT Tuck to H.E target the building 36,3,2.
Logic – no spotting available for rail bridge foxholes or any other target I can see. We can re-target if this changes. This building could house an HQ also has foxholes nearby which should suffer splash damage.
TV-P you’re welcome to take back Tuck anytime.