
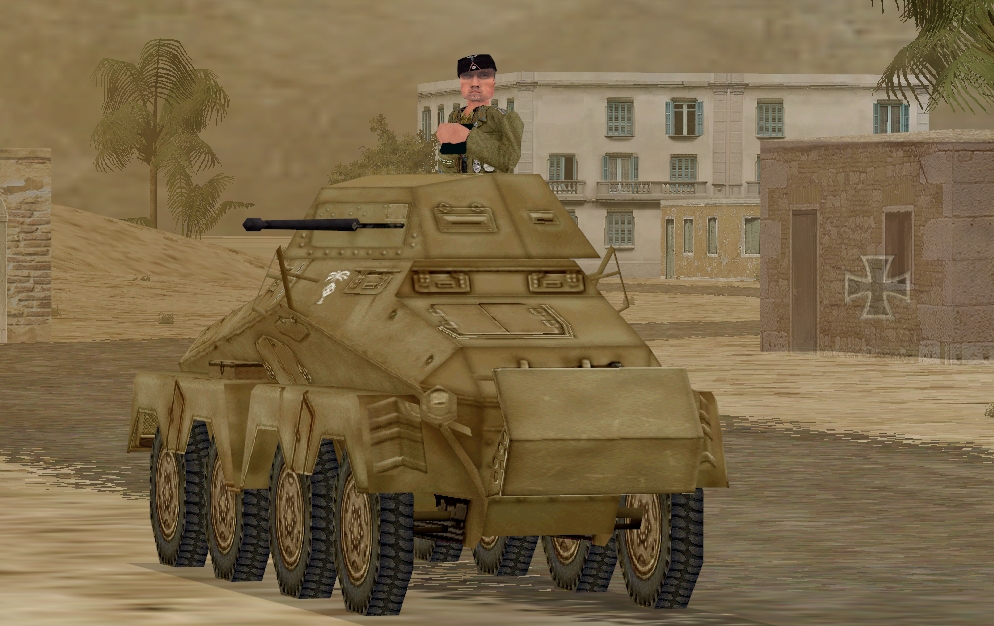
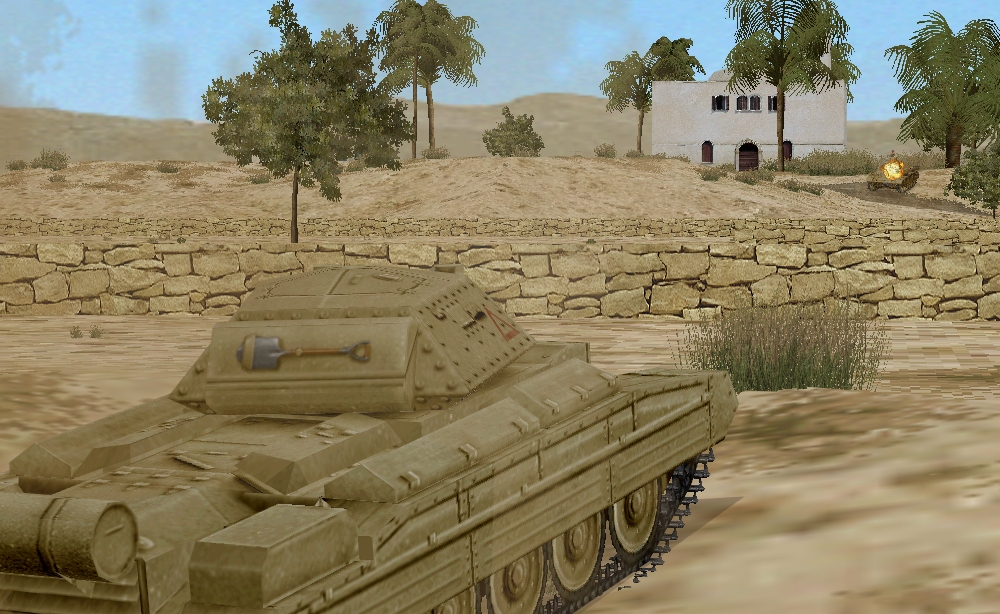
SPOILER WARNING. The spat between Corporal Bignon, Team France’s unlucky anti-tank rifleman, and this cocksure cannon-armed Afrika Korps armoured car comes to a lethal conclusion this turn.
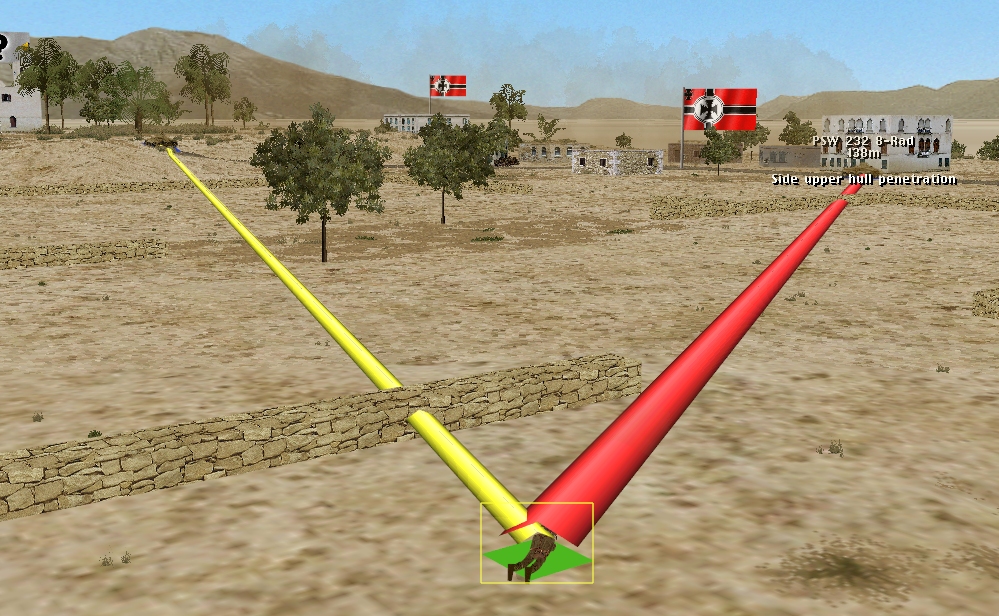
Braving both 2 cm cannon fire from his target, and coaxial MG bursts from the Panzer III lurking on Mosque Mount, Bignon tweaks the trigger of his ATR four seconds into the sixty. Not only is this early shot on target, it ventilates the PSW’s upper hull armour, causing…
…oh dear – minimal damage within, if the AC’s continued belligerence is any guide.
Unfazed by this disappointment and the fact that the Panzer gunner seems to be finding his length and line, Bignon fires again at T+15. It’s another hull penetration, but this time the clang and cloud of sparks is followed by a much sweeter sound – the creak of a hatch being hurriedly opened. The PSW crew bales out onto a dirt road lashed by shrapnel from exploding mortar bombs.
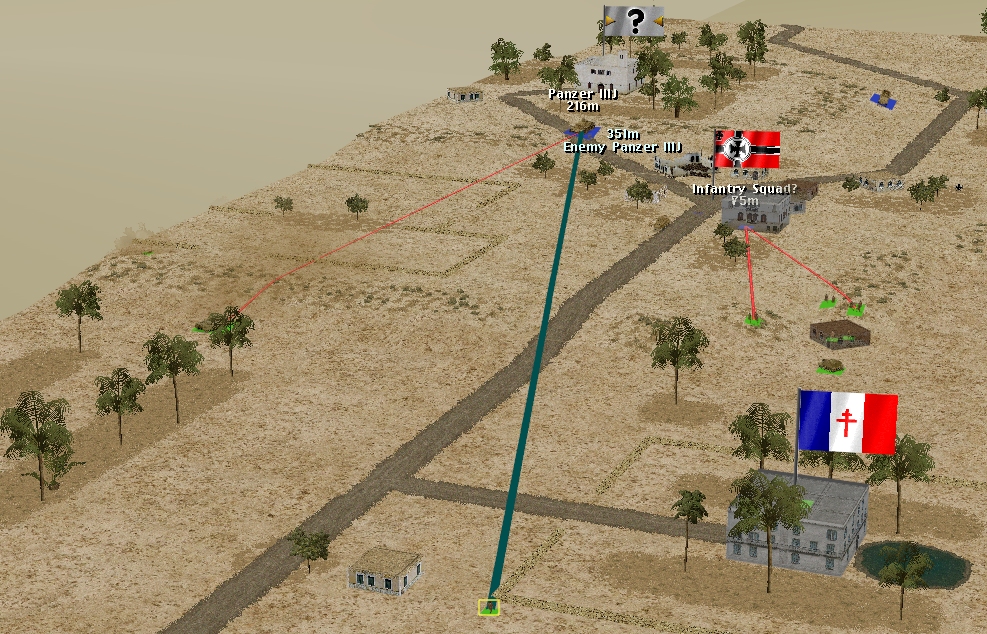
When, circa T+27, the Crusader sent to assist Bignon reaches the crest of the row 25 rise, it finds its intended prey vanquished, and a stubby 5 cm KwK 38 pointing in its direction. Sensibly opting to abandon his narrow engagement arc, the alarmed Allied turretman immediately starts to shift his crosshairs Panzerward.
A split second after his reticle comes to rest, the Pz III expectorates.
Phew. A miss.
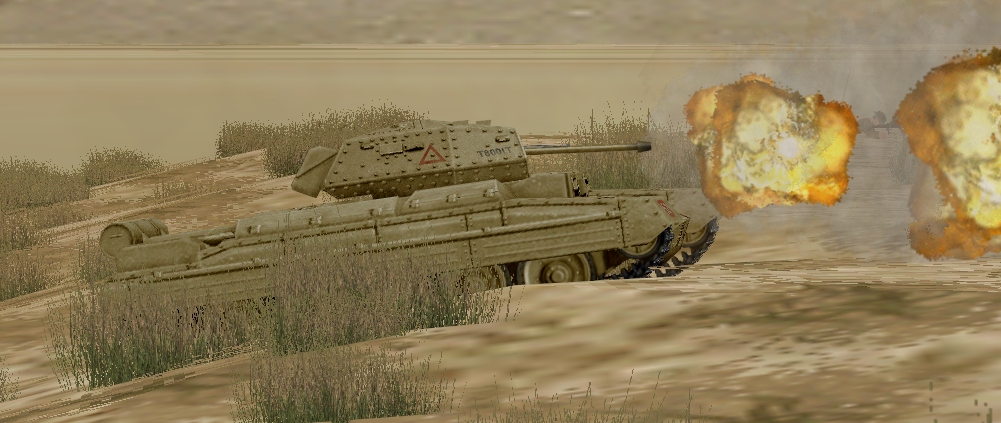
Unfortunately, the Crusader’s reply is also wayward, meaning the Panzer gets to fire again before the French cruiser tank disappears back down the slope. At T+38 the tricolore wavers in the crowd cheer as a second PzGr. 40 goes astray.
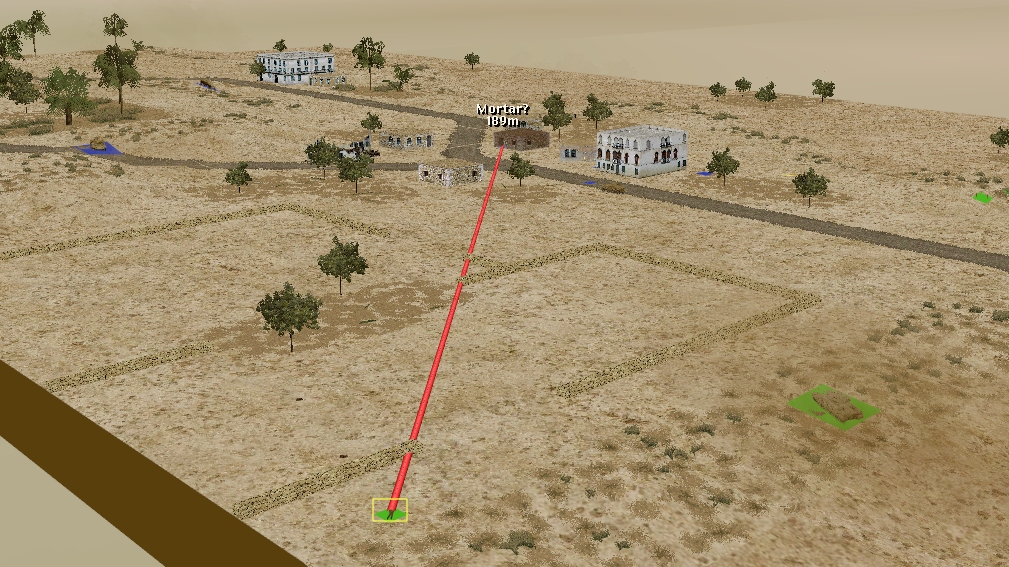
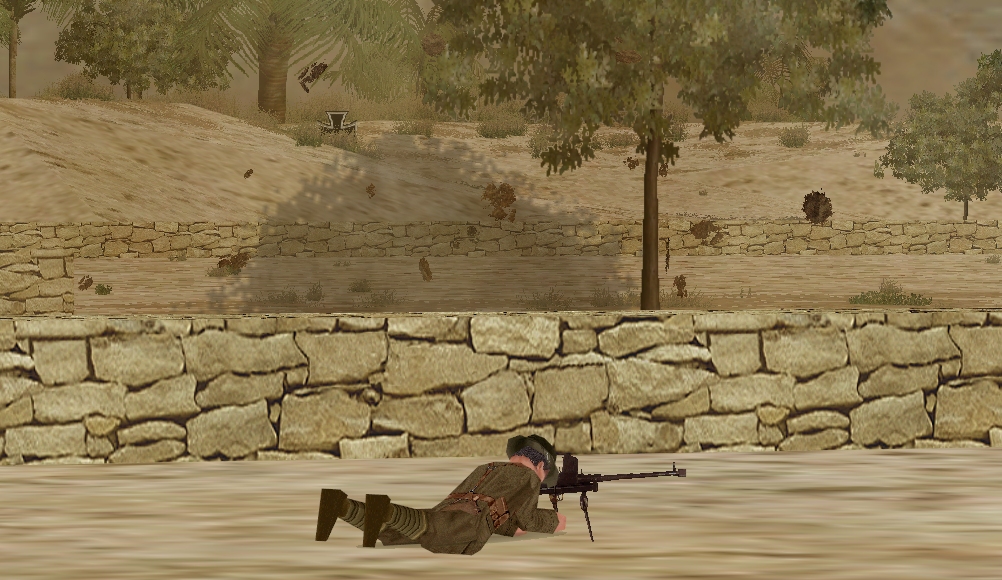
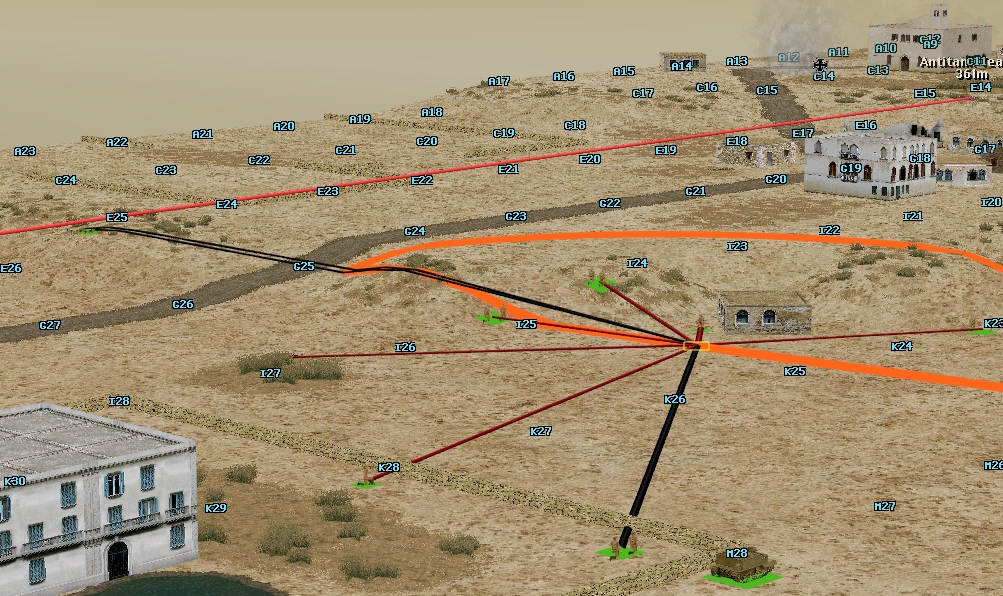
Although Bignon ends the turn ‘pinned’ and ‘taking cover’, his contribution this sixty isn’t limited to eliminating the PSW. At T+40 he spot and briefly engages an enemy infantry team in the village. The advancing Axis mortar team (?) seems to survive this attack unscathed which is more than can be said for the hapless squad of Rommelites that attempts to dash south from the house at H20 mid-way through the turn.
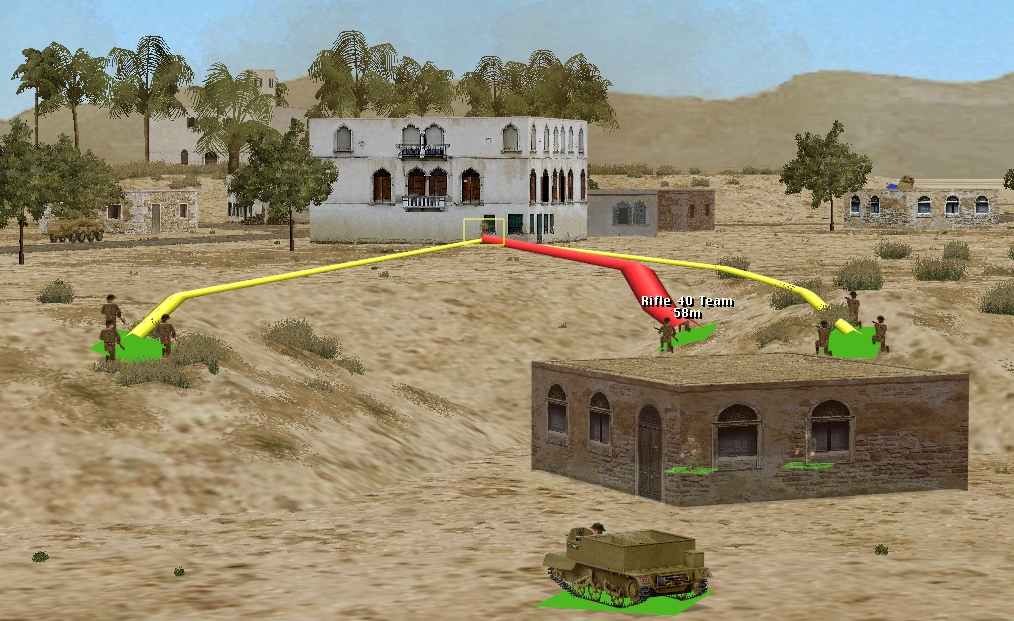
Simultaneously engaged at fairly close range by three knots of fired-up Frenchmen, said squad rapidly takes seven casualties and turns tail.
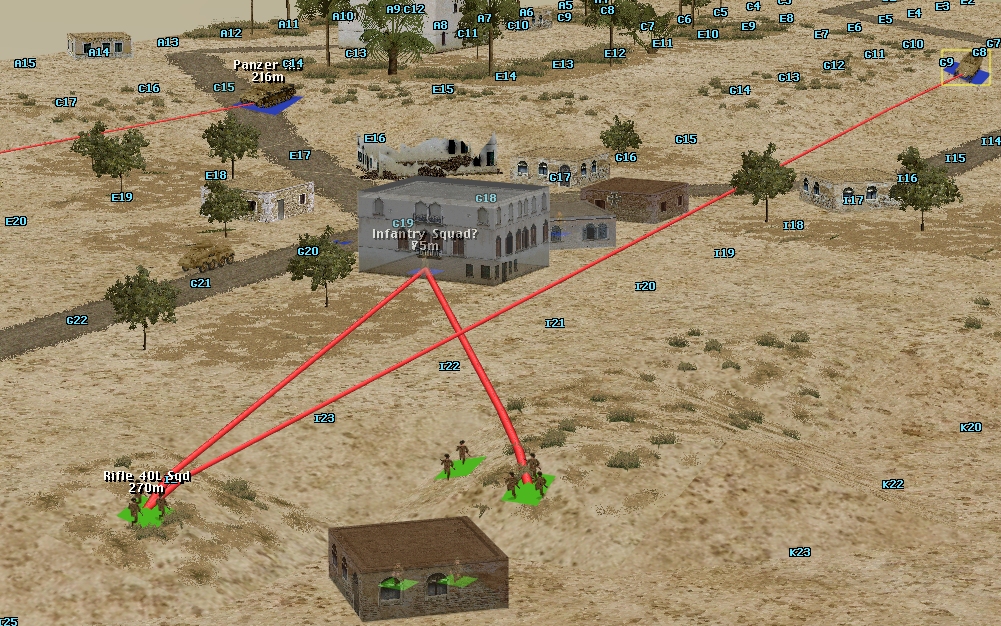
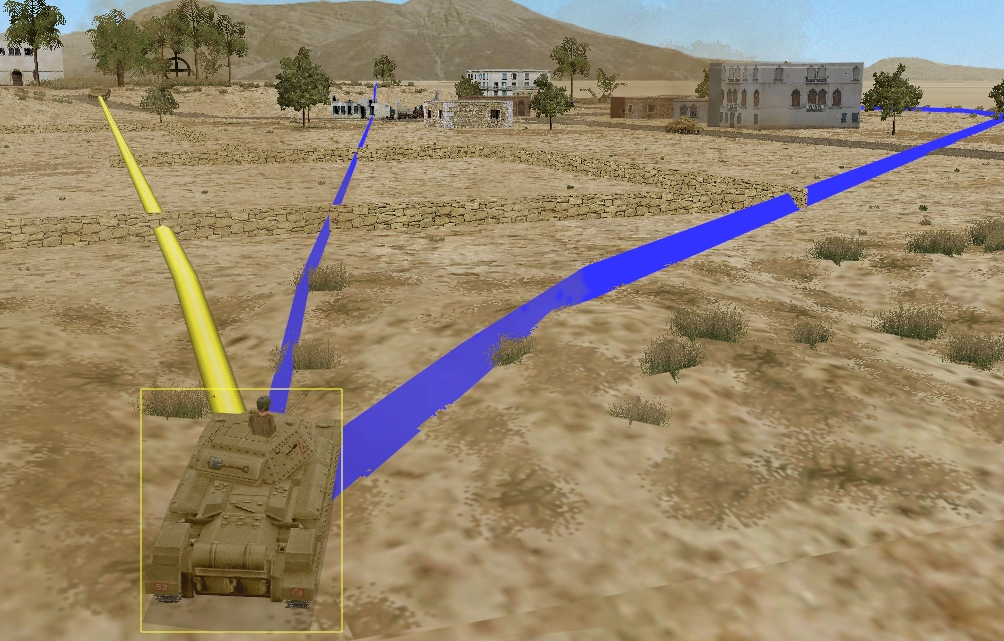
Just before the clock stops, despite attention from the halftrack’s MG, the impressively lethal Gallic grunts SSE of the village, turn their attention to another target in H20.
(The targeting line betwixt Crusader and Panzer is misleading. The two AFVs can’t see each other. The French mortar team (24HE, 10S) can see and target the Axis tank).
* * *

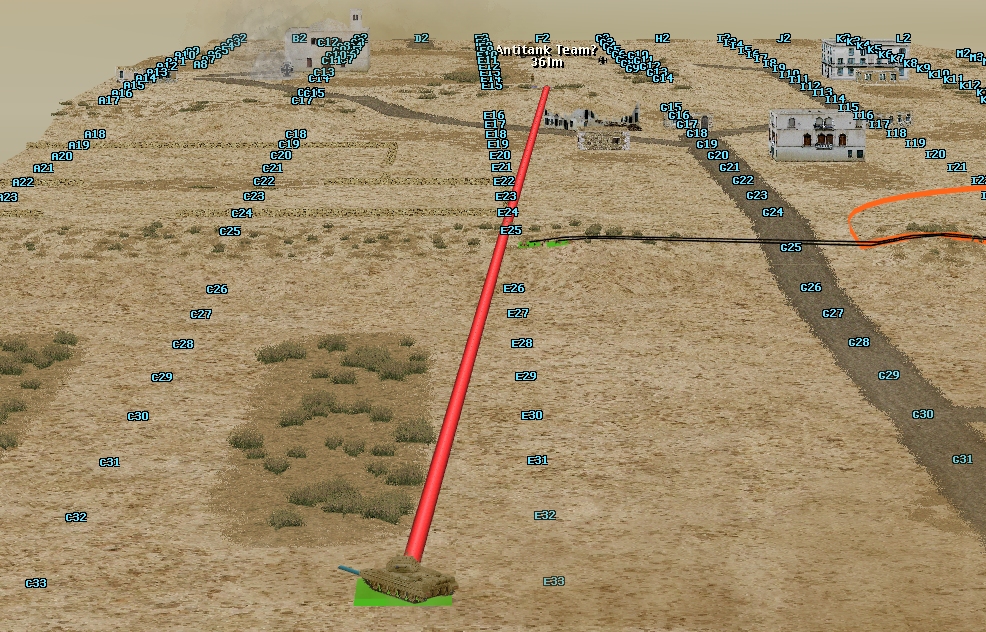
It would have been a truly disastrous turn for Afrika Korps armoured cars, if the shot fired by Team GB’s Crusader at T+37 had hit home. Halfway through the sixty, said Panzer killer is hunting in a northwesterly direction when it spots something shellworthy near the mosque.

Before the spooked PSW pops smoke and breaks contact, the Tommy tank has time to loose one inaccurate AP round.
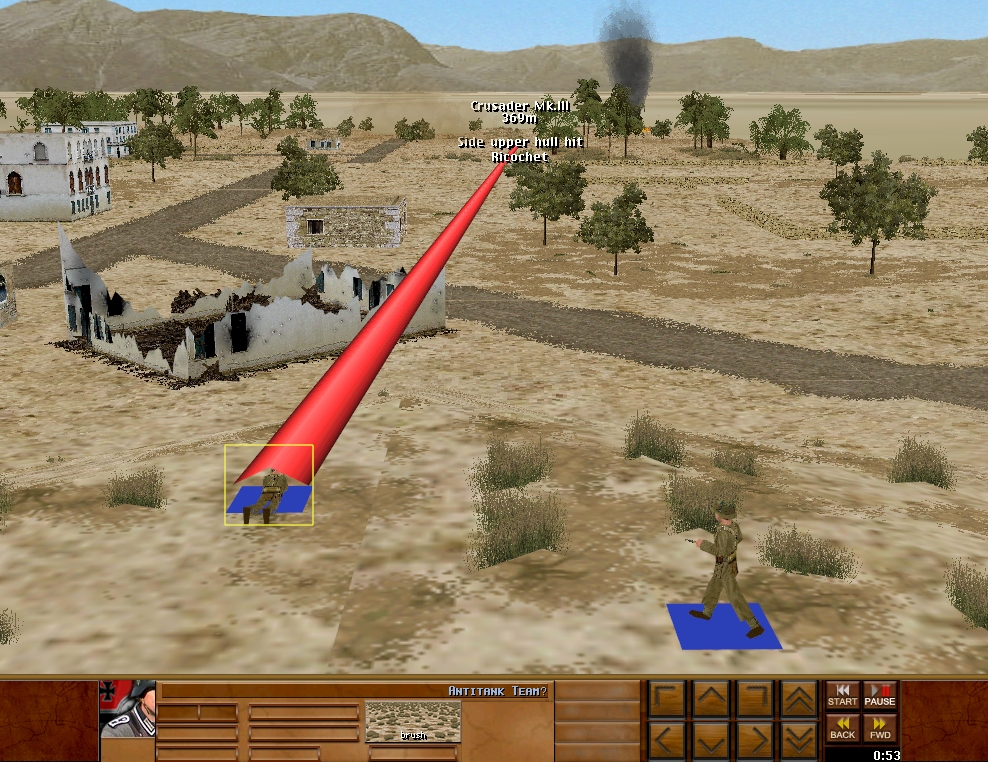
After the miss the British tank pushes on, entering the LoS/LoF of the pesky German ATR team that gouged its upper hull last turn. In short order, a second silver scar appears close to the last.
Elsewhere, the men from Blighty rest in readiness, perhaps, for bolder action next turn.
(Next order deadline: Tuesday night)
TEAM GB DISCUSSION
My tankists’ ears must be ringing badly now, now that they’ve taken another ding from the AT rifle, and without even a PSW silhouette to show for it. I’m pleased that I sussed out its movement so neatly, though. Probably I reverse again and try to regain LOS on the armored car, and break LOS to the German AT team.
The Boys team stands ready to bravely follow slightly behind the main infantry body, whenever we elect to make our move.
I think we need to get our forces up to target the enemy ATR. My hope it’s we can have our left flank forces make for the wall while the right flank aims to occupy the nearby hotel. We have all three bren guns on the right flank, so it makes sense to use that as our fire base.
TEAM FRANCE DISCUSSION
Amis, I will not take any credit for coincidentally moving infantry who just so happen to accidentally ambush the krauts, but it was dang good fortune.
The half-track’s MG has us dead to rights, though. Options: Duck back quickly behind the slopes; continue on and storm the house with the Germans inside, hoping to get there without many losses; mortar either targeting the half-track or maybe dropping smoke between our infantry and that gun. Thoughts?
A possible bonus of the charging move is that we’ll catch the rattled armoured car crew on the road, and if I’m reading the screenshots correctly, then the Germans inside the house are the ones we just repulsed, so they’ll also be shook. Correct me if I’m misinterpreting that.
“the Germans inside the house are the ones we just repulsed”
I think it’s a different squad. The ravaged squad retreated through the building, and were last seen entering H19.
Well, I wouldn’t call it a coincidence! Well done on your manoeuvres: not only bold, but it got results, which is my favourite combo.
My gut feeling is to press our luck and continue on with the village assault. I do think that the mortar could focus its attention on the Panzer this turn, but if the infantry could, as quickly as possible, break line of sight with the halftrack (using the building at H20 as cover and maaaybe also the one at I17 should the squads want to split up and approach the village from the east), then they might have a decent chance.
As for the Crusader, I think our shooting and scooting from here might not be wise anymore. With kraut infantry in the village somewhat under pressure, it might be a good chance to scoot across to J26 using the slope as cover. It could then start laying into the halftrack from there.
Sorry, I was very late for the jam. The orders as I gave them is that if our infantry allows me to target the half-track, I will drop a few HE on the open-topped problem.
If not, I will smoke (literally) the Panzer, so that our Crusader has more options
GB3 ORDERS
(I’m posting these early, because I’m going to be away from the Internet this weekend.)
Crusader: reverse without turning by 1-2 squares, enough to break LOS to the German AT rifle team. Target arc from A17 to L8, to cover the mosque hill and potentially any halftracks sneaking through town.
AT rifle team: since I’m going to be missing two days of potential comment commander coordination, for Turn 8, I delegate the AT rifle team to Oneknown, to move or not move with the infantry as he sees fit.
@Tim ORDERS FOR FR MORTAR
I am very late, I am sorry, my orders will be based on conditional assumptions if it is okay.
If infantry or own FoW allows mortar team to fire at the German APC, I would like my mortar to fire a short volley at the open-top menace.
If we do not have such an ability, I would like to drop some smoke on the Pz. III to potentially give our Crusader some freedom of maneuver
@Tim BRITISH GB2 ORDER:
Again, with no spotting info from HQ, nothing Balders (or Noel Coward on the Bren carrier) can do. No moves.
PS: Apologies for lateness, sorry. I could tell you the reason, but it’s classified and I would have to.. XD
The mortar needs to be basically next to the hq to fire, so next time you have a chance run those boys up behind the house.
GB4 orders:
Pilot to continue his heroic retreat by dashing towards the villa
@Tim FRENCH INFANTRY ORDERS
Facing the house, I’d like the squad on the right to put fire on it. The squad on the left move to the left-most trees – I guess a “hunt” move? – with the aim of either killing that vehicle crew or additional fire on the house. (Sorry, not sure if I’m being specific enough with orders here.)
Middle squad, storm the house!
To my French colleagues, I’m on a work trip for a week so while I’ll be able to check in, it’s probably best if someone else takes the infantry for the next turn or two, as I’ll be limited to typing on a phone.
Standing orders for the pilot is to stay put, they seem fine. We don’t need to evac them from the map or anything, do we?
GB 1 ORDER :
HQ: PAUSE 30, FAST I24 and hide
1A FAST to I24
1B: FAST e24 behind the wall and HIDE
2A: carry on
2B: carry on
3A: FAST J24 level 1
3B: Crawl to H25, TARGET ARC 150m